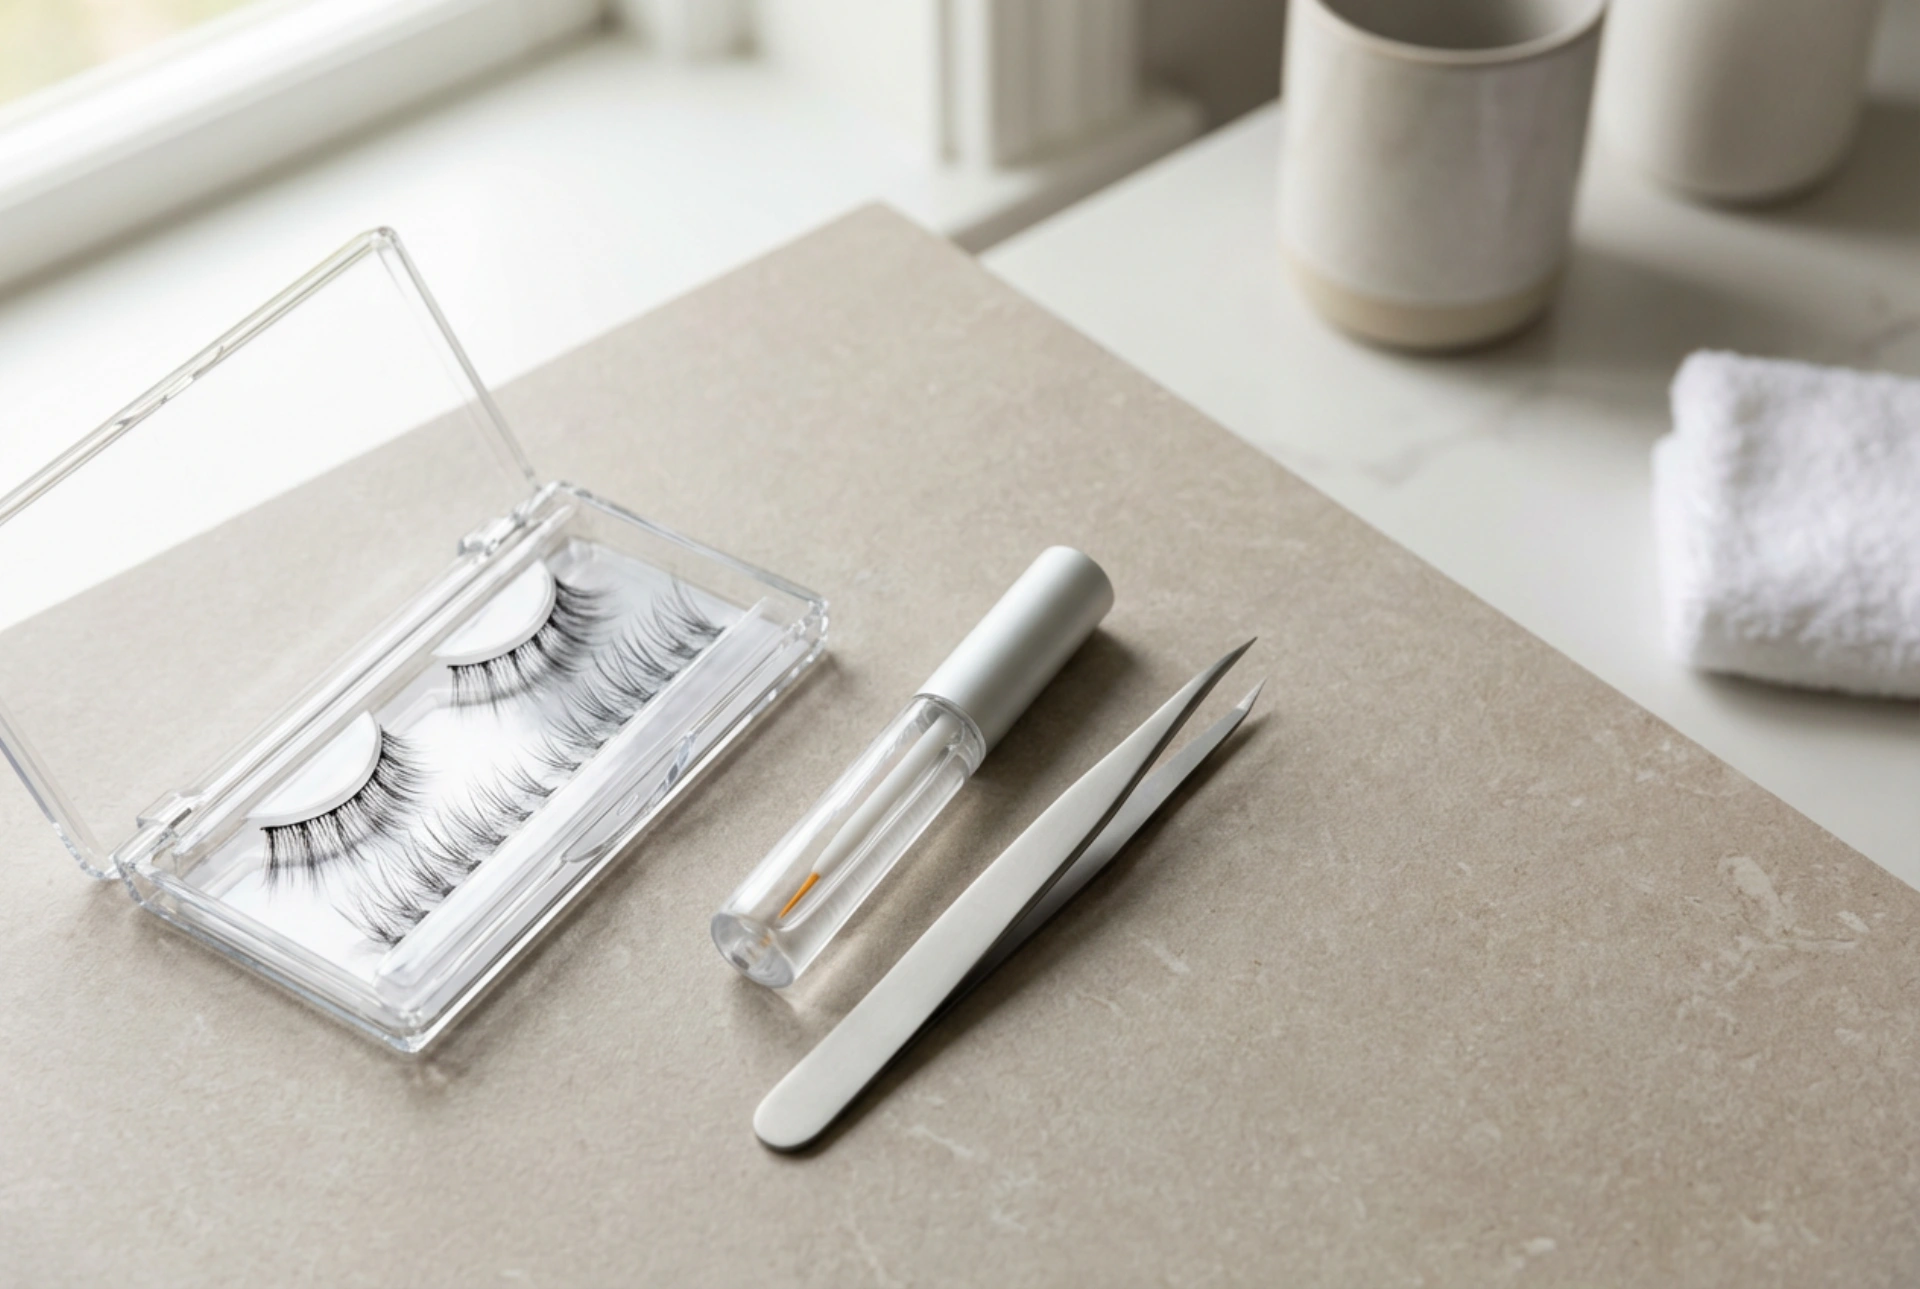


Enhancing your natural eyes with false eyelashes is a classic beauty technique that can instantly elevate any makeup look. Whether you prefer a subtle, everyday flutter or a dramatic, voluminous effect for a special evening, mastering the application process allows you to achieve stunning results from the comfort of your own dressing table. By gathering a few essential tools, such as delicate artificial lashes, a reliable clear lash adhesive, and a pair of fine-tipped tweezers, you can transform your beauty routine into an effortless, creative ritual.
Choosing the Perfect Lashes for Your Eye Shape
Before beginning the application process, it is important to select the right style of false eyelashes. The ideal choice should harmonise with your natural eye shape and the overall aesthetic you wish to achieve. There are several main varieties available, each offering a unique finish.
- Strip Lashes: These are the most common type, featuring a full band of lashes that spans the entire lash line. They are excellent for creating a cohesive, impactful look and come in various densities and lengths.
- Individual Lashes: Supplied as small clusters or single hairs, individual lashes offer the ultimate customisation. They allow you to add subtle volume and length precisely where you need it, such as the outer corners of the eyes.
- Accent Lashes: Shorter than full strip lashes, these are designed to be applied solely to the outer half of the eye, offering an elegant lift without the need for trimming.
When selecting lashes, consider your eye shape. Almond-shaped eyes can carry almost any style, while hooded eyes benefit from lashes that are longer in the centre to open up the gaze. For deep-set eyes, choosing longer, curled lashes will prevent them from being lost in the shadow of the brow bone.
The Essential Beauty Toolkit
Achieving a seamless, professional finish requires a few simple but precise tools. Having these laid out on a clean surface beforehand ensures a smooth and stress-free application process.
Firstly, a pair of fine-tipped tweezers or a specialised lash applicator is crucial for holding and positioning the delicate lash band with accuracy. Secondly, you will need a high-quality, clear-drying lash adhesive. Clear formulas are highly recommended for beginners, as any minor slips or excess glue will dry completely invisibly, leaving a clean finish. Finally, keep a small pair of beauty scissors nearby for trimming the bands, and a hand mirror placed flat on a table to help you look downwards during the application.
Step-by-Step Application Guide
Applying false eyelashes requires patience and a steady hand. Following these steps will help you achieve a secure, comfortable, and beautifully blended look.
1. Measure and Trim
Never apply a strip lash straight from the packaging without measuring it first. Gently remove the lash from its tray using tweezers and hold it against your natural lash line, starting just slightly away from the inner corner. If the band extends past the outer corner of your eye, it will cause discomfort and pull the eye downwards. Use your small scissors to trim the excess from the outer edge of the lash band, as this preserves the natural graduation of the lash style.
2. Soften the Band
Gently flex the lash band into a horseshoe shape for a few seconds. This mimics the natural curve of your eyelid, making the band more pliable and less likely to lift at the corners after application.
3. Apply the Adhesive
Apply a thin, even layer of clear lash adhesive along the edge of the lash band. Be careful not to saturate the lashes themselves. Pay extra attention to the inner and outer ends, as these areas are most prone to lifting. The most critical step is to wait approximately thirty seconds for the glue to become tacky. Applying the lashes while the glue is still wet will cause them to slide around, making placement extremely difficult.
4. Position and Secure
Place your mirror on a flat surface below your face so that you are looking down into it. This stretches the eyelid slightly and gives you a clear view of your natural lash line. Using your tweezers, hold the false lash by the middle and place it as close to your natural lash line as possible, starting from the centre. Once the centre is secure, use the tweezers to press the outer and inner corners into place. Finally, gently squeeze your natural lashes and the false lashes together with your fingertips or tweezers to ensure they blend seamlessly.
Safe and Gentle Removal
To preserve the health of your natural eyelashes and keep your reusable false lashes in perfect condition, proper removal is key. Never pull or rip false lashes off dry, as this can damage your delicate eyelid skin and pull out your natural hairs.
To remove them safely, saturate a cotton pad with a gentle, oil-free makeup remover or micellar water. Hold the damp pad over your closed eye for a few moments to break down the adhesive. Once the glue has softened, gently grasp the false lash from the outer corner and slowly peel it away from the eyelid, moving towards the nose. Clean any residual adhesive from your eyelids using a fresh cotton pad.
Caring for Your Reusable Lashes
Most high-quality false eyelashes can be worn multiple times if cared for correctly. After removal, use tweezers to carefully peel away any remaining glue residue from the lash band. Lightly wipe the lashes with a cotton bud dipped in a small amount of rubbing alcohol or micellar water to sanitise them. Allow them to air dry completely before placing them back into their original packaging to maintain their shape and protect them from dust.