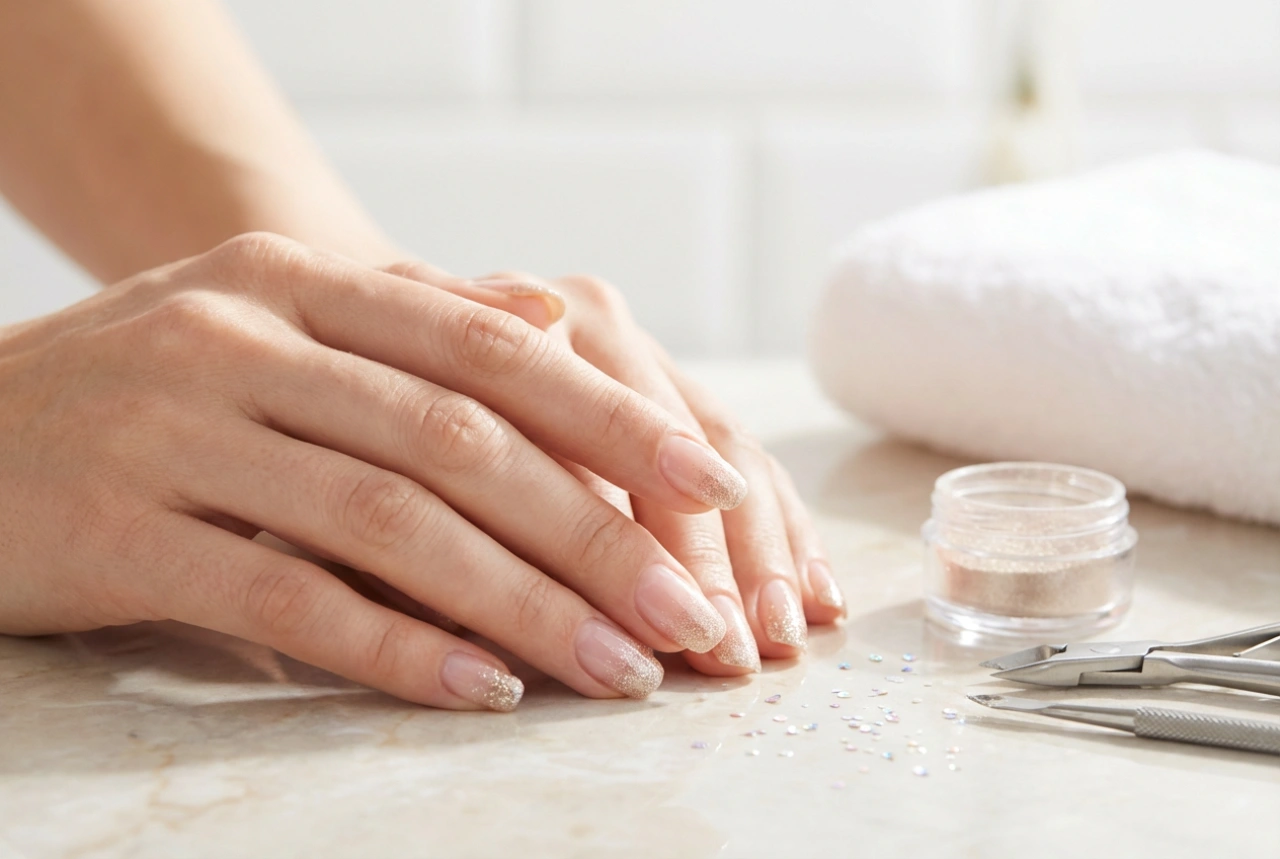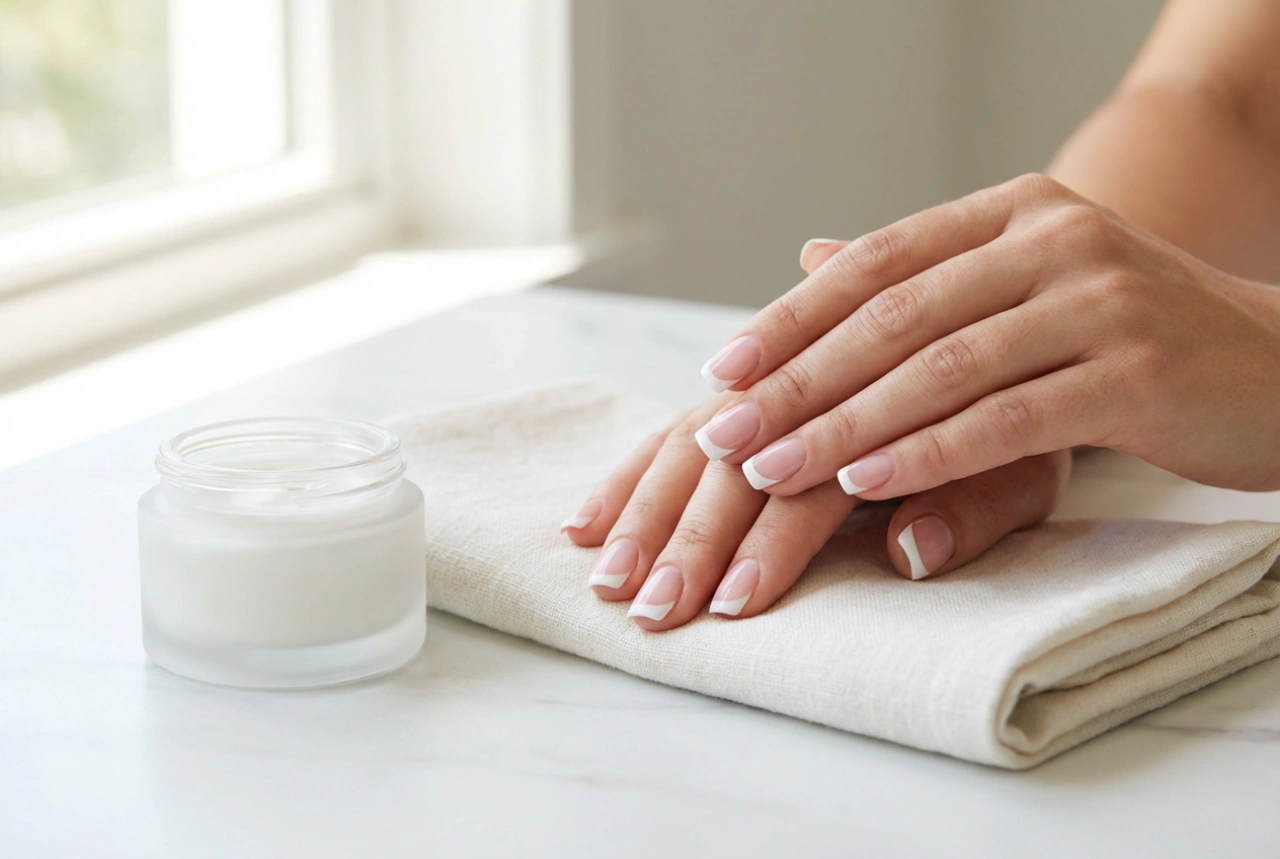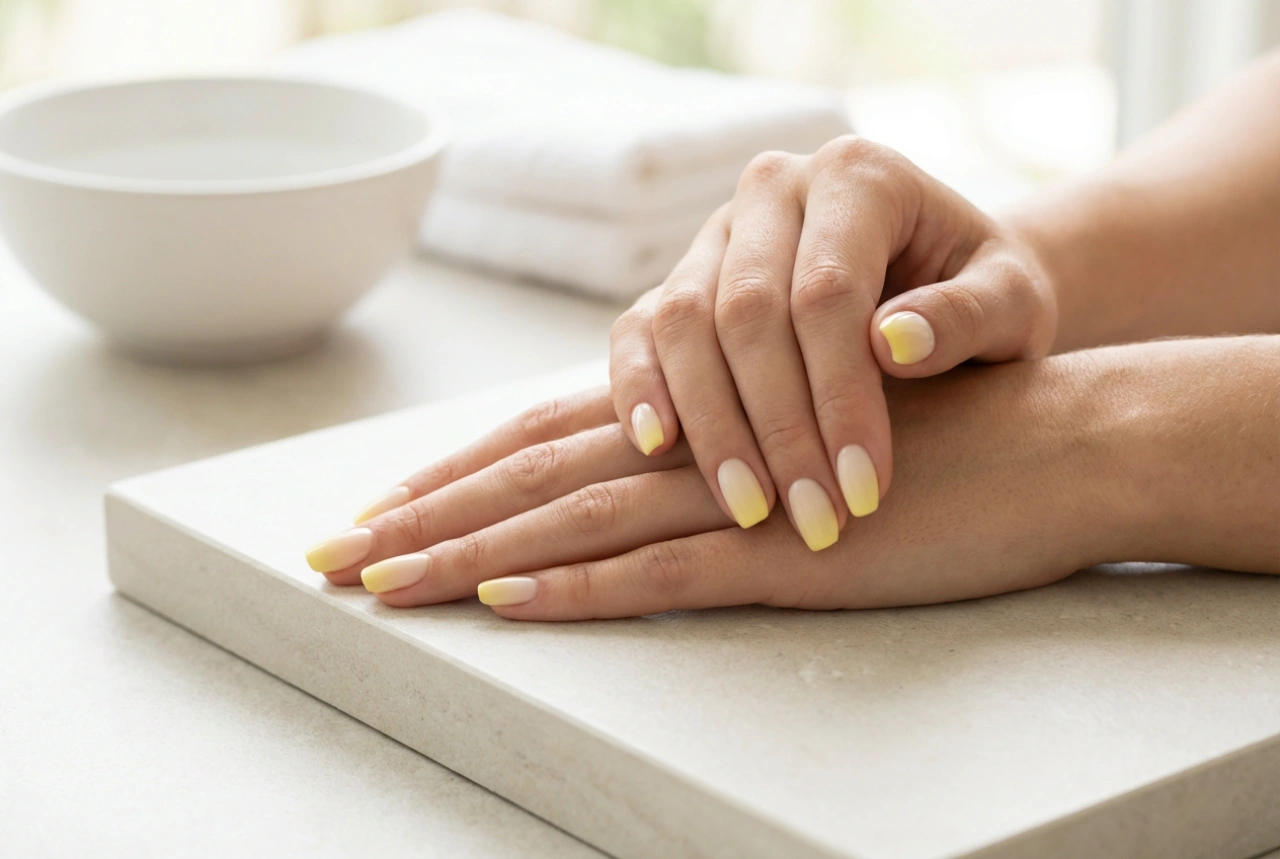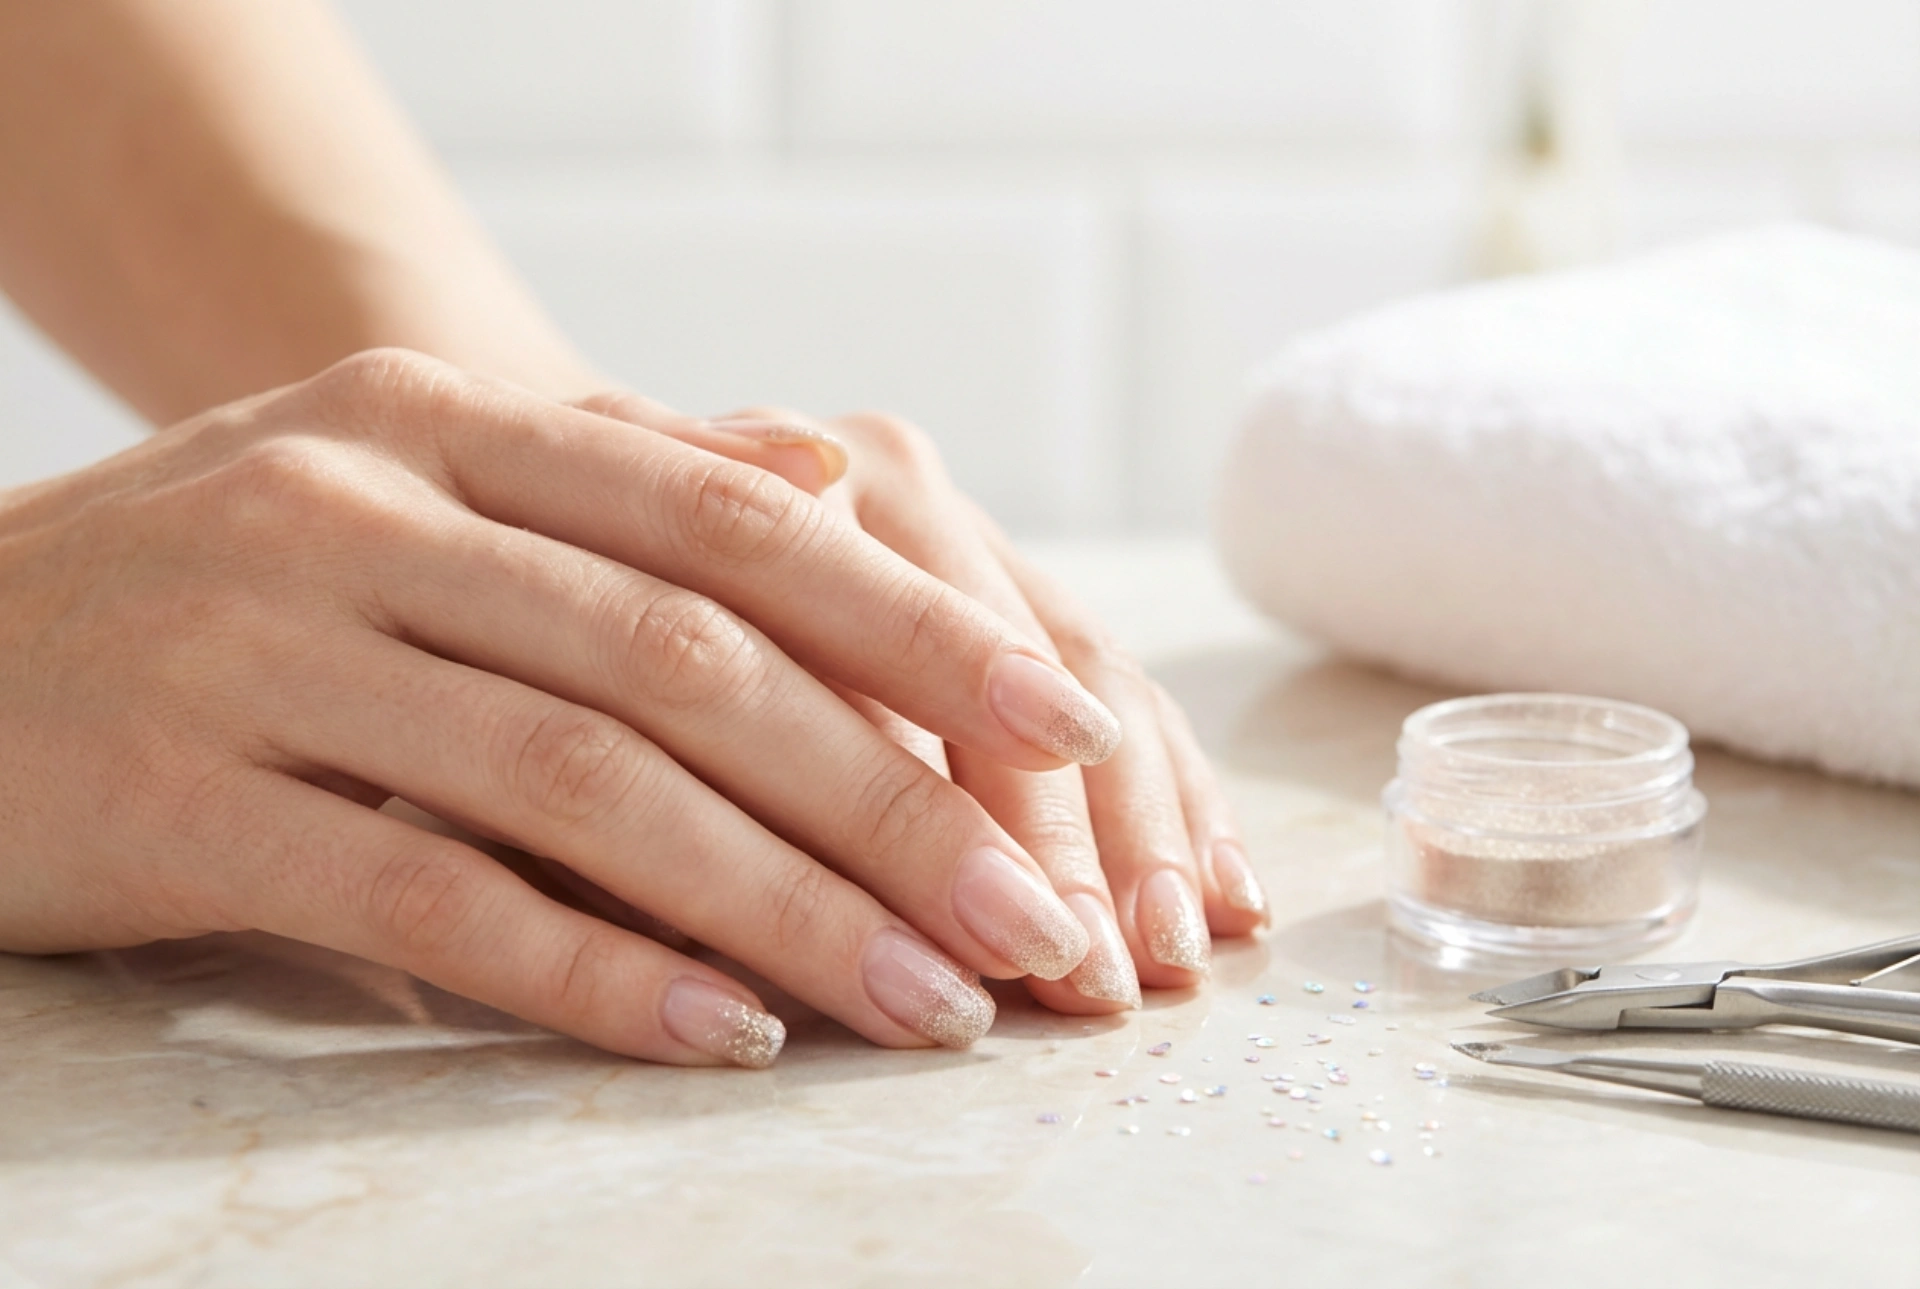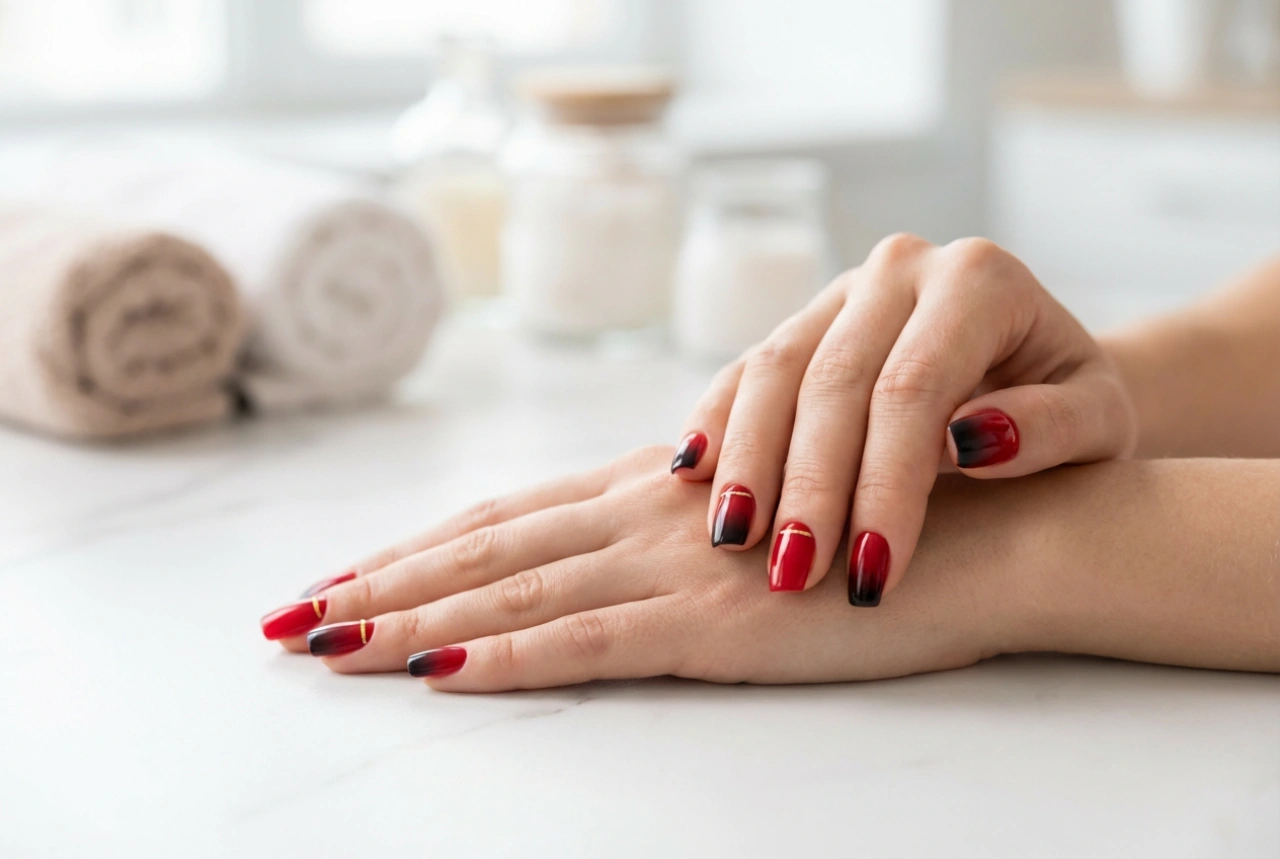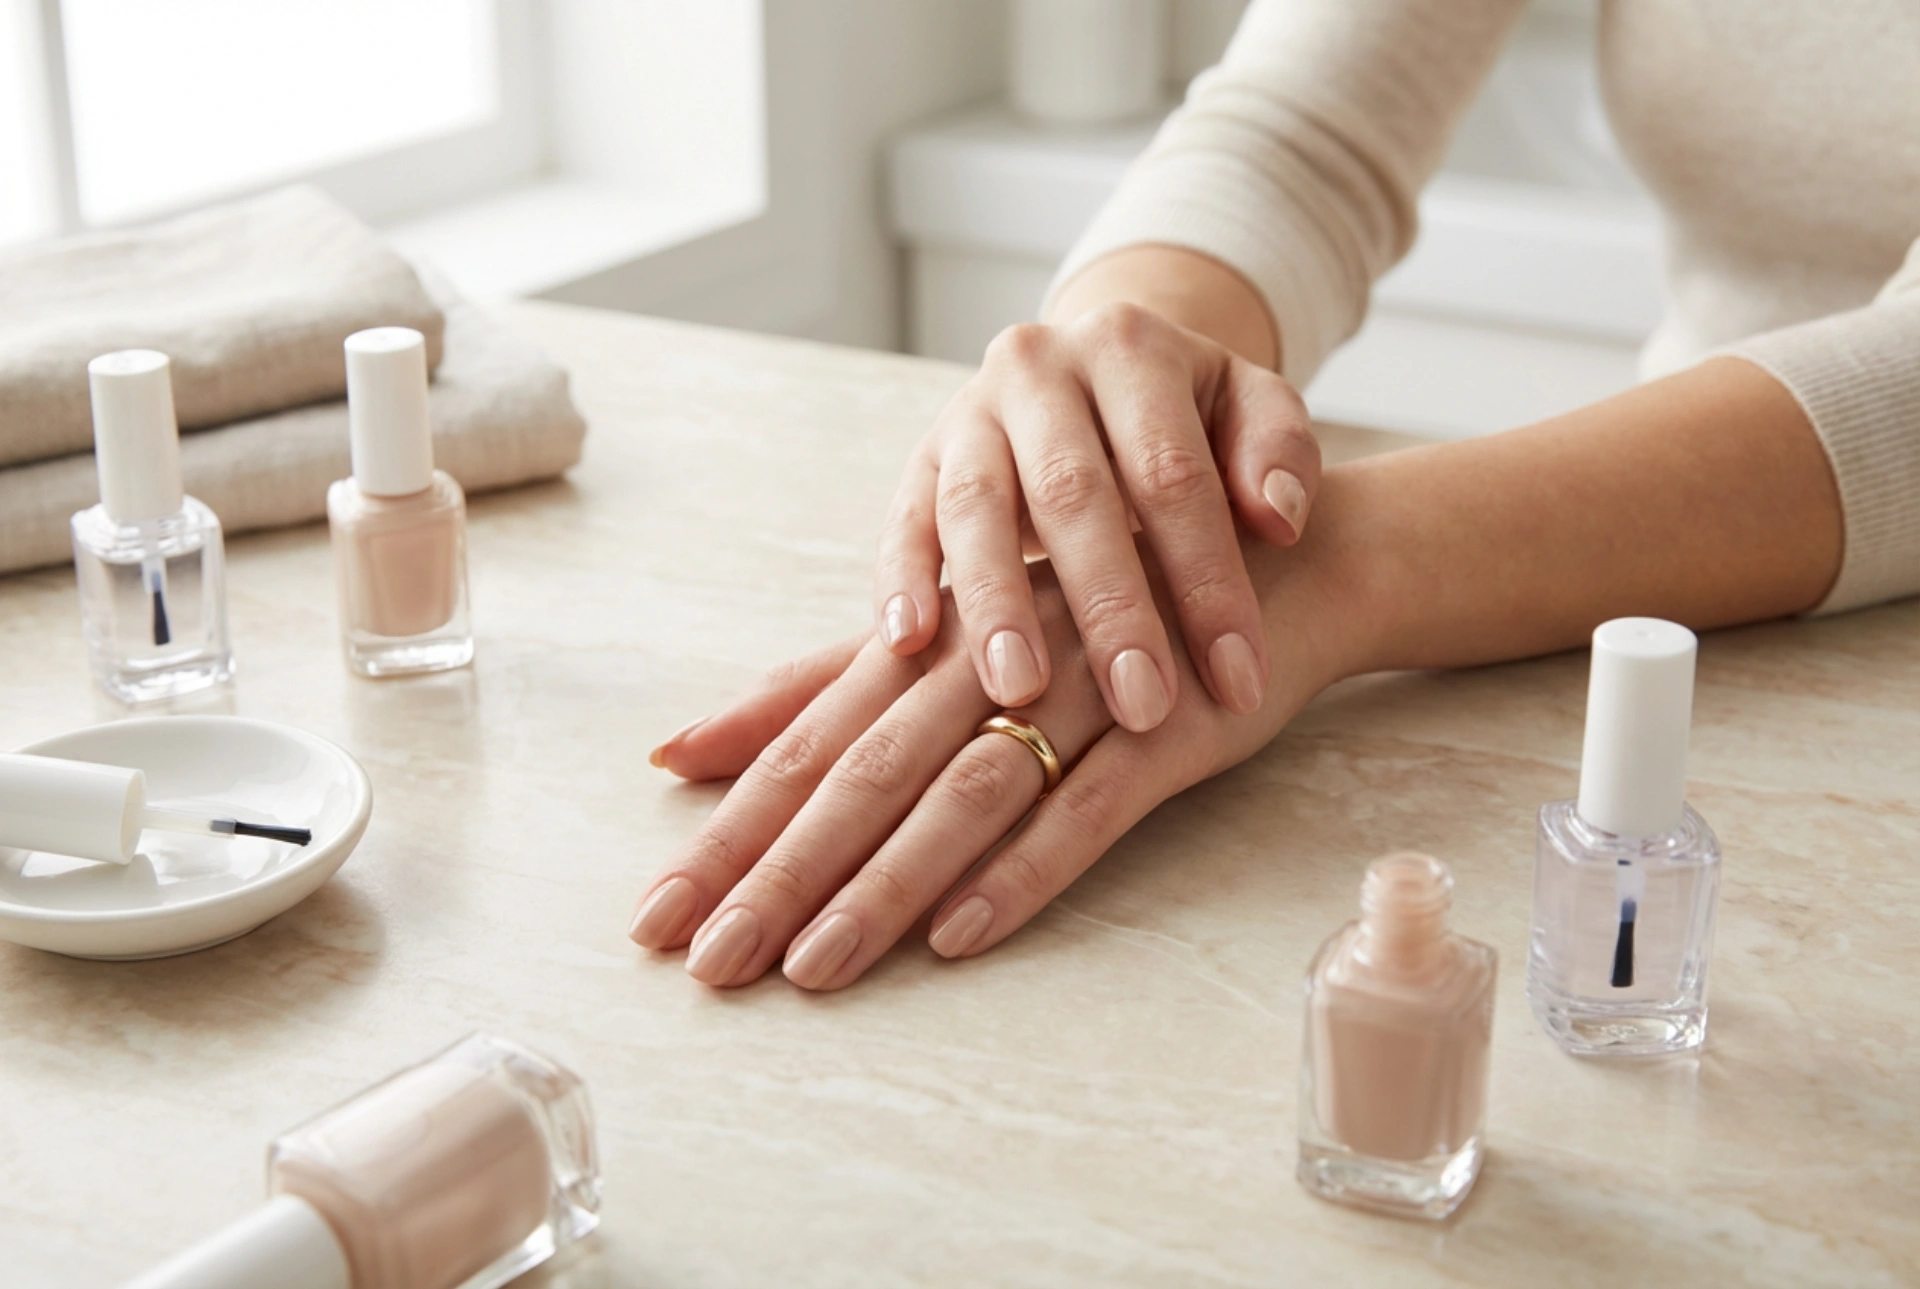


Achieving a flawless, professional-looking manicure at home is a timeless ritual that brings a touch of elegance to our daily routine. There is something deeply satisfying about looking at beautifully manicured hands, coated in a timeless nude or classic colour that reflects soft natural light. However, many enthusiasts of classic nail polish face the common hurdle of unsightly streaks, bubbles, and uneven layers. Creating a smooth, glass-like finish on a clean, minimalist surface requires a blend of patience, the right technique, and understanding how classic polish behaves on the nail plate.
The Importance of Proper Nail Preparation
Before any colour bottle is opened, the foundation must be meticulously prepared. Classic nail polish adheres best to a completely clean, dry, and smooth surface. Any residual oils, moisture, or dust will prevent the product from laying flat, directly leading to bubbles and premature chipping. Taking the time to prep the nails thoroughly ensures that the colour goes on smoothly and lasts significantly longer without losing its pristine appearance.
Begin by gently shaping the nails and pushing back the cuticles with a wooden stick or a dedicated tool. Using a fine-grit buffer can help smooth out natural ridges on the nail plate, which are often the hidden culprits behind streaky applications. Be careful not to over-buff, as this can thin the nail plate. Once the surface is smooth, cleanse the nails thoroughly with a gentle dehydrator or regular nail polish remover to strip away natural oils and filing residue. Skipping this step often means the polish will slide and pool unevenly, making a streak-free application almost impossible.
The Unsung Hero: The Base Coat
Applying a high-quality base coat is non-negotiable for a perfect finish. It acts as a double-sided adhesive, bonding to the natural nail while providing a perfectly smooth, tacky grip for the coloured polish. A ridge-filling base coat is particularly beneficial for those with uneven nail surfaces, as it self-levels to create an ideal canvas, ensuring the subsequent colour layers glide on effortlessly. Furthermore, it protects your natural nails from staining, especially when working with highly pigmented classic colours.
Mastering the Art of Layering
The secret to a streak-free classic manicure lies not in a single, thick coat of polish, but in multiple thin, uniform layers. When polish is applied too thickly, the solvents cannot evaporate properly, leaving the lower layers soft, bubbly, and highly prone to smudging. Thin layers dry much faster and bond more securely to one another.
For most classic polishes, particularly pastel and nude shades which are notoriously difficult to apply evenly, the two-coat rule is standard. Occasionally, a very sheer formula may require a third ultra-thin layer to achieve full opacity. To apply each layer successfully, follow these practical guidelines:
- Control the brush load: Wipe one side of the brush completely against the neck of the bottle. You only need a small bead of polish on the tip of the brush. Too much product leads to flooding of the cuticles and pooling at the sides.
- The three-stroke method: Place the brush slightly away from the cuticle line, push gently towards the cuticle without touching the skin, and glide down the centre. Then, sweep down each side in a fluid motion. This minimises overlapping lines and keeps the distribution even.
- Keep a light touch: Avoid pressing the brush too hard against the nail plate, as this scrapes away the wet polish and creates deep ridges. Let the brush float smoothly over the nail surface.
- Keep the brush parallel: Hold the brush flatter to the nail rather than at a steep angle. This helps distribute the polish evenly rather than dragging it.
Understanding and Optimising Drying Times
Patience is perhaps the most critical ingredient in a successful manicure. One of the most common causes of streaks is applying a second layer before the first one has sufficiently dried. When the first layer is still wet, the brush of the second layer will drag the underlying product, creating thick, uneven patches and unsightly texture.
Ideally, you should wait between three to five minutes between each layer. While the surface might dry relatively quickly, the solvents within the formula need time to escape. To pass the time and ensure safety, complete one full hand before moving to the next, allowing each nail to rest. Refrain from using external heat sources like hair dryers, as warm air can cause the polish to expand and bubble, ruining the smooth texture. Instead, if you must speed up the process, look for natural air circulation or cool air settings, though allowing the polish to cure naturally yields the most durable results.
The Final Seal: Choosing and Applying the Top Coat
A classic manicure is never truly complete without a clear, protective top coat. This final layer does more than just add a brilliant shine; it acts as a protective shield against daily wear and tear while blending the layers beneath it into a cohesive, streak-free surface. It can turn a slightly imperfect paint job into a mirror-like finish.
When applying a top coat, use a generous but controlled amount of product. The brush should glide over the colour without actually touching the pigmented layer beneath, which prevents any dragging or smearing of the colour. Be sure to "cap" the free edge of the nail by running the brush along the very tip. This seals the polish, preventing moisture from getting underneath and causing premature peeling. A good top coat also helps to smooth out any tiny lines or minor streaks that may have occurred during the colour application.
Troubleshooting Common Polish Issues
Even with the best technique, classic polish can occasionally behave unpredictably. Understanding why certain issues occur can help you correct them quickly. If you notice tiny bubbles forming under the surface, it is often a sign that the bottle was shaken too vigorously right before application. Instead of shaking the bottle up and down, roll it gently between your palms to mix the pigments without introducing air into the formula.
Another common issue is "shrinkage," where the polish seems to pull away from the edges of the nail. This usually happens when the top coat is applied to completely dry polish or if the layers were applied too quickly without allowing the solvents to flash off. Ensuring that each layer is slightly tacky but not wet, and capping the tips with every step, will keep your manicure firmly in place.
Post-Manicure Care for Lasting Beauty
Once your top coat is applied, allow your nails to cure fully. While they may feel dry to the touch within fifteen minutes, classic polish can take up to an hour to harden completely throughout all layers. Avoid hot baths, washing up, or heavy manual tasks immediately after painting to prevent dents and smudges.
To maintain that pristine, elegant finish, apply a drop of nourishing cuticle oil daily. This keeps the surrounding skin hydrated and prevents the polish from becoming brittle, ensuring your hands continue to look as though they have just stepped out of a professional, minimalist photo shoot.