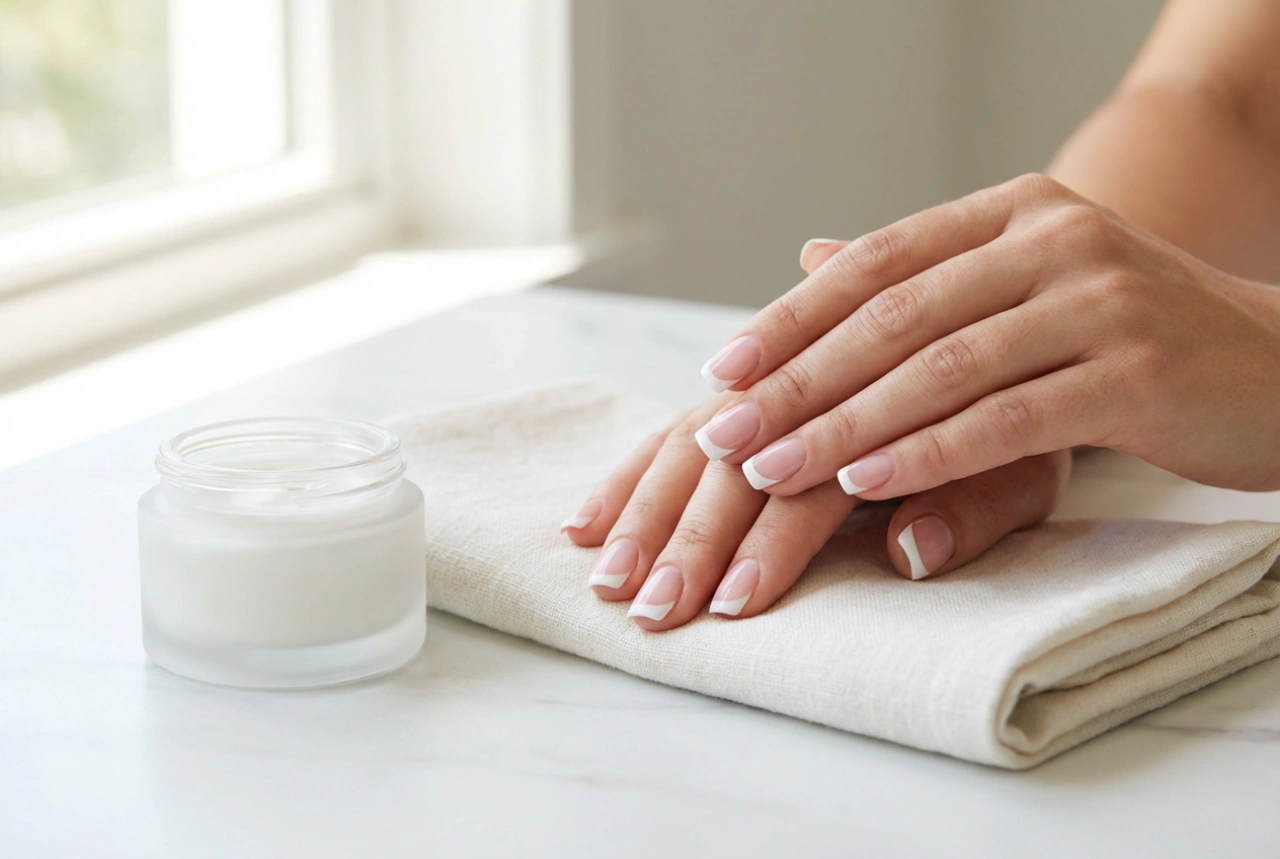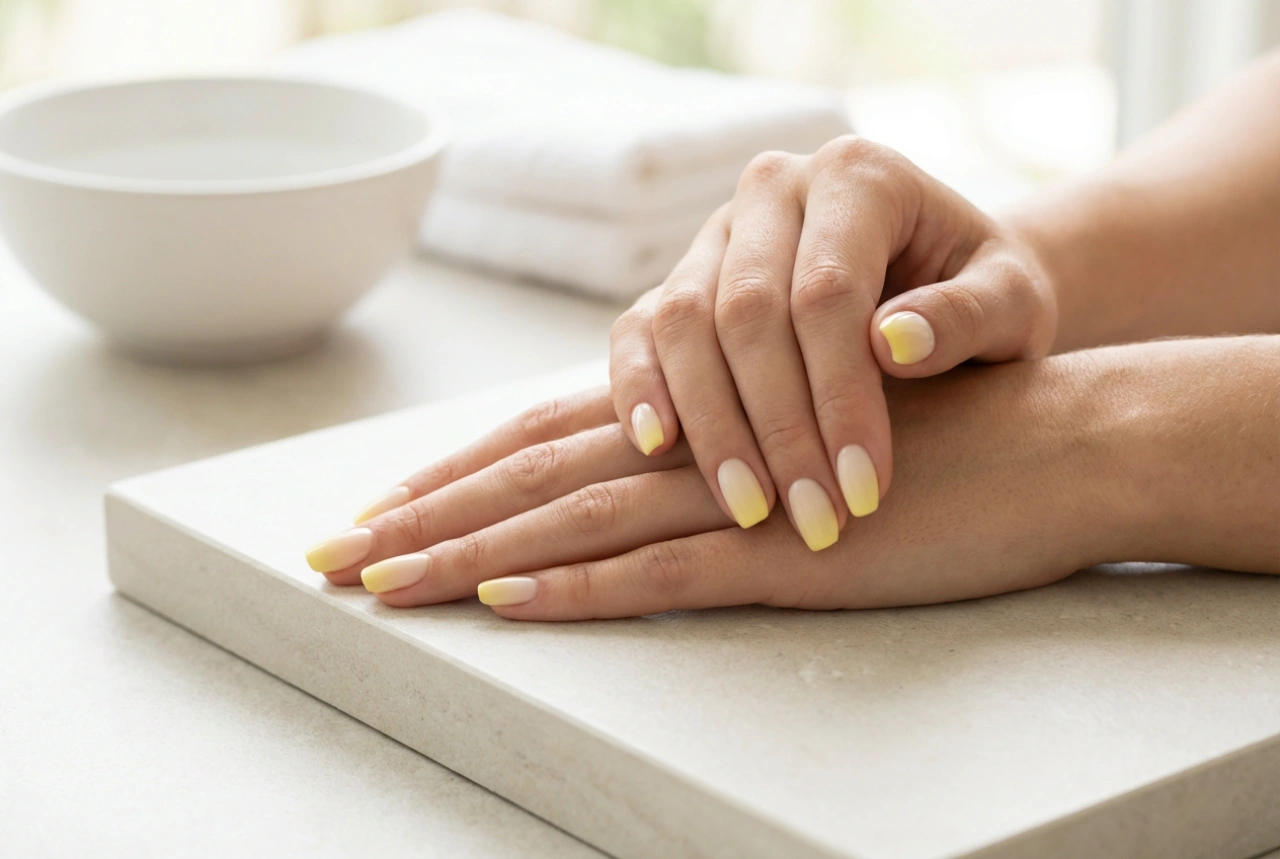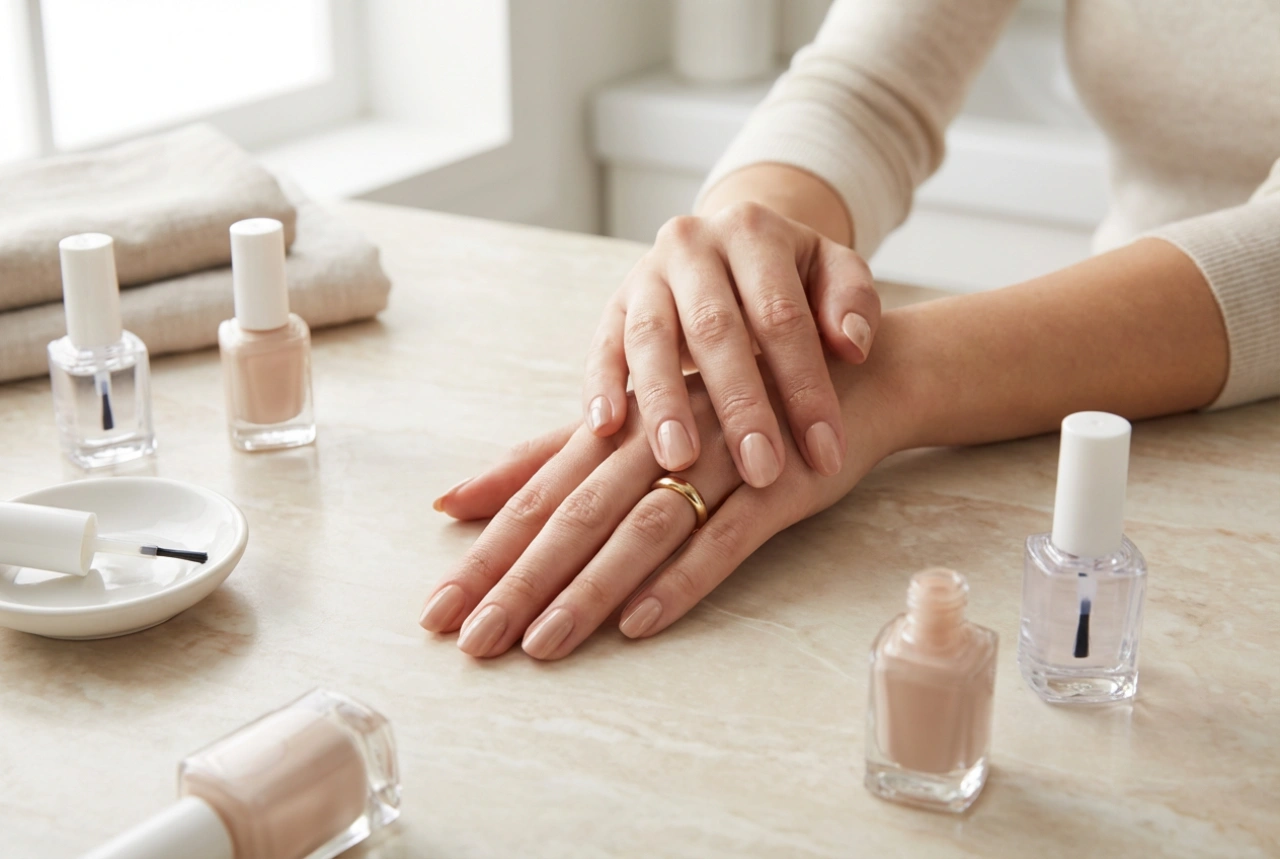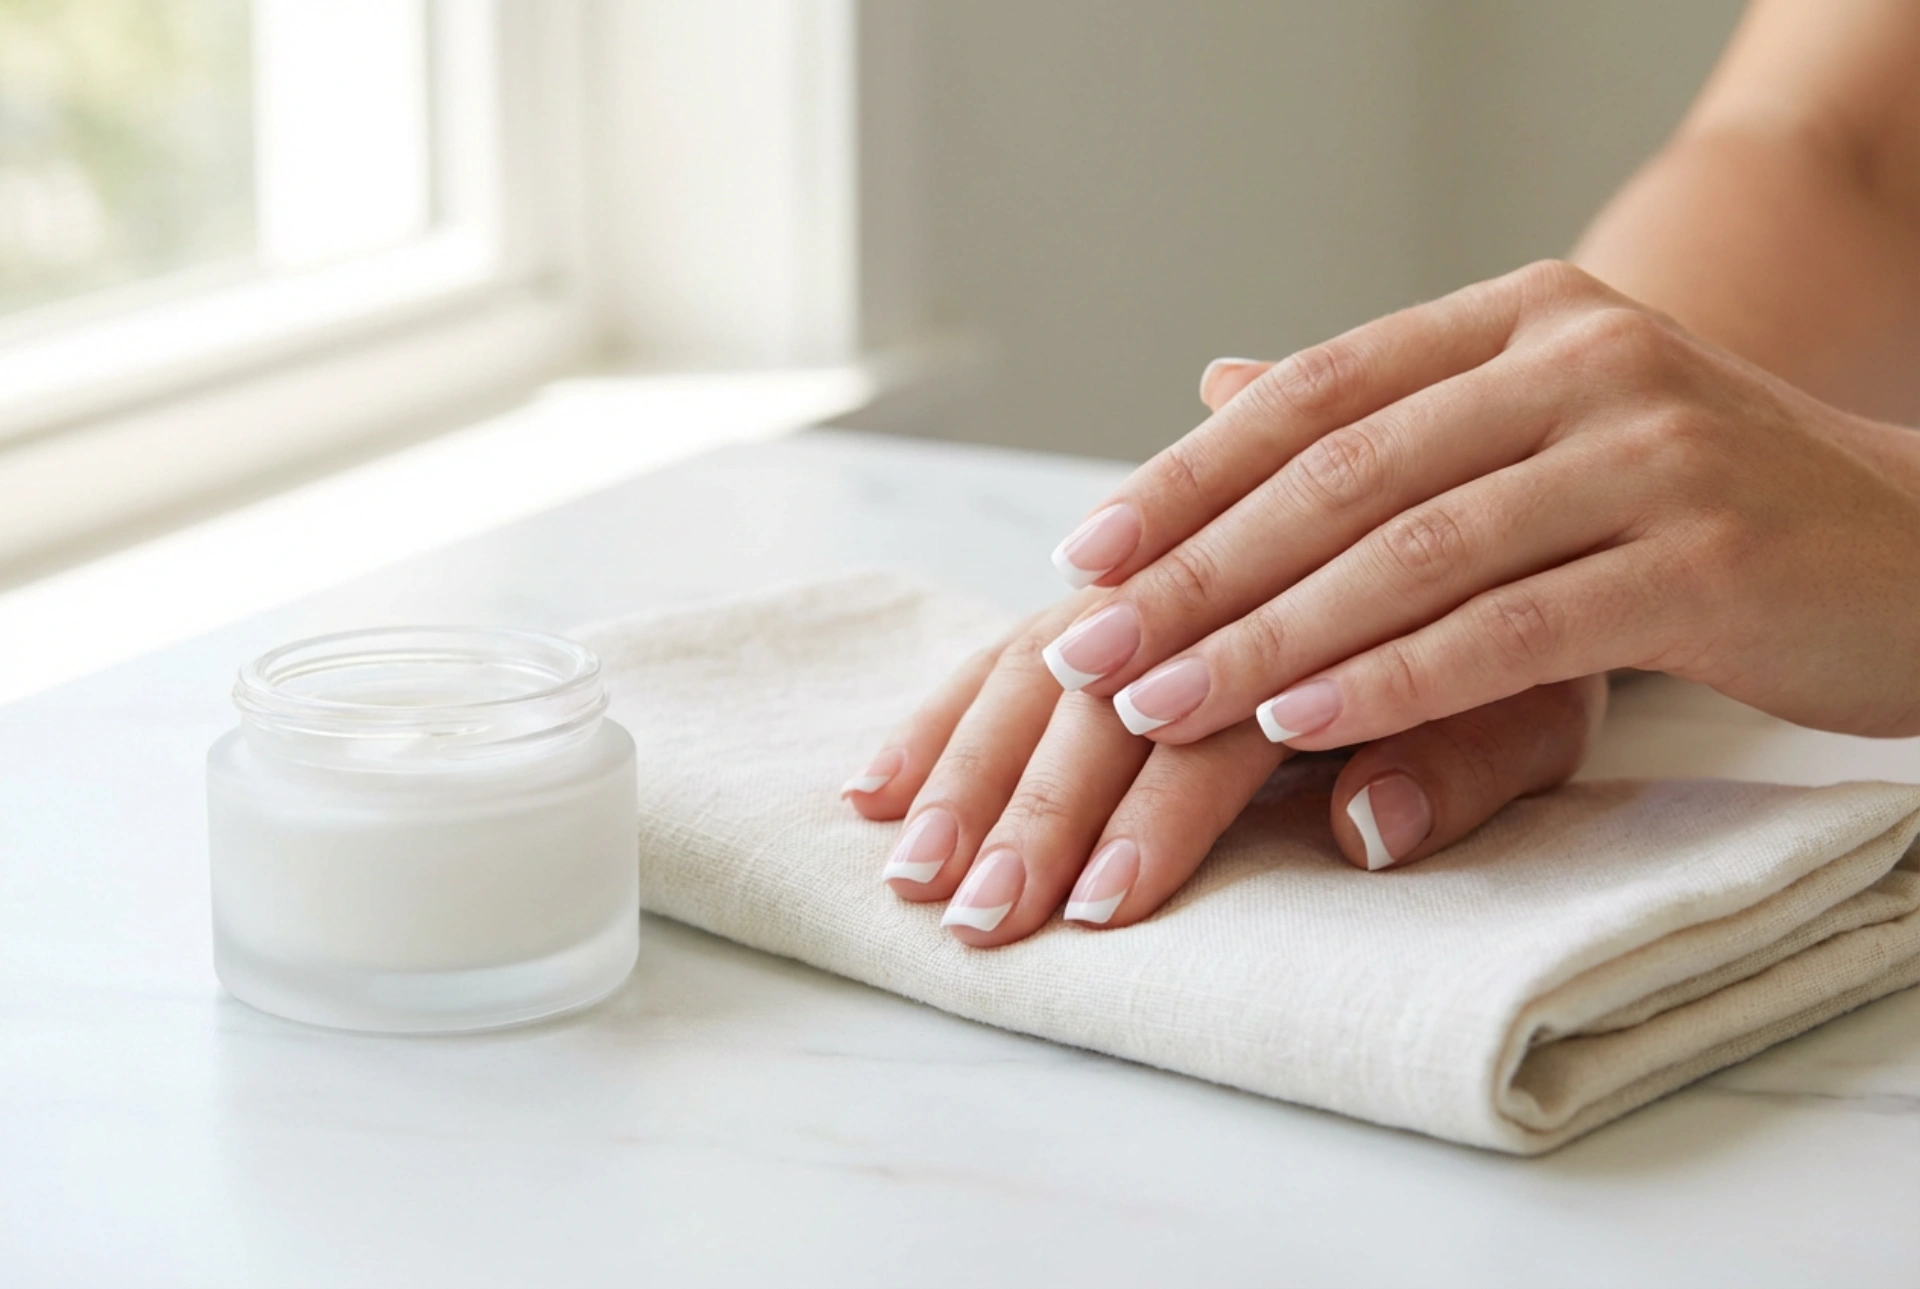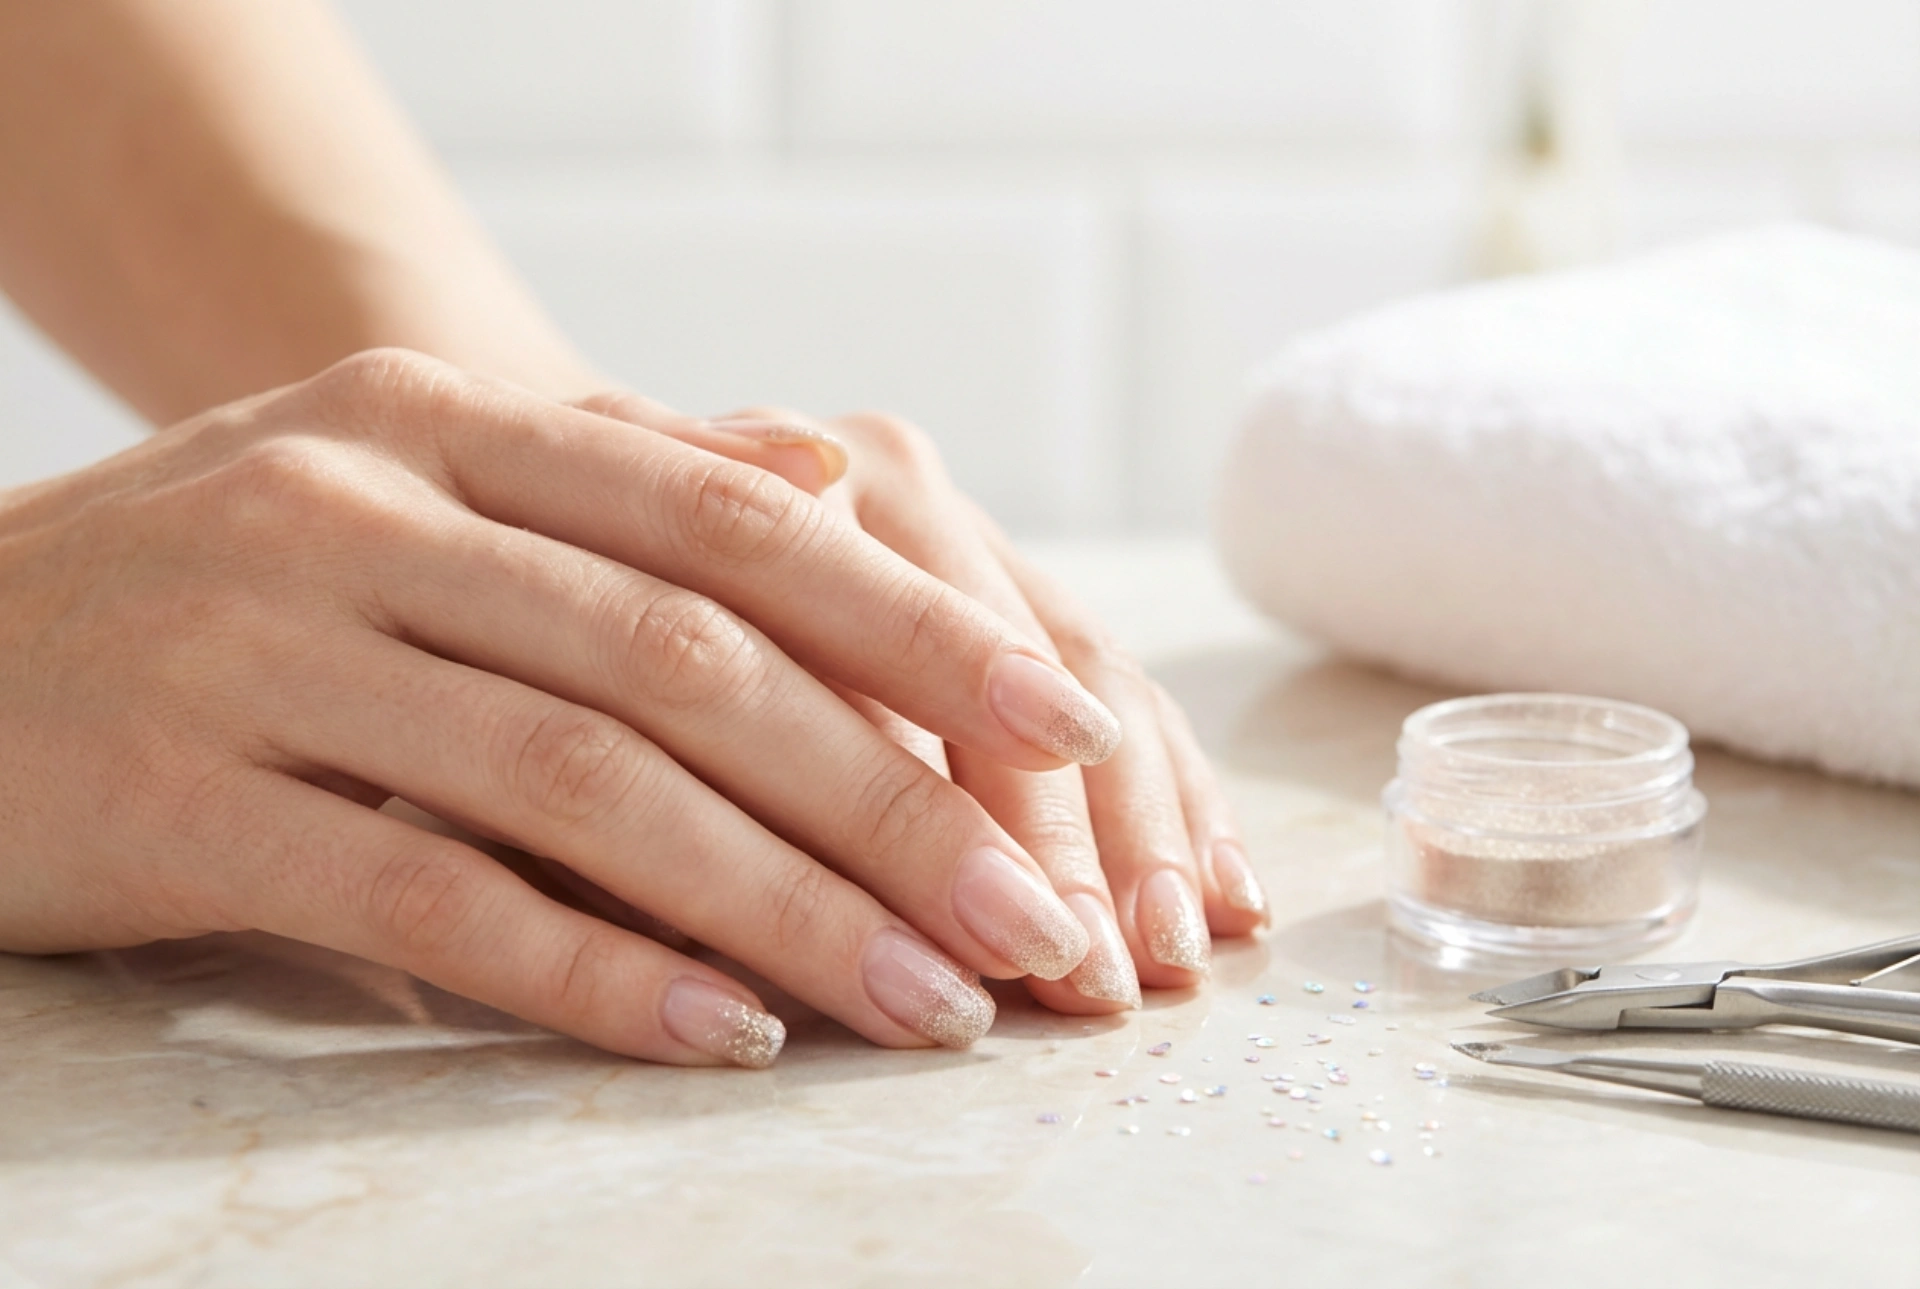


The sight of impeccably manicured hands adorned with a delicate gradient of shimmer is one of the most sophisticated styles in modern nail aesthetics. With soft, diffused light capturing the fine, iridescent particles, glitter ombre nails offer a transition from a natural, understated base to a brilliant, sparkling finish at the tips. This technique has become a staple for those seeking a balance between daily elegance and celebratory glamour. Achieving this seamless transition at home requires patience, the right approach, and an understanding of how light reflects off different textures.
The Science of the Gradient: What Makes Glitter Ombre Work?
An ombre effect, by definition, is a gradual blending of one colour hue to another, usually moving from light to dark or, in this case, from a subtle natural nail shade to a concentrated density of glitter. The key to a successful glitter ombre is avoiding a harsh, visible line where the sparkle begins. Instead, the particles should appear as if they are gently scattering downwards from the tips, slowly dispersing until they merge completely with the underlying base shade. To achieve this, nail enthusiasts often utilise different sizes of glitter dust, from ultra-fine micro-shimmer that creates a soft glow, to larger hexagonal flecks that catch the light from multiple angles.
Essential Preparation for a Flawless Canvas
Before introducing any sparkle, the foundation of the nail must be meticulously prepared. An uneven surface or neglected cuticles can detract from the elegance of the final look.
- Shaping and Filing: Gently file the nails into a cohesive shape, such as oval, almond, or soft square, which beautifully complements the lengthening effect of an ombre design.
- Surface Smoothing: Use a soft buffer to gently remove any natural oils and smooth out ridges. This ensures the base coats adhere evenly.
- Cuticle Care: Soften and gently push back the cuticles using a wooden stick. Clean borders are essential for achieving that pristine, professional appearance.
- Dehydrating the Plate: Wipe the nails with a lint-free pad soaked in a gentle dehydrating solution to remove any remaining dust or residue.
Step-by-Step: Crafting the Seamless Glitter Transition
Creating the perfect gradient requires a systematic approach. Whether you prefer a subtle whisper of shimmer or a dramatic, dense sparkle, these steps will guide you to a flawless finish.
Step 1: Applying the Base Layer
Begin by applying a high-quality protective base coat to shield the natural nail. Once dry, apply one or two thin layers of your chosen background colour. Neutral tones, such as soft beige, sheer pink, or milky white, work exceptionally well as they allow the glitter to take centre stage while maintaining a clean, classic aesthetic.
Step 2: Choosing Your Application Method
There are two primary methods for applying the glitter gradient at home:
- The Sponge Method: Apply a small amount of glitter polish onto a makeup sponge, then gently tap it onto the top third of the nail. Dab lighter strokes as you move down towards the middle of the nail to create a diffused effect.
- The Brush Method: Using a dry, soft nail art brush, pick up a small amount of loose glitter dust or glitter polish. Apply it heavily at the free edge, then gently sweep the brush downwards, pulling a few stray glitter pieces towards the cuticle area to create a natural fade.
Step 3: Building Density and Depth
To achieve depth, it is often best to work in thin, multiple layers rather than one thick layer. Apply the first layer of glitter lightly across the upper half of the nail. For the second layer, focus only on the very tips, applying a denser concentration of shimmer. This multi-tiered approach creates a beautiful three-dimensional effect.
Step 4: Sealing and Levelling
Glitter can often leave a textured, slightly rough surface. To restore a glossy, smooth finish, apply a generous layer of a self-levelling top coat. This not only protects the design from chipping but also encapsulates the glitter, giving it a glassy lustre and making the gradient transition look completely seamless.
Practical Tips for a Pristine Finish
Achieving a professional-looking manicure at home lies in the details. Keep these practical tips in mind during your next session:
- Work with Thin Layers: Thick coats of polish are prone to bubbling and peeling. It is always better to build up opacity slowly.
- Cap the Free Edge: When applying the top coat, always run the brush along the very edge of the nail tip. This seals the glitter in and prevents lifting.
- Clean up the Borders: Keep a small, flat brush dipped in gentle remover nearby to instantly clean up any stray glitter or polish that touches the surrounding skin.
- Allow Adequate Drying Time: Because glitter manicures involve multiple layers, patience is required between steps to ensure each layer sets properly before the next application.