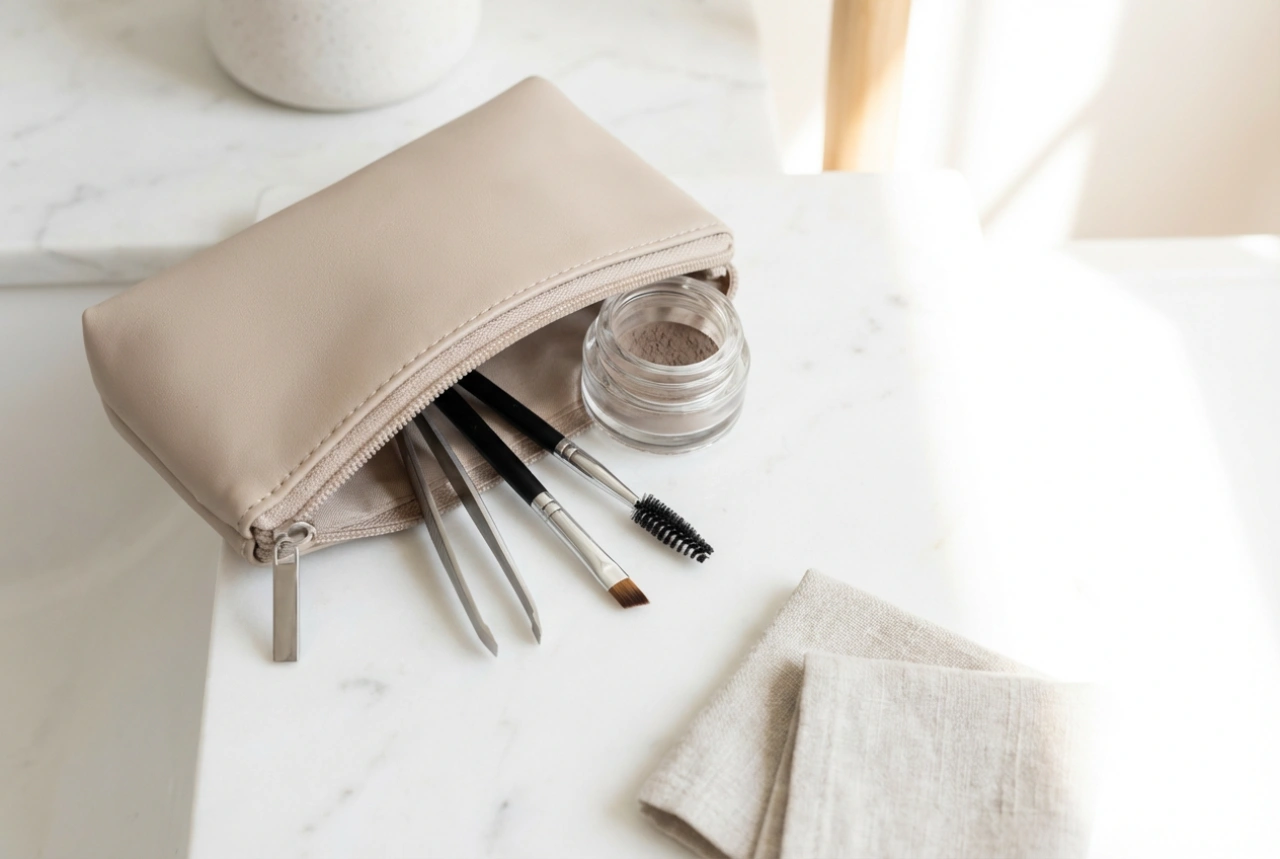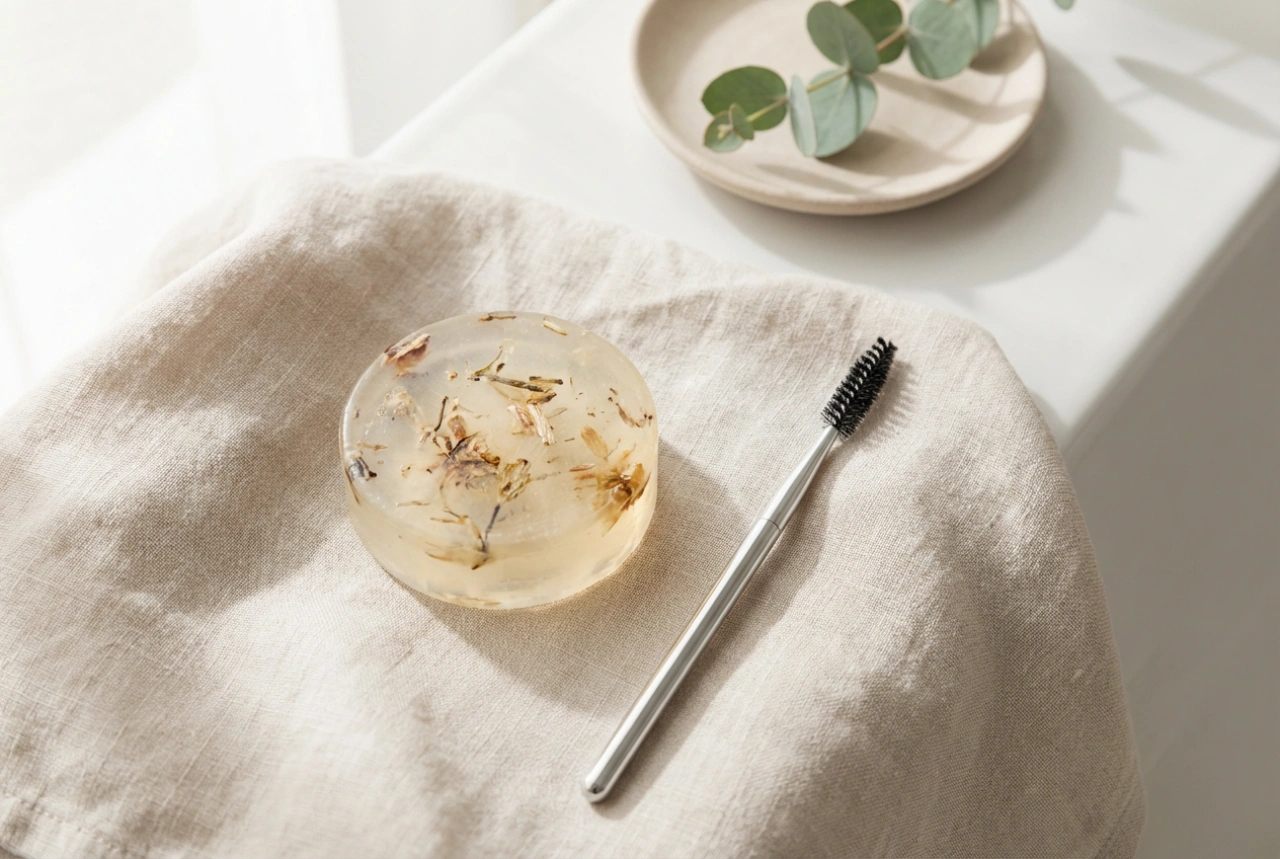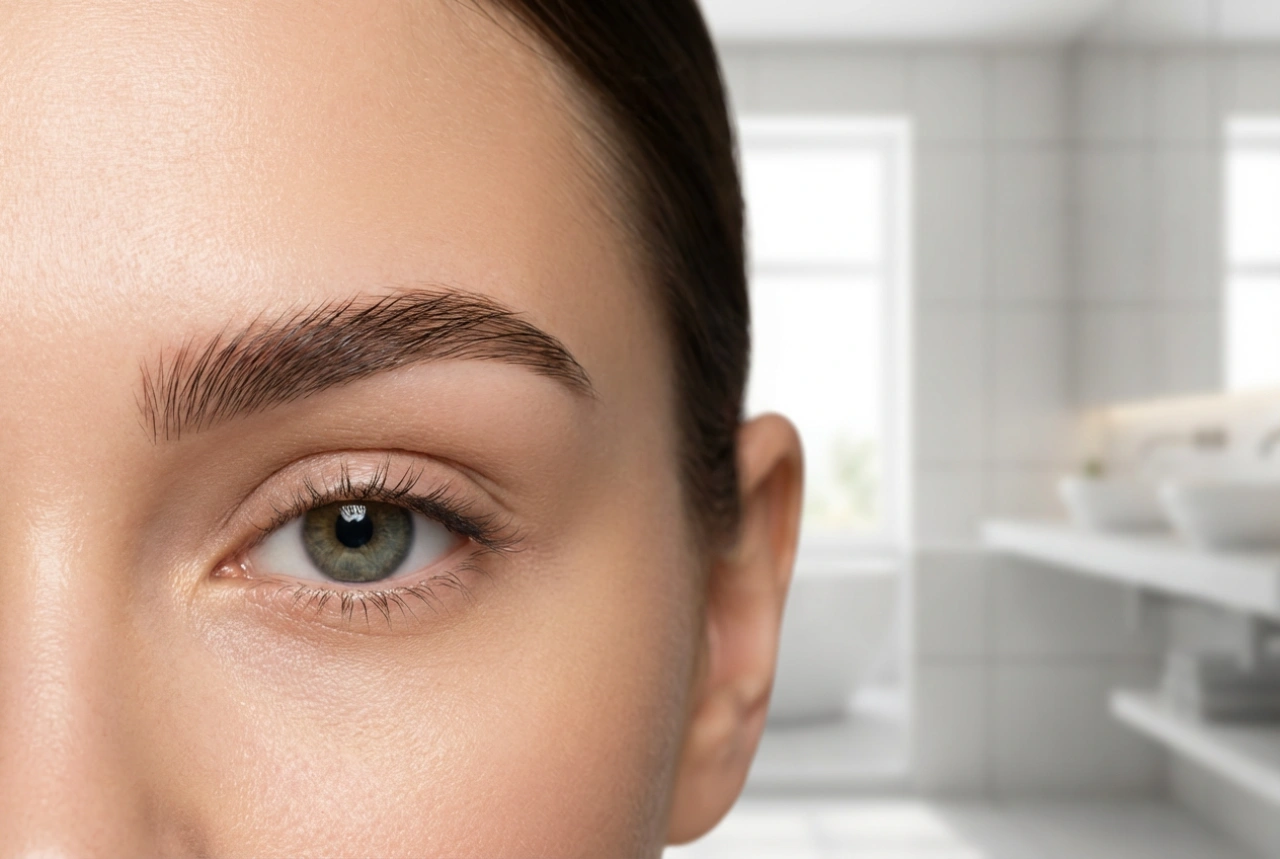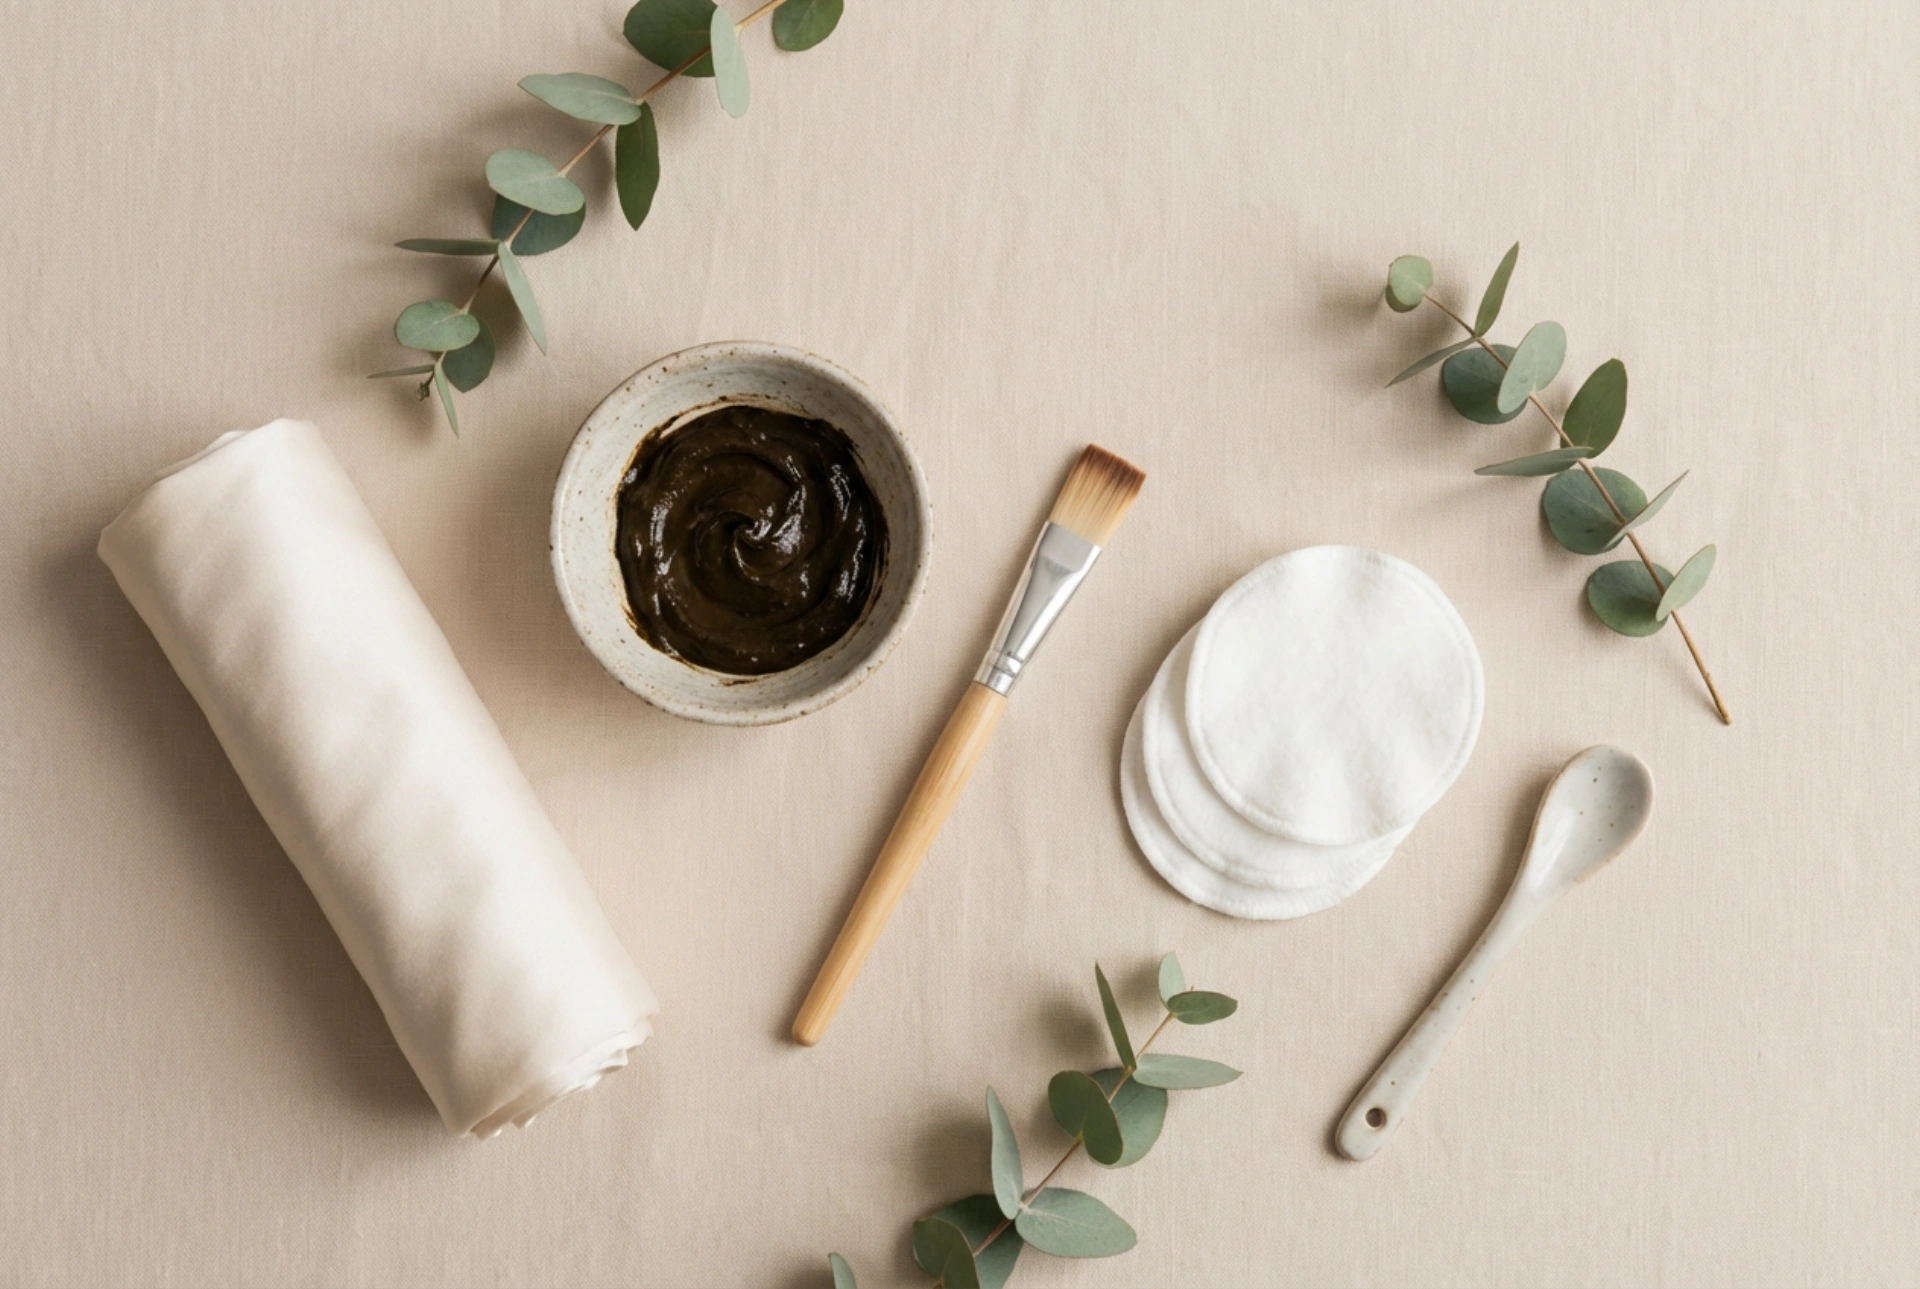


Creating a perfect brow look at home can be a soothing and deeply satisfying beauty ritual. With minimalist brow beauty essentials—such as a small mixing bowl, a delicate application brush, and clean cotton pads neatly arranged on a neutral surface—you can easily recreate a professional experience in the comfort of your own home. Using henna to tint brows is an excellent, semi-permanent way to define your facial features, fill in sparse areas, and enjoy beautifully styled brows without the need for daily makeup application. Let's explore how to prepare and apply brow henna safely and effectively.
Understanding Brow Henna and Selecting the Right Shade
Brow henna is a natural dye derived from the Lawsonia inermis plant, which has been used for centuries to colour hair and skin. Unlike traditional synthetic eyebrow tints, henna coats the hair shaft and gently stains the skin underneath, creating a fuller, more structured appearance. It is an ideal solution for those who want to define their brows naturally while avoiding invasive cosmetic procedures. When choosing a shade, it is always best to opt for a colour that matches your natural hair undertones. A neutral dark brown or soft taupe works wonderfully for most, but you can also mix different shades to find your custom match.
Essential Preparation: Creating the Perfect Canvas
The secret to a flawless and long-lasting henna application lies in the preparation of the skin. If the brow area is not properly prepared, the henna may not take evenly, resulting in a patchy finish.
- Gentle Cleansing: Begin by removing all makeup and oils from your face. Use an oil-free cleanser to ensure that no barrier remains on the skin.
- Light Exfoliation: Gently exfoliate the brow area with a mild face scrub or a soft damp cotton pad. This removes dead skin cells, allowing the henna to stain the skin more uniformly.
- Degreasing the Skin: Wipe the eyebrows with a saline solution or a special brow primer to remove any remaining sebum.
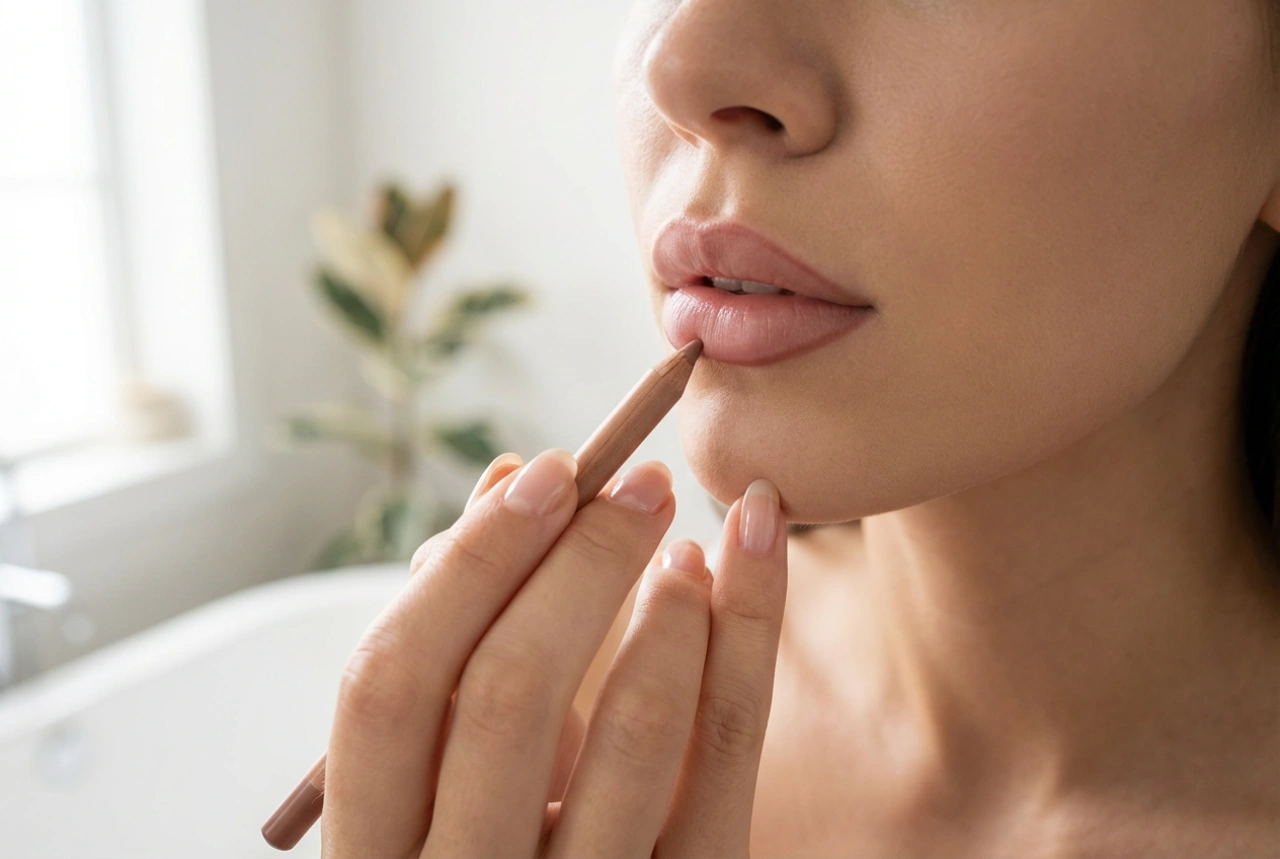
- Mapping the Brows: Use a white cosmetic pencil to outline the desired shape of your brows. This acts as a protective barrier and ensures you apply the paste precisely within the lines.
Step-by-Step Henna Application
Once your brow canvas is clean and mapped, it is time to prepare the henna paste and begin the application. Precision and patience are key during this stage of the beauty ritual.
- Mixing the Henna: In a small glass or ceramic mixing bowl, combine the henna powder with a few drops of mineral water or a dedicated activator. Mix thoroughly using a small plastic spatula or brush until you achieve a smooth, paste-like consistency, similar to thick sour cream. Let it sit for a couple of minutes to activate.
- First Layer Application: Dip a delicate, angled brush into the paste. Start applying the henna from the tail of the brow, working your way towards the front. The tail requires the deepest colour deposit, so it should be processed first. Press the henna firmly into the skin to ensure it reaches the base of the hairs.
- Creating a Gradient Effect: To achieve a natural, modern look, apply less product to the front of the brow. The inner corners should have a softer, lighter transition.
- Clean Up: If you make any mistakes or apply the henna outside your mapped boundary, immediately clean the edges using a damp cotton bud or cotton pad.
- Processing Time: Allow the henna to dry completely. This usually takes between 15 to 25 minutes, depending on the desired intensity of the colour.
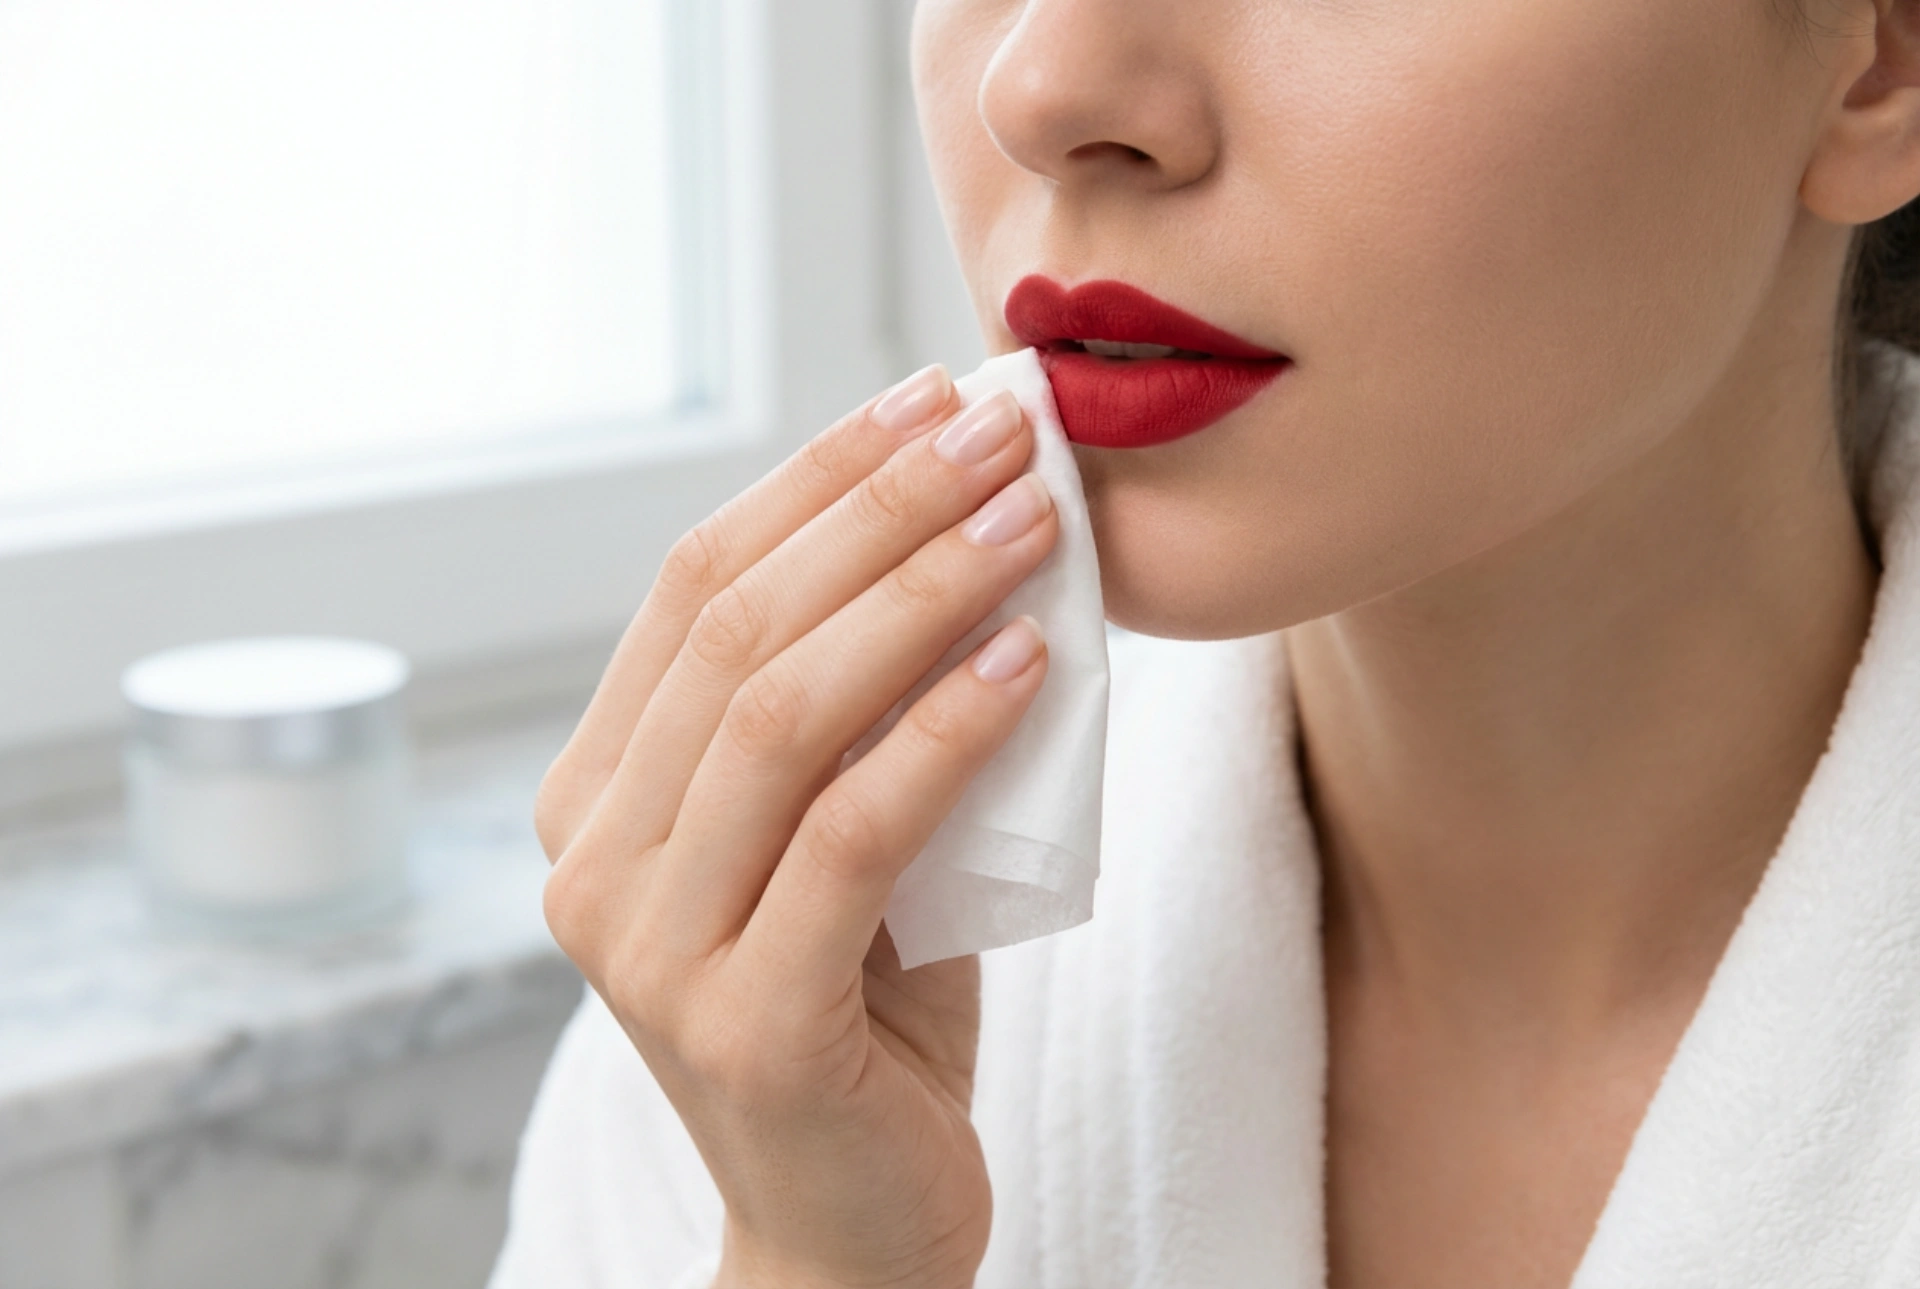
- Removal: Once the processing time is complete, moisten a clean cotton pad with lukewarm water. Gently press it against the brow to soften the dried paste, then wipe it away smoothly without rubbing aggressively.
Simple Aftercare Rules for Beautiful Brows
To extend the life of your brow henna and maintain that fresh, defined look, you must follow basic aftercare steps. For the first 24 hours after application, avoid getting your brows wet. This means steering clear of heavy workouts, steam rooms, and direct shower spray. Avoid using harsh chemical exfoliants, oil-based cleansers, or retinol products directly on the brow area, as these can accelerate the fading of the stain on the skin. Moisturising the surrounding skin gently will keep the area healthy and glowing, ensuring your beautiful DIY brow tint remains radiant for weeks.