

A classic red manicure is the epitome of elegance and sophistication, offering a timeless look that complements any style. Achieving a flawless, glossy finish that lasts for weeks requires a meticulous beauty ritual, reminiscent of professional care but easily replicable at home. From the careful preparation of the nail plate to the precise application of the vibrant pigment under a dedicated lamp, every step plays a crucial role. This guide explores the essential techniques for preparing, applying, and curing red gel polish to ensure a salon-quality result with exceptional shine and durability. By mastering these fundamental stages, you can enjoy a perfect, chip-resistant manicure that elevates your everyday look.
Nail Plate Preparation: The Foundation of Longevity
The longevity and appearance of a gel manicure depend heavily on how well the natural nail is prepared beforehand. Any leftover oils, moisture, or dust can prevent the gel polish from adhering correctly, leading to premature lifting or chipping. Therefore, taking your time during this initial stage is key to a successful manicure.
Begin by shaping the nails with a fine-grit file, working in one direction to prevent splitting. Next, gently push back the cuticles using a wooden stick or a dedicated pusher. It is important to remove any non-living tissue from the nail plate, as this is a common cause of lifting. Once the cuticles are tidy, use a soft buffer block to gently remove the natural shine from the nail surface. This process should be light and delicate; the goal is simply to create a slightly textured surface for the base coat to grip onto, not to thin the nail plate. Finally, wipe the nails thoroughly with a dehydrating cleanser to remove all traces of dust and natural oils. This leaves the nail clean and primed.
Applying the Base Coat and Red Gel Polish
Once the nails are thoroughly cleaned and dry, the application process can begin. The first step is applying a thin, even layer of base coat. The base coat acts as a protective barrier for the natural nail and provides a smooth surface for the colour. When applying the base coat, remember to seal the free edge of the nail—this involves running the brush lightly along the very tip of the nail to lock the product in. Cure the base coat according to your lamp's instructions.
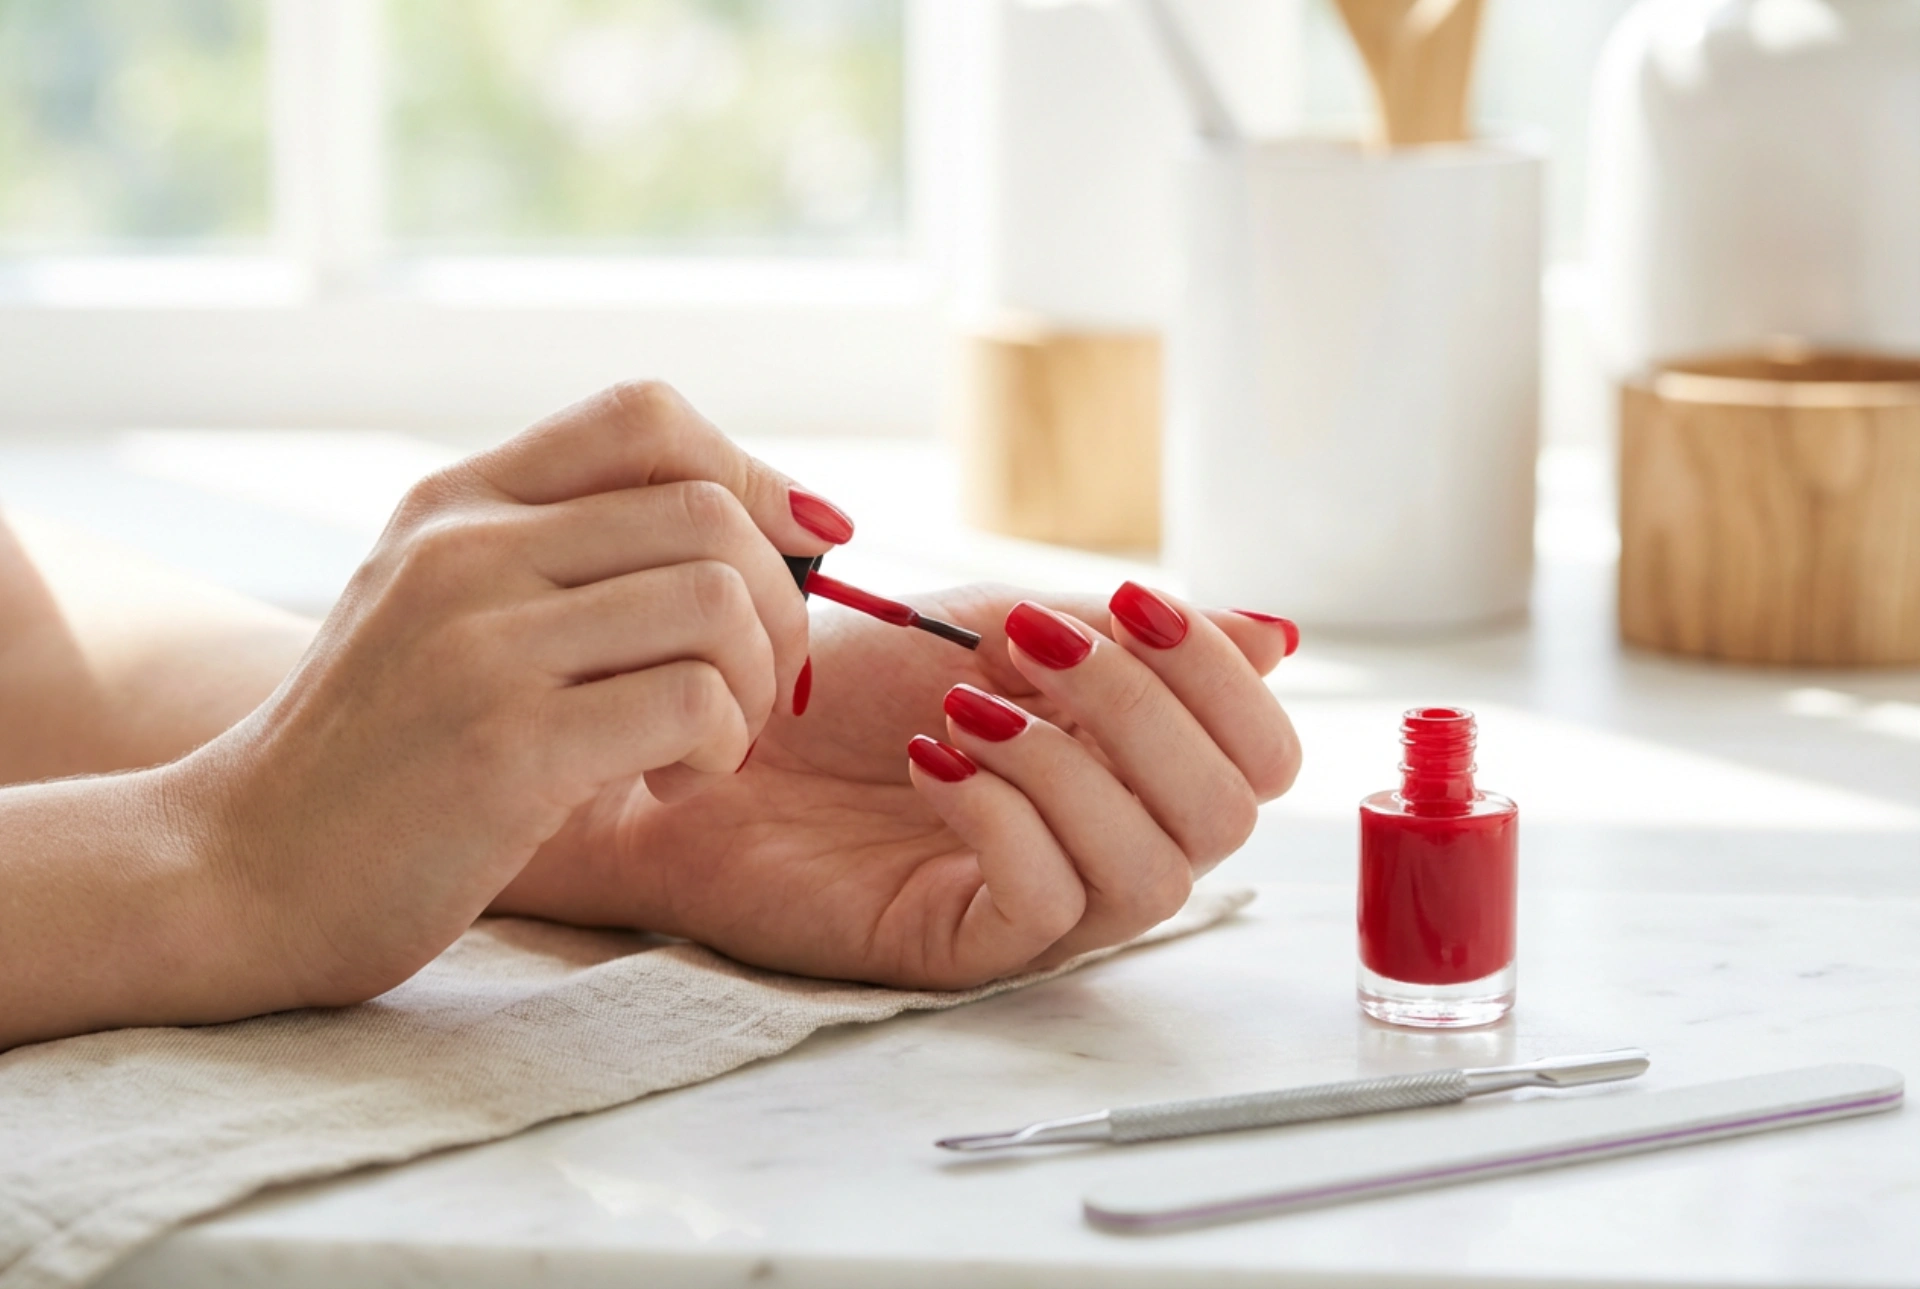
Next comes the application of the vibrant red gel polish. Red is a highly pigmented colour, which means it requires careful, thin applications to cure properly. Applying layers that are too thick can cause the gel to wrinkle under the lamp or lift prematurely. Wipe excess product off the brush before bringing it to the nail. Start near the cuticle area without touching the skin, and sweep the brush down towards the tip in three smooth strokes: one down the centre, and one on each side. Always seal the free edge with each layer of colour. Apply two thin coats of red gel polish, curing each layer individually to build up a deep, even, and rich colour density.
The Curing Process: Timing and Lamp Care
Proper curing is essential for the chemical transformation that turns liquid gel polish into a hard, durable coating. This process requires a compatible UV or LED lamp, which emits specific wavelengths of light to activate the photoinitiators in the gel. The curing time varies depending on the type of lamp you use, so it is vital to follow the general guidelines for your specific device.
Understanding Lamp Types and Curing Times
- LED Lamps: These are highly efficient and generally cure gel polish layers in 30 to 60 seconds. They are the preferred choice for modern home manicures due to their speed.
- UV Lamps: Older technology that typically requires 2 minutes per layer. They require regular bulb replacements to maintain their curing efficiency.
To ensure a perfect cure, place your hand flat inside the lamp, making sure all fingers, especially the thumbs, receive direct light. Avoid moving your hand during the curing cycle. Incomplete curing can leave the polish soft underneath, which not only ruins the manicure but can also lead to skin sensitivity over time.
Finishing Touches for a High-Gloss Result
To protect your vibrant red manicure and give it a mirror-like shine, the application of a top coat is indispensable. The top coat seals the colour layers, protects the manicure from scratches, and adds that characteristic glossy finish that makes gel manicures so appealing. Apply the top coat in a thin, even layer, making sure to seal the free edge once again, and cure it thoroughly under the lamp.
After the final cure, most traditional top coats will leave a sticky, tacky residue on the surface, known as the inhibition layer. This is completely normal. Simply take a lint-free wipe saturated with a gentle cleanser and wipe over the nails to reveal the ultra-shiny, dry surface beneath. If you are using a non-wipe top coat, this step is not necessary. To complete the beauty ritual, apply a drop of nourishing cuticle oil to the skin surrounding the nails and gently massage it in. This restores hydration and leaves your hands looking beautifully groomed and professionally finished.