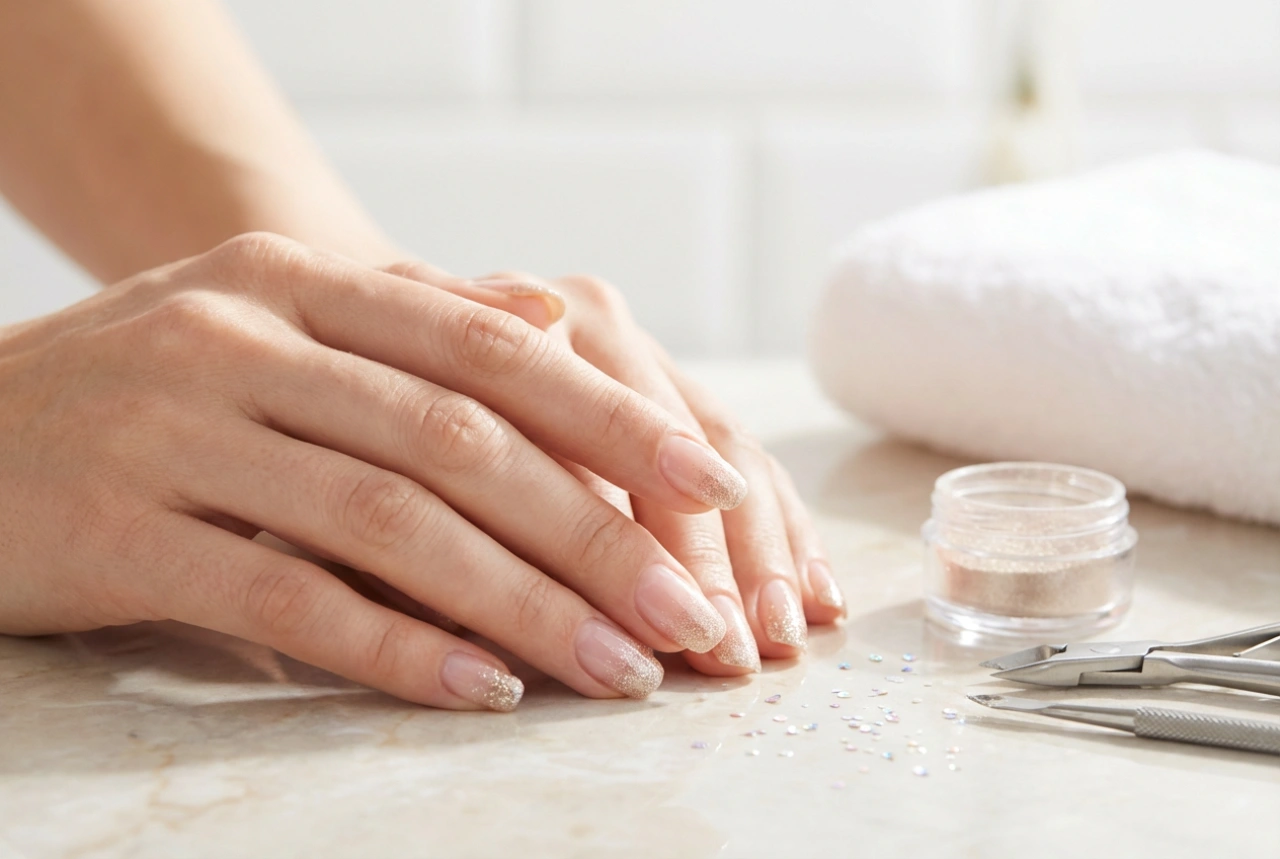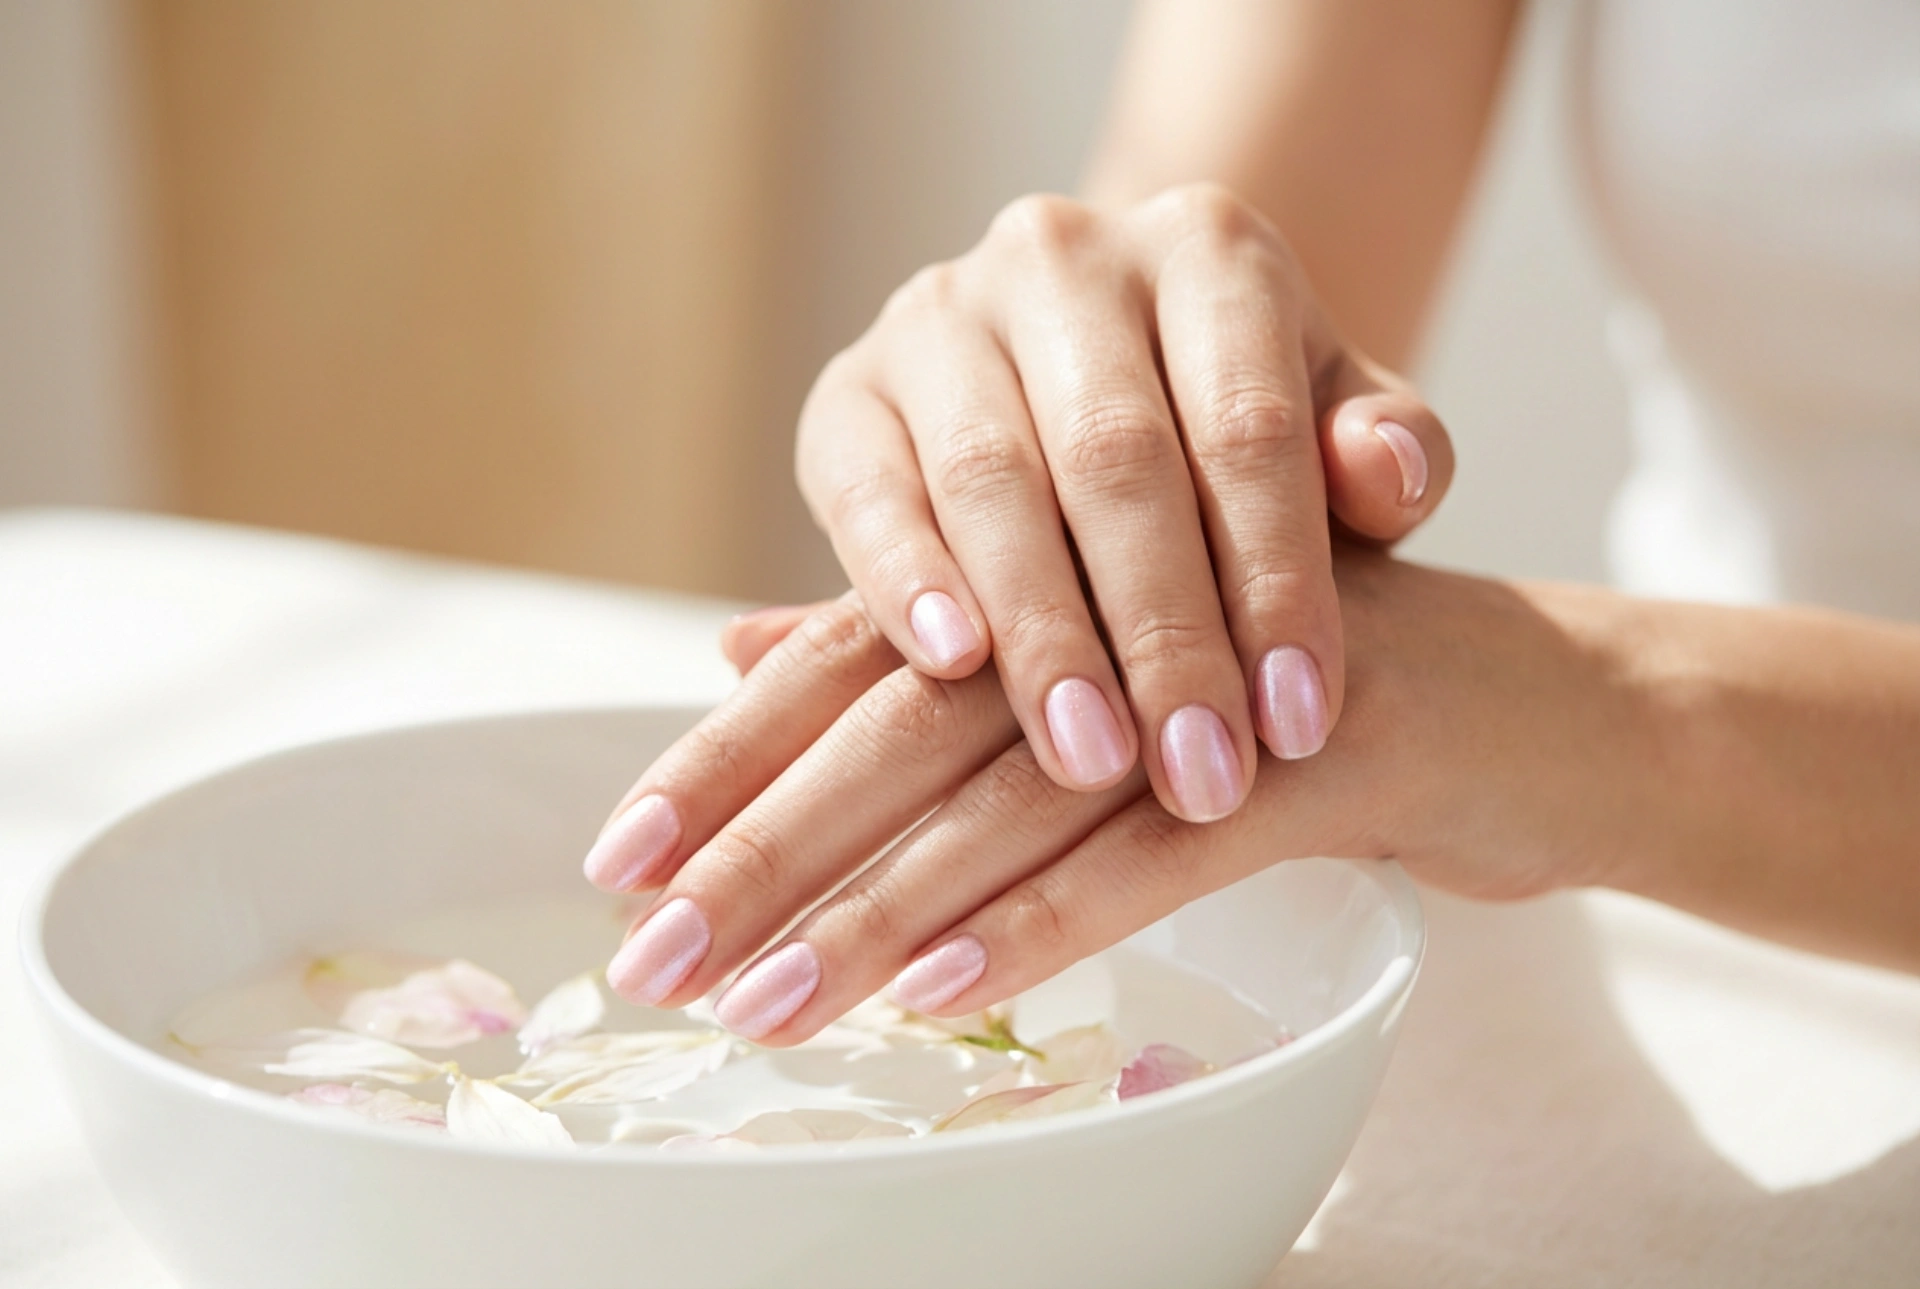


Beautifully manicured hands are a universal symbol of elegance and self-care. Among the endless options for nail styling, soft pink nails with an iridescent shimmer remain a classic yet modern choice. This delicate style, which captures the light to reveal subtle colour shifts, relies on the artful application of fine nail shimmer dust – often referred to as nail pollen. The result is an ethereal, sophisticated finish that elevates any look. Whether you are preparing for a special occasion or simply want an everyday manicure that exudes refined glamour, mastering this technique at home is both rewarding and surprisingly straightforward.
Preparing the Perfect Canvas for Your Manicure
To achieve a professional, long-lasting finish, the preparation of the natural nail is paramount. Even the most stunning shimmer dust will not look its best if the underlying nail plate is uneven or improperly prepared. Begin by gently filing your nails into your preferred shape. A soft oval or a gentle squoval shape works exceptionally well with delicate pink hues, enhancing the natural elongation of your fingers.
- Softly push back cuticles: Use a wooden cuticle stick or a gentle cuticle remover. Avoid cutting the cuticles excessively, as they protect the nail matrix from impurities.
- Buff the nail surface: Use a high-grit buffer to gently remove the natural shine from the nail plate. This creates a micro-textured surface that helps the base coat adhere securely.
- Dehydrate the nail: Wipe each nail with a lint-free pad soaked in a gentle dehydrator or isopropyl alcohol to remove any residual dust, oils, or moisture.
Selecting the Ideal Pink Base
The secret to the perfect shimmering nail lies in the harmony between the base colour and the translucent dust applied over it. Soft, milky pinks, sheer pastels, and delicate blush tones serve as the perfect backdrop. A sheer pink allows the natural beauty of the nail bed to peek through, creating an organic, healthy appearance. Alternatively, an opaque pastel pink provides a more structured, modern look that makes the shimmer pop more intensely.
When choosing your base colour, consider your skin undertone. Cool undertones look beautiful with blue-toned pinks or soft mauves, while warm undertones are complemented by peach-infused pinks or warm salmon tones. Neutral skin tones can comfortably wear almost any pink shade. The key is to apply the base colour in thin, even layers to prevent any pooling at the edges, ensuring a smooth, level surface for the shimmer application.
Step-by-Step Application of Nail Shimmer Dust
Applying shimmer dust requires a delicate touch and a bit of patience. The process varies slightly depending on whether you are using classic air-drying polishes or UV/LED gel systems, but the principle of creating a smooth surface remains the same. Here is how to achieve that flawless, light-catching finish:
Applying the Base and Colour
First, apply a high-quality base coat to protect your natural nails and promote adhesion. Once dry or cured, apply two thin layers of your selected pink polish. Each layer must be thoroughly dried or cured to ensure stability. If using gel polish, ensure you cure each layer according to the manufacturer's guidelines, keeping the layers as thin as possible to avoid bulkiness.
Applying the Shimmer Dust
If you are using a gel system, you will need a non-wipe top coat cured for a slightly shorter time than usual (often 20 to 30 seconds) so it remains receptive to the dust. If using traditional polish, wait until it is almost dry but still slightly tacky to the touch.
- Use a sponge applicator: A clean eyeshadow sponge or a silicone tool is ideal for picking up a small amount of the shimmer powder.
- Gently buff the powder: Starting from the cuticle area and moving towards the free edge, gently rub the shimmer dust onto the nail surface in circular and sweeping motions. You will see the iridescent effect appear instantly.
- Remove excess powder: Use a very soft, fluffy brush to gently sweep away any loose shimmer particles from the surrounding skin and the nail surface. This prevents specks of glitter from ruining the final glossy finish.
Securing the Sparkle for a Long-Lasting Finish
The longevity of your shimmering pink manicure depends almost entirely on how well you seal the dust. Without a proper sealing layer, the delicate shimmer can wear off or lose its lustre within a few days. To prevent this, a dedicated top coat must be applied with care.
Apply a generous layer of top coat over the shimmer, ensuring you completely cover the entire nail plate. It is crucial to 'cap' the free edge – this means sweeping the brush along the very tip of your nail to seal the edges completely. This simple step prevents water and dirt from getting under the polish, which is the primary cause of premature peeling and chipping. For ultimate durability, a second layer of top coat can be applied once the first has fully cured or dried.
Essential Aftercare for Radiant Hands and Nails
Once your manicure is complete, maintaining the health of your hands and cuticles will keep the look fresh and sophisticated for weeks. The skin surrounding your nails frames your manicure, so keeping it hydrated is essential.
- Apply cuticle oil daily: Massage a drop of nourishing oil, such as sweet almond or jojoba oil, into your cuticles every evening. This keeps the skin soft and prevents painful hangnails.
- Moisturise your hands: Use a rich hand cream regularly, especially after washing your hands, to maintain skin elasticity and softness.
- Protect your hands: Wear protective gloves when performing household chores, washing dishes, or working in the garden to shield your nails from harsh chemicals and excess moisture.