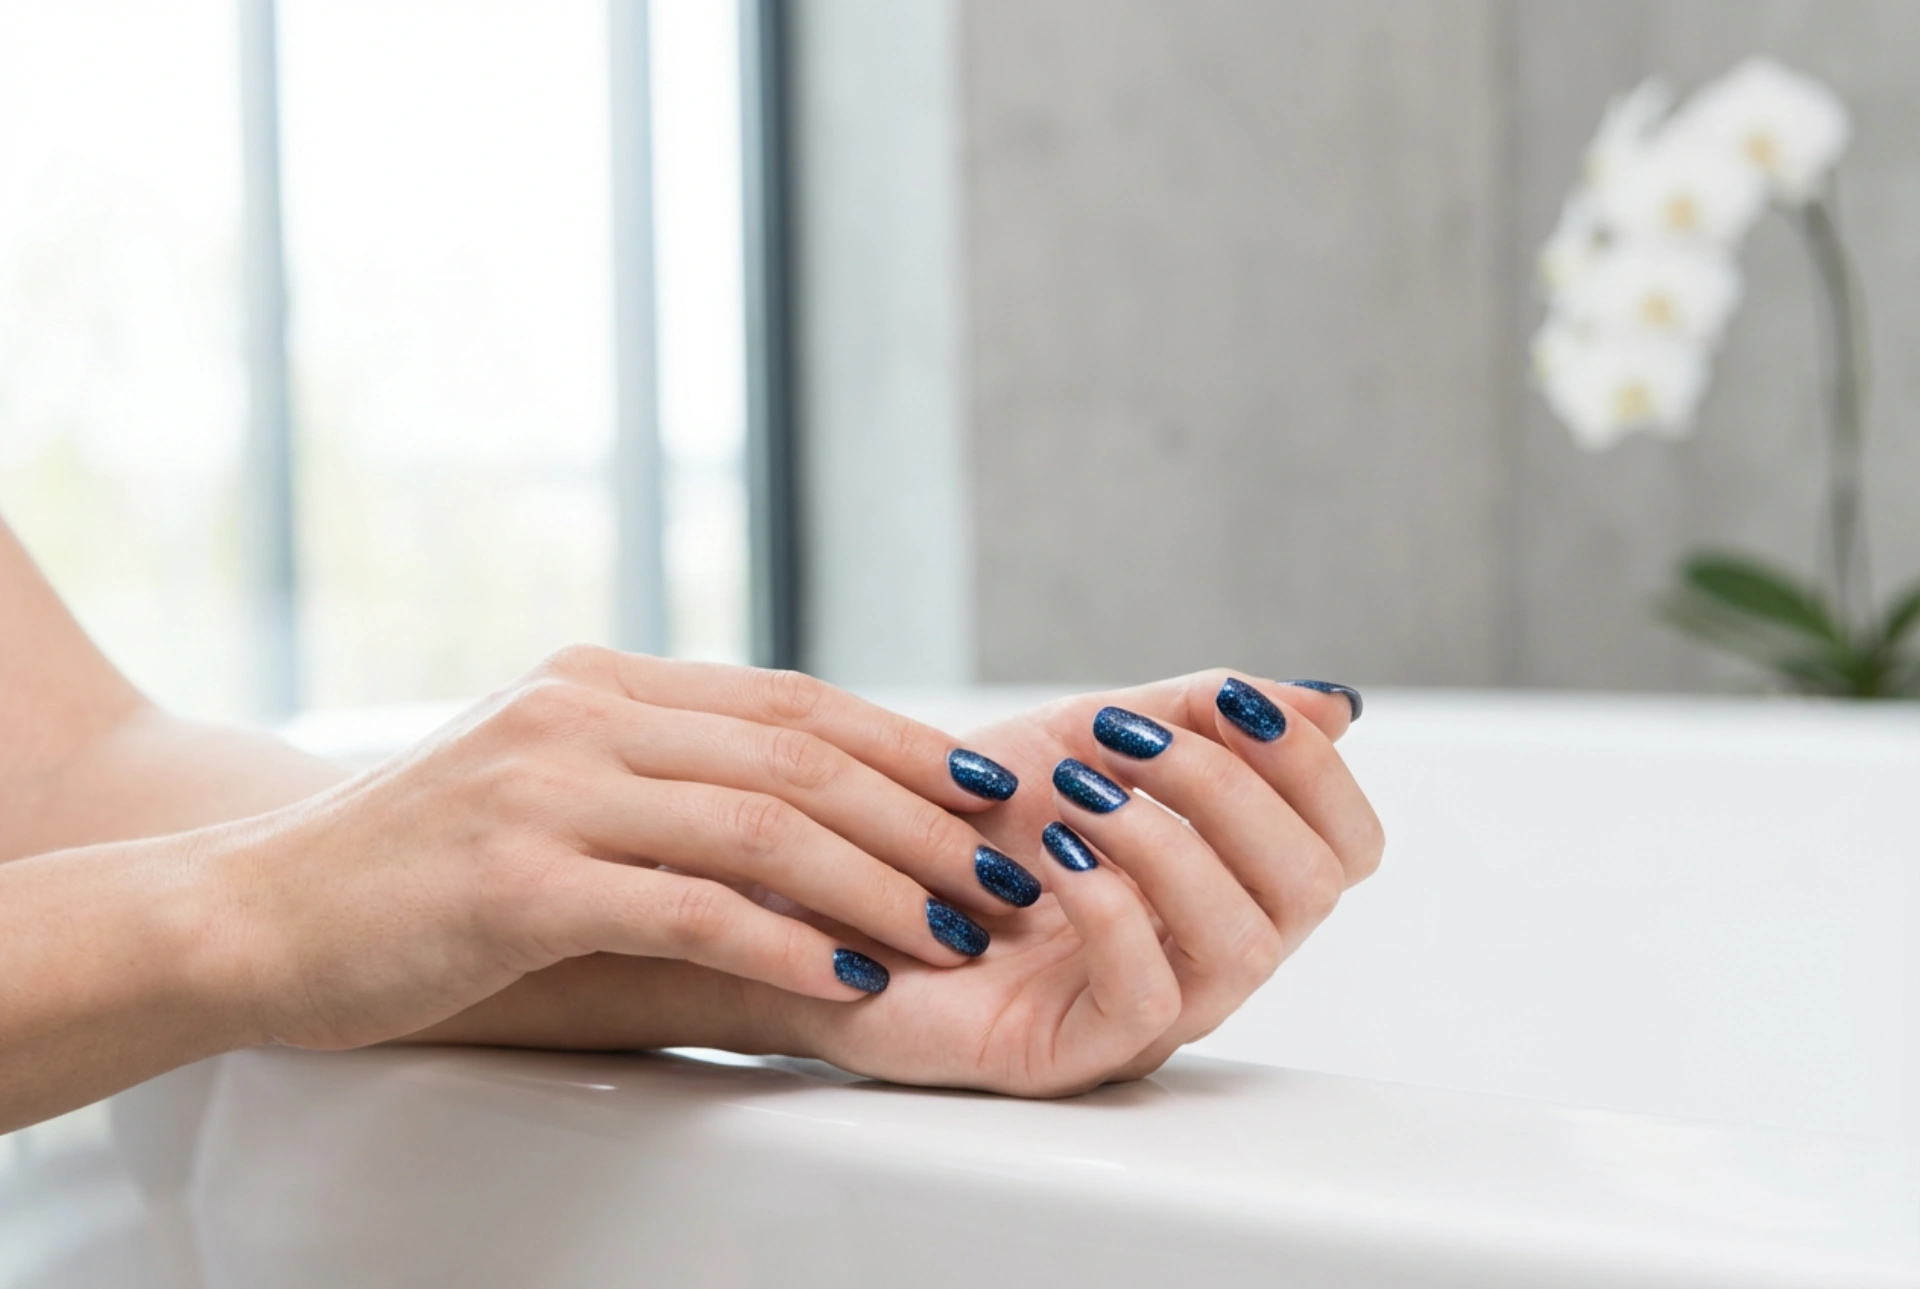


Achieving a sophisticated, multi-tonal blue glitter manicure requires a blend of complementary shades and precise application techniques. A flawless, uniform shimmer reflects light gracefully, transforming simple nails into an elegant statement. When captured in soft, natural light, a well-executed glitter design showcases a smooth, reflective surface that exudes refinement. Understanding how to harmonise different depths of blue and master the application process is the key to creating a professional-looking finish at home.
Selecting the Perfect Palette of Blue Shades
The beauty of a multi-tonal glitter manicure lies in its depth. Instead of using a single shade of blue, combining different tones creates a captivating, multidimensional effect. Selecting the right combination of blues ensures that the manicure looks sophisticated rather than overwhelming.
Deep Navies and Midnight Blues
Darker blues serve as an excellent foundation for any glitter manicure. Deep navy or midnight blue provides a rich, contrasting backdrop that makes lighter glitter particles pop. Using a dark base coat allows you to use fewer layers of glitter while still achieving full, opaque coverage. This base shade adds depth and mimics the beauty of a clear night sky, making it a timeless choice for elegant evening looks.
Vibrant Royal and Cobalt Blues
For those seeking a more striking and energetic appearance, royal and cobalt blues are ideal. These medium-toned, highly saturated shades carry a luminous quality. When paired with silver, turquoise, or holographic glitter, royal blue creates a dynamic play of light that shifts beautifully with movement. This shade works exceptionally well for classic, eye-catching nail designs.
Pastel Blues and Soft Aquas
At the lighter end of the spectrum, pastel and baby blues offer a delicate and airy aesthetic. When combined with fine, iridescent glitter, these soft hues create a subtle, pearl-like shimmer. Lighter shades are perfect for daytime wear or professional settings where a touch of elegance is desired without being overly dramatic.
Techniques for Applying Glitter Polish Evenly
One of the most common challenges with glitter polish is achieving an even distribution of particles. Without the correct technique, glitter can clump together, leaving some areas bare and others overly thick. Applying the product systematically ensures a smooth, balanced coating across the entire nail plate.
The Sponge Dab Technique
When working with dense glitter polishes, using a makeup sponge is one of the most effective methods for achieving maximum coverage without bulkiness. The sponge absorbs excess liquid base polish while leaving the glitter concentrated on the surface. To use this method, apply a base colour and let it dry. Paint the glitter polish onto a small corner of a clean makeup sponge, and then gently dab the sponge onto the nail. Repeat this process in thin layers until the desired density is reached. This technique ensures a highly concentrated, even distribution of shimmer.
Layering with Fine Brushes
For a more subtle, scattered shimmer, a traditional brush application is preferred. To avoid clumping, apply very thin coats of glitter polish. If the glitter is sparse, avoid wiping the brush too much on the bottleneck. Instead, gently deposit a small bead of polish in the centre of the nail and sweep it toward the edges. You can also use a fine detailing brush to manually adjust individual glitter flecks, ensuring there are no empty gaps along the sidewalls or cuticle line.
Achieving a Smooth, Mirror-Like Finish
Glitter particles naturally create a textured surface that can feel rough and appear dull if left unsealed. To achieve a professional, glass-like shine, it is crucial to properly seal and smooth the manicure.
- Apply a Dedicated Glitter Grabber: This is a slightly thicker, clear smoothing coat designed specifically to fill in the uneven gaps between glitter particles. It creates a level surface without dulling the sparkle beneath.
- Use a High-Gloss Top Coat: Once the smoothing layer is dry, finish with a generous layer of high-gloss top coat. This adds a protective barrier, enhances the depth of the blue hues, and provides that coveted mirror-like shine.
- Seal the Free Edge: Always run the top coat brush along the very edge of the nail tip. This prevents chipping and keeps the glitter sealed securely against daily wear and tear.
Maintaining Your Glitter Manicure
To keep your blue glitter manicure looking fresh and vibrant for as long as possible, daily care is essential. Glitter polish can be prone to catching on fabrics if the edges are not completely smooth, so regular maintenance helps preserve both the appearance and the structure of the nail.
Moisture is key to preventing lifting and peeling. Apply a high-quality cuticle oil to the surrounding skin and nail beds every evening. This keeps the cuticles hydrated and maintains the flexibility of the natural nail, reducing the likelihood of the polish cracking. Additionally, wearing protective gloves during household chores, such as washing dishes or cleaning, prevents harsh household chemicals from dulling the brilliant shine of your top coat. With gentle care and proper application, your elegant blue glitter manicure will remain pristine and radiant.