


The combination of pink and purple on nails is a timeless classic that offers endless possibilities, from soft and romantic to bold and dramatic. This versatile colour duo can be adapted to suit any season, occasion, or personal style. Whether you're a beginner at nail art or simply looking for fresh inspiration, exploring techniques like ombre gradients, metallic foils, and delicate hand-painted patterns can elevate your home manicure into a true work of art. With a little patience and the right techniques, you can achieve a stunning and sophisticated look right from the comfort of your home.
The Enduring Appeal of a Pink and Purple Palette
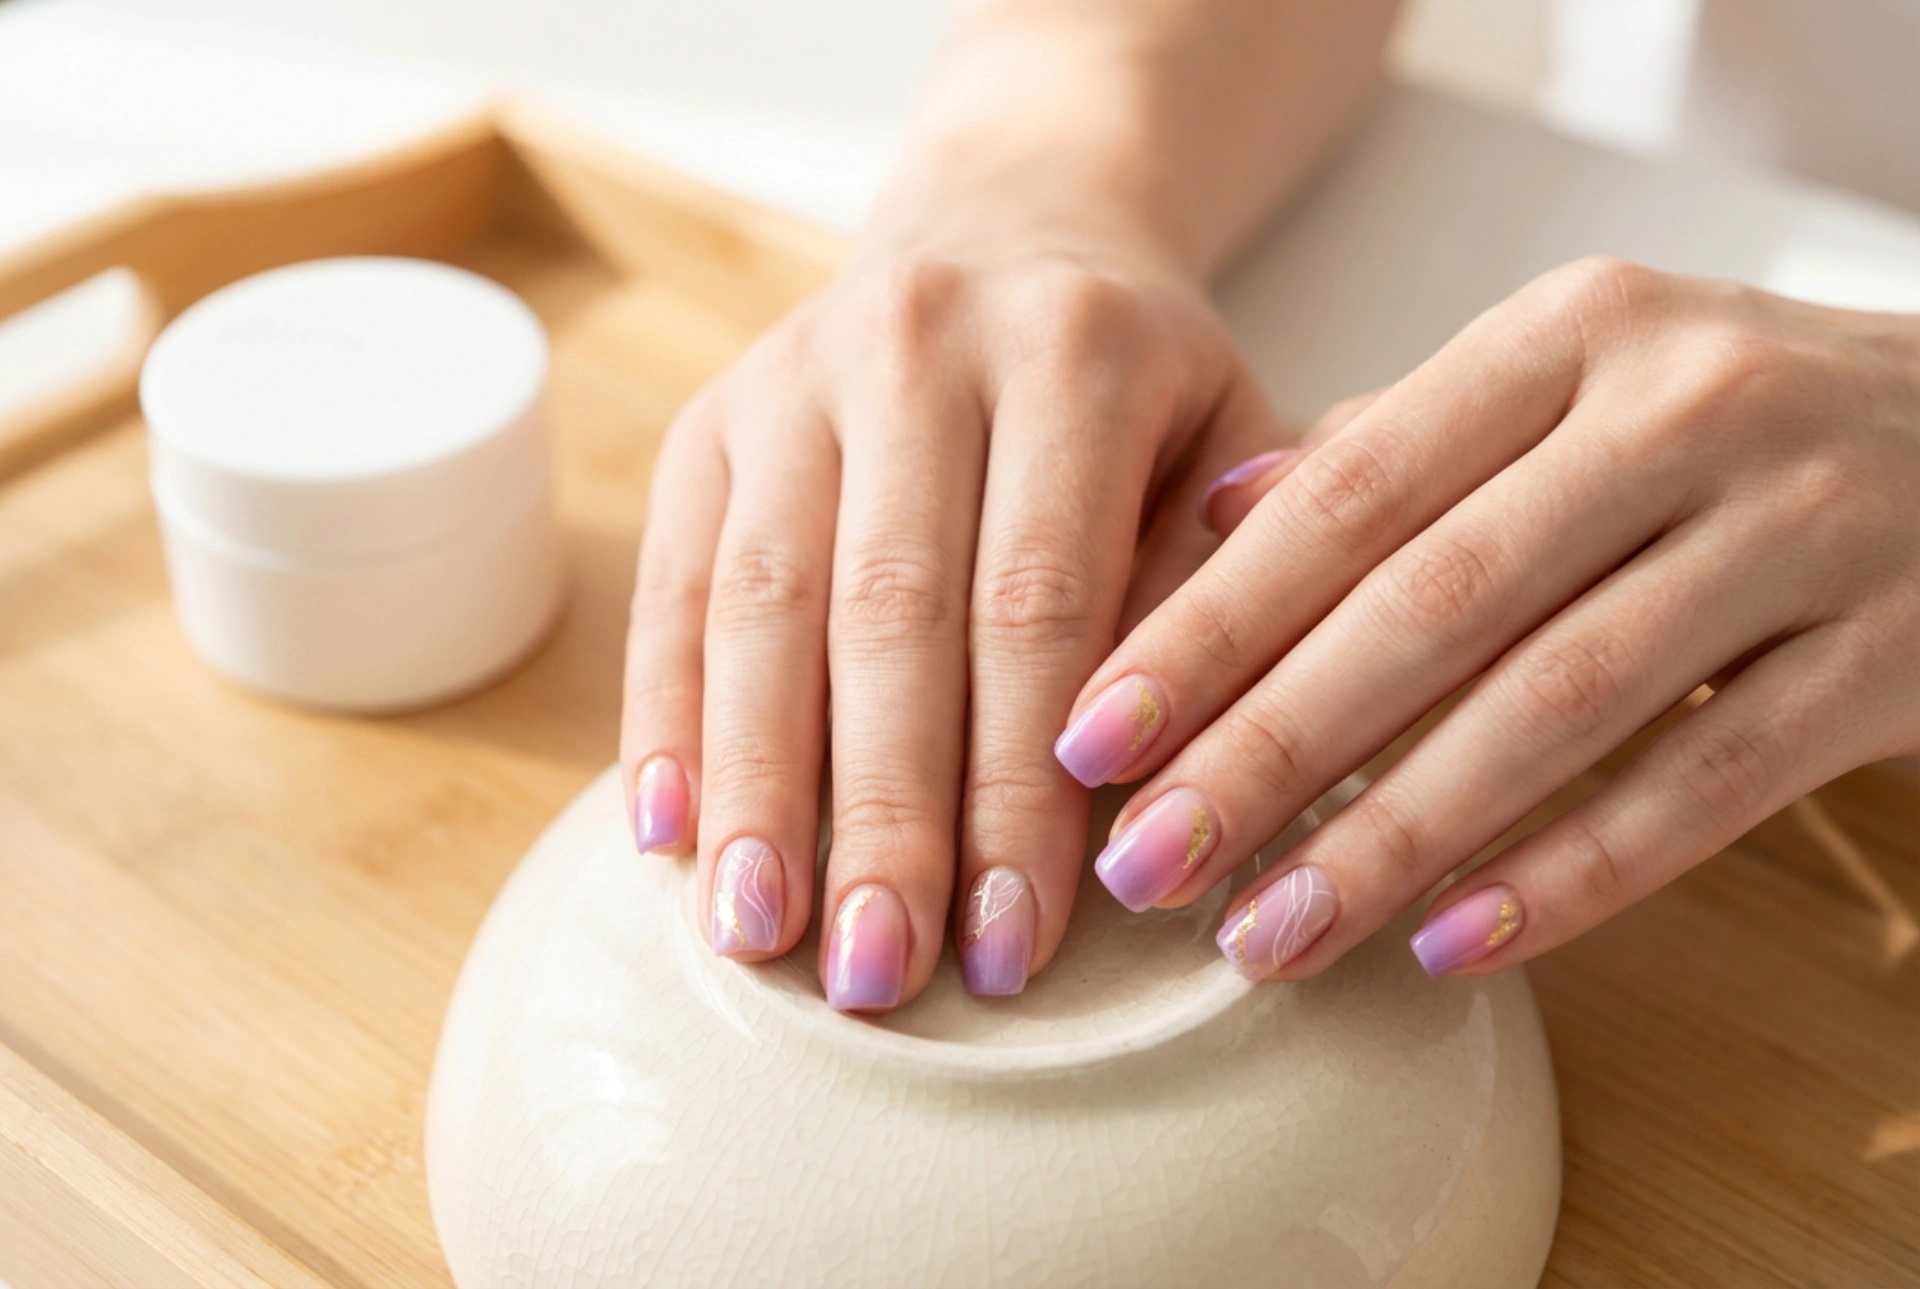
Why do pink and purple work so beautifully together? These colours sit next to each other on the colour wheel, creating a harmonious and pleasing analogue colour scheme. The blend is natural and soft, allowing for seamless transitions. The sheer variety of shades within this palette is what makes it so exciting. Consider these combinations to inspire your next manicure:
- Soft and Ethereal: Pair a pastel baby pink with a gentle lavender for a dreamy, romantic look perfect for spring or everyday elegance.
- Bold and Vibrant: Combine a hot fuchsia pink with a rich, electric violet for a manicure that makes a statement. This is a powerful and confident choice.
- Deep and Moody: Blend a dusty rose or mauve with a deep plum or aubergine shade for a sophisticated, autumnal feel that is both chic and mysterious.
- Sunset Inspired: Use shades of coral pink, magenta, and soft purple to mimic the beautiful colours of a sunset sky, creating a warm and captivating gradient.
By choosing shades with similar undertones (either both warm or both cool), you ensure the final result is cohesive and visually balanced. Don't be afraid to experiment with finishes, too—a matte top coat can completely transform the look of a glossy ombre, giving it a modern, velvety texture.
How to Create a Flawless Pink-to-Purple Ombre
The ombre, or gradient, effect is one of the most popular ways to combine these colours. It may look complex, but it's surprisingly achievable at home with a simple makeup sponge. Here’s a step-by-step guide to creating a smooth transition.
What You'll Need:
- A light pink nail varnish
- A darker purple nail varnish
- A base coat and a glossy top coat
- A small, disposable makeup sponge
- Nail varnish remover and a small, flat brush for clean-up
Step-by-Step Instructions:
1. Preparation is Key: Start with clean, dry nails. Shape them as desired and gently push back your cuticles. Apply a single, thin layer of base coat to protect your nails from staining and help the manicure last longer. Let it dry completely.
2. Apply the Base Colour: Paint one or two coats of your lightest colour—in this case, the pink nail varnish—onto all your nails. This creates a bright canvas for the gradient and ensures the colours will pop. Wait for this to be almost completely dry to the touch.
3. Prepare the Sponge: Take your makeup sponge and paint a horizontal stripe of the pink varnish, immediately followed by a stripe of the purple varnish directly below it. Make sure the two stripes slightly overlap in the middle. This overlap is crucial for creating a blended transition rather than a harsh line.
4. Create the Gradient: Gently dab the sponge directly onto your nail. You can use a gentle rolling or rocking motion from side to side to help blend the colours further. The first layer may look sheer and speckled; this is normal. Let it dry for a minute, then re-apply the varnish to the sponge and repeat the dabbing process two or three more times, until you achieve the desired opacity and blend.
5. Clean Up the Edges: This process can be messy. Dip your small, flat brush into nail varnish remover and carefully trace around your cuticle and the sides of your nail to remove any excess polish from your skin. For an easier clean-up, you can apply liquid latex or a protective balm around your nails before you start dabbing.
6. Seal the Design: Once the gradient is completely dry, apply a generous layer of a glossy top coat. This is the magic step that smooths out the slightly textured surface left by the sponge, blends the colours even more, and gives your nails a professional, high-shine finish.
Elevating Your Design with Foils and Patterns
Once you've mastered the ombre base, you can add further details to make your manicure unique.
Using Transfer Foils
Nail art foils are thin sheets that transfer a metallic or holographic pattern onto the nail. To use them, you'll need a special nail foil adhesive. Apply a thin layer of the glue over your dry ombre design, either on the whole nail or in specific areas (like a diagonal slash or just on the tip). Wait for the glue to become completely clear and tacky. Then, press a piece of foil firmly onto the nail, shiny side up. Rub it gently with your finger or a silicone tool, and then quickly peel it off. The metallic pattern will be left behind. Seal immediately with a top coat.
Delicate Hand-Painted Details
You don't need to be a professional artist to add simple, elegant patterns. Using a very thin nail art brush or a dotting tool, you can add subtle details that make a big impact. Consider adding a few tiny white dots near the cuticle, a single fine silver line separating the pink and purple, or delicate, abstract swirls on an accent nail. The key is to keep it simple. Less is often more when it comes to sophisticated nail art.
Tips for a Long-Lasting, Chip-Free Manicure
To ensure your beautiful creation lasts, follow these simple rules. Always start with properly prepped nails by wiping them with remover to eliminate any natural oils. Never skip the base coat and top coat. For maximum longevity, re-apply a thin layer of your top coat every two to three days to refresh the shine and add an extra layer of protection against chipping. Finally, keep your cuticles and the skin around your nails hydrated with a quality cuticle oil. This not only promotes healthy nails but also makes your manicure look fresh and well-maintained.


