


Styling short hair offers a world of creative possibilities, but it often comes with its own unique challenges. While long hair can be easily gathered into a ponytail or bun, shorter cuts demand a bit more finesse to look polished and intentional. Adding texture, movement, and subtle waves can completely transform a bob, pixie, or lob, taking it from simple to chic. This is where a mini curling iron becomes an invaluable tool, designed specifically for the precision required to style shorter strands and create a modern, effortless look in just a few minutes.
Why a Mini Curling Iron is a Game-Changer for Short Hair
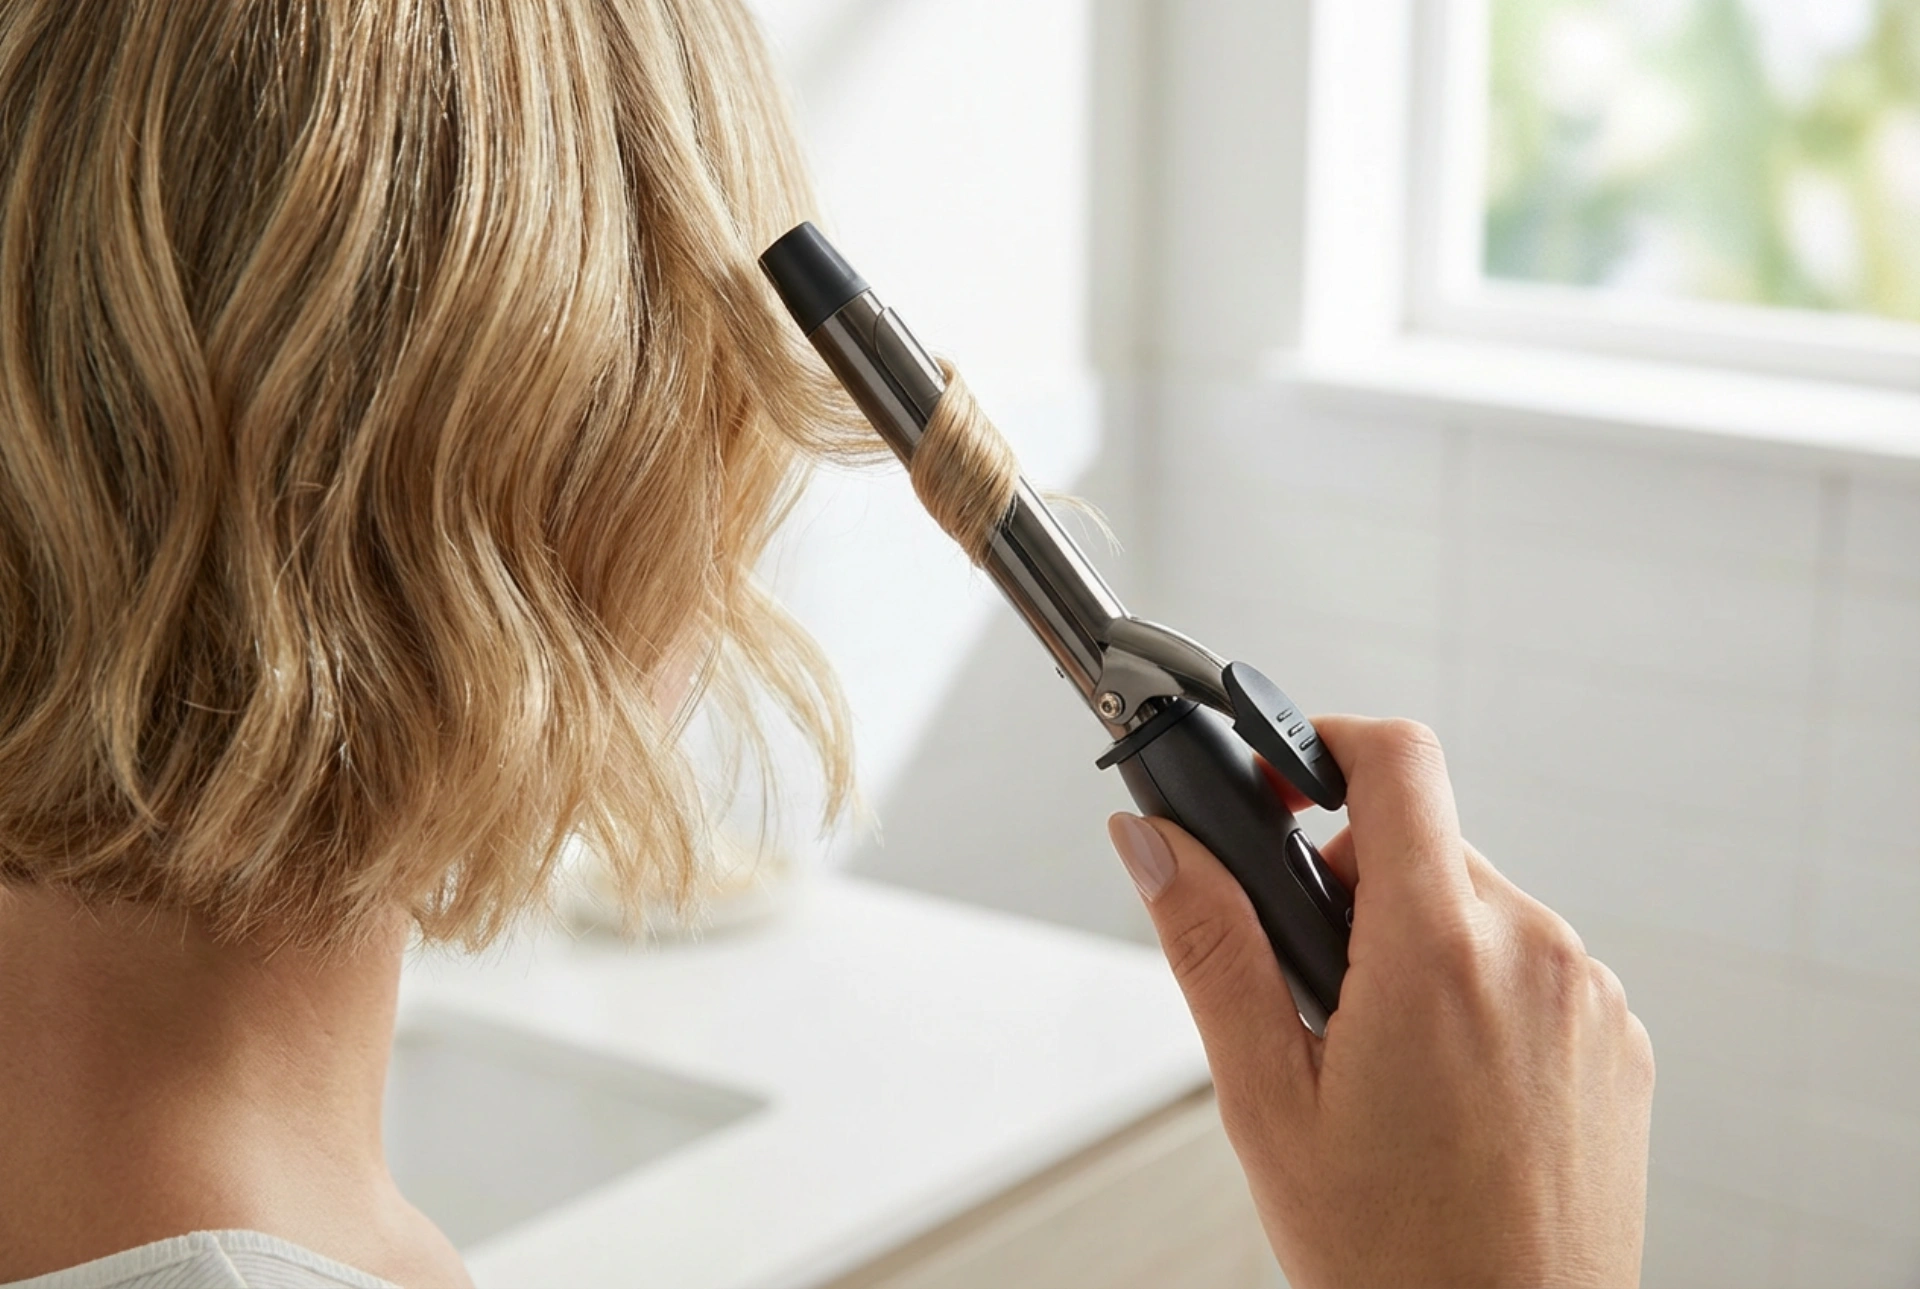
Standard-sized curling irons can be cumbersome and difficult to manoeuvre on short hair, often creating curls that are too large or failing to grip shorter layers. A mini curling iron, with its slimmer and shorter barrel, offers unparalleled control. Its compact size allows you to get closer to the roots without risk, making it perfect for adding volume right where you need it. It’s also ideal for tackling tricky areas like face-framing pieces, a fringe, or the shorter hairs at the nape of the neck.
The main advantage is precision. You can create a variety of styles, from tight, defined ringlets to loose, beachy waves, simply by adjusting how you wrap the hair. For those with fine hair, a mini tool helps create the illusion of thickness and body. Furthermore, its portability makes it a fantastic travel companion for quick touch-ups on the go, ensuring your style stays fresh no matter where you are.
A Step-by-Step Guide to Creating Natural Waves
Achieving that coveted 'perfectly imperfect' wavy look on short hair is easier than you think. It's all about technique and a few key preparation steps. Follow this guide for a flawless finish every time.
Step 1: Start with Dry, Protected Hair
Never use a heat tool on wet or even slightly damp hair, as this can cause significant damage. Ensure your hair is completely dry. Before you begin, generously apply a heat protectant spray from the roots to the ends. This creates a barrier between your hair and the heat, minimising potential harm and helping to lock in your style.
Step 2: Section Your Hair
Even with short hair, sectioning is crucial for an even and professional-looking result. Depending on the thickness of your hair, create two or three horizontal sections. Use clips to keep the hair you aren't working on out of the way. Starting with the bottom section at the nape of your neck will make the process more manageable.
Step 3: The Wrapping Technique
Take a small section of hair, about one to two inches wide. The key to a modern, beachy wave is to wrap the hair flat against the barrel, leaving the last inch or so of the ends straight. Hold it for about 5-8 seconds, depending on your hair's texture and the tool's temperature. Avoid clamping the hair with the tool's clip; instead, manually wrap it around the barrel for a more natural-looking bend rather than a spiral curl.
Step 4: Alternate Directions
For a more dynamic and less uniform look, alternate the direction in which you wrap each section of hair. Wrap one piece away from your face, and the next piece towards your face. This variation creates a more relaxed and textured style. Pay special attention to the pieces framing your face, which are often best styled away from the face to open up your features.
Step 5: Cool and Separate
Once you've finished waving all sections, let the curls cool down completely. This is a vital step that helps the style to set. Once cool, gently run your fingers through your hair to break up the waves and blend them together. Avoid using a brush, as this can pull out the waves and create frizz. A little tousle with your fingertips is all you need.
Common Styling Mistakes to Avoid
Using heat tools requires care to maintain hair health. Being aware of common pitfalls can help you achieve beautiful results without compromising your hair's integrity.
- Skipping Heat Protectant: This is non-negotiable. Always apply a heat protectant to shield your hair from damage.
- Using Excessive Heat: Start with the lowest effective temperature setting for your hair type. Fine hair requires much less heat than coarse hair. A high temperature can scorch your hair, especially on delicate shorter strands.
- Holding Hair for Too Long: Keeping your hair wrapped around the iron for too long can cause damage and create an overly tight, dated-looking curl. A few seconds is usually enough.
- Striving for Perfection: The goal for modern waves is a relaxed, natural finish. Don't worry if each wave isn't identical. Imperfection is part of the charm.
- Styling Damp Hair: This can boil the water inside the hair shaft, leading to breakage and irreversible damage. Always ensure hair is 100% dry.
Maintaining Healthy Hair and a Lasting Style
Once you've perfected your wave, you'll want it to last. You also need to ensure your hair stays healthy despite regular heat styling. Here are a few final tips:
- Use a Light Finishing Spray: A light-hold, flexible hairspray can help your waves last without making them stiff or crunchy. Mist it over your hair from a distance.
- Refresh with Dry Shampoo: On the second day, a spritz of dry shampoo at the roots can absorb oil and add a bit of texture and volume, reviving your style.
- Nourish Your Hair: Regular heat styling can be drying. Counteract this by incorporating a hydrating hair mask or deep conditioning treatment into your weekly hair care routine to replenish moisture and keep your locks looking their best.


