


The updo is a timeless hairstyle, synonymous with elegance and sophistication. It can elevate a simple daytime look or provide the perfect finishing touch for a formal evening. While intricate updos may seem like the exclusive domain of professional stylists, creating a beautiful and secure style at home is entirely achievable. The secret lies not in complex manoeuvres, but in proper preparation, a solid technique, and understanding how to use simple tools, like bobby pins, effectively. This guide will walk you through the essential steps to master a classic updo that is both polished and long-lasting.
Hair Preparation: The Foundation of a Lasting Updo
The success of any updo begins long before the first pin is placed. The texture of your hair is the single most important factor in how well it will hold a style. Freshly washed, silky-smooth hair is often too slippery, causing pins to slide out and the style to collapse. For this reason, many find that second-day hair provides the ideal texture, as natural oils give it a little more grip. If you must work with clean hair, you can mimic this texture by using styling products.
Before you begin, apply a small amount of texturizing spray, light-hold mousse, or even a puff of dry shampoo at the roots. These products add grit and volume, creating a better foundation for the pins to anchor into. Work the product through your hair and then brush it thoroughly to remove any tangles. A smooth, knot-free base will make the styling process much easier and result in a cleaner, more professional-looking finish. Ensure your hair is completely dry, as damp strands can disrupt the structure and may not hold their shape as they dry.
A Step-by-Step Guide to a Classic Chignon
The chignon is a versatile and elegant updo that can be adapted for any occasion. This simple, low bun is an excellent starting point for beginners. Follow these steps to create a flawless look:
- Step 1: Create a Ponytail. Gather your hair at the nape of your neck to create a low ponytail. The position can be adjusted – a ponytail at the crown will create a high bun, while one in the middle of your head will result in a more classic bun. Secure it firmly, but not uncomfortably tight, with a hair elastic that matches your hair colour.
- Step 2: Twist the Hair. Take the length of the ponytail and twist it from the base to the ends into a tight, neat rope. This keeps all the strands contained and makes the next step much simpler.
- Step 3: Form the Bun. Begin to wrap the twisted ponytail around the base of the elastic. Keep the coil tight and flat against your head as you wrap. Tuck the ends of your hair underneath the bun to hide them from view.
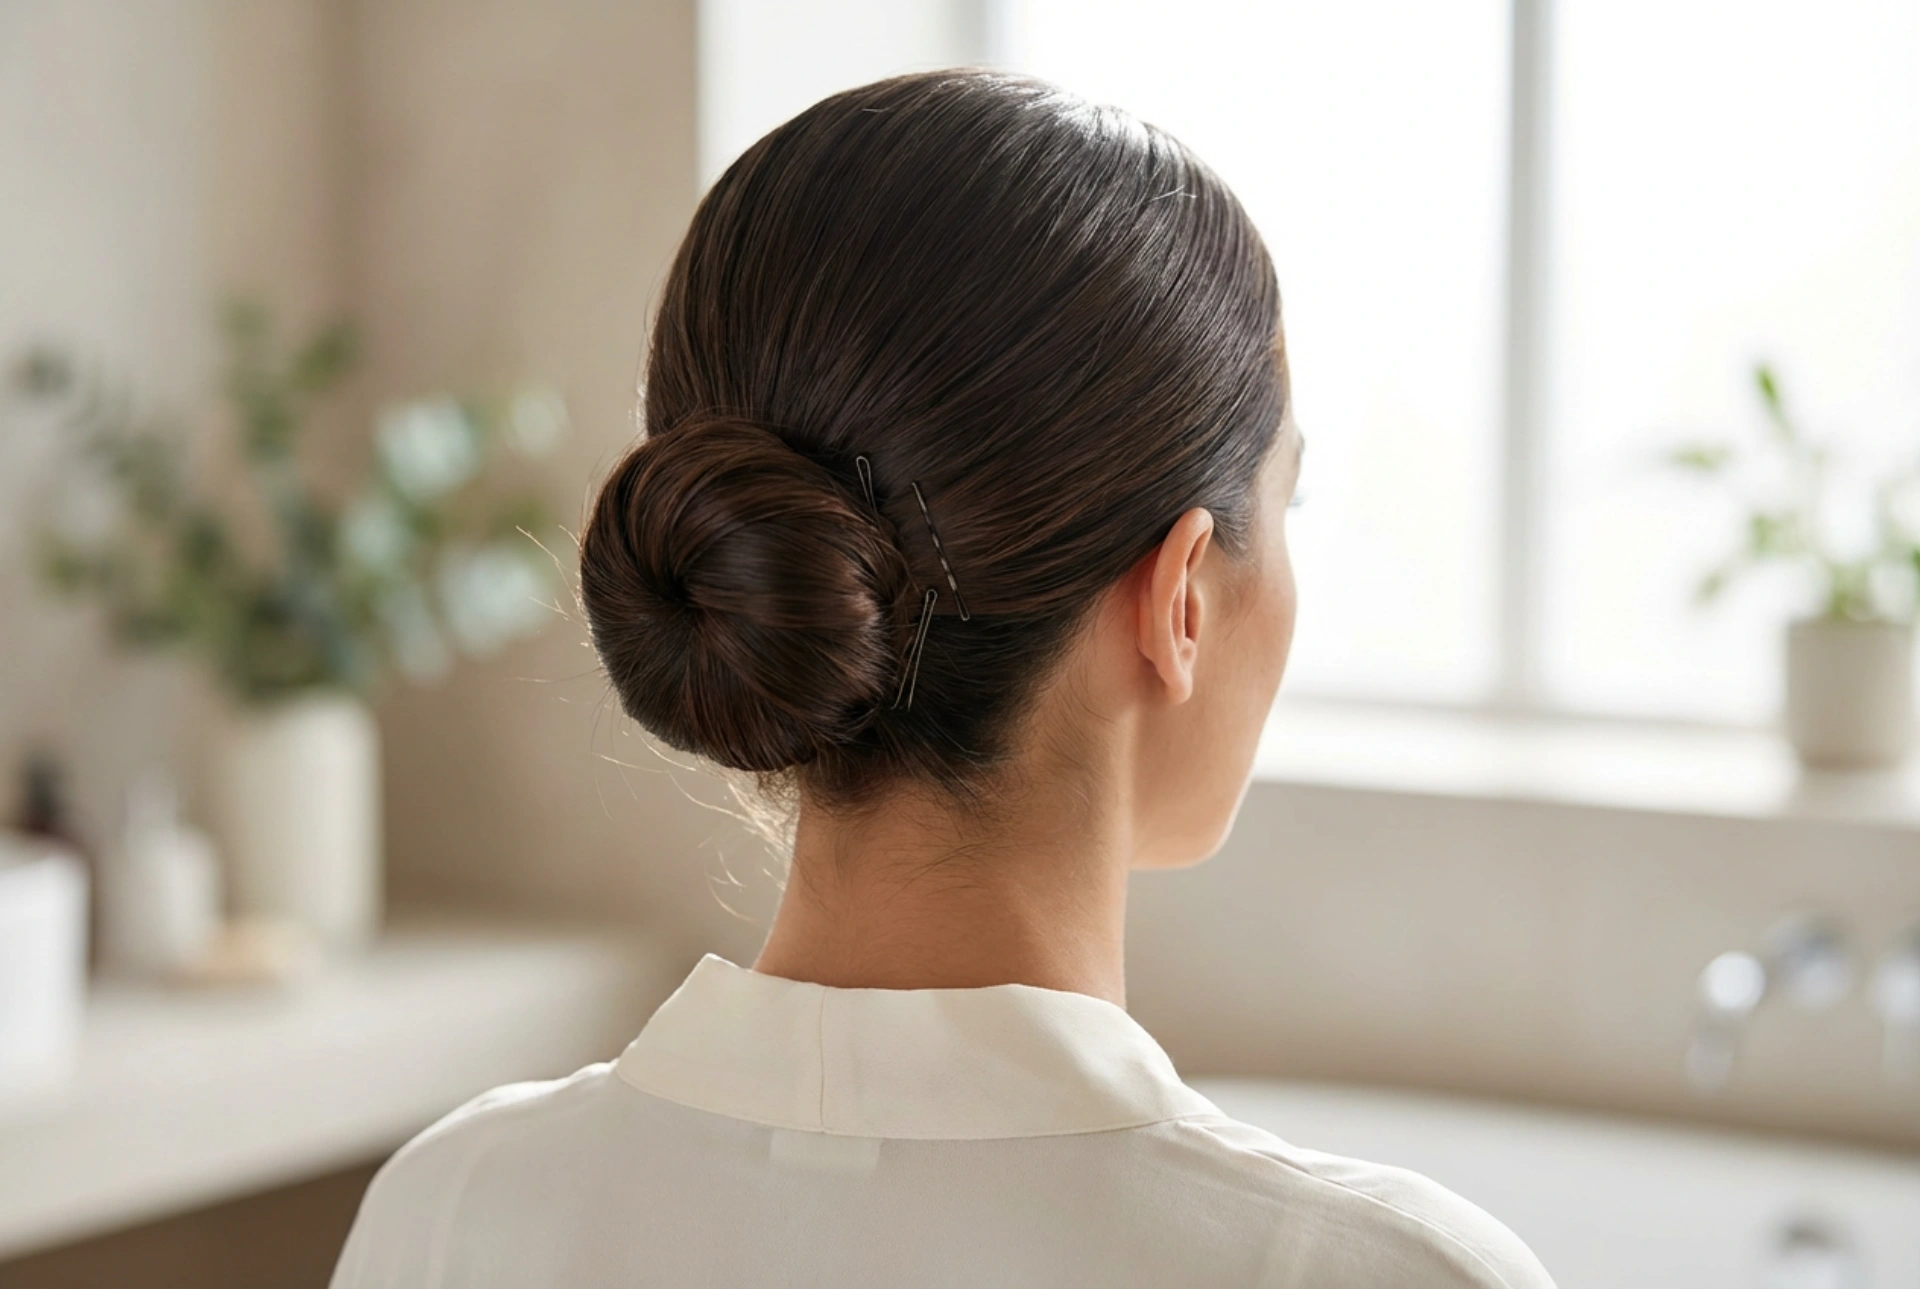
- Step 4: Secure the Shape. This is the most crucial step. Holding the bun in place with one hand, use your other hand to insert bobby pins. The technique is key here, which we will detail in the next section. Continue adding pins around the entire circumference of the bun until it feels completely secure.
- Step 5: Final Touches. Gently tug at small sections of the bun to add volume or create a softer, less severe look if desired. Use a small mirror to check the back and sides for any stray hairs or visible pins. Tuck in any loose strands with a final pin or two.
The Art of Pinning: How to Use Bobby Pins Correctly
Bobby pins are the invisible architecture of an updo, but only when used correctly. Many people use them in a way that compromises their holding power. To ensure your style stays put, follow these fundamental principles.
First, pay attention to the pin itself. A bobby pin has a wavy side and a straight side. The wavy side is designed to grip the hair and should always be placed against the scalp for maximum hold. The straight side should face outwards. When securing your bun, don't just slide the pin straight in. For a 'locking' technique, open the pin slightly and scoop up a small section of hair from the outer edge of the bun. Then, angle the pin towards the centre of the bun and push it in, ensuring it also catches some of the base hair against your scalp. This anchors the bun to the hair on your head, creating a much stronger hold.
For extra security, you can create an 'X' shape by crisscrossing two pins over each other at a critical anchor point. Avoid using too many pins, which can feel heavy and look messy. A dozen well-placed pins are far more effective than two dozen poorly placed ones. Choose pin colours that blend with your hair to keep them discreet.
Setting Your Style and Avoiding Common Mistakes
Once your updo is perfectly pinned and you are happy with the shape, the final step is to set it. A light mist of a flexible-hold finishing spray will help tame flyaways and provide a gentle hold without making your hair feel stiff or crunchy. Hold the can about 20-30 centimetres away from your head and spray lightly all over. This creates a fine veil of product rather than concentrating it in one spot.
To ensure success, be mindful of these common mistakes:
- Starting with slippery hair: Always add texture with a product if your hair is freshly washed and soft.
- Pulling the hair too tight: An updo should be secure, but not so tight that it causes discomfort or puts stress on your hairline.
- Using pins incorrectly: Remember to place the wavy side against your scalp and use the 'locking' technique for a secure hold.
- Not hiding the ends: Always tuck the ends of your hair neatly under the bun for a polished, professional look.
- Forgetting a final check: Use a hand mirror to examine your style from all angles and fix any imperfections before you finish.
With practice, these steps will become second nature, allowing you to create a beautiful and dependable updo for any occasion.


