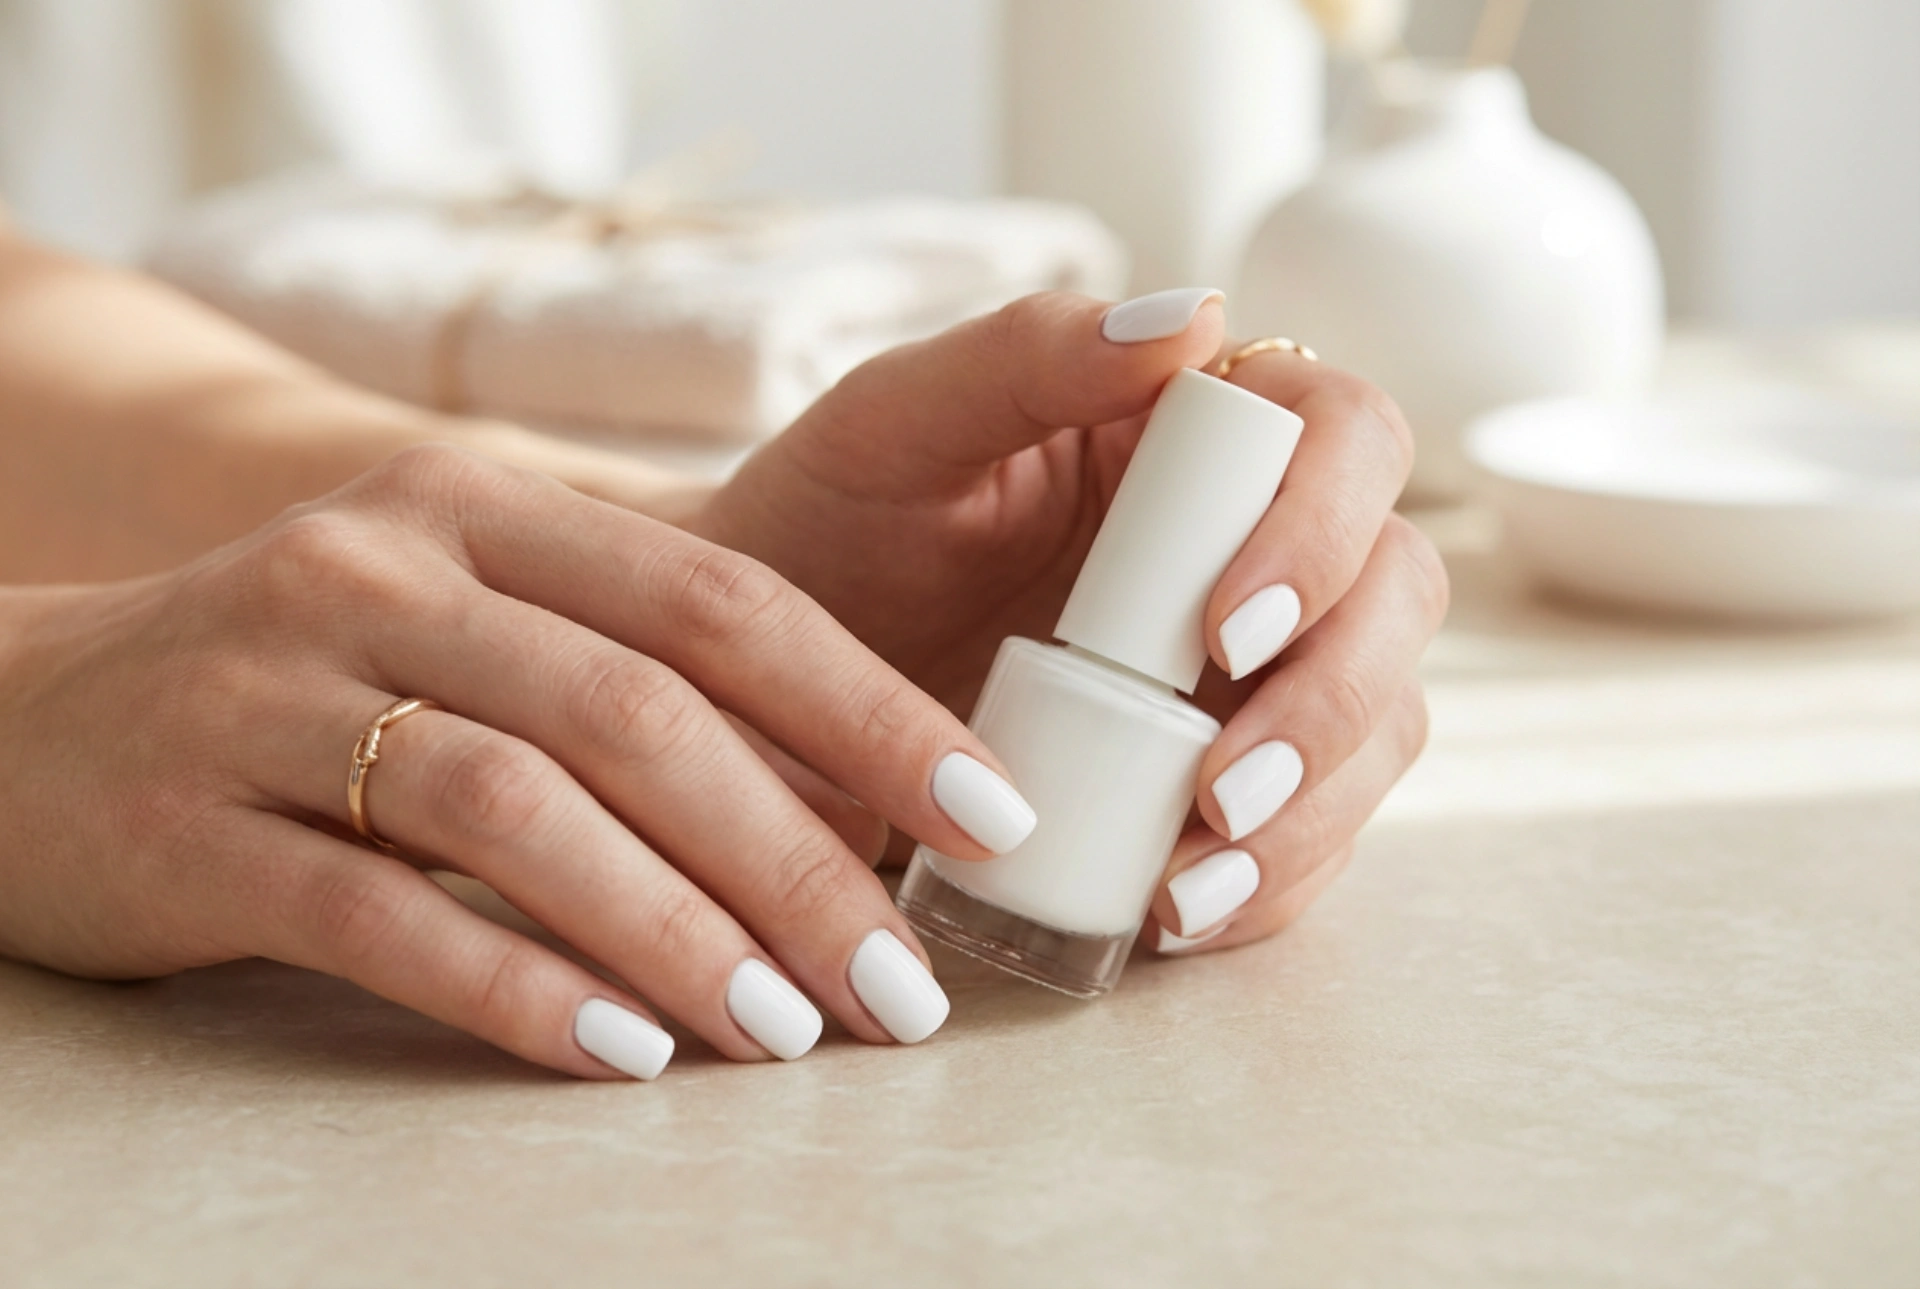


A crisp, white manicure is the epitome of chic, offering a clean and polished look that complements any style. Yet, anyone who has attempted to apply white gel polish at home knows it can be one of the trickiest shades to master. From frustrating streaks to unsightly yellowing over time, achieving that perfect, opaque finish requires a specific technique. This guide provides the essential steps and tips to help you create a flawless and durable white gel manicure that looks professionally done.
Nail Preparation: The Foundation for Perfection
A beautiful manicure starts long before the polish is opened. Proper preparation of the nail plate is crucial for a smooth application and long-lasting results. Skipping this stage can lead to lifting, chipping, and an uneven surface that will only highlight imperfections in the white polish.
- Start with a Clean Slate: Ensure your nails are completely clean and dry. Remove any old polish and wash your hands thoroughly.
- Cuticle Care: Gently push back your cuticles using a cuticle pusher. Avoid cutting them aggressively, as this can lead to damage. The goal is to create a clean, neat nail bed for the polish application.
- Buff the Surface: Lightly buff the entire surface of each nail with a fine-grit buffer. This removes the natural shine and creates a slightly rough texture, which helps the base coat adhere securely.
- Dehydrate and Cleanse: Wipe each nail with a lint-free pad soaked in a nail cleanser or isopropyl alcohol. This step removes any remaining dust, oils, and moisture, ensuring maximum adhesion for your gel polish.
- Apply the Base Coat: Apply a thin, even layer of a quality gel base coat to each nail, making sure to cap the free edge. A good base coat not only protects your natural nail but also provides a smooth and uniform canvas for the colour to follow. Cure the base coat under your nail lamp according to the product's instructions.
The Art of Application for Streak-Free White
The secret to a perfect white manicure lies in patience and thin layers. White pigments are denser than those in many other colours, which is why they are prone to streaking and clumping if applied too thickly. The goal is to build up the colour gradually.
Step-by-Step Application
1. The First Coat: Apply an extremely thin, almost sheer, coat of the white gel polish. Don't worry about achieving full opacity on this first pass. Your focus should be on creating an even, streak-free foundation. Be precise and avoid flooding the cuticles. Cure this layer fully under your lamp. White polish may require a few extra seconds of curing time than other colours, so check the manufacturer's recommendation.
2. The Second Coat: Now you can apply the second layer, which will build the opacity. Keep this layer thin as well, using smooth, controlled strokes from the cuticle area towards the tip. Remember to cap the free edge of the nail by running the brush along the tip. This helps to prevent chipping. Cure the second layer completely.
3. The Third Coat (If Necessary): Depending on the specific formula of your white polish, you might need a third coat for complete, uniform coverage. If you can still see any transparency or faint streaks, apply one more very thin layer and cure it thoroughly.
4. The Top Coat: Finish with a high-quality gel top coat. For a white manicure, it is highly recommended to use a 'non-yellowing' or 'UV-blocking' formula. This will seal in the colour, provide a high-gloss shine, and, most importantly, protect your pristine white from discolouration caused by sunlight and everyday exposure. Cure the top coat as directed, then wipe away the tacky layer with a nail cleanser for a flawless finish.
Common Mistakes and How to Avoid Them
Understanding common pitfalls can help you troubleshoot and perfect your technique.
- Applying Thick Layers: This is the number one cause of uneven texture, bubbling, and improper curing. Thick coats can seem like a shortcut to opacity, but they cure poorly on the inside, leading to a wrinkled finish and a manicure that lifts quickly.
- Insufficient Curing Time: White pigments can block the UV/LED light from fully penetrating the polish. Always cure each layer for the full recommended time, or even slightly longer, to ensure it is completely hardened.
- Forgetting to Cap the Edge: Sealing the free edge of the nail with each coat of polish (including the base and top coat) creates a barrier that significantly reduces the risk of chipping.
- Shaking the Bottle: Vigorously shaking a bottle of gel polish can introduce air bubbles, which will translate into bumps on your nail. Instead, gently roll the bottle between your palms to mix the pigment.
Maintaining Your Bright White Manicure
Once you've achieved your perfect white nails, you'll want to keep them looking fresh. White is more susceptible to staining and yellowing than darker colours.
First and foremost, your choice of top coat is your best defence. A non-yellowing formula is non-negotiable. Additionally, be mindful of products that can cause stains, such as hair dye, new dark-wash jeans, turmeric, and some self-tanners. When possible, wear gloves. It's also a good practice to wear gloves when using household cleaning products or washing dishes, as harsh chemicals can dull the shine and compromise the top coat. Finally, keep your cuticles hydrated with a daily application of cuticle oil. This simple step elevates the entire look of your manicure, keeping it neat and professional-looking for weeks.


