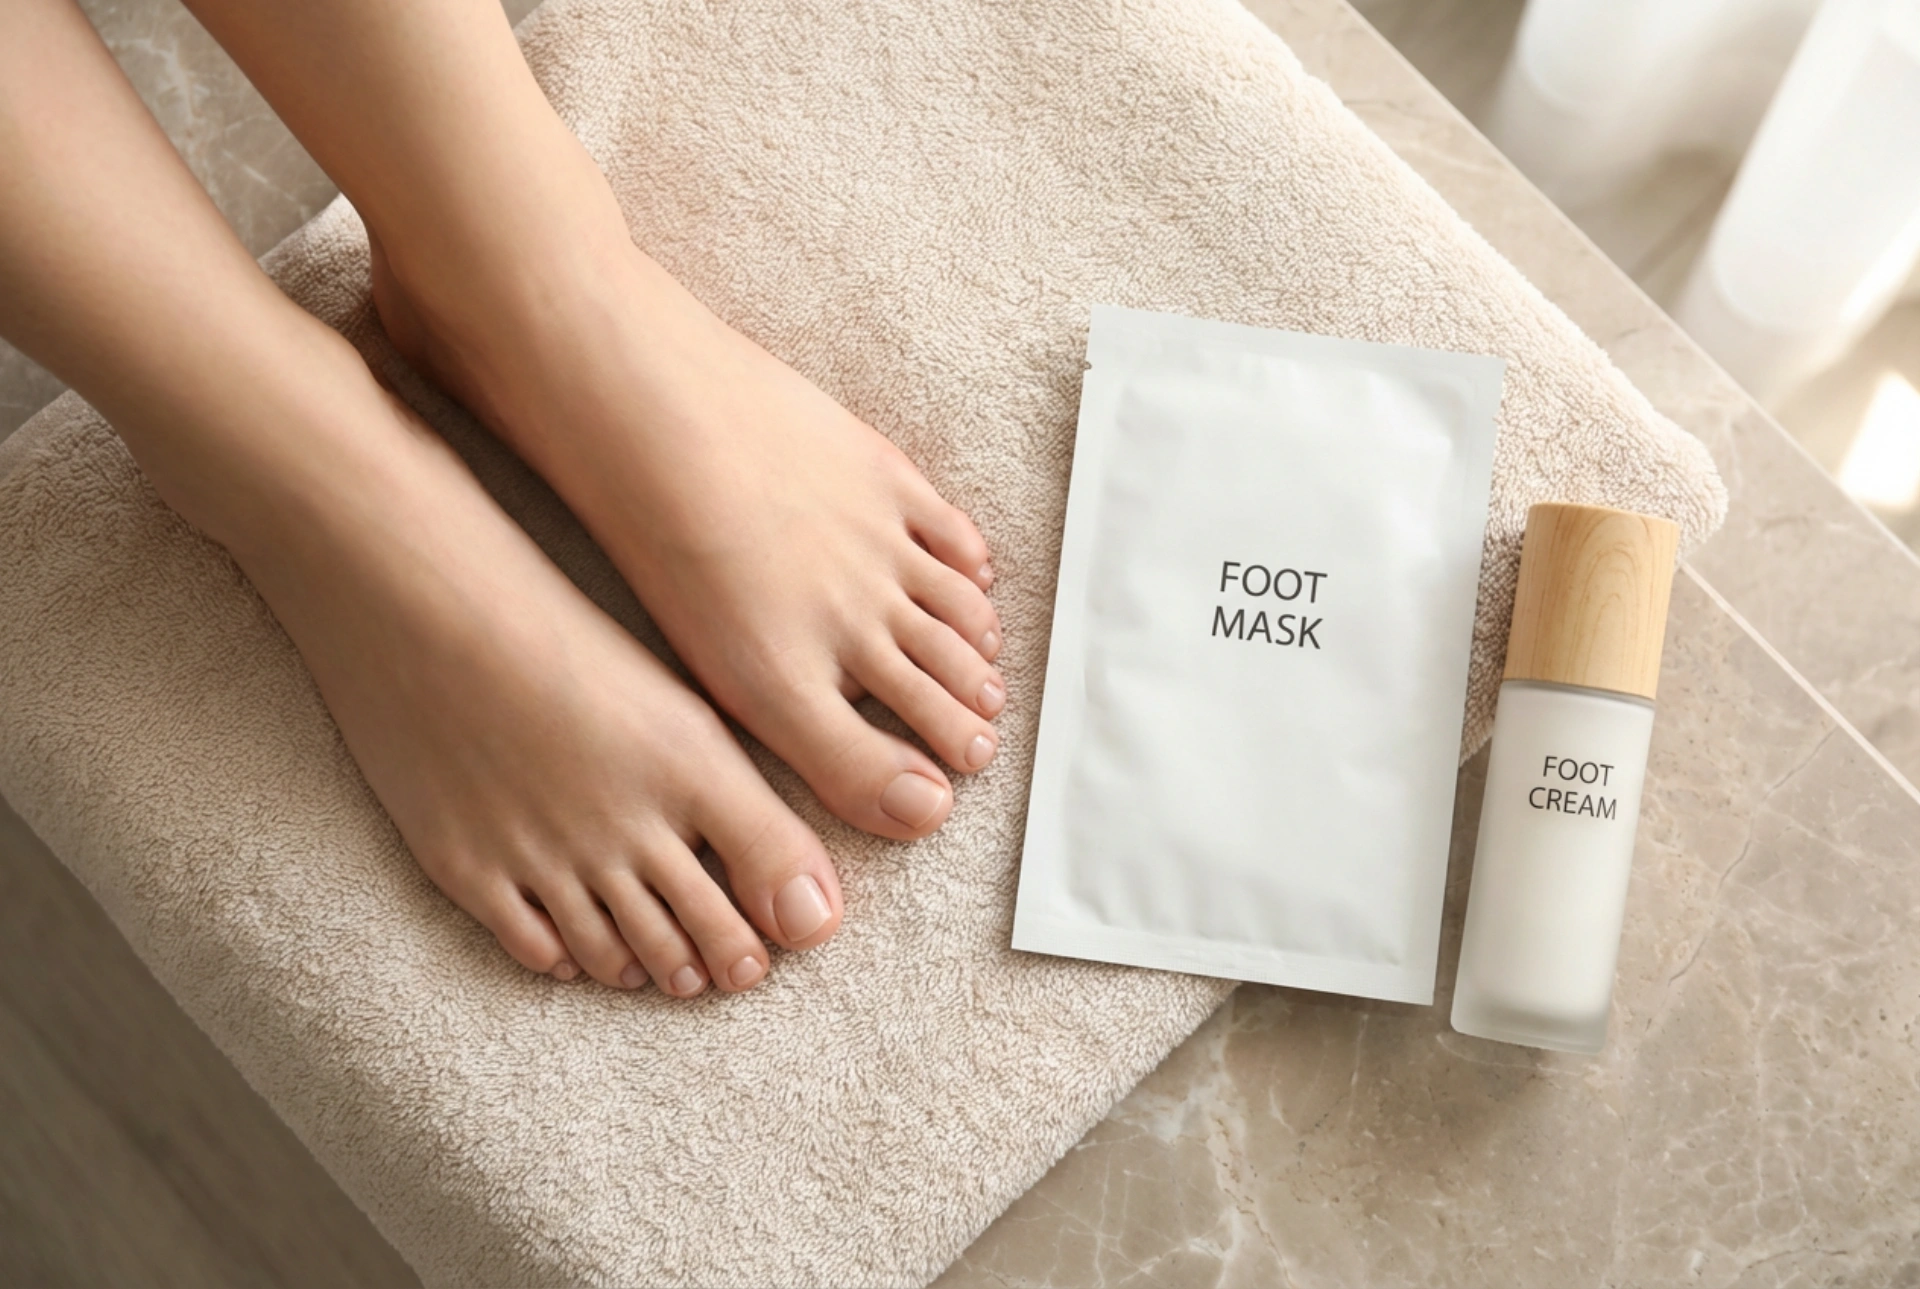


Achieving soft, smooth feet can feel like a constant challenge, especially when dealing with dry skin and stubborn calluses. While pumice stones and files have their place, an exfoliating foot mask, often called a foot peel, offers a completely different approach. This at-home treatment uses gentle chemical exfoliation to shed layers of dead skin, revealing the fresh, soft skin underneath. It’s a straightforward process, but understanding how it works and what to do afterwards is key to getting the best results safely.
What Are Exfoliating Foot Masks and How Do They Work?
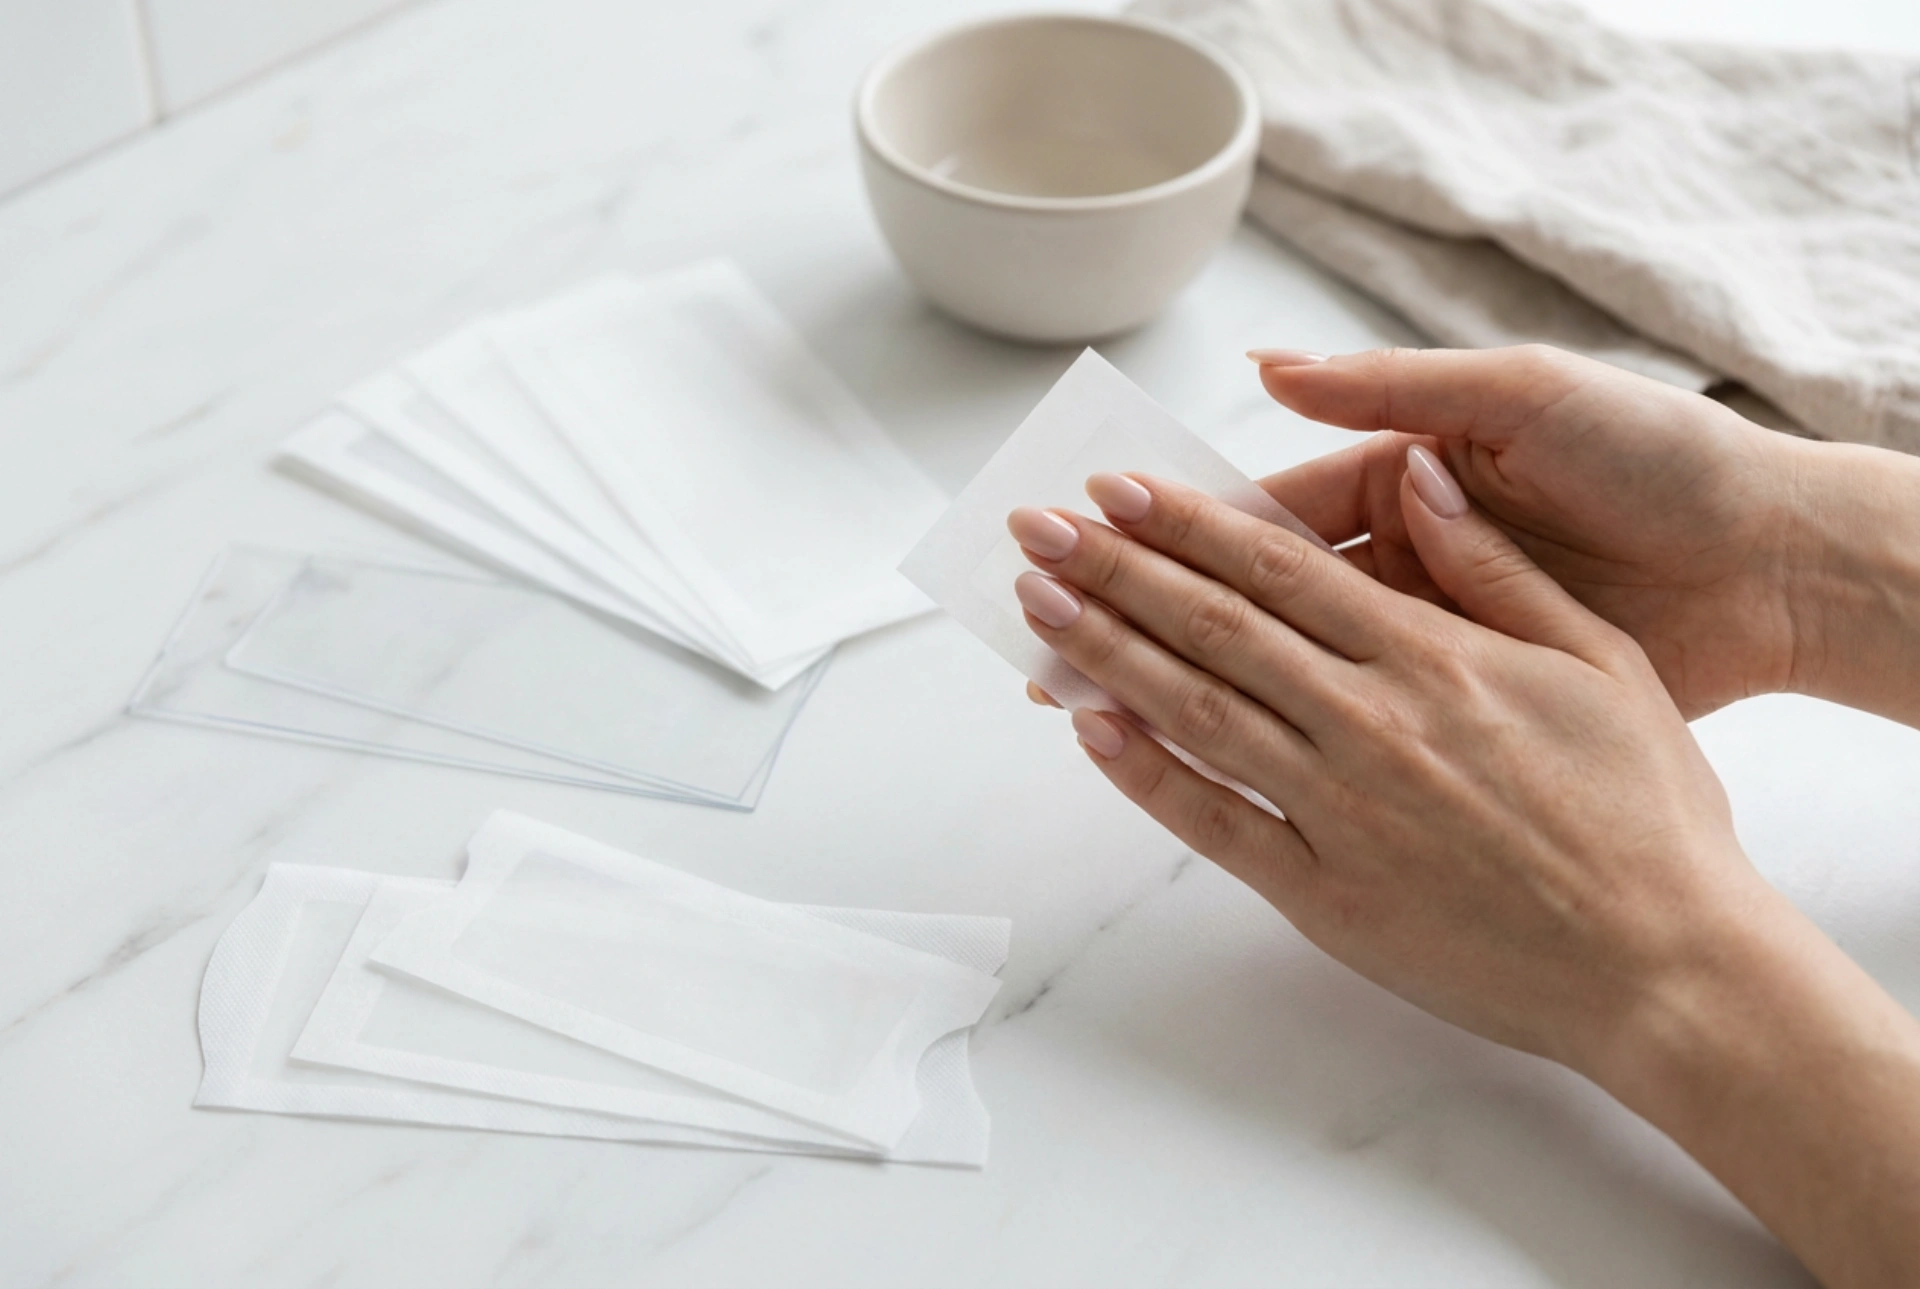
An exfoliating foot mask is typically a pair of plastic socks lined with a fabric saturated in a gel-like solution. The magic lies in this solution, which is formulated with a blend of gentle acids, most commonly alpha-hydroxy acids (AHAs) like glycolic and lactic acid, and sometimes beta-hydroxy acids (BHAs) like salicylic acid. These ingredients are cosmetic-grade and work by breaking down the desmosomes, which are the protein bonds that hold dead skin cells together.
Unlike a physical scrub that manually buffs away the surface layer of skin, a chemical peel works more deeply and over a longer period. After wearing the mask for the recommended time (usually 60-90 minutes), you rinse your feet and wait. The exfoliation process is not immediate. The acids need time to penetrate the thick layers of dead skin on your soles. The actual peeling typically begins 3 to 7 days after the treatment and can continue for up to two weeks. During this time, the old, dead skin will start to lift and shed, revealing softer skin beneath.
A Step-by-Step Guide to Using a Foot Mask Correctly
For a successful and safe at-home foot peel, following the instructions carefully is essential. The process is simple and can be broken down into a few key steps.
1. Preparation
Start with clean, dry feet. Wash your feet with a mild soap and water, then pat them completely dry with a towel. Any moisture or residue on the skin can create a barrier and reduce the effectiveness of the mask. It's also a good idea to remove any nail varnish before you begin, as the exfoliating solution can sometimes affect it.
2. Application
Carefully open the package and separate the two sock masks. Slip one onto each foot. To ensure the solution makes good contact with your entire foot, especially the soles and heels, gently press the sock against your skin. Most masks come with adhesive tabs to secure the socks around your ankles, preventing leaks and keeping them snug. Once they are on, it's time to relax. You can put your feet up and read a book or watch a film. Avoid walking around too much, as the socks can be slippery.
3. The Waiting Game
Adhere strictly to the recommended time on the packaging, which is typically between 60 and 90 minutes. Leaving the mask on for longer than instructed will not make it more effective and could lead to unnecessary irritation. Set a timer to remind you when it's time to take them off.
4. Removal and Rinsing
Once the time is up, carefully remove the socks and discard them. Thoroughly rinse your feet with lukewarm water to remove all of the residual gel. Pat your feet dry. It is very important not to apply any moisturiser or foot cream at this stage. Your skin needs to be left alone to allow the exfoliation process to begin naturally over the coming days.
The Peeling Phase: What to Expect and What to Avoid
This is the part that requires the most patience. Your feet will look and feel completely normal for the first few days. Then, the peeling will start. It might begin as small flakes or as large sheets of skin lifting away from your soles and toes. This is completely normal and is a sign that the mask has worked.
During this phase, there is one golden rule: do not pull or pick at the peeling skin. Forcibly removing it before it's ready to shed can expose the new, delicate skin underneath too early, causing soreness, redness, and potential damage. Let the skin come off naturally in its own time.
To help the process along gently, you can soak your feet in plain warm water for 10-15 minutes each day. After soaking, gently pat your feet dry. The softened dead skin may shed more easily in the towel, but again, avoid rubbing aggressively or peeling it off yourself.
Essential Aftercare for Long-Lasting Smoothness
Once the peeling has completely finished, which can take up to two weeks, you will be left with noticeably softer, smoother feet. Now the focus shifts to maintaining these lovely results.
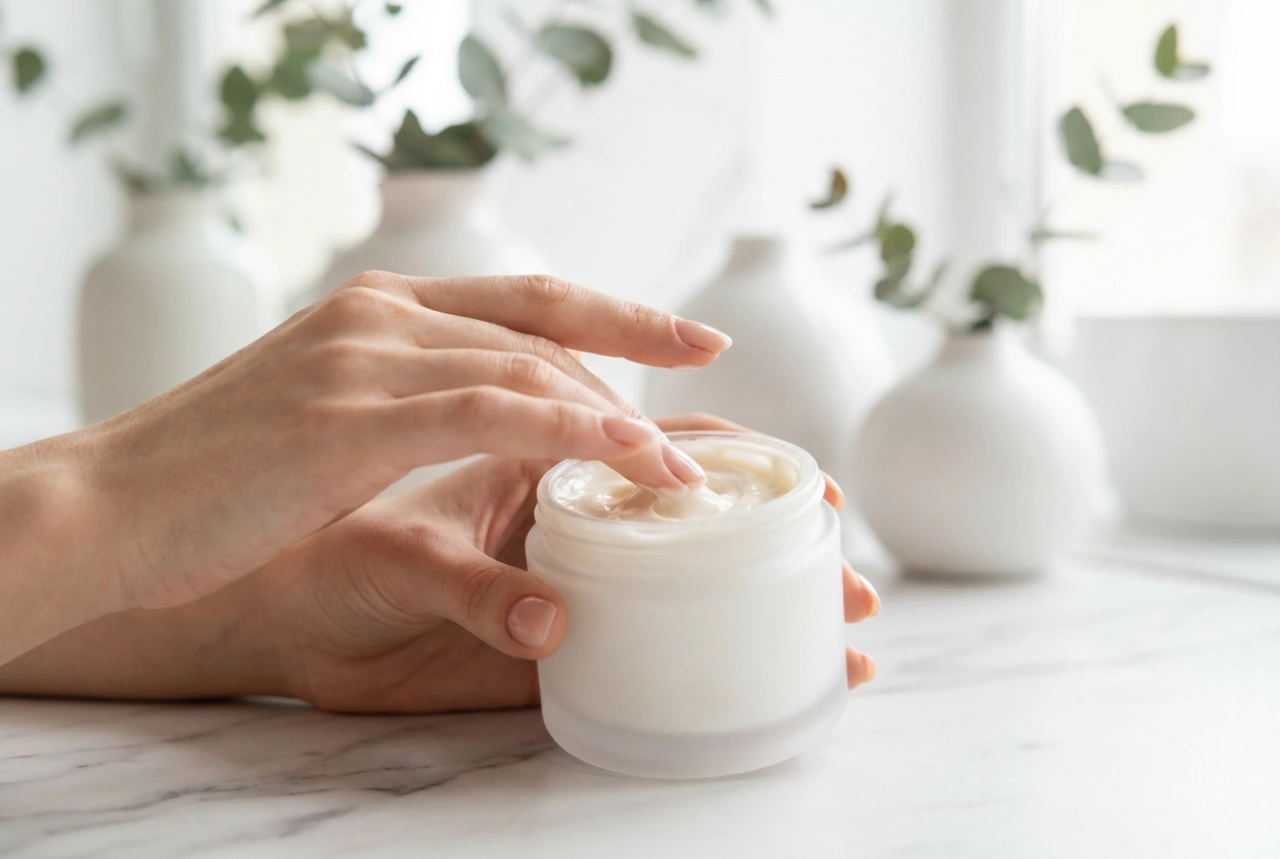
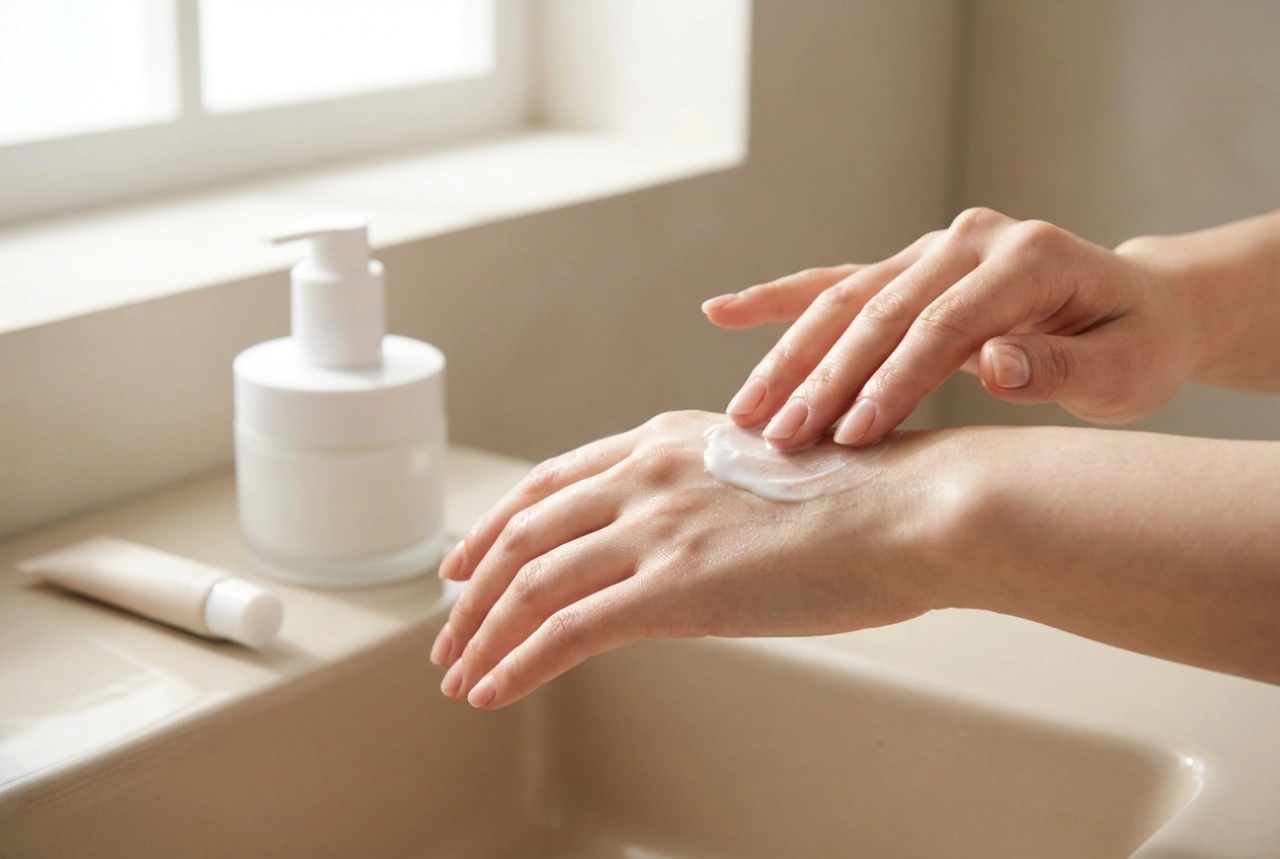
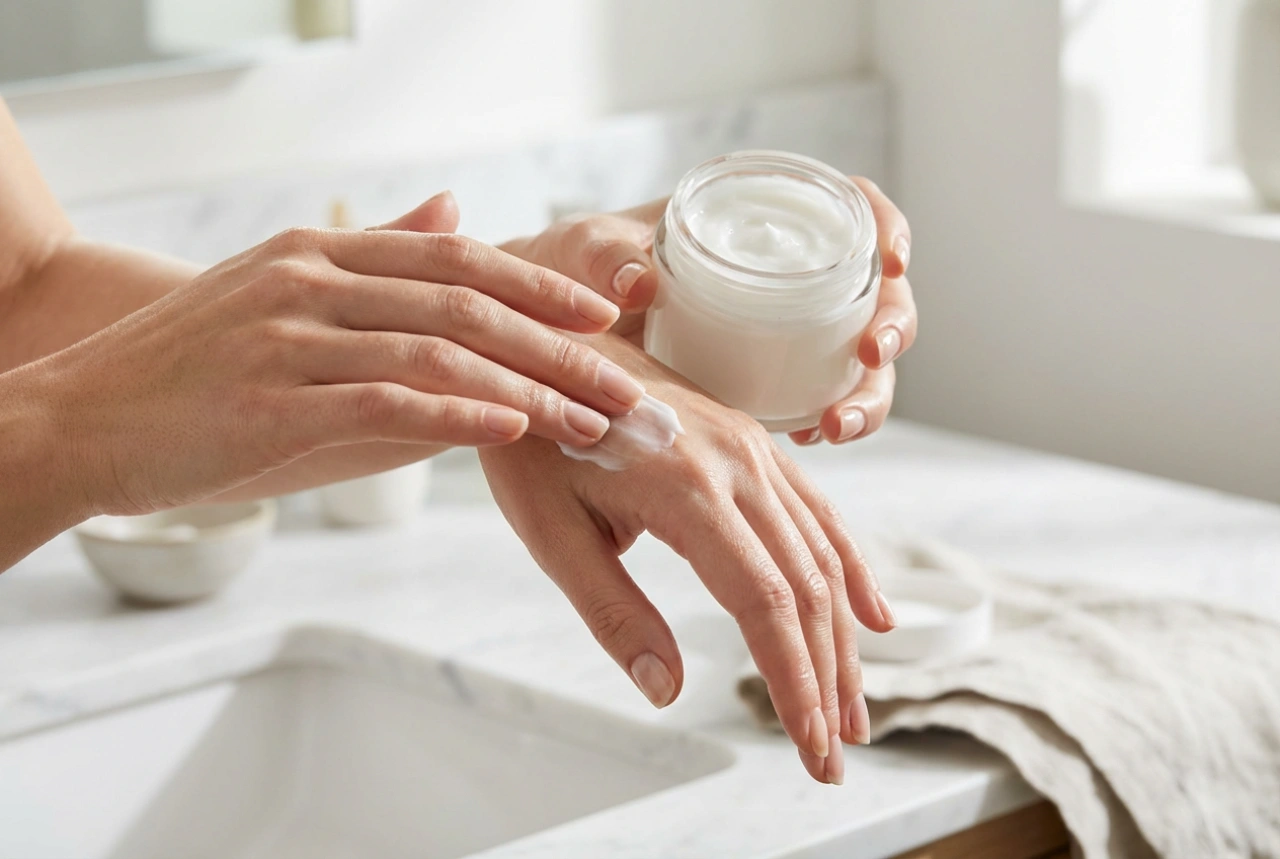
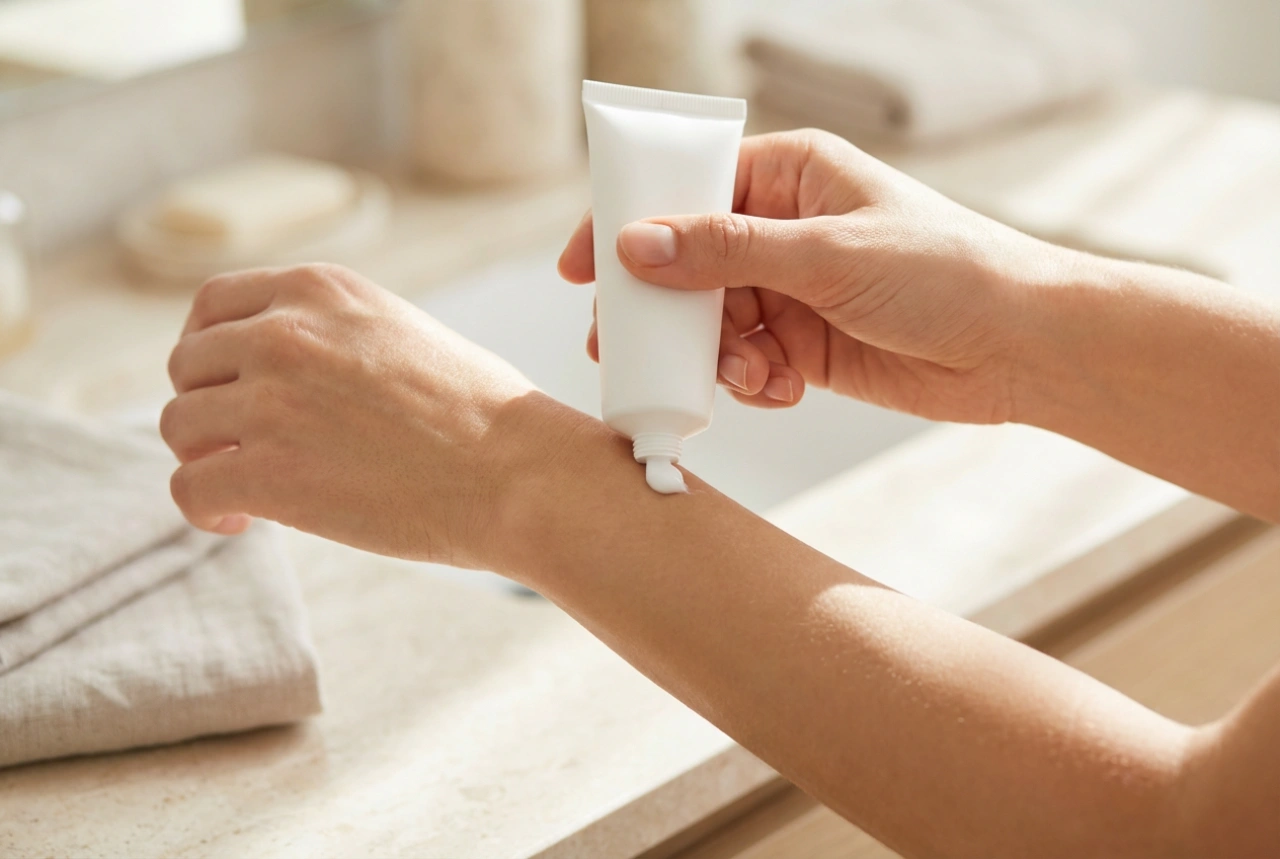
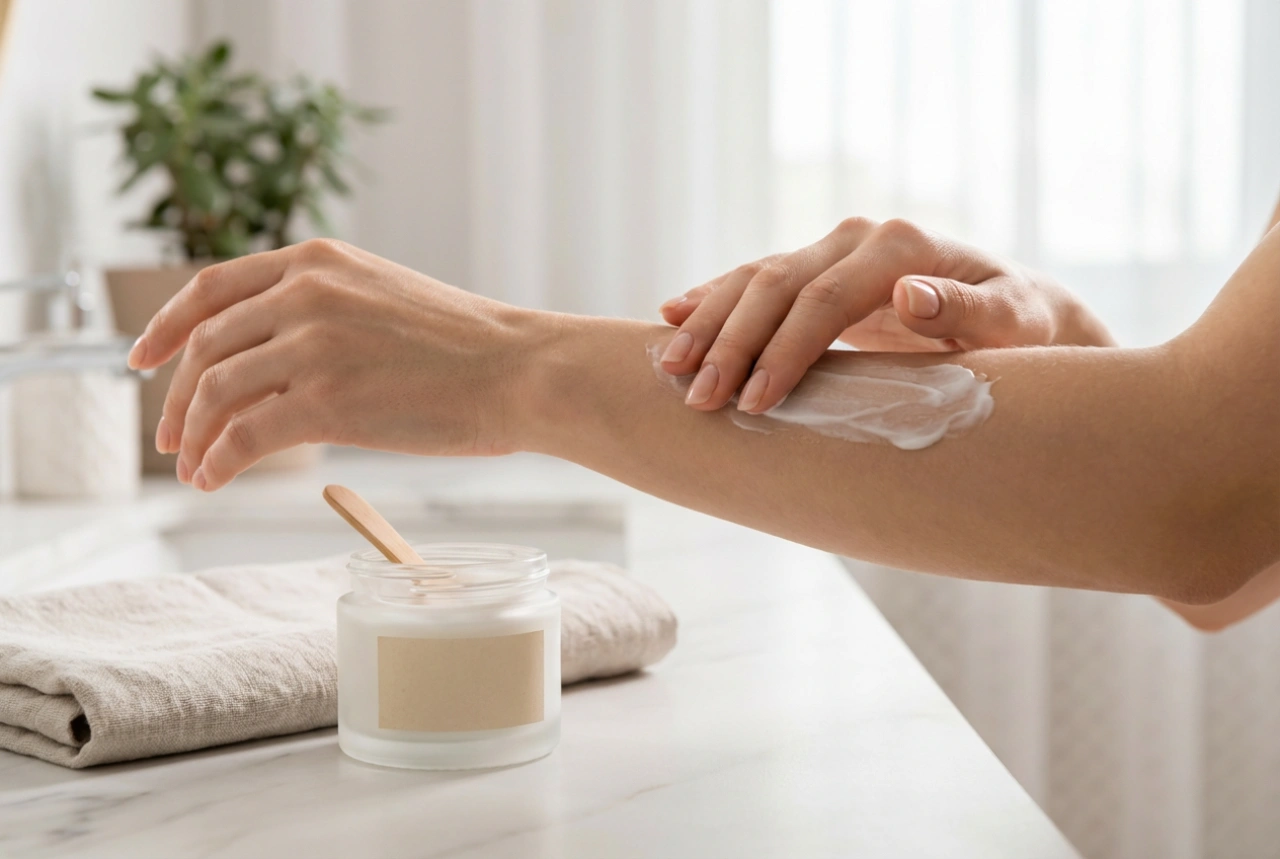
- Hydrate Daily: The new skin is fresh and needs moisture to stay soft and supple. Apply a rich, nourishing foot cream every day, preferably after a bath or shower when the skin is most receptive. Look for creams containing hydrating ingredients like urea, shea butter, or ceramides.
- Maintain with Gentle Exfoliation: To prevent a rapid build-up of hard skin, you can incorporate gentle manual exfoliation into your routine. Once or twice a week, use a soft foot file on dry feet before you shower. This is much gentler than aggressive filing and helps maintain the smoothness achieved from the peel.
- Repeat When Necessary: An exfoliating foot mask is an intensive treatment and should not be used too frequently. For most people, using a foot peel every 2-3 months is sufficient to keep feet in good condition.