


A classic red manicure is a timeless symbol of elegance. It is bold, confident, and suits any occasion. With the advent of gel polishes, achieving a durable, high-shine finish that lasts for weeks is now possible at home. While red can be an unforgiving colour to apply, mastering the technique is incredibly rewarding. This guide will walk you through the entire process, from preparing your nails to applying the final glossy top coat, ensuring a flawless and professional-looking result every time.
The Foundation: Preparing Your Nails for a Perfect Manicure
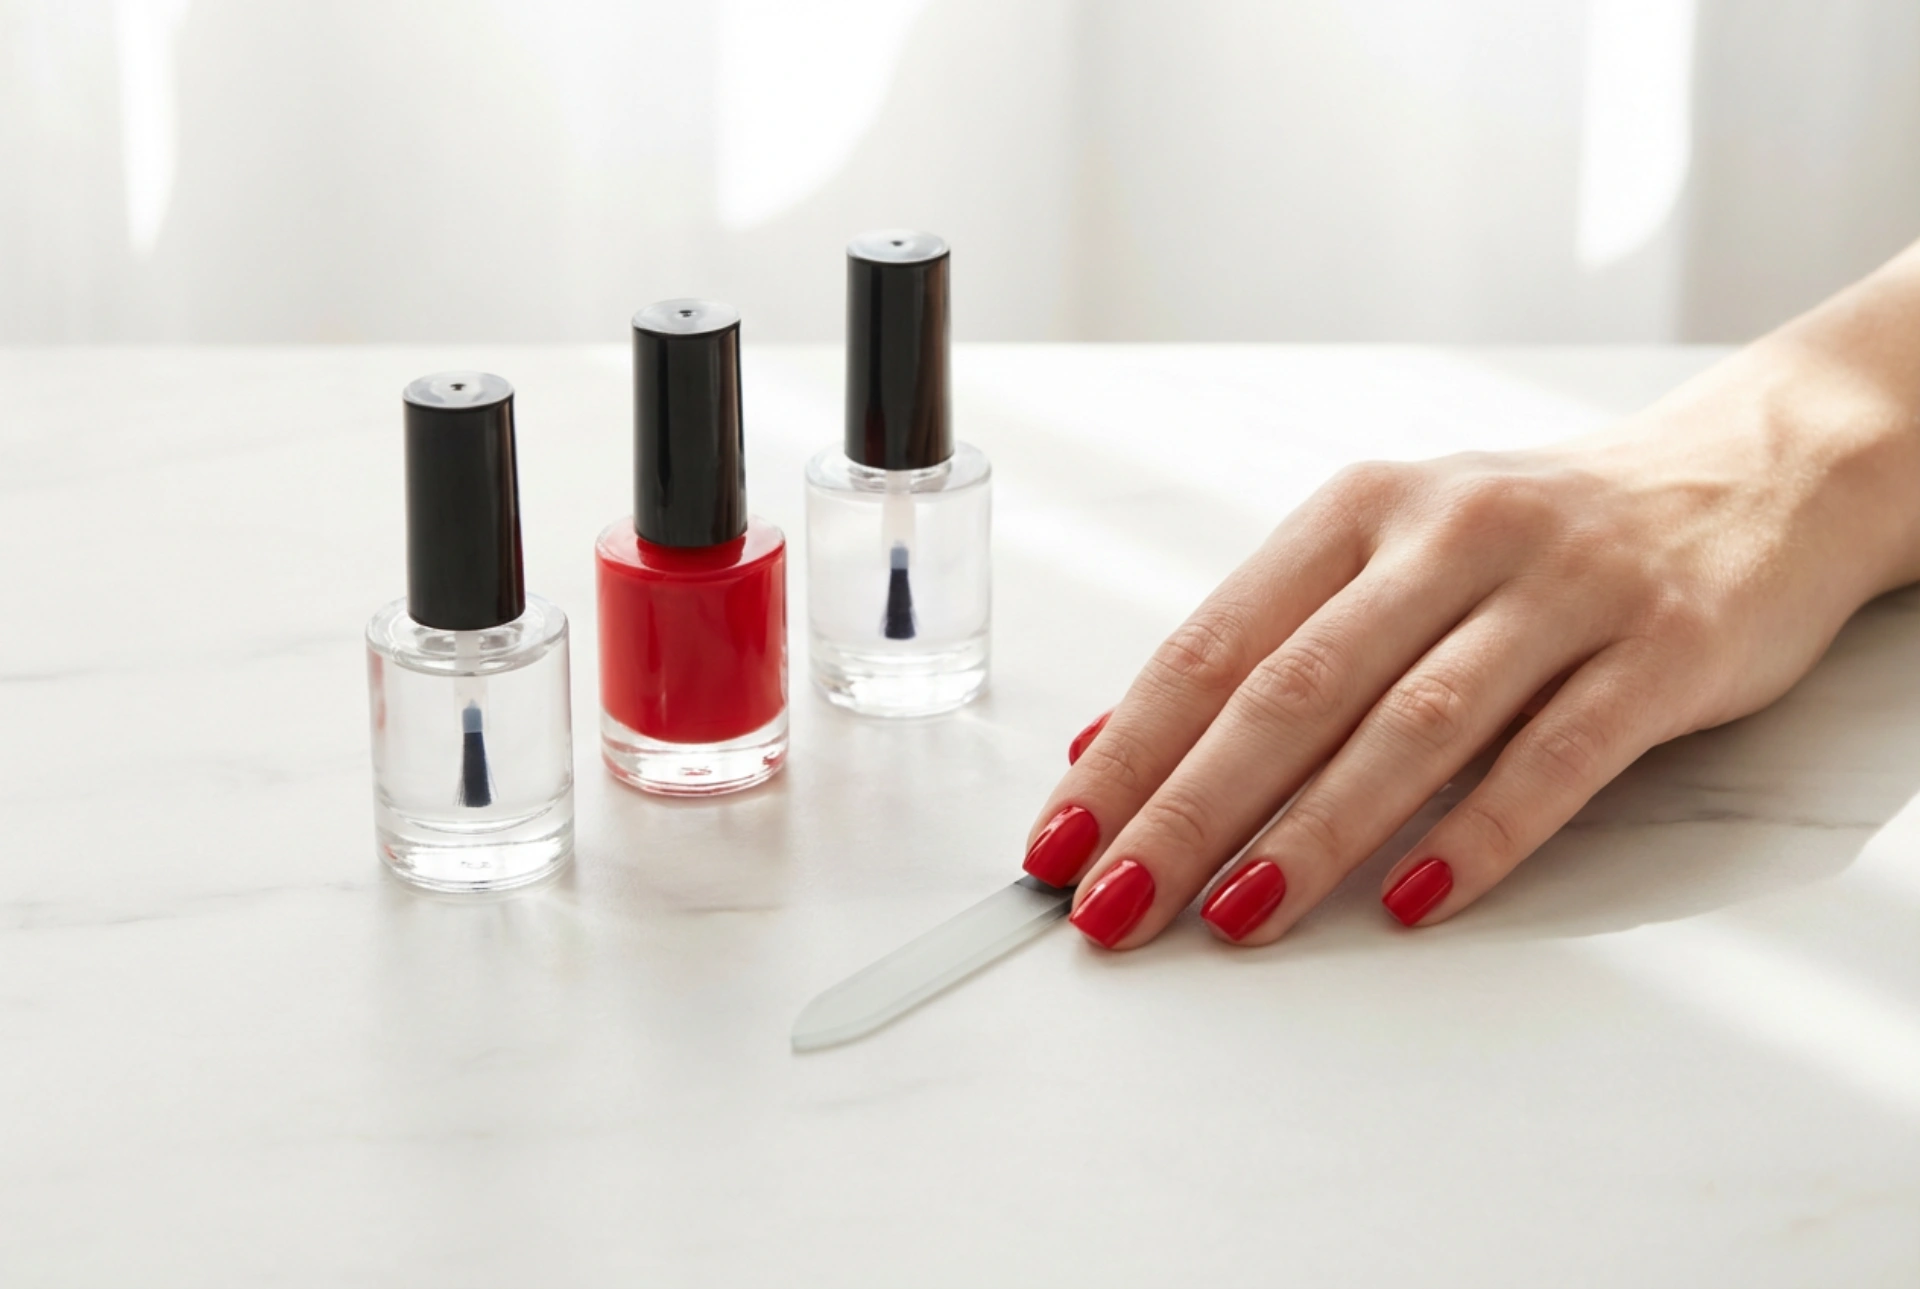
The longevity of your gel manicure depends heavily on proper preparation. Skipping these steps is a common cause of lifting and chipping, so dedicating time to this stage is essential for a beautiful, lasting result. Start with clean, dry hands. Gently file your nails to your desired shape using a soft nail file, preferably moving it in one direction from the side to the centre of the nail to prevent splitting. Next, focus on cuticle care. Gently push back your cuticles using a wooden or silicone cuticle pusher. Avoid cutting the live cuticle tissue, as this can damage the nail's protective barrier. If necessary, carefully trim only any detached, non-living pieces of skin (hangnails) with a pair of nippers. Once your nails are shaped, lightly buff the entire surface of each nail with a fine-grit buffer block. The goal is to remove the natural shine, not to thin the nail itself. This creates a slightly rougher texture that helps the gel product adhere securely. The final, critical preparation step is to cleanse and dehydrate the nail plate. Use a lint-free wipe saturated with a specialised nail surface cleanser or isopropyl alcohol to wipe each nail thoroughly. This removes all dust from filing, as well as any natural oils and moisture, which are the primary enemies of a long-lasting gel application.
The Application Process: Base, Colour, and Top Coat
With your nails perfectly prepped, it is time for the main event. A key principle for gel application is to work on one hand at a time and remember that thin, even coats are the secret to success. This prevents the product from running and ensures it cures properly under the lamp.
Step 1: Applying the Base Coat
The base coat serves two main functions: it acts as a protective layer for your natural nail and provides a sticky surface for the colour to grab onto. Apply a very thin, even layer of gel base coat to one nail, making sure to avoid any contact with the surrounding skin and cuticles. A crucial technique is to 'cap' the free edge of the nail by running the brush lightly along its tip. This seals the edge and helps prevent chipping later on. Cure the nail under your UV or LED lamp according to the manufacturer's instructions, which is typically 30-60 seconds for an LED lamp. Repeat this process for all nails on that hand before moving on.
Step 2: Applying the Vibrant Red Colour
Red polish demands precision. Apply a thin layer of your chosen red gel polish, starting a tiny distance away from the cuticle line and gently pushing the brush towards it before stroking down to the tip. This method gives you a clean, rounded application near the cuticle. Again, take care to avoid touching the skin. If you do get any polish on your skin, use a small, clean brush dipped in nail cleanser to wipe it away before curing. Cap the free edge just as you did with the base coat. Cure the entire hand under the lamp. Most red polishes will require two coats for full, even coverage and rich colour. Apply the second coat just as you did the first—thinly and precisely. Capping the free edge is just as important on this second coat. Cure the hand again for the recommended time.
Step 3: Sealing with the Protective Top Coat
The top coat is what gives your manicure its signature high-gloss shine and a durable, scratch-resistant finish. Apply a slightly more generous (but not thick) layer of gel top coat over the cured colour. Ensure you cover the entire nail surface, right up to the edges, and cap the free edge thoroughly. This final seal is vital for the manicure's longevity. Perform the final cure, which may be slightly longer depending on the product (e.g., 60-90 seconds), to ensure the top coat is fully hardened.
Finishing Touches and Aftercare
After the final cure, your nails will likely have a sticky or tacky layer on top. This is known as the inhibition layer, and it is a normal byproduct of the gel curing process. To remove it, take a fresh lint-free wipe saturated with your nail cleanser and wipe each nail firmly. You will be left with a hard, smooth, and incredibly shiny surface. To complete your manicure and nourish your skin, apply a drop of cuticle oil to the skin around each nail and massage it in. This rehydrates the area after the cleansing process and gives your manicure a polished, salon-fresh look. To keep your manicure looking its best for as long as possible, reapply cuticle oil daily and wear gloves when doing household chores or washing dishes to protect the polish from harsh chemicals and prolonged water exposure.
Common Mistakes to Avoid for a Flawless Finish
Achieving the perfect red gel manicure at home is often about avoiding common pitfalls that can compromise the final look and durability. By being aware of these, you can ensure a professional result.
- Applying Thick Coats: Thick layers of gel polish do not cure properly. The light from the lamp cannot penetrate all the way through, which can cause the polish to wrinkle or remain soft underneath, leading to easy peeling. Always apply multiple thin, even coats instead of one thick one.
- Flooding the Cuticles: If gel polish touches the skin or cuticles, it will create a small ledge when it cures. This allows water and oils to get underneath the polish, which will cause the manicure to lift from the nail plate, often within a few days. Work carefully and always clean up any mistakes before curing.
- Skipping or Rushing Nail Prep: If you do not properly buff and cleanse the nail plate, the gel will not have a clean, oil-free surface to adhere to. This is one of the most common reasons for premature chipping and peeling.
- Forgetting to Cap the Free Edge: Sealing the tip of the nail with each layer (base, colour, and top) is vital for preventing tip wear and chipping. This is where nails experience the most daily impact, so a good seal is your best defence.
- Under-Curing the Polish: Not curing each layer for the full recommended time will result in a soft manicure that can smudge, dent, and peel easily. Always follow the instructions for your specific gel polish and lamp.


