


Layered haircuts featuring shorter pieces around the face and longer sections at the back have become a timeless choice for those seeking volume, movement, and a flattering frame for their features. This style, reminiscent of modern shags or wolf cuts, is incredibly versatile but requires a specific styling approach to truly shine. Understanding how to handle these different lengths is key to achieving a polished, cohesive look rather than a disconnected one. With the right techniques and tools, you can easily master the art of styling this chic and dynamic haircut at home.
The Philosophy Behind the Cut
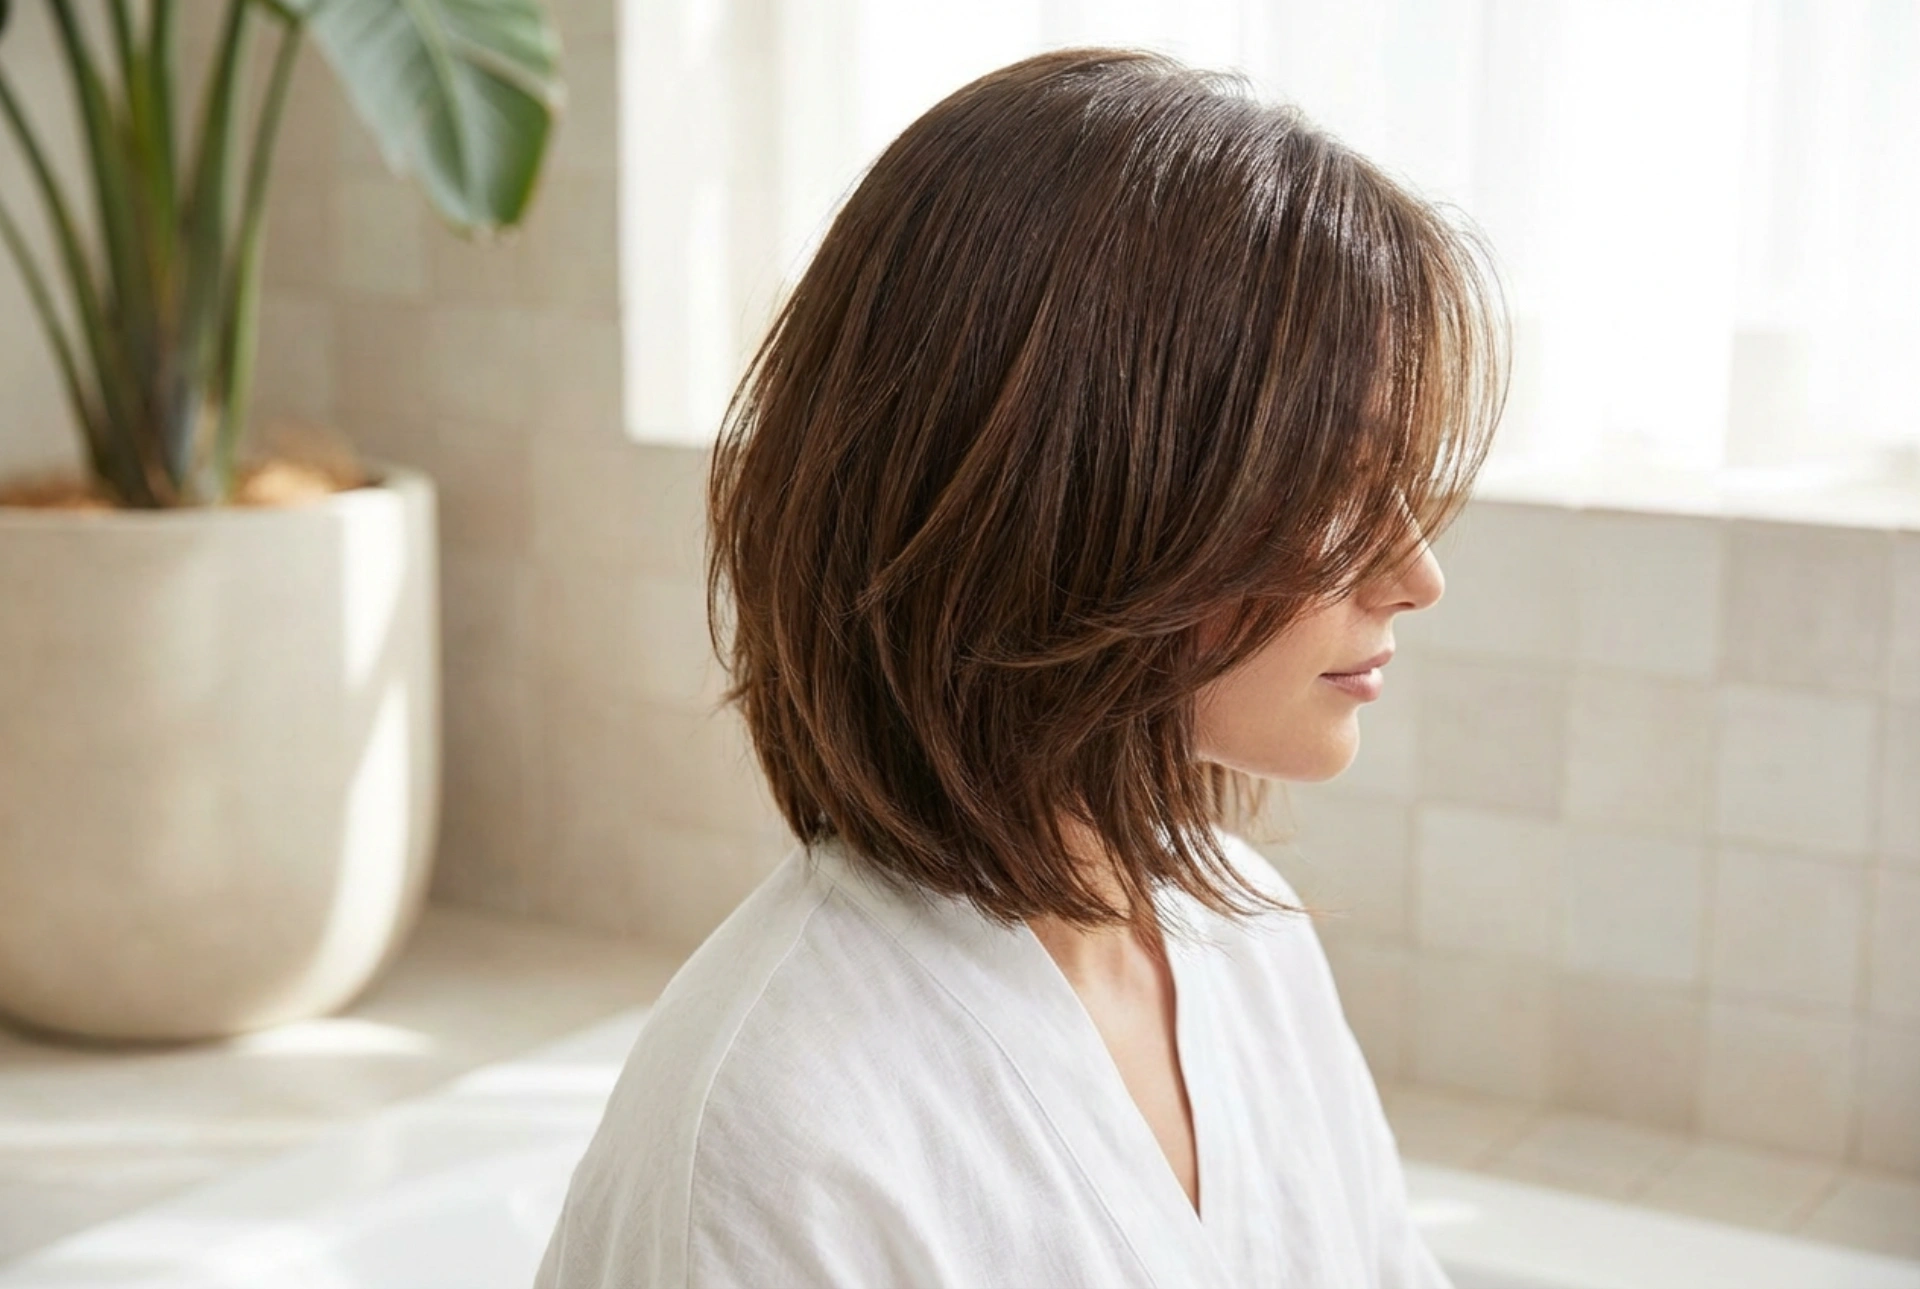
Before diving into styling, it's helpful to understand why this type of cut works so well. The shorter layers at the front are designed to open up and frame the face, drawing attention to the eyes and cheekbones. They add softness and can be adapted to suit any face shape. The longer layers in the back provide length and weight, preventing the style from looking too thin or sparse. The transition between these lengths creates texture and body, giving the hair an effortlessly styled appearance. The goal of styling is to enhance this built-in structure, not fight against it. Whether you prefer a sleek blowout or tousled waves, the key is to accentuate the movement and dimension that the layers provide.
Essential Tools for Home Styling
You don't need a salon's worth of equipment to style a layered cut effectively. A few key items will make all the difference in your daily routine. Investing in quality basics will protect your hair and yield better results.
- A Good Hairdryer: Look for one with adjustable heat and speed settings, as well as a concentrator nozzle. The nozzle is crucial for directing airflow precisely where you need it, which is essential for styling layers. A 'cool shot' button is also invaluable for setting your style.
- Round Brushes: Having at least two sizes is ideal. A medium-sized round brush is perfect for creating volume and a gentle bend in the longer sections of your hair. A smaller round brush gives you more control for styling the shorter, face-framing layers and bangs.
- Heat Protectant: This is non-negotiable. Always apply a heat protectant spray or cream to damp hair before using any heat tools. It creates a barrier that minimises damage, keeping your hair healthy and shiny.
- Texturising Product: A texturising spray, sea salt spray, or lightweight mousse can bring your layers to life. These products add grip, volume, and definition, helping to create that perfectly 'undone' look.
Step-by-Step Guide to a Polished Blow-Dry
For a smooth, voluminous finish that looks professionally done, a classic blow-dry with a round brush is the perfect technique. This method enhances the shape of your cut and gives it a sophisticated polish.
First, start with clean, towel-dried hair. Gently squeeze out excess water, but avoid rough rubbing, which can cause frizz. Apply your heat protectant evenly from roots to ends. If you're seeking extra volume, you can also apply a root-lifting mousse at this stage.
Next, rough-dry your hair using just your fingers until it's about 80% dry. Focus on lifting the hair at the roots to build a foundation of volume. Flip your head upside down for a few moments while drying to maximise lift.
Once your hair is mostly dry, section it off. Divide your hair into manageable sections using clips. Start with the bottom layers. Take a section of hair and place a medium-sized round brush at the root. Aim the hairdryer's nozzle downwards along the hair shaft as you pull the brush through to the ends. This smooths the cuticle and reduces frizz. For a gentle inwards curve, roll the brush under at the ends.
When you get to the shorter layers around your face, switch to a smaller round brush for more precision. Dry these sections by pulling them forward and slightly away from your face. This creates a soft, sweeping effect that opens up your features. Once a section is dry and styled, use the cool shot button on your hairdryer for a few seconds to lock the shape in place.
To finish, you can gently tousle your hair with your fingers and apply a small amount of texturising spray or a lightweight finishing cream to define the layers and add a touch of hold.
Common Styling Mistakes to Avoid
Even with the right haircut, a few common mistakes can prevent you from achieving the best results. Being mindful of these can significantly improve your styling game.
- Using Too Much Product: While texturising products are great, applying too much can weigh down your layers, making them look greasy and flat. Start with a small amount and add more only if necessary.
- Forgetting the Nozzle: Styling without the concentrator nozzle on your hairdryer results in a blast of hot air that goes everywhere, creating frizz and making it impossible to direct the hair. Always use the nozzle for a smooth, controlled finish.
- Over-drying the Hair: Don't blast your hair with the highest heat setting until it's bone-dry. This can cause unnecessary damage. Stop when the hair is dry to the touch and use the cool shot to finish.
- Styling in the Wrong Direction: The beauty of this cut is the forward movement of the layers. Avoid brushing the front pieces straight down or flat against your head. Always aim to style them with a bit of a curve or sweep away from the face to maintain the haircut's intended shape and movement.


