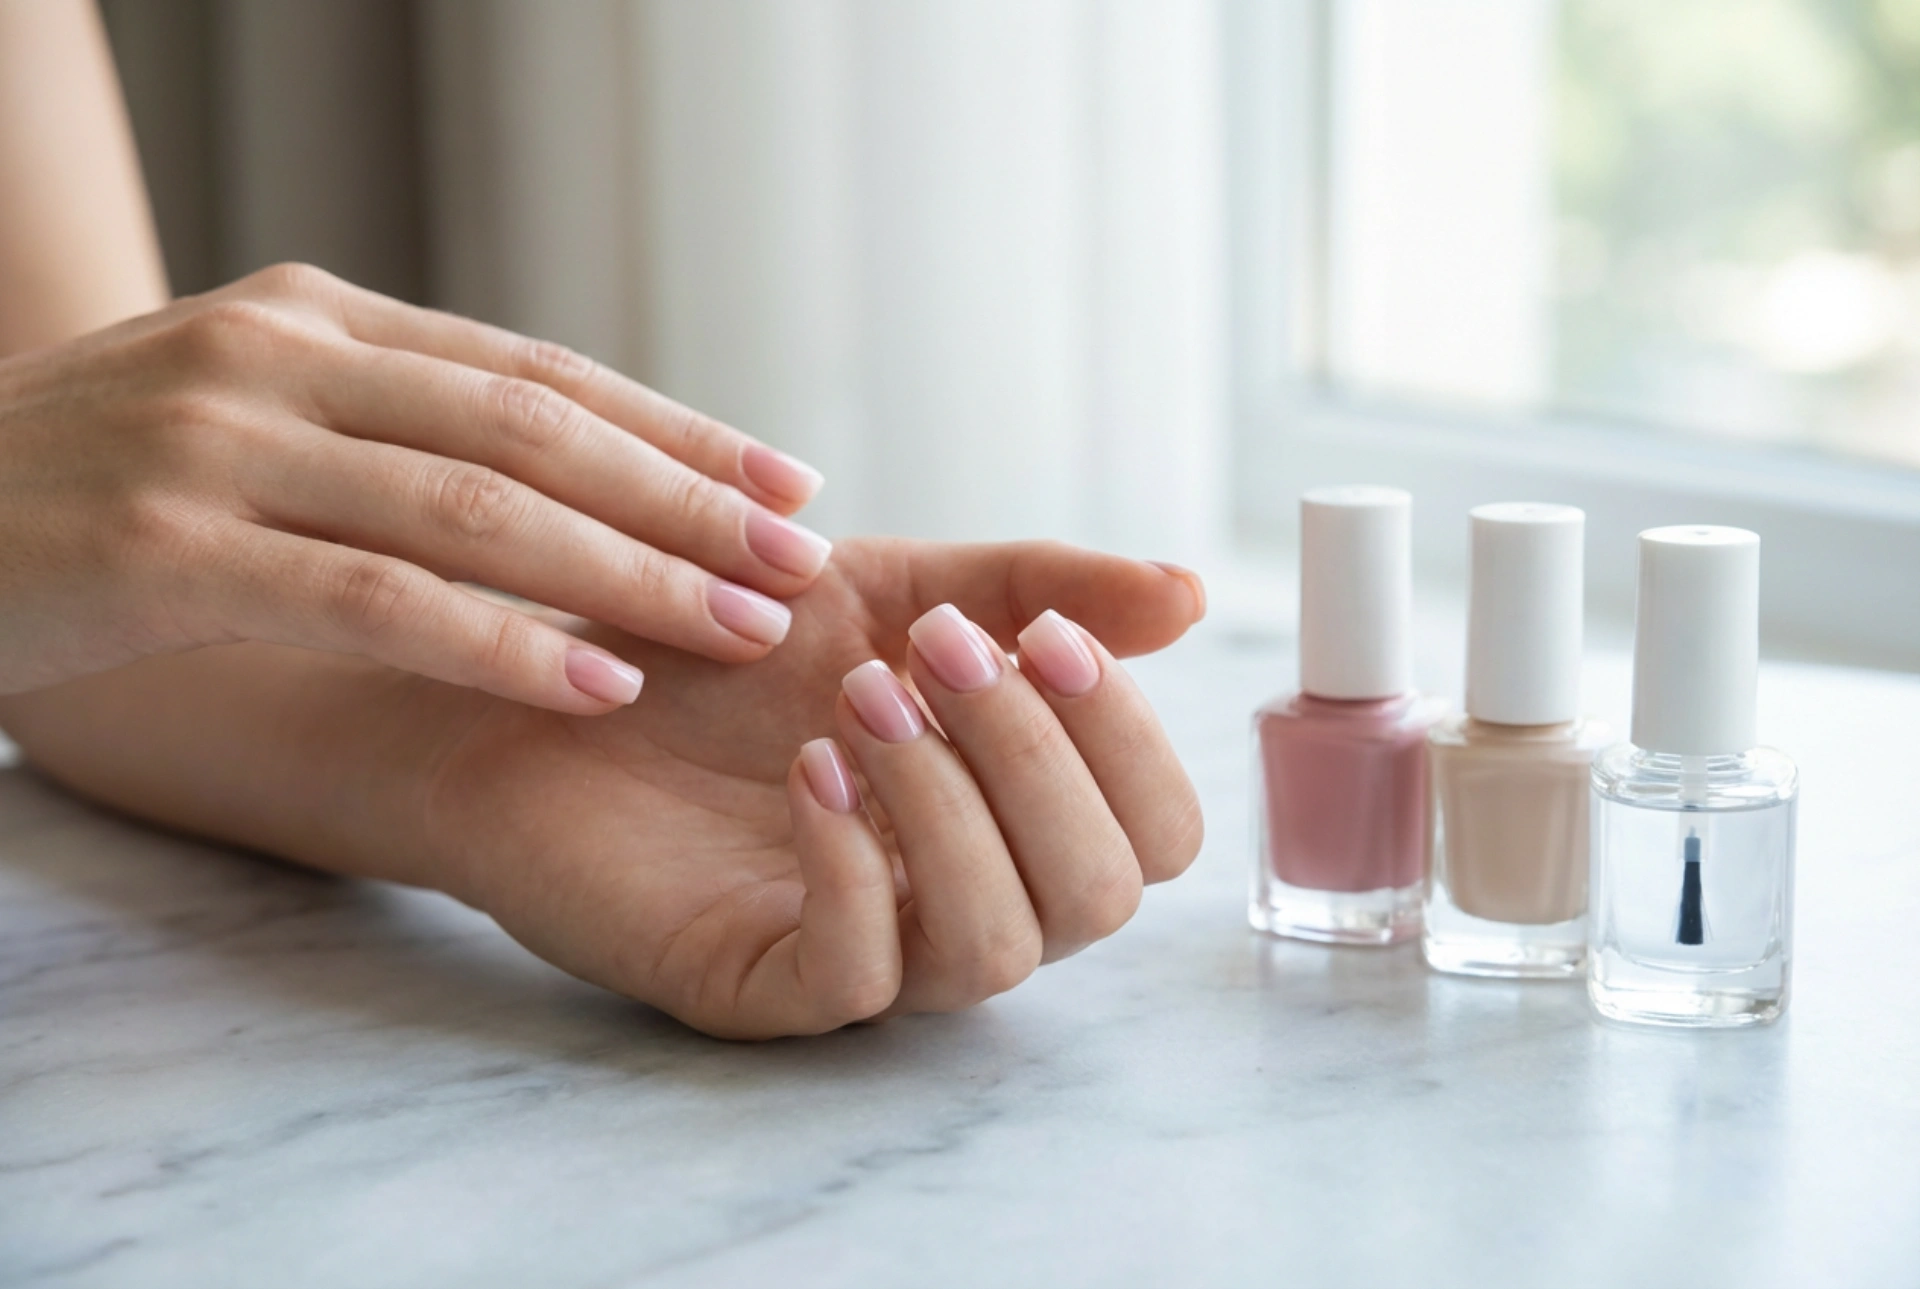


The pink and nude ombre manicure is a timeless classic that exudes elegance and sophistication. Its subtle gradient effect, transitioning from a soft neutral to a delicate pink, offers a versatile look that complements any style, from everyday casual to formal evening wear. While it may appear complex, creating this beautiful effect at home is entirely achievable with the right techniques and a little patience. This guide will walk you through every step, from selecting the perfect colours to mastering the blending process for a flawless finish.
Preparation: The Foundation of a Perfect Manicure
Before you even think about picking up your polish, proper nail preparation is essential. A clean and smooth canvas ensures your ombre effect looks professional and lasts longer. Start by removing any old polish. Then, shape your nails with a file, moving in one direction to prevent splitting. Gently push back your cuticles, but avoid cutting them to maintain the health of your nail bed. Finally, lightly buff the surface of your nails to create a subtle texture that helps the polish adhere better. Wipe your nails with a lint-free cloth to remove any dust or oils before you begin.
Gather Your Tools
Having everything you need on hand will make the process smoother and more enjoyable. You will need:
- A clear base coat
- A sheer nude or beige nail polish
- A pink nail polish
- A glossy top coat
- A small, disposable makeup sponge (a wedge shape works well)
- Liquid latex or tape to protect the skin around your nails
- A small, flat brush and nail polish remover for cleanup
Choosing the Perfect Shades of Pink and Nude
The success of a pink and nude ombre lies in the harmony between your chosen colours. The goal is a seamless transition, not a stark contrast. When selecting your nude polish, consider your skin tone. If you have cool undertones, a beige with pinkish hints will be flattering. For warm undertones, a nude with peachy or golden tones works beautifully. A sheer, milky white can also serve as a universally flattering base for the gradient.
When it comes to the pink, the options are endless. For a subtle and classic look, opt for a soft pastel or a dusty rose. These shades create a gentle, sophisticated gradient that is perfect for professional settings. If you prefer a more noticeable effect, a brighter baby pink or even a soft magenta can be used. The key is to ensure both polishes have a similar consistency and opacity. Two cream-finish polishes will blend much more smoothly than a cream and a glitter polish, for example. Swatching them side-by-side on a piece of paper can help you visualise the final blend.
Step-by-Step Guide to Creating the Ombre Effect
With your nails prepped and colours chosen, you are ready to create the gradient. Follow these steps carefully for the best results.
Step 1: Apply Your Base Layers
Start with a thin layer of your base coat to protect your nails and provide a smooth foundation. Once it's dry, apply one or two coats of your chosen nude polish. This will be the lightest part of your gradient, typically near the cuticle. Allow this layer to dry completely before moving on.
Step 2: Protect Your Skin
Apply liquid latex or small pieces of tape to the skin surrounding your nail. The sponging technique can be messy, and this step will make cleanup significantly easier.
Step 3: Prepare the Sponge
Lightly dampen your makeup sponge with water and squeeze out any excess. A damp sponge absorbs less polish and helps the colours blend more seamlessly. Apply horizontal stripes of your nude and pink polishes directly onto the sponge, ensuring they are side-by-side and slightly overlapping in the middle.
Step 4: Create the Gradient
Gently dab or press the polish-coated sponge onto your nail. Use a light, bouncing motion, moving it slightly up and down to help blend the colours. Don't press too hard, as this can lift the base colour. The first application will look sheer; you will build the opacity. Reapply polish to the sponge and repeat the dabbing process until you are happy with the intensity of the gradient. Do this for each nail.
Step 5: Clean Up and Finish
Once you've achieved your desired look, carefully peel off the liquid latex or tape while the polish is still slightly tacky. Use your small brush dipped in nail polish remover to tidy up any stray polish on your skin, creating a crisp, clean line around the nail.
Step 6: Seal with a Top Coat
This final step is crucial. A generous layer of a glossy top coat will not only add brilliant shine but will also magically smooth out the slightly textured surface left by the sponge, melting the colours together for that perfect, professional-looking ombre effect. It also protects your design, helping it last for days.
Tips for a Flawless Finish
To elevate your at-home ombre manicure, keep a few expert tips in mind. Firstly, always reapply fresh polish to your sponge for every one or two nails to ensure the gradient remains vibrant and doesn't become muddy. Secondly, patience is key – allow each layer to dry sufficiently to prevent smudging. If you find the sponge creates tiny bubbles, you might be pressing too hard or the sponge might be too dry. Finally, don't be discouraged if your first attempt isn't perfect. Like any skill, practice makes perfect, and soon you'll be creating beautiful pink and nude ombre nails with ease.


