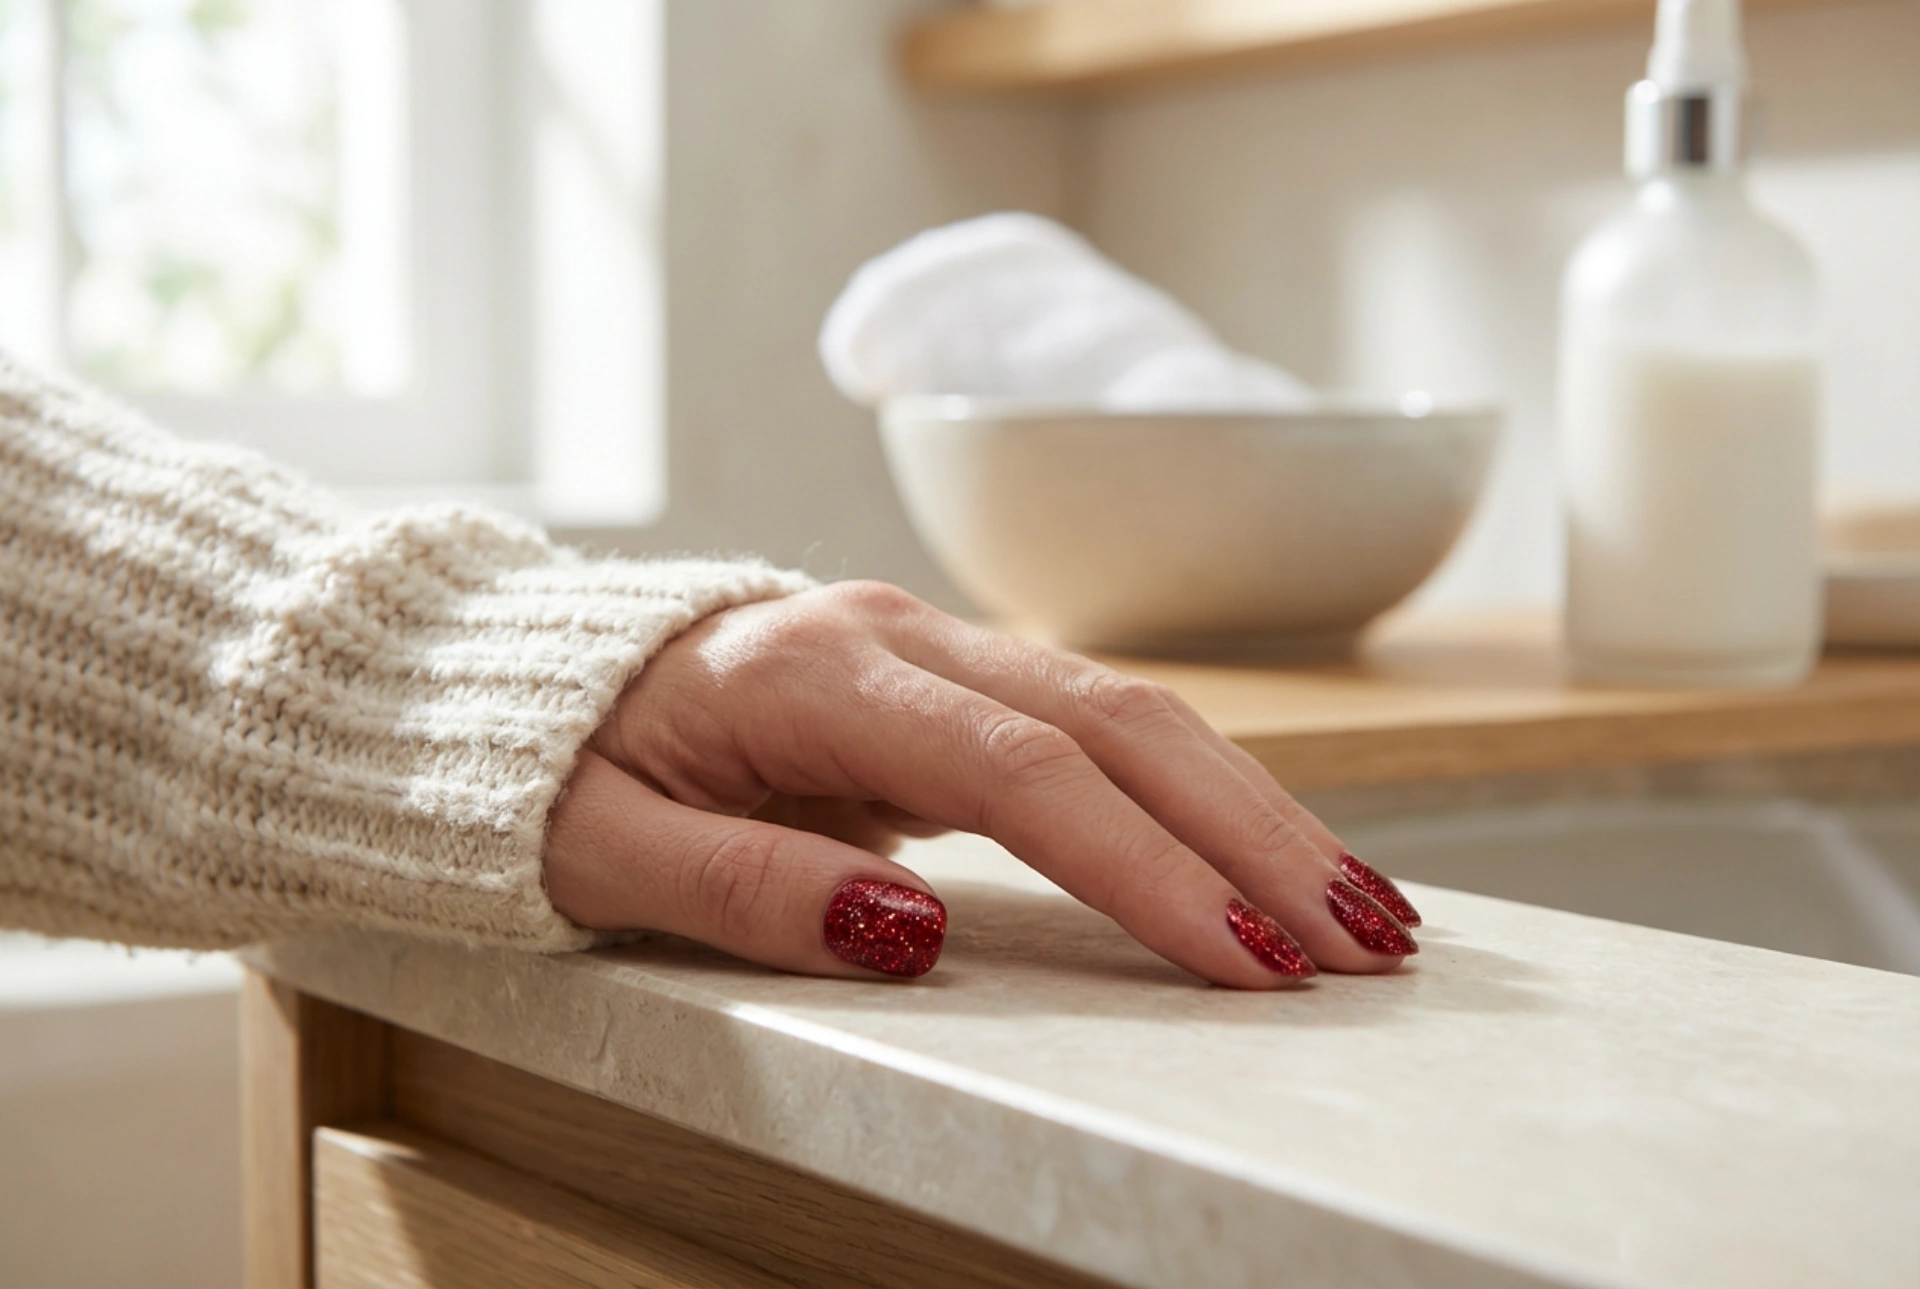


A red glitter manicure is a timeless statement of glamour and confidence. Perfect for festive seasons, special occasions, or simply when you want to add a touch of sparkle to your day, these nails catch the light and draw attention. However, the unique texture of glitter polish can present a challenge: achieving a smooth, durable finish that doesn't feel rough or chip easily. The secret lies in the right preparation and application technique. This guide will walk you through the steps to create a stunning and long-lasting red glitter manicure at home.
The Foundation: Why Nail Preparation Matters
Before you even think about opening the glitter polish, proper nail preparation is essential. This step creates a clean, smooth canvas, which helps the polish adhere better and last longer. Neglecting preparation is one of the main reasons manicures fail to last.
- Clean and Shape: Start by removing any old polish. Wash your hands and gently clean under your nails. File your nails into your desired shape, always filing in one direction to prevent splitting. Gently push back your cuticles, but avoid cutting them at home to prevent potential damage.
- Buff the Surface: Lightly buff the surface of your nails. This removes natural oils and creates a slightly textured surface for the polish to grip onto. Use a fine-grit buffer and be gentle to avoid thinning the nail.
- Dehydrate the Nail Plate: Wipe each nail with a lint-free pad soaked in nail polish remover or isopropyl alcohol. This final cleansing step removes any remaining oils and dust, ensuring maximum adhesion.
- Apply a Base Coat: Never skip the base coat. It not only protects your natural nails from staining, which is especially important with rich red colours, but also provides a sticky layer for the glitter polish to cling to. Let it dry completely before proceeding.
Application Techniques for Maximum Sparkle
Applying glitter polish can be different from applying a standard crème polish. The goal is to get an even distribution of glitter particles without creating thick, lumpy layers. There are a couple of popular methods to achieve this.
The Direct Painting Method
This is the most straightforward technique. Apply the red glitter polish just as you would a regular colour. The key is to use thin coats. The first coat might look sparse, but don't be tempted to apply a thick layer to compensate. Allow the first coat to dry for a few minutes, then apply a second. A third thin coat may be needed for full opacity. Thin layers dry faster and are less prone to smudging and chipping.
The Sponging Method for Intense Glitter
For a more concentrated, high-impact glitter look, the sponging technique is highly effective. It deposits the glitter particles onto the nail while the sponge absorbs some of the excess clear or coloured base in the polish.
- First, protect the skin around your nail with a liquid latex barrier or some petroleum jelly, as this method can be messy.
- Paint a small amount of the red glitter polish onto a corner of a disposable makeup sponge.
- Gently dab or stipple the sponge onto your nail. You will immediately see a denser application of glitter.
- Repeat until you reach your desired opacity, letting it dry for a minute between layers. Once you are happy with the coverage, carefully remove the skin protector.
Sealing the Deal: The Crucial Top Coat
Glitter manicures are known for their gritty, textured feel. A top coat is non-negotiable for two reasons: it smooths the surface and it seals the glitter, providing a protective shield that extends the life of your manicure significantly.
Due to the texture, one layer might not be enough. First, apply a generous layer of a good quality, quick-drying top coat. This will begin to fill in the gaps between the glitter particles. Let it dry for about five to ten minutes. You might still feel a slight texture. For a completely smooth, gel-like finish, apply a second layer of the top coat. Make sure to 'cap' the free edge of your nail with the top coat by running the brush along the tip. This helps to prevent chipping, which often starts at the tips.
Maintenance and Common Mistakes to Avoid
With your beautiful red glitter nails complete, a little care will go a long way in keeping them perfect.
- Mistake: Applying Thick Coats. Thick layers of polish, especially glitter polish, take a very long time to dry fully and are prone to dents and peeling. Always opt for multiple thin coats.
- Mistake: Skipping the Top Coat. Without a top coat, glitter is exposed and can easily snag on clothes or hair, leading to chipping. The textured surface also collects dirt more easily.
- Maintenance Tip: Reapply Top Coat. To refresh the shine and add extra protection, apply another thin layer of top coat every two to three days.
- Maintenance Tip: Hydrate Cuticles. Apply cuticle oil daily. Healthy, hydrated cuticles frame your manicure beautifully and help prevent hangnails.
- Maintenance Tip: Be Kind to Your Nails. Wear gloves when doing dishes or household cleaning. Avoid using your nails as tools to open cans or scrape things.
By following these steps, you can achieve a professional-looking red glitter manicure that is not only stunningly vibrant but also impressively durable, allowing you to enjoy your sparkle for days on end.


