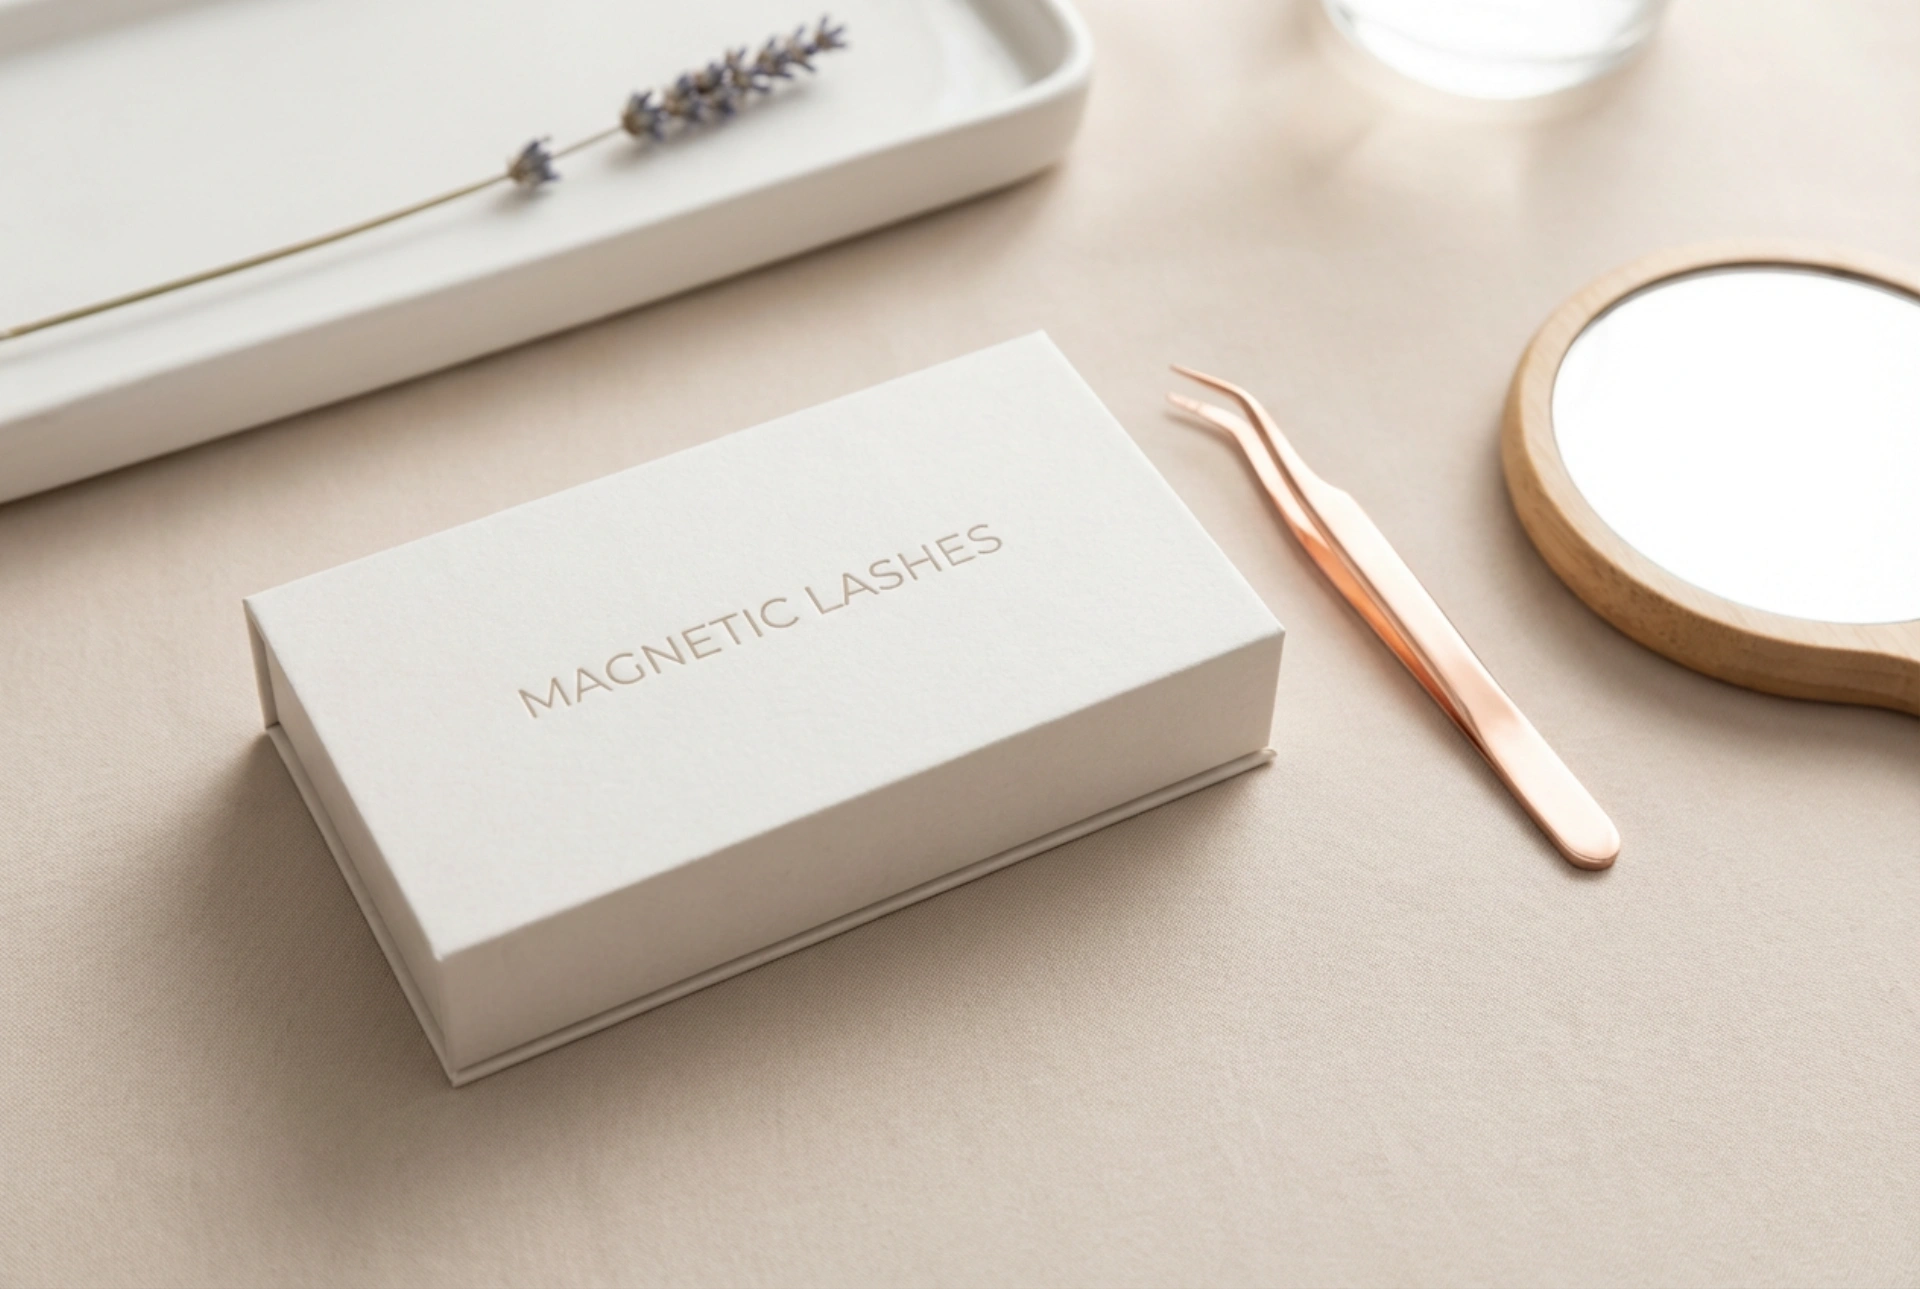


Magnetic eyelashes have revolutionised the world of beauty, offering a convenient and reusable alternative to traditional false lashes that require messy glue. They represent a refined, accessible approach to enhancing your eyes, fitting seamlessly into a modern beauty routine. Understanding how to choose the right style, apply them correctly, and care for them properly is key to unlocking their full potential. This guide will walk you through everything you need to know to master the art of magnetic lashes.
Understanding the Types of Magnetic Lashes
Before diving into application, it’s important to know that magnetic lashes come in two primary forms. The most popular type works in tandem with a magnetic eyeliner. You apply the eyeliner, which contains fine magnetic particles, and the lash strip, fitted with tiny magnets, simply clicks into place. The second type, often called 'sandwich' lashes, consists of two separate lash strips per eye—one for above your natural lashes and one for below. These two strips have magnets that clamp together, sandwiching your natural lashes in between. While the sandwich method avoids eyeliner, the magnetic liner technique is generally considered easier for beginners and offers a more secure hold throughout the day.
How to Choose the Right Magnetic Lashes for Your Eye Shape
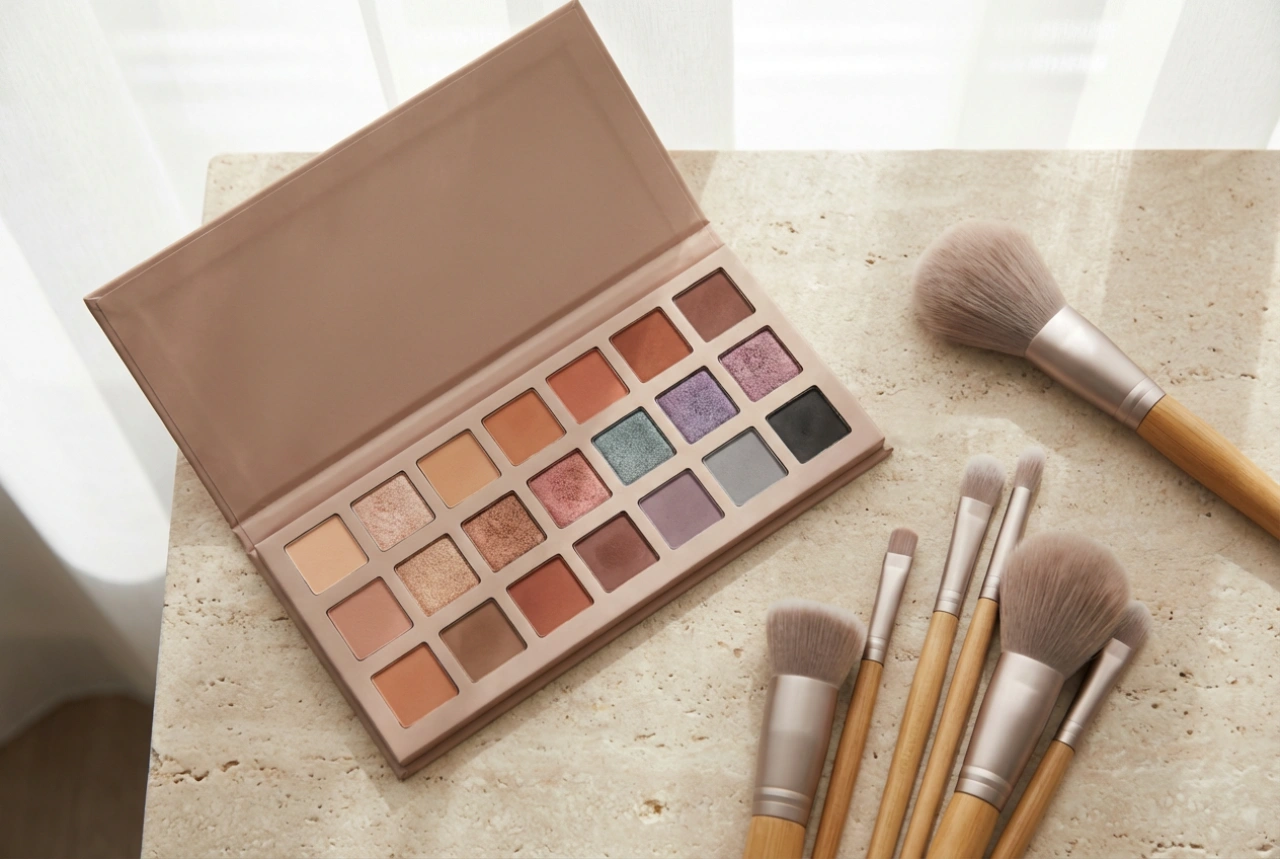
Selecting a lash style that complements your natural eye shape can dramatically enhance your overall look. Just like with traditional falsies, the goal is to create balance and draw positive attention to your eyes. Here are some general guidelines to help you find your perfect match.
For Almond Eyes
Almond eyes are incredibly versatile, meaning almost any lash style will look flattering. You can experiment with everything from natural, wispy lashes for a subtle enhancement to full, voluminous styles for a dramatic evening look. Cat-eye or winged styles that are shorter on the inner corner and flare out at the outer corner are particularly effective at accentuating this eye shape.
For Round Eyes
If you have round eyes, the aim is often to create the illusion of a more elongated, almond-like shape. To achieve this, opt for winged or cat-eye lashes. These styles are longer and more voluminous at the outer corners, which helps to lift and extend the eye horizontally. Avoid overly thick, heavy lashes that are the same length all the way across, as they can make the eye appear smaller or more closed.
For Hooded Eyes
Hooded eyes feature an extra layer of skin that droops over the crease, making the eyelid look smaller. The best lashes for this shape are those that are longer in the centre and taper at both ends. This design helps to create an illusion of depth and opens up the eye vertically, making it appear larger and more awake. Choose a fluttery, light style that won't weigh down your lid.
For Monolid Eyes
Monolid eyes do not have a visible crease. Fluttery, multi-layered, and crisscross lash styles are excellent choices as they add dimension and the illusion of depth. A less dense, spiky lash can also look beautiful, adding definition without overwhelming the eye. Look for styles with a slight curl to help lift and open up the eye area.
A Step-by-Step Guide to Application
Applying magnetic lashes, especially with a magnetic liner, is a straightforward process. With a little practice, you can achieve a flawless look in minutes.
- Step 1: Prepare Your Eyelids. Start with clean, dry eyelids. If you plan to wear eyeshadow, apply it before the magnetic eyeliner. This ensures the liner has a smooth, oil-free surface to adhere to.
- Step 2: Apply the Magnetic Eyeliner. Shake the magnetic eyeliner bottle well before use. Apply a smooth, even line along your upper lash line, just as you would with a regular liquid eyeliner. Ensure the line is thick enough for the lash magnets to make a strong connection. For extra hold, consider applying a second coat after the first has completely dried.
- Step 3: Allow the Liner to Dry. This is a crucial step. The eyeliner must be fully dry to the touch before you attach the lashes. This usually takes about one to two minutes. If the liner is still wet, the lash will not adhere correctly and may slide around.
- Step 4: Attach the Magnetic Lash. Using your fingers or a non-metallic lash applicator, hold the magnetic lash strip and gently place it directly onto the dried eyeliner line. You should feel a gentle magnetic 'click' as the magnets connect to the liner. Start by aligning the centre of the lash with the centre of your eye, then press down the inner and outer corners.
- Step 5: Adjust as Needed. If the lash isn't perfectly positioned, you can gently lift it from one corner and reposition it. The magnetic bond is strong but forgiving enough to allow for minor adjustments right after application.
Care and Maintenance for Longevity
One of the greatest benefits of magnetic lashes is their reusability. With proper care, a single pair can be worn many times. To keep them in pristine condition, follow these simple maintenance steps.
Gentle Removal
To remove the lashes, gently grasp the outer corner of the lash band and slowly peel it away from your eyelid towards the inner corner. Avoid pulling or tugging on the lash fibres themselves. To remove the magnetic eyeliner, use an oil-based makeup remover or micellar water on a cotton pad. Hold the pad over your closed eye for a few seconds to dissolve the liner, then gently wipe it away.
Cleaning and Storage
After each use, it’s important to clean any eyeliner residue from the tiny magnets on the lash band. You can do this by gently scraping it off with a fingernail or using a cotton bud dipped in an oil-free makeup remover. Be careful not to wet the lash fibres. Once clean and dry, always store your magnetic lashes in their original case. This helps them maintain their curved shape and keeps them protected from dust and damage, ensuring they are ready for your next use.