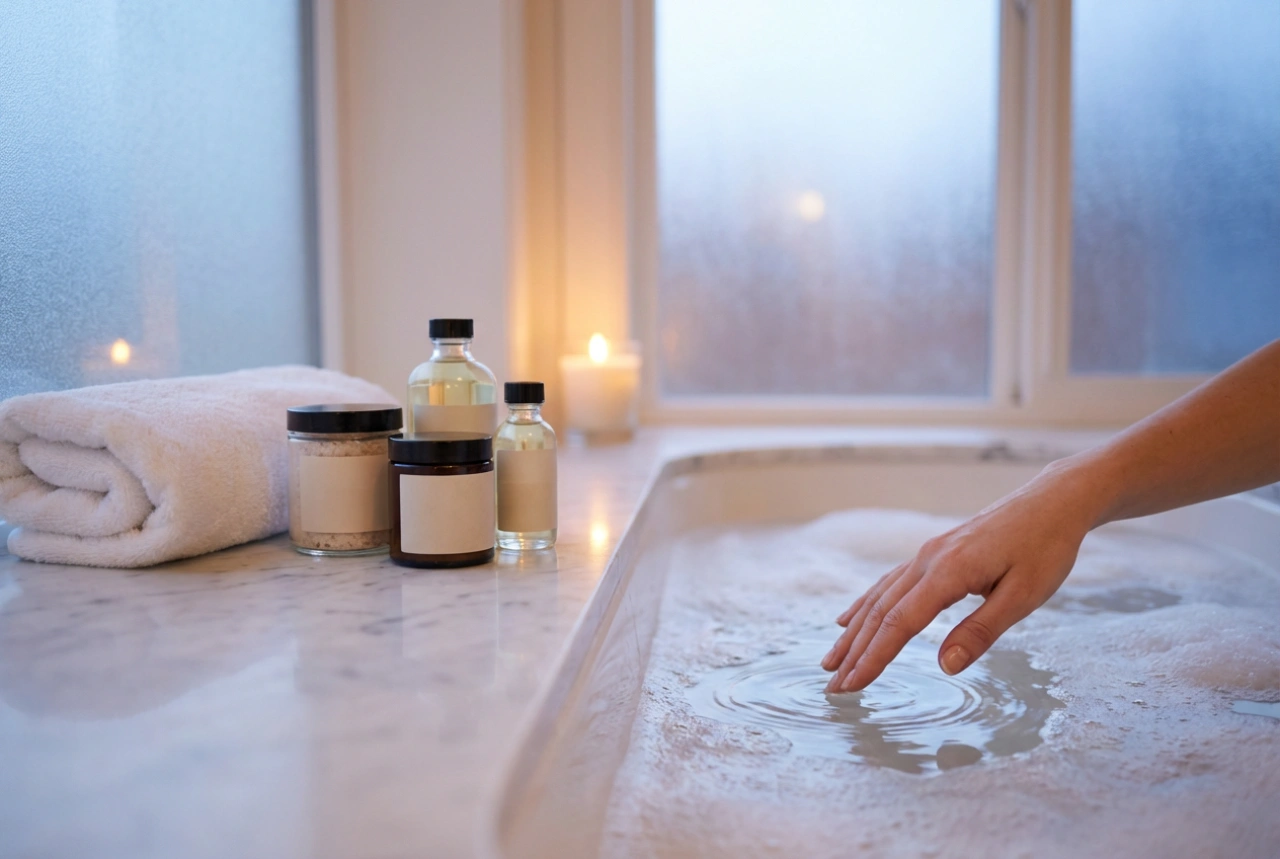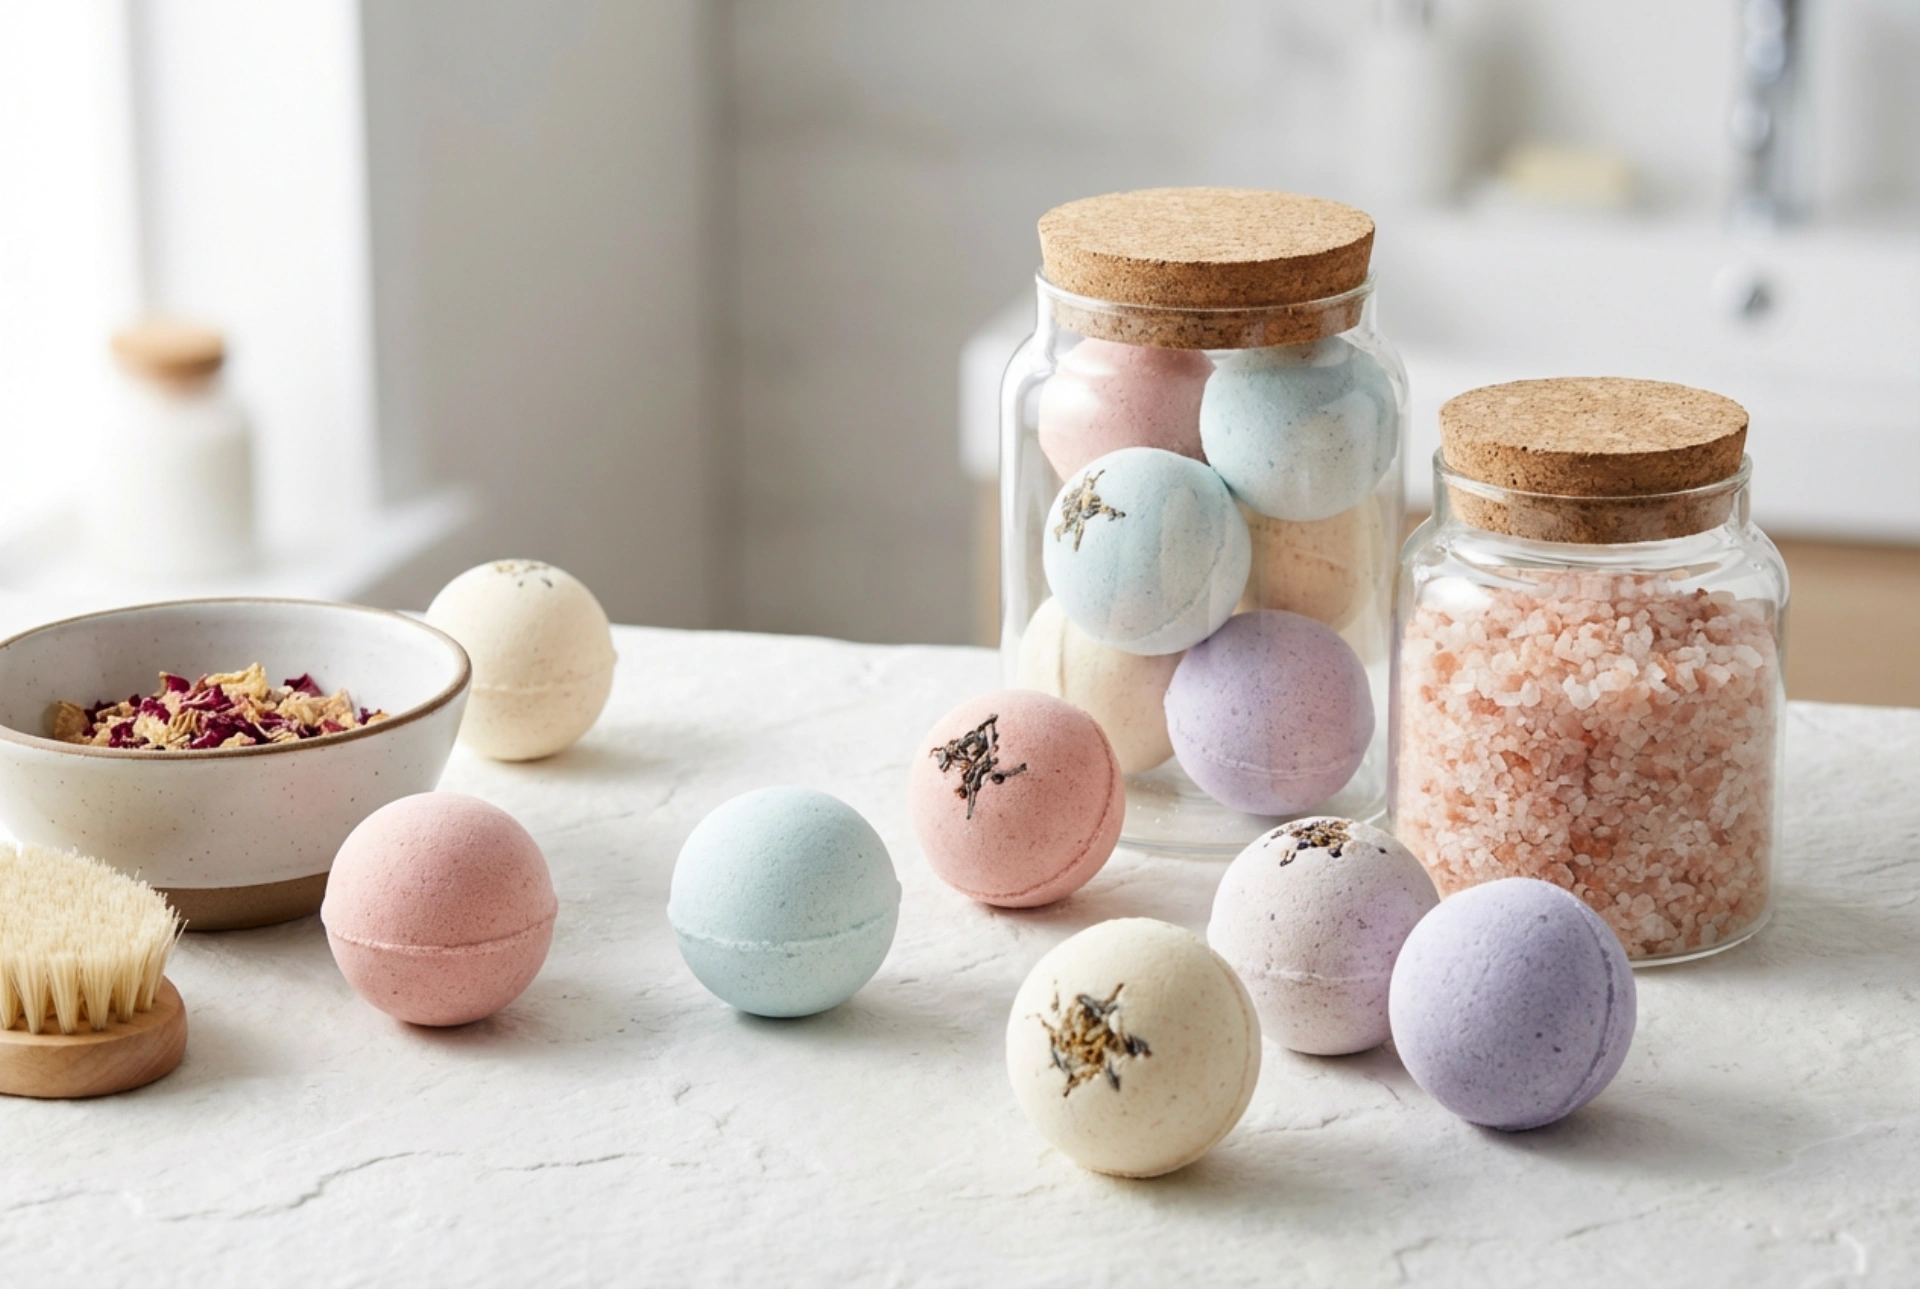


Creating your own bath bombs is a delightful way to personalise your relaxation ritual. The sight of a beautifully crafted bath bomb, waiting in a minimalist glass jar, promises a soothing experience. However, the journey from raw ingredients to a perfect, fizzy sphere involves more than just mixing. The key to a successful creation lies in the final, crucial stages: shaping, drying, and storing. Mastering these steps ensures your handcrafted treasures are firm, fragrant, and ready to transform your bath into a spa-like escape.
Perfecting the Shape of Your Bath Bombs
The first step towards a durable and aesthetically pleasing bath bomb is achieving the right form. The consistency of your mixture is paramount; it should feel like damp sand and hold its shape when squeezed. If it's too dry, it will crumble, and if it's too wet, it may activate prematurely.
When it comes to moulds, you have several options:
- Two-piece spherical moulds: These are classic for creating the traditional round bath bomb. The trick is to overfill both halves slightly and press them together firmly but without twisting. A gentle tap on the mould before releasing will help ensure a clean separation.
- Silicone moulds: Available in countless shapes and sizes, silicone moulds are flexible and easy to use. Simply press the mixture firmly into the cavity, smoothing the top. Their flexibility makes demoulding straightforward.
- Household items: You can also get creative with items like measuring cups, ice cube trays, or even small food containers. The key is to pack the mixture tightly to avoid air pockets, which can lead to weak spots.
Regardless of the mould you choose, avoid over-handling the mixture. Work efficiently to pack and shape your bombs before the ingredients begin to react with any ambient moisture.
The Crucial Drying Process
Drying is arguably the most important stage in making bath bombs. This process allows them to harden completely, locking in the fizz and fragrance until you're ready to use them. Skipping or rushing this step will result in soft, crumbly bombs that may fizz out before they even hit the water. The goal is to allow the moisture from the binding agents to evaporate slowly, creating a solid, stable structure.
Place your freshly moulded bath bombs on a soft surface like a towel or a tray lined with parchment paper. This prevents them from flattening on one side. They should be left in a well-ventilated, low-humidity room. Avoid direct sunlight, which can fade colours and degrade essential oils, and steer clear of damp areas like bathrooms or kitchens where the air moisture can trigger a reaction.
Factors Affecting Drying Time
The time it takes for a bath bomb to fully cure can vary. Several factors come into play:
- Humidity: This is the biggest variable. In a dry climate, bath bombs might be ready in 24 hours. In a humid environment, it could take three to four days or even longer. Using a dehumidifier in the room can significantly speed up the process.
- Size and Density: Larger, more densely packed bath bombs will naturally take longer to dry than smaller ones, as moisture needs more time to escape from the core.
- Ingredients: The type and amount of oils or butters in your recipe can also influence drying time. Recipes with a higher oil content may require a longer curing period.
A bath bomb is fully dry when it is hard to the touch and makes a distinct clinking sound when tapped gently.
Proper Storage for Lasting Freshness
Once your bath bombs are completely dry and hard, proper storage is essential to protect them from their primary enemy: moisture. Exposure to humidity will cause them to lose their fizziness over time. To ensure they remain potent and effective, follow these storage guidelines.
The best solution is an airtight container. Glass jars with tight-fitting lids are not only effective but also look beautiful on a bathroom shelf. You can also use plastic containers or resealable bags. If you've made a large batch, consider individually wrapping each bath bomb in cling film or shrink wrap before placing them in the container. This provides an extra layer of protection against air and moisture, which is particularly useful if you plan to give them as gifts.
Store the container in a cool, dark, and dry place. A linen cupboard or a bedroom drawer is a much better choice than a bathroom cabinet, where steam from showers can compromise their quality. Stored correctly, your homemade bath bombs can maintain their fizz and fragrance for several months.
Common Pitfalls to Avoid
Even with care, you might encounter a few issues. Here are some common problems and how to address them:
- Cracking during drying: This often happens if the mixture was slightly too dry or if the ambient temperature changed too quickly. Ensure your mix has the right damp-sand consistency.
- Expanding or 'growing' out of the mould: This is a sign that the mixture was too wet and has started to react. Use a spray bottle for liquids to add moisture more controllably.
- Soft bombs after drying: If your bombs are soft even after several days, the culprit is almost always humidity. Try moving them to a drier room or use a dehumidifier.
- Losing scent: Store bombs in airtight containers to preserve the fragrance from essential or fragrance oils. Wrapping them individually also helps lock in the scent.
By paying close attention to these final steps, you can ensure every bath bomb you create offers the fizzy, fragrant, and luxurious experience you intended.