


Creating soft, natural-looking waves in short hair can beautifully enhance its texture and volume. While it might seem that long hair has all the fun with styling, short cuts from bobs to pixies can be transformed with the right approach. Achieving that effortlessly chic, wavy look is not only possible but also straightforward with the correct tools and techniques. This guide will walk you through the process, from preparing your hair to ensuring your gorgeous waves last all day.
Preparing Short Hair for Waving
Proper preparation is the foundation of any long-lasting hairstyle. Before you even reach for a heated tool, a few simple steps can make a significant difference to the final result and the health of your hair. Starting with a good canvas ensures your waves will form more easily and hold their shape for longer.
Start with Dry, Protected Hair
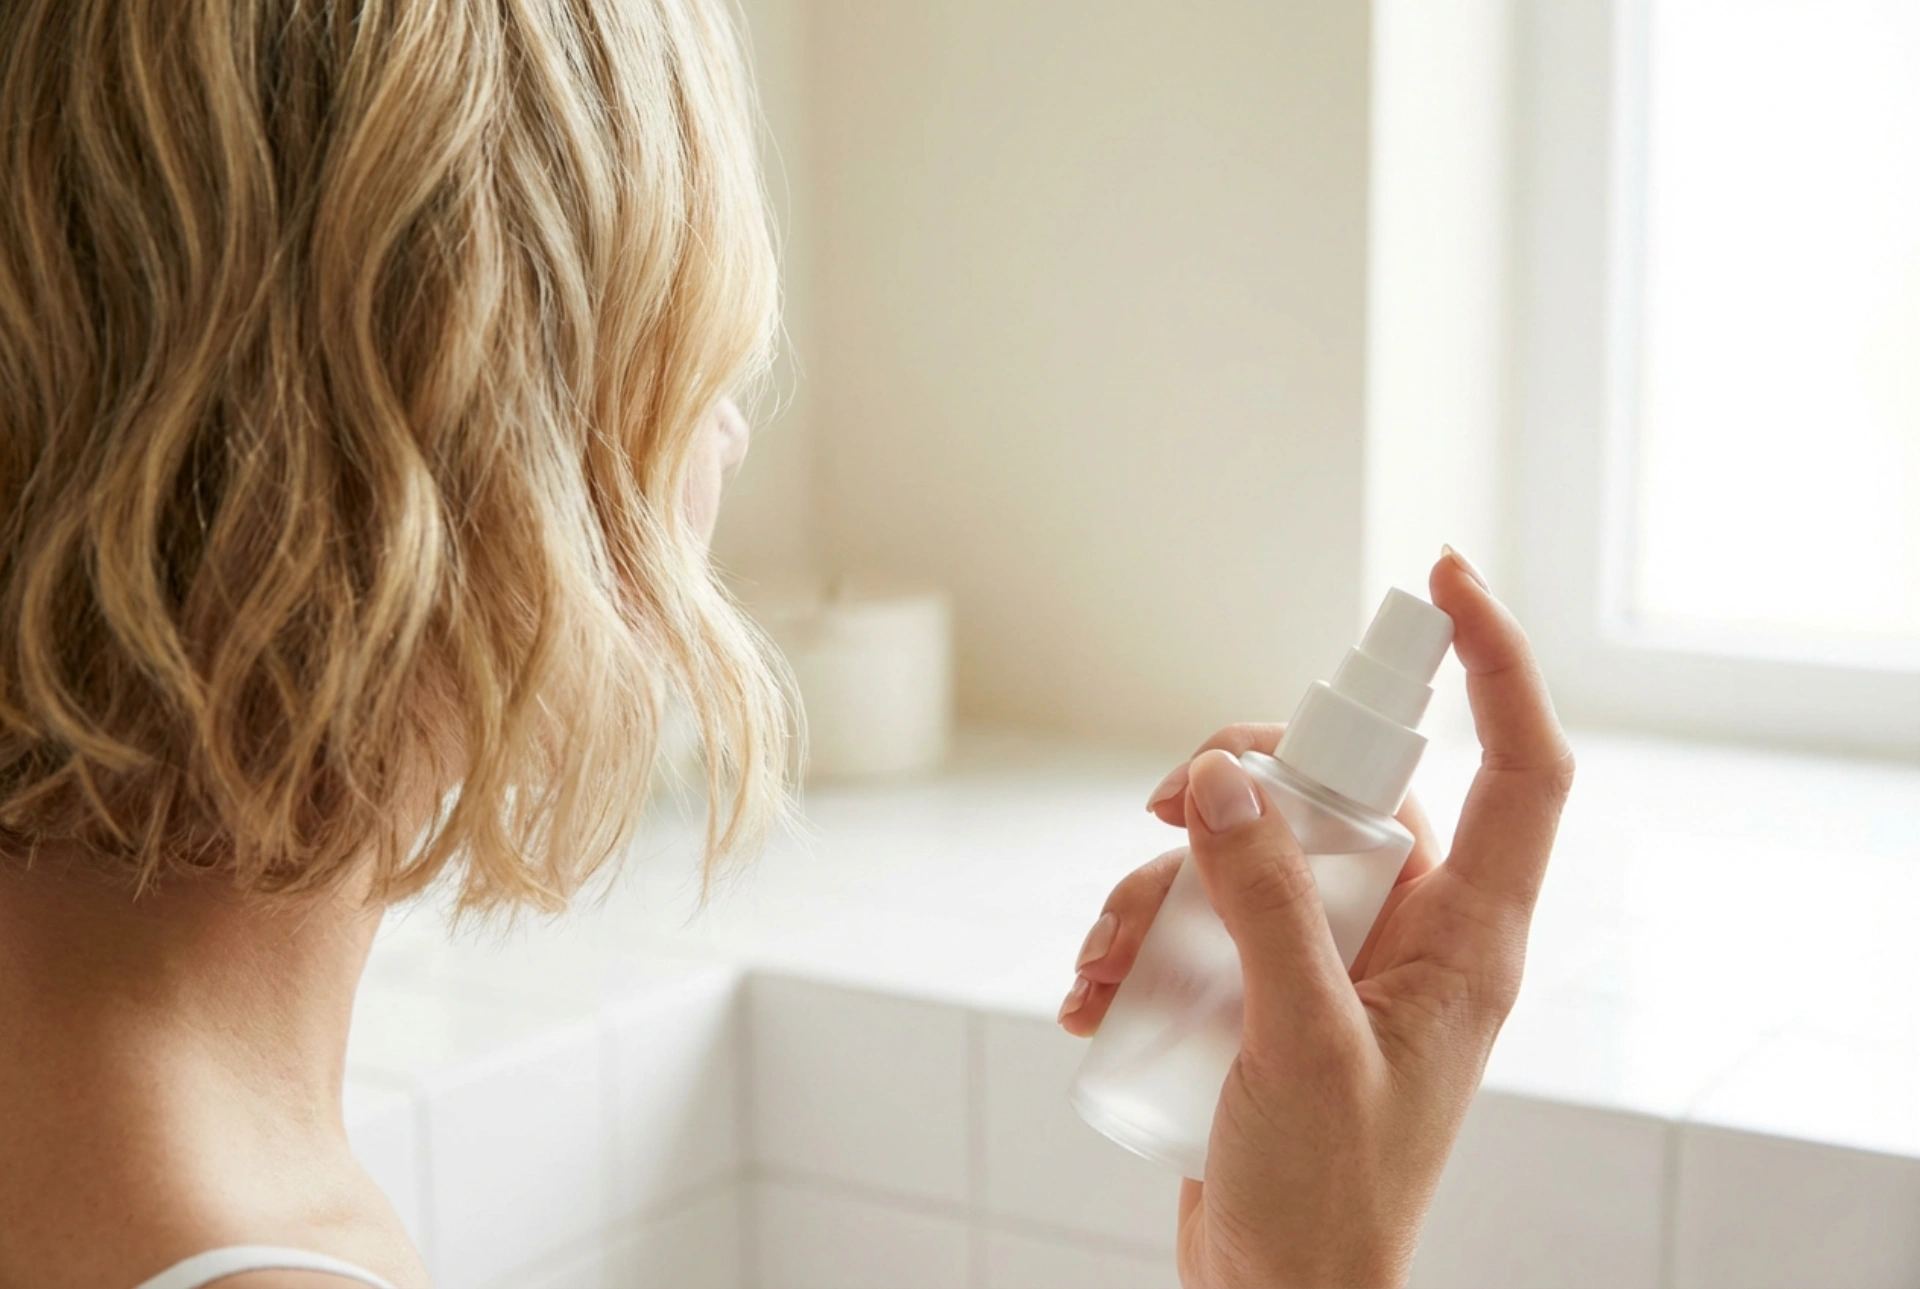
For the best results with heat styling, your hair should be completely dry. Styling damp hair with a hot tool can cause significant damage as the water inside the hair shaft turns to steam. Before you begin, always apply a heat protectant spray. Mist it evenly throughout your hair, from roots to ends, and comb it through to ensure full coverage. This essential step creates a barrier between your hair and the heat, minimising potential damage and keeping your strands healthy.
Add Texture and Grip
Short hair, especially if it's fine or silky, can sometimes struggle to hold a wave. To give your hair some much-needed grip and structure, use a texturising product. A light mousse applied to damp hair before blow-drying or a texturising or sea salt spray misted over dry hair can work wonders. These products add a bit of grit, making the hair less slippery and more receptive to styling, which helps the waves to form and stay put.
Choosing the Right Styling Tool
The tool you choose will have a big impact on the type of wave you create. For short hair, smaller tools are generally more effective as they allow for greater control and precision on shorter lengths.
Hair Straighteners (Flat Irons)
Perhaps surprisingly, a flat iron is one of the most versatile tools for creating waves on short hair. Opt for a straightener with slim plates (around 1 inch or 2.5 cm wide), as it’s easier to manoeuvre. To create a wave, clamp a small section of hair near the root, turn the straightener 180 degrees, and glide it down the hair shaft. For a more modern, beachy look, leave the last inch or so of the ends straight. You can also create simple 'S' bends by clamping and turning the iron in alternating directions as you move down the hair section.
Curling Wands and Tongs
Curling wands and tongs are also excellent for waving short hair. Look for barrels that are between 19mm and 25mm (0.75 to 1 inch) in diameter. A smaller barrel will create a tighter wave, while a slightly larger one will give a looser, softer bend. When using a wand, wrap a section of hair around the barrel, holding it for a few seconds before releasing. For a more natural effect, alternate the direction you wrap the hair – some sections towards your face, others away from it.
Step-by-Step Guide to Creating Waves
Once your hair is prepped and you've chosen your tool, it's time to start styling. Working in a methodical way will help you achieve a consistent and polished result.
- Section your hair: Divide your hair into manageable sections. A good way to do this is to create a top and bottom section. Clip the top section out of the way and start with the hair underneath. Working in smaller, 1-2 inch sections will give you the best results.
- Alternate directions: To avoid a uniform, overly 'done' look, vary the direction of your waves. Style one section away from your face and the next section towards it. This simple trick creates a more dynamic and natural-looking texture.
- Focus on the mid-lengths: For a contemporary style on short hair, start the wave around eye or ear level rather than right at the root. This keeps the volume balanced and avoids a puffy look at the crown. Leaving the ends straight also contributes to a more modern, undone vibe.
- Don't hold the heat too long: Short hair requires less time in contact with a heated tool than long hair. Hold the hair for just 5-8 seconds, depending on your hair type and the tool's temperature, to create the bend without causing unnecessary damage.
How to Set Your Waves for Lasting Hold
You've created beautiful waves, and now the key is to make them last. The moments immediately after styling are crucial for locking in the shape.
Let Them Cool Down
This is the most important step for longevity. Heat styles hair by breaking down and reforming hydrogen bonds; the style is only set once the hair has completely cooled. After you release a section from your curling tool, avoid touching, brushing, or even running your fingers through it. Let every section cool down to room temperature. You can even gently cup a freshly made curl in your hand for a few seconds to help it set.
Apply the Right Finishing Products
Once your hair is cool, it's time to finish the style. First, gently shake your head or use your fingers to softly break up the waves. Avoid using a brush, as this can pull out the definition. To set the look, mist a flexible-hold hairspray all over. This will provide hold without making your hair feel stiff or crunchy. For extra texture and a piecey finish, you can spritz a little more sea salt or texturising spray, focusing on the mid-lengths and ends. If your ends look a little dry, use a single drop of shine serum or hair oil, warmed between your palms, and smooth it over the very tips to tame frizz and add lustre.


