


Achieving a professional-looking manicure with perfect length and shape can seem like an art form reserved for salon experts. However, with the right tools and techniques, creating beautiful nail extensions at home is entirely possible. Upper nail forms, also known as dual forms, are a fantastic tool for this, allowing for a streamlined process. This guide will walk you through how to select the correct size, apply them properly, and finish your nails for a flawless, elegant result.
What Are Upper Nail Forms?
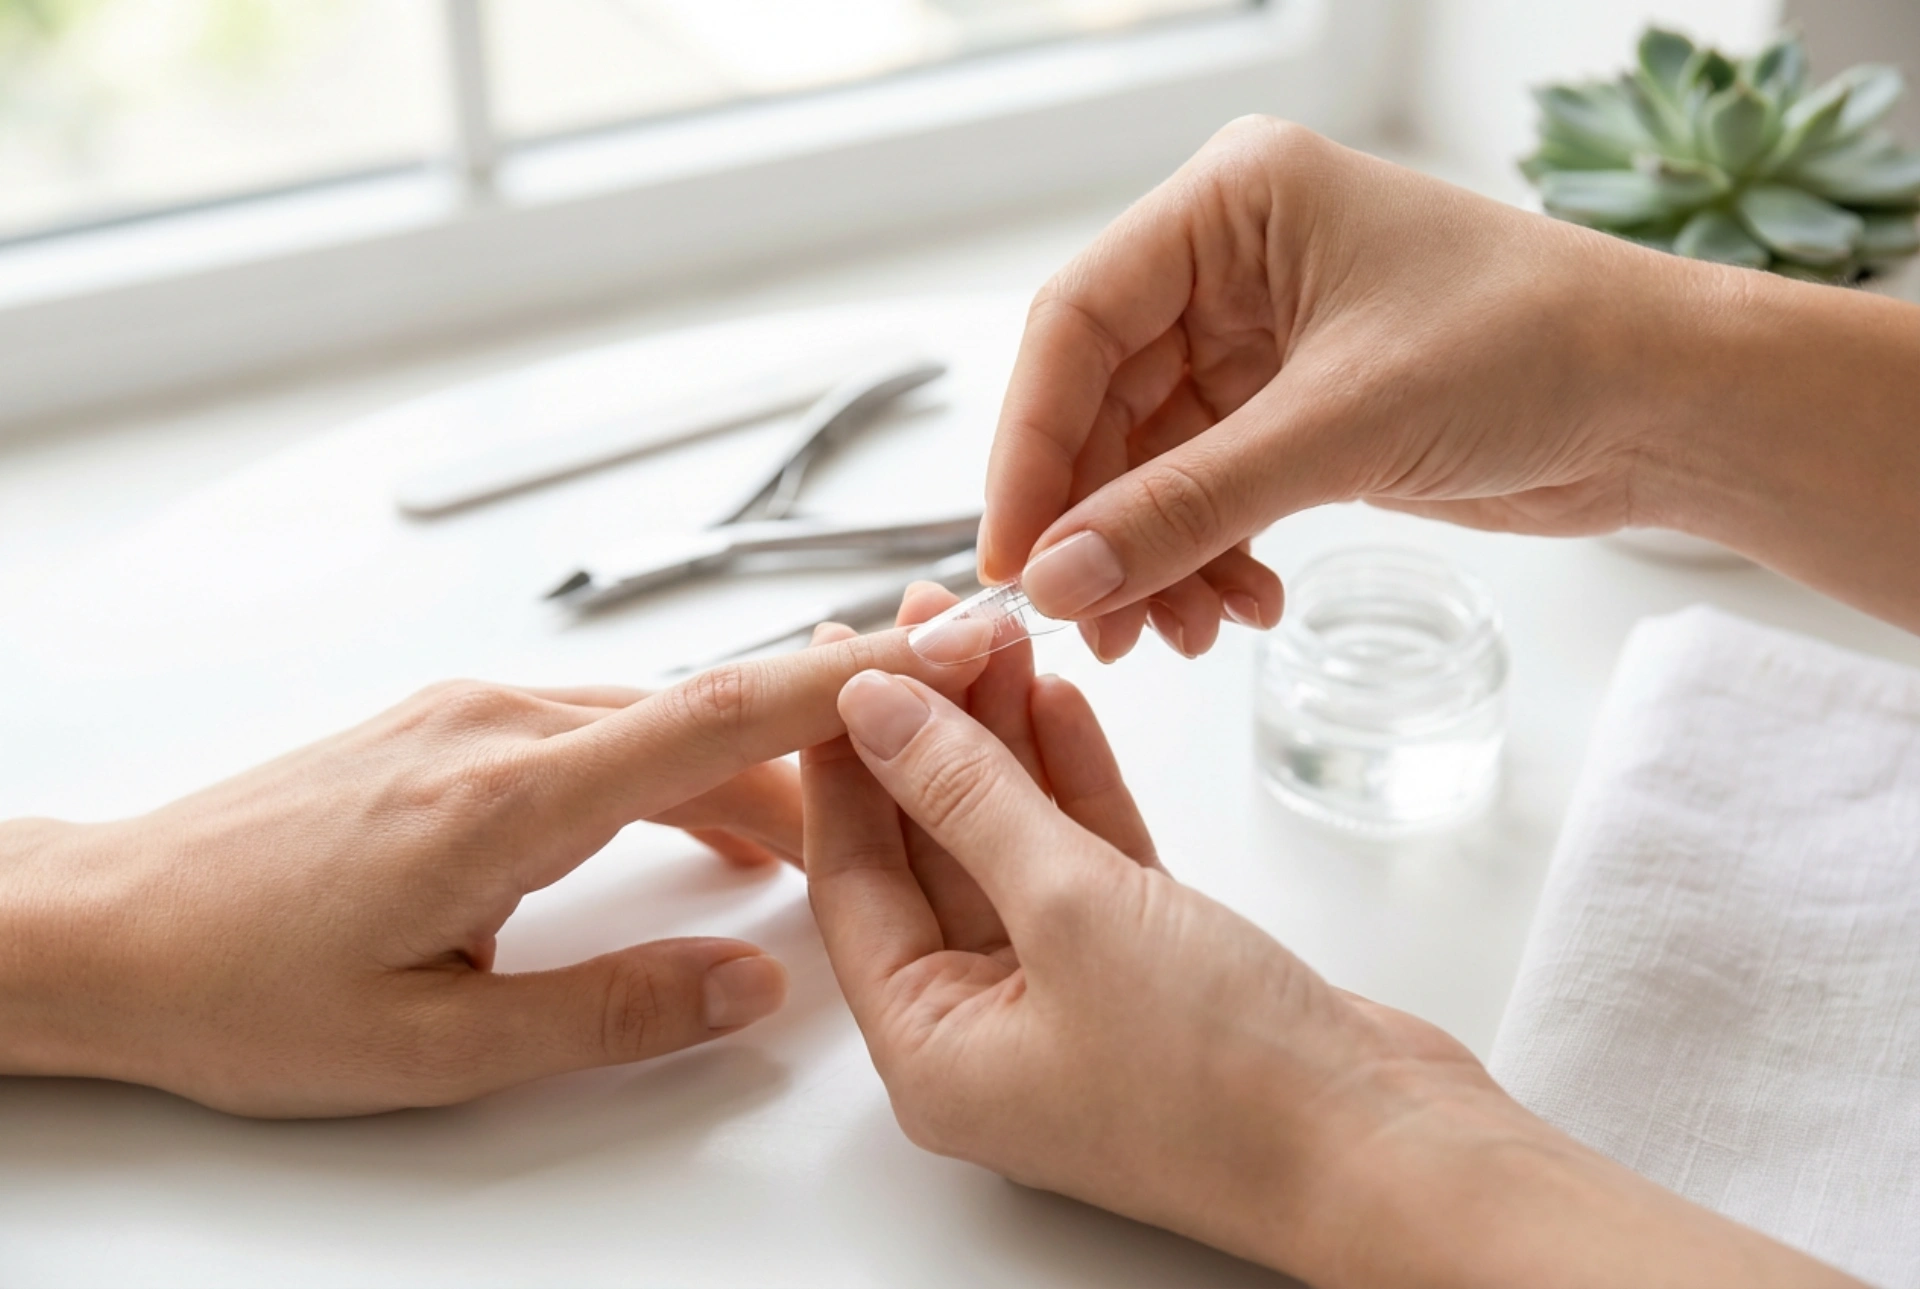
Upper nail forms are reusable, flexible plastic moulds shaped like a nail. Unlike traditional paper forms that are applied underneath the natural nail's free edge to build an extension, upper forms work in reverse. You fill the concave side of the form with a nail enhancement product, such as a poly-acryl gel or a thick building gel, and then press it down onto the prepared natural nail. After curing the product under a lamp, the form is removed, revealing a perfectly smooth and shaped extension. This method can significantly reduce shaping and filing time, making it a popular choice for both beginners and experienced nail enthusiasts.
Choosing the Right Form Size
Selecting the correct size is the most critical step for a successful application. An ill-fitting form can lead to a weak structure, an unnatural appearance, and product lifting. Follow these guidelines to find the perfect match for each nail.
How to Measure
Before applying any product, you must test the fit of the empty form on each natural nail. Place the form onto your nail plate and check the following:
- Width: The form must be wide enough to cover the natural nail from one side wall to the other without any gaps. It should sit comfortably over the widest part of your nail. If the form is too narrow, it will pinch the nail, and the product will squeeze out, creating an unbalanced and weak extension. It is always better to choose a form that is slightly too wide than one that is too narrow.
- Curve: Analyse the natural arch or 'C-curve' of your nail. The form should have a similar curvature. If the form is too flat for a curved nail (or vice versa), it will not adhere properly and may create air pockets. Most sets come with a variety of sizes and curvatures to accommodate different nail types.
- Length: The form has markings to guide the length of your extension. When choosing the size, ensure it covers your entire nail bed, even if you have very short natural nails.
Step-by-Step Application Guide
Once you have selected the correct sizes for all ten nails, you can begin the application process. Precision and cleanliness are key to a long-lasting and beautiful manicure.
1. Nail Preparation
Proper preparation prevents lifting and ensures good adhesion. Gently push back your cuticles and remove any non-living tissue from the nail plate. Lightly buff the surface of the nail with a fine-grit buffer to remove shine. Cleanse the nail with a lint-free wipe soaked in a specialised nail cleaner to remove all dust and oils. Finally, apply a thin layer of a compatible base coat and cure it according to the manufacturer's instructions.
2. Product Application and Placement
Take your chosen nail form and apply a bead of your building product (e.g., poly-acryl gel) inside it. Use a brush, slightly dampened with a slip solution or isopropyl alcohol, to pat and guide the product into your desired length and thickness. Keep the product thinner near the cuticle area and build up a stronger apex (the highest point of the extension) for durability.
3. Pressing the Form onto the Nail
Carefully place the form onto your nail. Start at the cuticle area, leaving a tiny gap to avoid flooding, and press down at a 45-degree angle. Slowly lower the form towards the free edge, applying gentle, even pressure. This motion pushes the product forward and helps eliminate air bubbles. Before curing, use your brush and slip solution to clean up any excess product that may have squeezed out from under the form, especially around the cuticle and side walls.
Finishing and Final Touches
The final steps ensure your new nails are strong, perfectly shaped, and have a high-gloss shine.
1. Curing and Form Removal
While holding the form steady, or after a brief 'flash cure' to fix it in place, proceed with a full cure under an LED or UV lamp as recommended for your product. Once fully cured, the form should be easy to remove. Gently squeeze the sides of the form at the tip, and it will pop right off, leaving a smooth, shiny surface.
2. Shaping and Buffing
After removing the form, cleanse the nail surface to remove the sticky inhibition layer. Even though this method creates a near-perfect shape, some minor refinement is usually needed. Use a nail file to shape the free edge to your desired look (e.g., square, oval, almond). Lightly file the area near the cuticle for a seamless blend with the natural nail. If the surface is uneven, you can gently buff it smooth.
3. Top Coat Application
After filing and dusting off the nail, apply a layer of a no-wipe top coat over the entire extension. This will protect the nail, add brilliant shine, and seal your work. Cure the top coat for the recommended time, and your beautiful, durable nail extensions are complete.


