


The combination of pastel blue and pink on nails creates a look that is both subtle and captivating. This delicate pairing has become a favourite in the world of beauty, evoking feelings of serenity and gentle elegance. Whether you're aiming for a sophisticated everyday style or a special occasion manicure, the soft transition from blue to pink offers endless creative possibilities. Let's explore how to master this trend, from the classic ombre effect to unique nail art designs you can easily create at home.
The Enduring Appeal of Blue and Pink Pastels
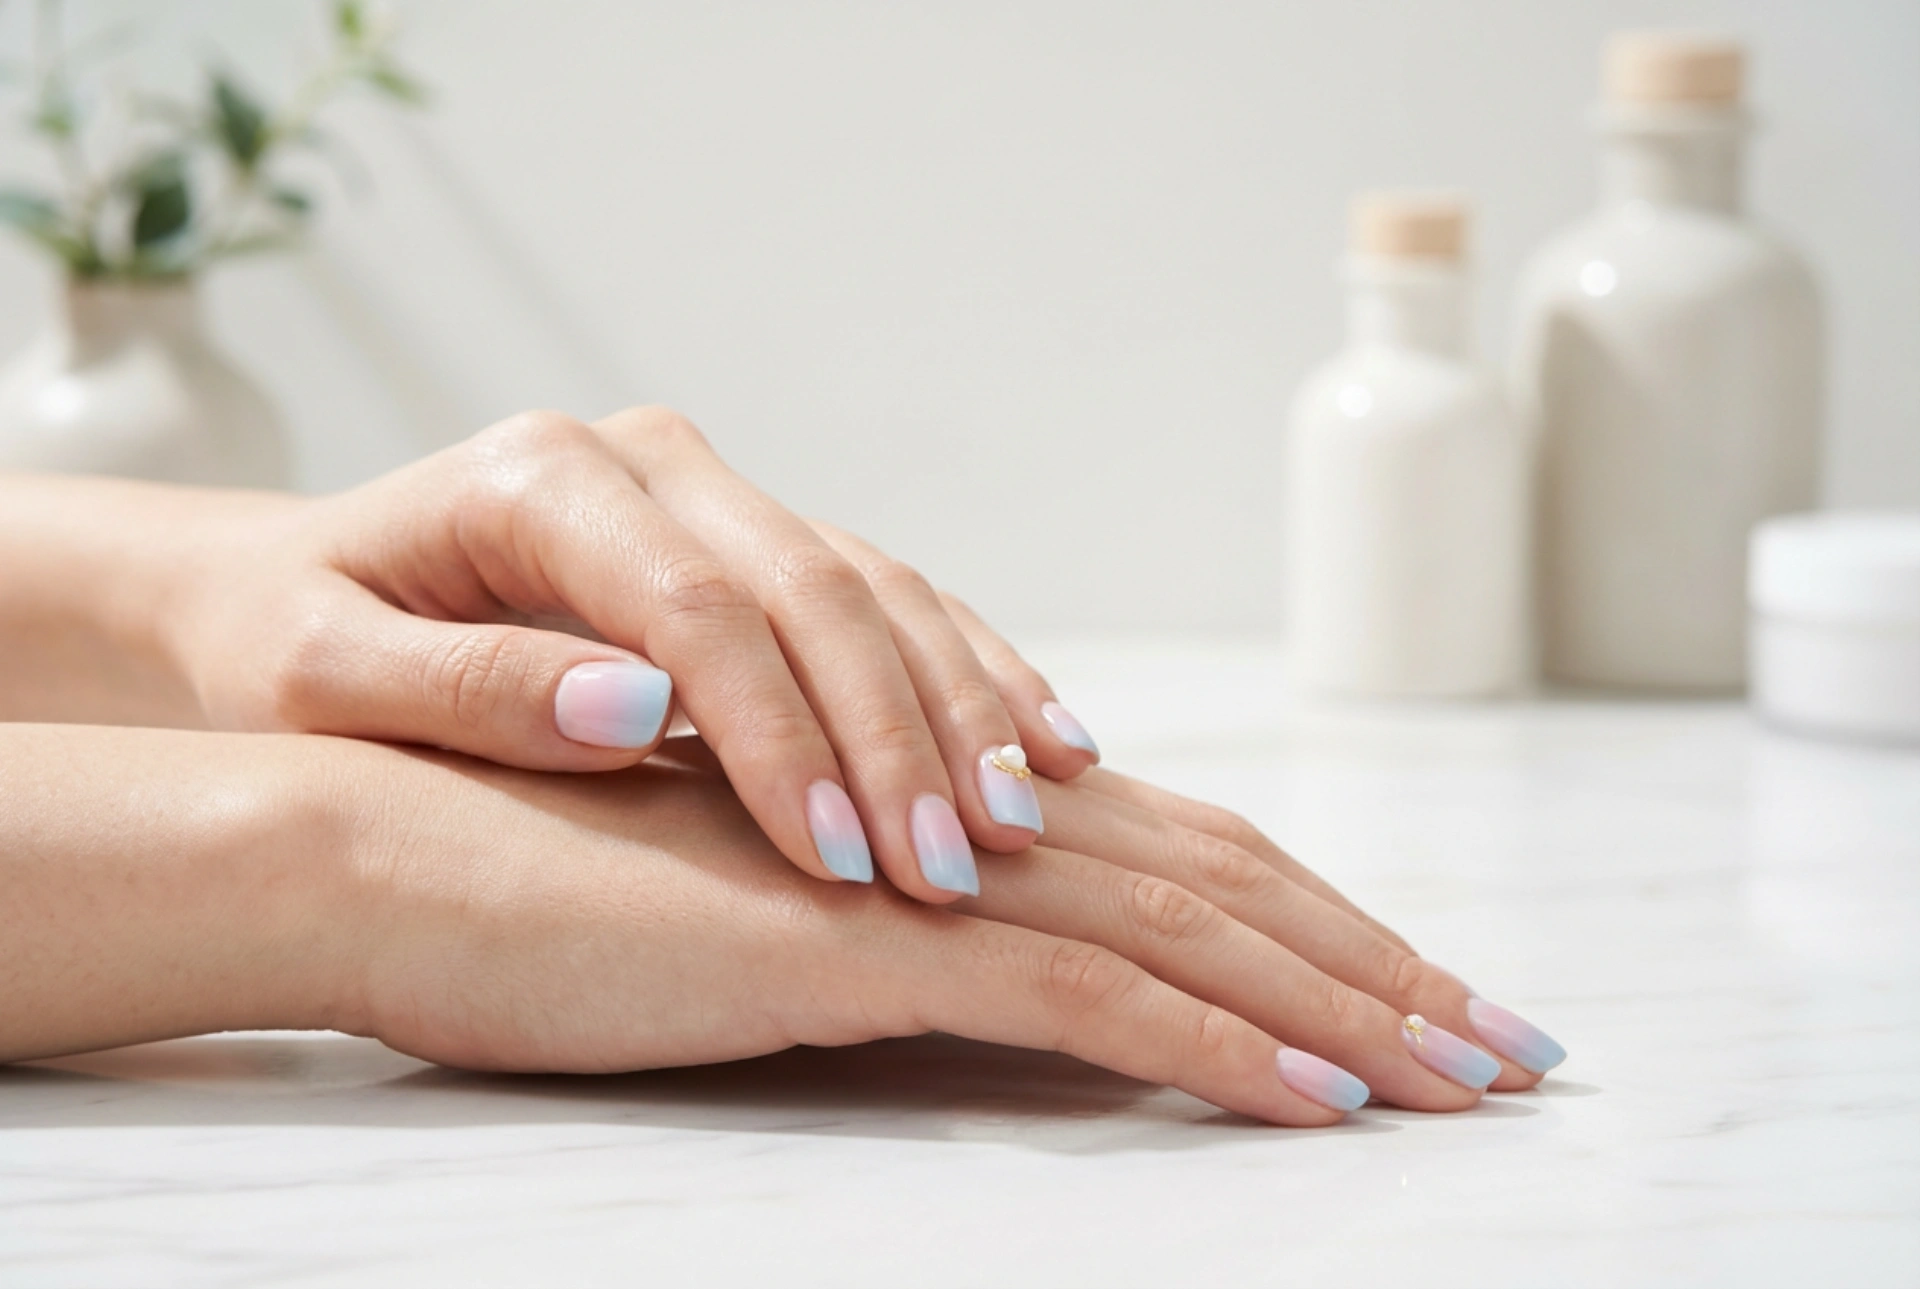
Pastel shades have a unique ability to be both understated and expressive. The combination of a soft, sky blue and a delicate, blush pink is a classic pairing that never goes out of style. These colours complement each other beautifully, creating a harmonious and balanced aesthetic. This manicure is versatile enough for any season – it feels as fresh as a spring morning and as cool as a summer evening. Beyond aesthetics, these colours are often associated with calmness and positivity, making them a wonderful choice for a manicure that enhances your mood as well as your style.
How to Create a Flawless Blue-to-Pink Ombre
The ombre effect, where colours seamlessly blend into one another on a single nail, is perhaps the most popular way to wear the blue and pink pastel trend. While it may look complex, it's surprisingly achievable at home with a few simple tools. Here’s a step-by-step guide to creating your own beautiful pastel ombre nails:
- Preparation is Key: Start with clean, dry nails. File and shape them to your desired length. Push back your cuticles gently and apply a clear base coat. This protects your nails from staining and helps the manicure last longer.
- Apply a Base Colour: To make the pastel shades pop, apply one or two coats of a light, neutral base colour, such as white, a very pale pink, or a sheer nude. Let it dry completely.
- Prepare Your Sponge: Take a small, disposable makeup sponge. Paint horizontal stripes of your chosen blue and pink polishes directly onto the sponge, right next to each other. Ensure the colours slightly overlap to encourage blending.
- Create the Gradient: Gently dab the sponge onto your nail, using a slight rolling or rocking motion. Repeat this a few times until you achieve the desired colour intensity and blend. Don't worry about getting polish on the skin around your nail; we'll clean that up later. Repeat for all nails.
- Clean Up and Seal: Use a small brush or a cotton bud dipped in nail polish remover to carefully clean up any polish from the skin around your nails. Once the design is completely dry, apply a high-quality top coat. This will smooth out the texture from the sponge, enhance the shine, and seal in your beautiful ombre design.
Gradient Nails: A Different Take on Colour Transition
While often used interchangeably, an ombre and a gradient manicure are slightly different. An ombre features a colour transition on each individual nail, whereas a gradient typically involves a progression of colours across all five nails on one hand. This creates a stylish and cohesive look that is both modern and eye-catching. For a blue-to-pink theme, you could try painting each nail a slightly different shade, starting with a pale blue on your thumb and gradually transitioning to a soft pink on your little finger. You could also alternate between solid blue and solid pink nails, or have a few nails in each solid colour and an accent nail with an ombre blend of both.
Inspiring Nail Art for Your Pastel Manicure
Once you've mastered the blue and pink base, you can elevate your manicure with some simple nail art. The key is to keep it complementary to the soft, delicate feel of the pastel colours.
Subtle Embellishments
Sometimes, less is more. A single, tiny rhinestone placed at the base of the cuticle on an accent nail can add a touch of glamour without overwhelming the design. You could also use a fine-tipped brush to draw a delicate silver or gold line separating the blue and pink, or add a few minimalist white dots to create a subtle pattern.
Geometric Designs
Geometric patterns work exceptionally well with pastel colours. Consider a colour-blocking design where you divide the nail into sections and paint them in solid blue and pink. Simple stripes, chevrons, or triangles can also create a modern and chic look. You can use nail art tape to achieve clean, sharp lines.
Delicate Floral Details
Floral motifs are a perfect match for the romantic feel of blue and pink pastels. Using a dotting tool or a very fine brush, you can create simple flowers. A few white or light yellow dots can form the petals, with a contrasting dot in the centre. This adds a whimsical and feminine touch to your manicure, especially on an accent nail.
Tips for a Long-Lasting Manicure
To keep your beautiful blue and pink pastel creation looking fresh for as long as possible, a little maintenance goes a long way. Reapply a thin layer of top coat every two to three days to prevent chipping and enhance shine. Keep your cuticles and the skin around your nails hydrated by applying cuticle oil daily. This not only promotes healthy nail growth but also keeps your manicure looking neat and professional. When doing household chores, especially those involving water or cleaning products, always wear protective gloves to shield your nails from damage. By following these simple steps, you can enjoy your elegant pastel manicure for much longer.


