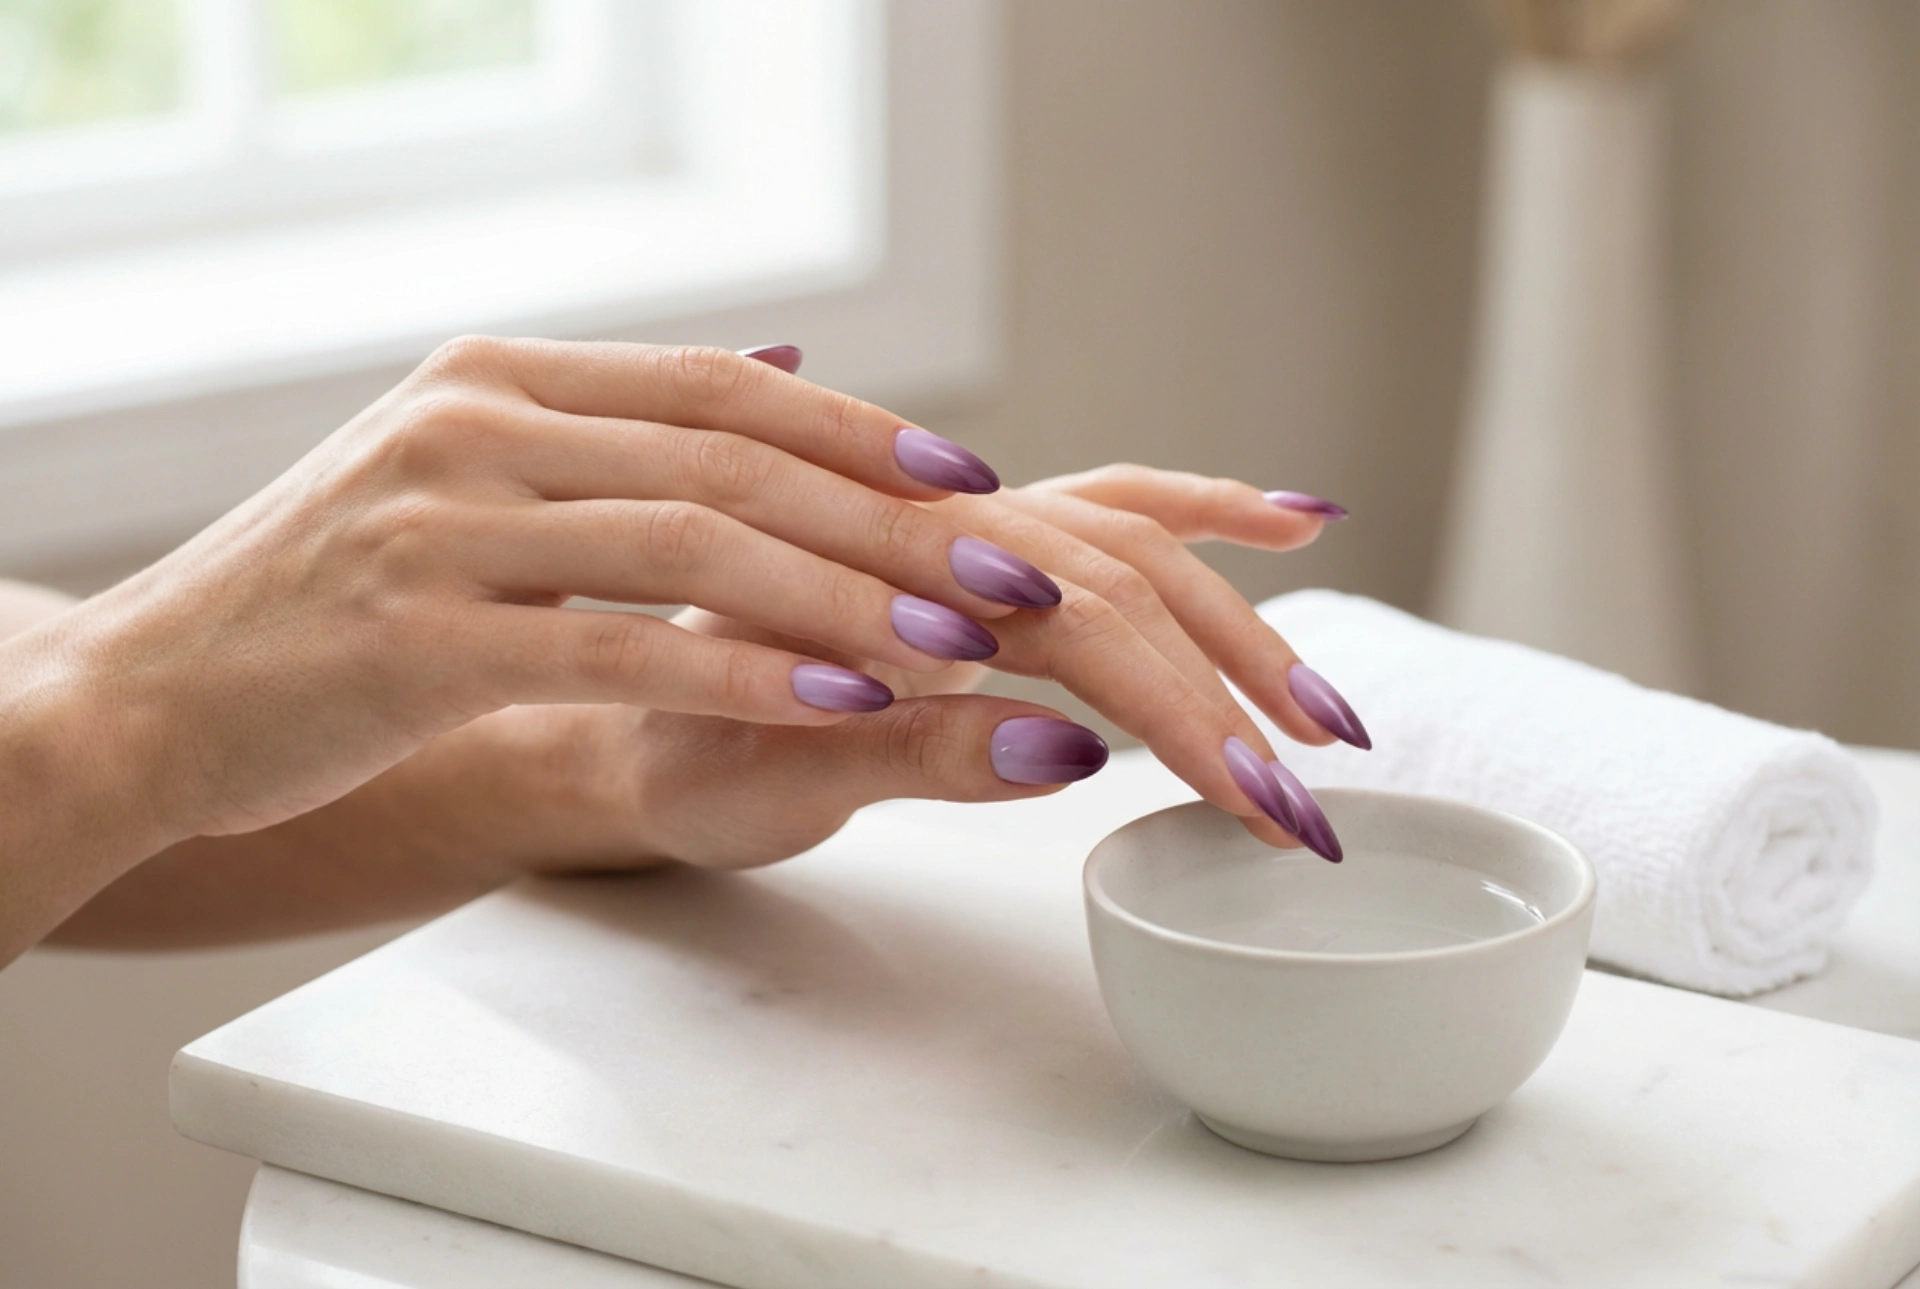


The ombre effect, with its seamless transition of colours, has become a timeless trend in the world of beauty, especially in nail art. A purple ombre manicure, shifting from a delicate lavender to a rich, deep plum, offers a look of pure sophistication and elegance. This stunning gradient is surprisingly achievable at home with a few simple tools and a little patience. Follow our detailed guide to create your own beautiful purple ombre nails that are sure to draw admiration.
Preparing Your Canvas: Essential Nail Prep
Before you begin painting, proper preparation is key to a long-lasting and flawless manicure. A clean, smooth surface will ensure the polish adheres well and the final result looks professional. Start by removing any old polish. Gently push back your cuticles and file your nails into your desired shape, whether it's square, round, or almond. Once you are happy with the shape, cleanse each nail to remove any natural oils or debris. The final and most important step of preparation is applying a quality base coat. This not only protects your natural nails from staining but also creates an ideal surface for the coloured polish to grip onto, extending the life of your manicure.
Choosing Your Perfect Purple Palette
The success of an ombre design lies in the choice of colours. For a smooth, harmonious gradient, it is best to select two or three shades from the same colour family that blend well together. For this particular look, you will want to choose at least two purple polishes: a light, soft lavender and a darker, more intense plum or blackberry shade. You could also include a medium violet for an even smoother transition between the two extremes. Before you start, you can test your chosen colours on a piece of paper or a nail tip to see how they blend. This will help you visualise the final effect and ensure your chosen shades create the beautiful gradient you are aiming for.
The Sponge Technique: Creating the Gradient
The magic of the ombre effect is created using a simple cosmetic sponge. This tool helps to blur the lines between the colours, creating that coveted gradual fade. It may seem messy at first, but with practice, it becomes a quick and effective method.
What You Will Need
- A protective base coat
- A light purple (lavender) nail polish
- A dark purple (plum) nail polish
- An optional medium purple polish
- A glossy top coat
- A small piece of a cosmetic sponge (a makeup wedge works perfectly)
- Cotton buds or a small brush and nail polish remover for cleaning up
Step-by-Step Guide
With your tools ready, you can now begin creating the ombre effect. Work on one nail at a time for the best results. Start by applying one to two coats of your lightest shade, the lavender polish, to all of your nails over the dry base coat. This creates a bright foundation for your gradient. Allow this to dry completely. Next, take your sponge and paint stripes of your purple polishes directly onto it. Start with the lightest colour at the bottom edge of the sponge and the darkest at the top, slightly overlapping the colours where they meet. Now, gently press and roll the damp sponge onto your nail. The first layer may appear quite sheer, which is normal. Let it dry for a minute or two before reapplying polish to the sponge and dabbing it onto the nail again. Two or three repetitions will build up the colour intensity for a vibrant, blended finish.
The Finishing Touches: Sealing and Shining
Once you are satisfied with the opacity and blend of your gradient, it's time for the final, crucial steps. This stage will transform your manicure from a home attempt into a polished, salon-quality look. The sponging technique inevitably leaves polish on the skin around your nails. To clean this up, dip a small, flat brush or a cotton bud into nail polish remover and carefully trace around your cuticle line and the sides of your nail. This creates a sharp, clean edge that makes the design look neat and professional. Finally, apply a generous layer of a glossy top coat. This will not only give your nails a brilliant shine but will also smooth out any texture left by the sponge and, most importantly, seal and protect your beautiful design from chipping, ensuring your purple ombre manicure lasts as long as possible.


