


Achieving longer, perfectly shaped nails is an accessible beauty goal that can be accomplished in the comfort of your own home. Nail tips offer a fantastic way to add instant length and create a uniform canvas for your favourite nail polish or a simple, elegant top coat. The key to a beautiful result lies in the correct application and finishing, which ensures the extensions look seamless and natural. With a little practice, you can master the technique for a professional-looking manicure.
Choosing the Perfect Nail Tips
The first step towards a flawless manicure is selecting the right tips. This choice influences not only the final look but also the comfort and durability of your nail extensions. Pay attention to two main factors: size and shape.
Finding the Right Size
Nail tips come in a range of numbered sizes. To find your perfect match, measure a tip against your natural nail before applying any glue. The ideal tip should fit snugly from one sidewall to the other without extending onto the skin or being too narrow. If a tip is slightly too wide, you can gently file down its sides for a custom fit. A proper fit is crucial to prevent lifting and to create a natural appearance.
Selecting a Shape
The shape of the tip defines the overall style of your manicure. Common options include:
- Square: A classic, bold look with a flat top and sharp corners.
- Oval: An elegant and traditional shape that follows the natural curve of the fingertip.
- Almond: A sophisticated shape that is slim on the sides and tapers to a rounded point.
- Coffin/Ballerina: A trendy style that is similar to almond but features a squared-off tip.
Choose a shape that complements your hand shape and suits your personal style. You can always reshape the tip after application, but starting with a shape you like makes the process easier.
Preparing Your Natural Nails for Application
Proper preparation is essential for ensuring your nail tips adhere correctly and last as long as possible. A clean and prepped nail surface provides the best foundation for the glue to bond. Do not skip these steps, as they make all the difference in the final outcome and longevity of your manicure.
Follow this simple preparation routine:
- Clean the Nails: Start by removing any old nail polish and washing your hands thoroughly.
- Manage Cuticles: Gently push back your cuticles using a cuticle pusher. Avoid cutting them, as they protect your nail bed from irritants.
- Buff the Nail Plate: Using a fine-grit buffer, lightly buff the surface of your natural nails. This removes the natural shine and creates a slightly rougher texture for the glue to grip onto.
- Dehydrate: Wipe each nail with a lint-free pad soaked in a nail cleanser or isopropyl alcohol. This step removes any remaining oils and moisture, ensuring maximum adhesion.
The Art of Applying and Gluing Nail Tips
With your nails prepped, you are ready to apply the tips. This stage requires a steady hand and a bit of patience. Work on one nail at a time to ensure the best results.
Apply a small drop of a quality nail glue specifically designed for tips into the well (the indented area) of the nail tip. Avoid using too much, as it can spill onto the surrounding skin. To apply, place the edge of the tip's well against the free edge of your natural nail at a 45-degree angle. Then, slowly rock the tip downwards onto the nail plate, pressing out any air bubbles as you go. Hold the tip firmly in place for about 10-15 seconds until the glue sets. Once secure, move on to the next nail.
Shaping and Blending for a Seamless Finish
Once all the tips are securely attached, the final and most creative part begins: shaping and blending. This is where you transform the artificial tips into extensions that look like your own nails.
Trimming and Shaping
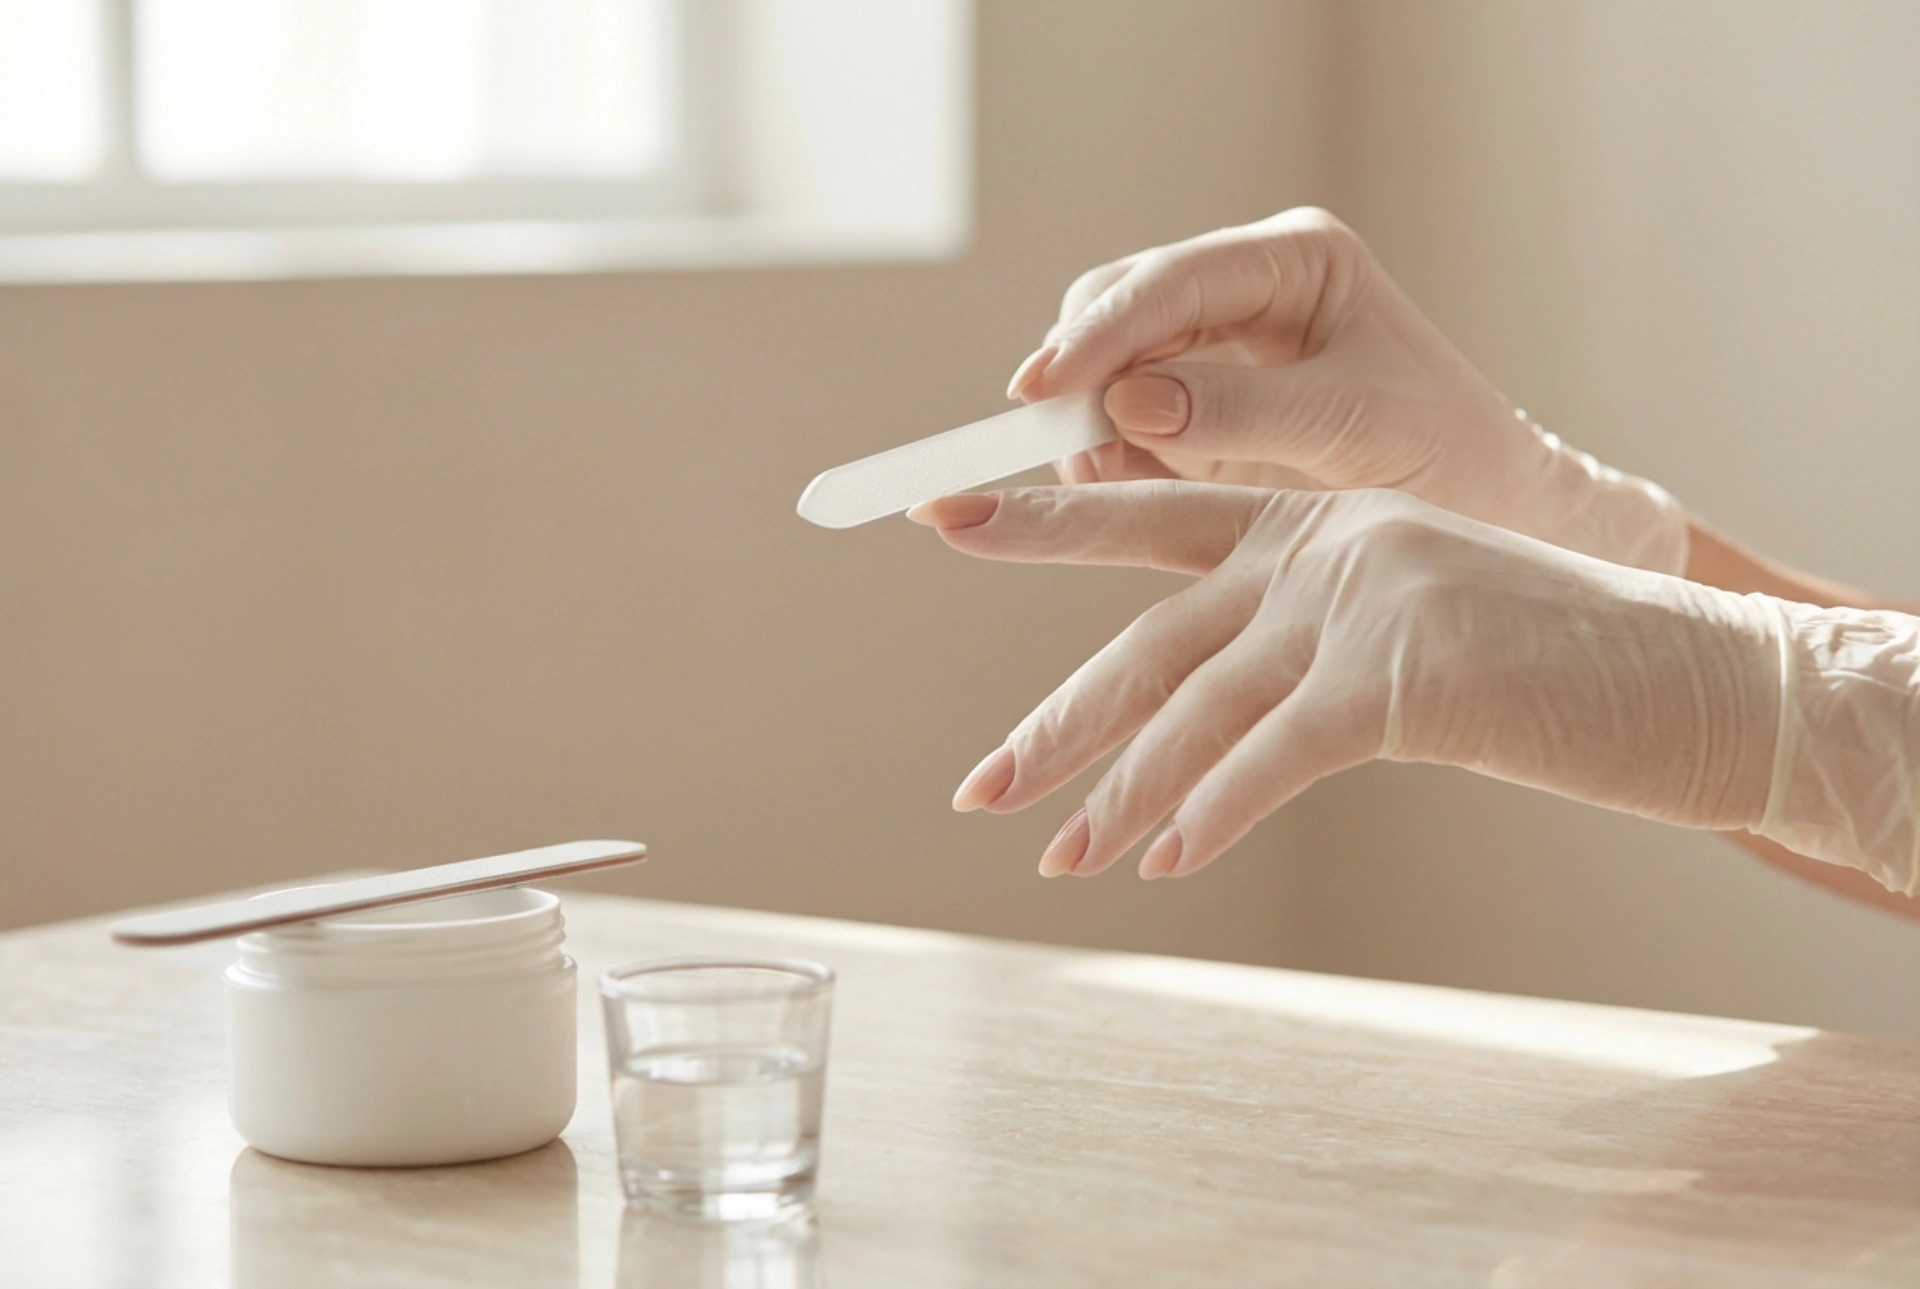
First, trim the tips to your desired length using a tip cutter, which prevents the plastic from cracking. Then, use a nail file to refine the shape. Whether you're perfecting a square edge or softening an almond point, file with gentle, consistent strokes in one direction to avoid weakening the tip.
Blending the Seam
The most important step for a natural look is to blend the seam where the tip meets your natural nail. Use a fine-grit file or a buffer to gently file down the edge of the tip until it is flush with your nail plate. Be very careful not to file your natural nail. The goal is to create a smooth, invisible transition. Once blended, lightly buff the entire surface of the tip to remove any shine and create a smooth canvas for polish or a top coat. After this step, your new nails are ready to be decorated.


