


False eyelashes are a fantastic way to enhance your eye makeup, adding volume, length, and drama for any occasion. While they may seem intimidating at first, mastering the application technique is achievable with a bit of practice and the right guidance. The delicate process of preparing and applying lashes can be a calming beauty ritual, resulting in a polished and captivating look. This guide will walk you through each stage, from preparation to removal, ensuring a seamless and comfortable experience.
Choosing and Preparing Your Lashes
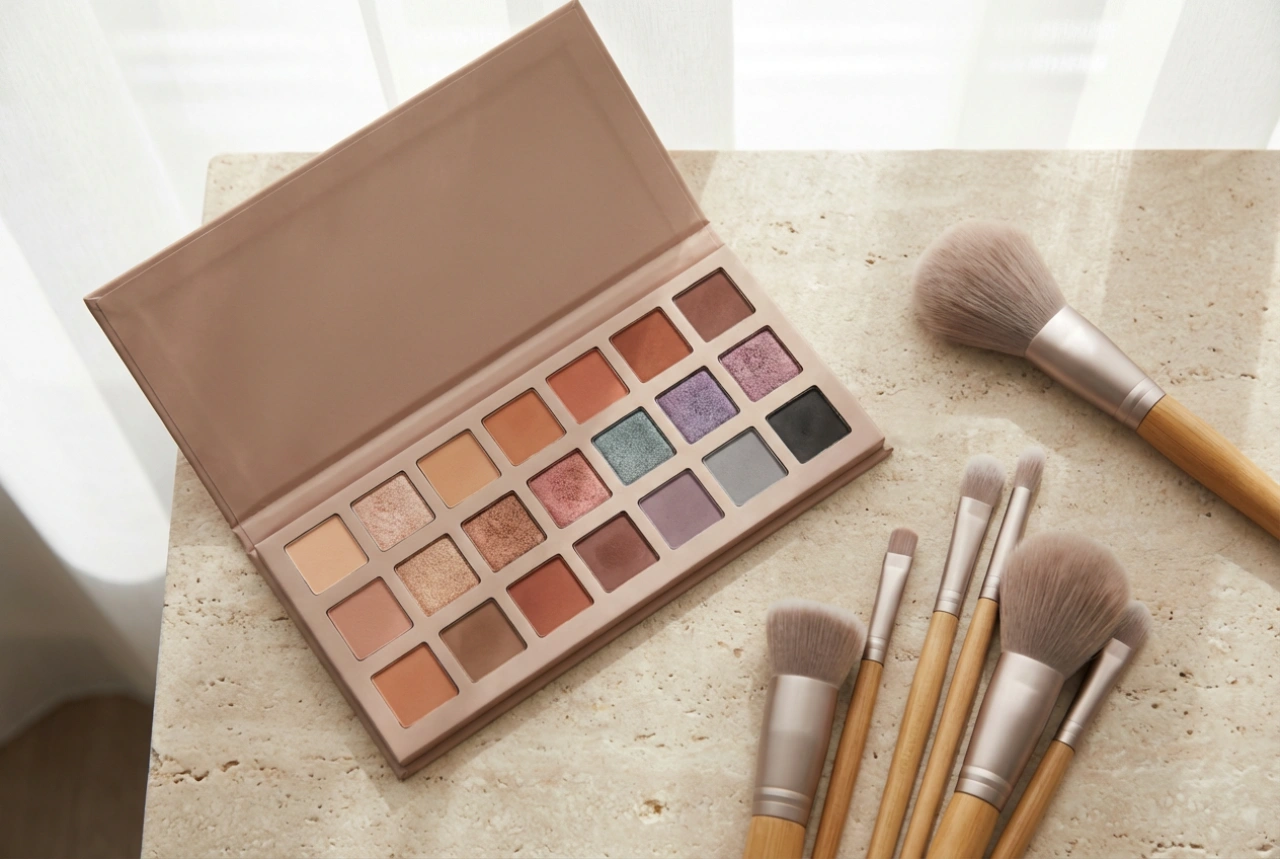
The first step to a flawless application is selecting the right lashes and preparing them correctly. The market offers a wide variety of styles, from subtle and natural-looking strips to bold and dramatic designs. Consider the occasion and your personal style when making a choice. A light, wispy pair might be perfect for daytime, while a dense, voluminous set can elevate an evening look.
Measure and Trim
Most strip lashes are made to a standard length, which is often too long for the average eye. It's crucial to measure the lash strip against your own lash line before applying any adhesive. Hold the strip up to your eyelid, aligning the inner edge where your natural lashes begin to grow more densely. If the strip extends beyond the outer corner of your eye, you'll need to trim it. Always trim from the outer edge, as this preserves the shorter lashes on the inner corner for a more natural look. Use small scissors and trim a little at a time, re-measuring until you have the perfect fit.
Prepare Your Natural Lashes
To create a solid base for your false lashes, it's a good idea to prepare your natural ones. Start by curling your lashes with an eyelash curler. This helps lift them and ensures they will blend more seamlessly with the false strip. Afterwards, apply a thin coat of mascara. This step adds grip for the false lash to adhere to and helps merge your natural and false lashes together for a unified appearance.
The Art of Application: A Step-by-Step Guide
With your lashes prepped and trimmed, you are ready for the main event. Patience is key during application, especially when you are just starting out. Find a comfortable, well-lit space and have your tools—lashes, adhesive, and tweezers—ready.
Step 1: Apply the Adhesive
Squeeze a small amount of lash adhesive onto a clean surface or directly along the lash band. Many users find applying it directly to the band easier. Create a thin, even line of glue along the entire strip. Pay a little extra attention to the inner and outer corners, as these are the areas most likely to lift. Now, wait. This is a critical part of the process. Allow the adhesive to sit for about 30-60 seconds, or until it becomes tacky. Applying the lash when the glue is still wet will cause it to slide around on your eyelid.
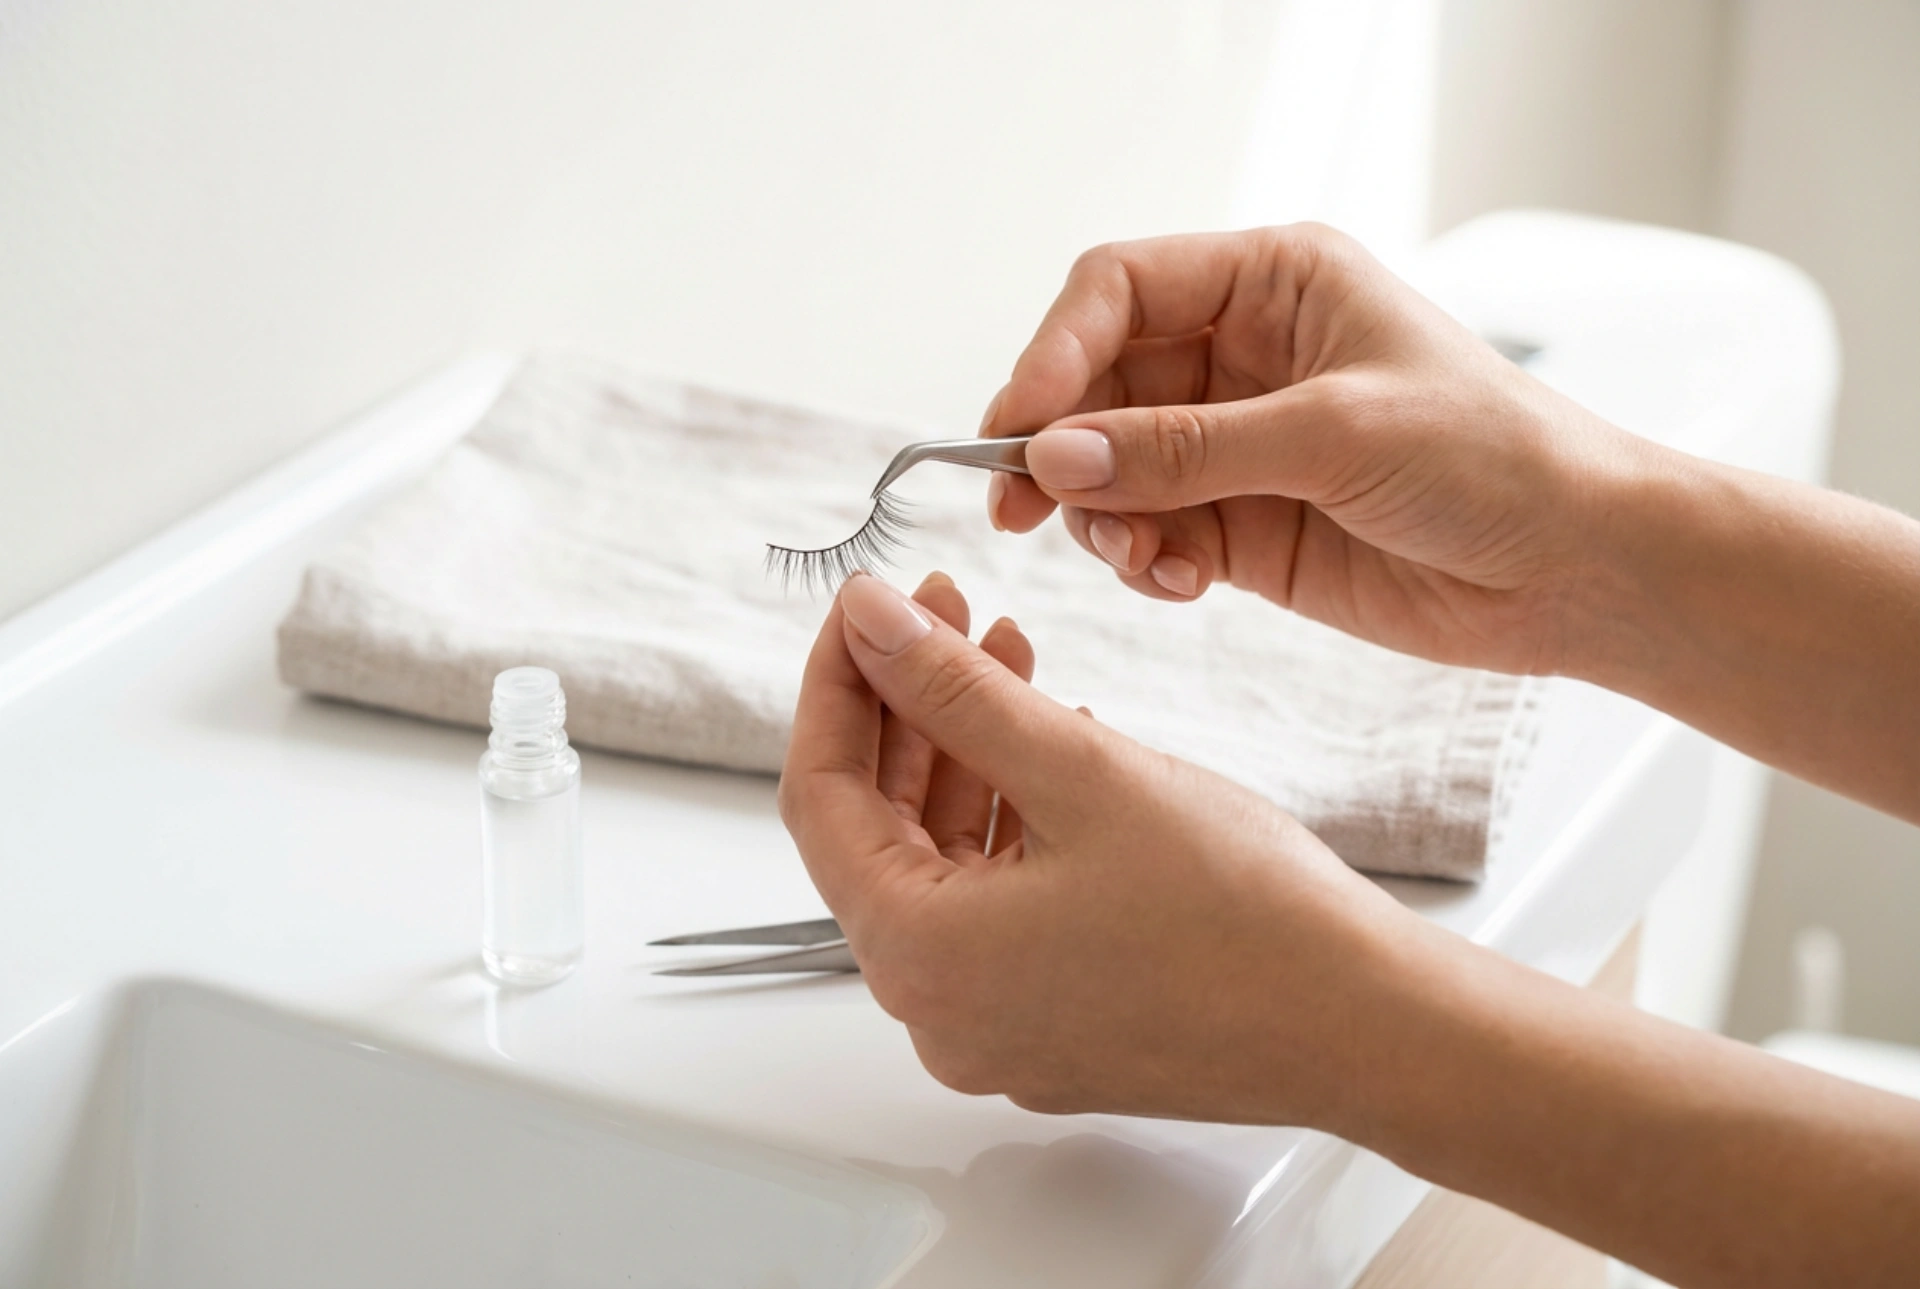
Step 2: Place the Lash
Using tweezers or your fingertips, carefully pick up the lash strip. Look downwards into a mirror to get the best angle. Position the strip as close to your natural lash line as possible. Begin by placing the centre of the strip onto the middle of your eyelid, then use the tweezers to gently press the inner corner into place, followed by the outer corner. Getting the strip right on top of your natural lashes, rather than on your skin, is the goal.
Step 3: Secure and Blend
Once the lash is in position, gently press along the entire band to ensure it is securely attached. You can use your fingertips or the back of your tweezers for this. To create a truly seamless look, you can gently squeeze your natural and false lashes together. If you wish, you can apply another light coat of mascara to meld the two sets of lashes, but this is optional and may reduce the number of times you can reuse the lashes.
Safe Removal and Aftercare
Proper removal is just as important as application. It protects your delicate eye area and your natural lashes from damage. Never pull or rip off your false eyelashes at the end of the day.
Gentle Removal Process
To remove your lashes safely, dip a cotton swab or a cotton pad in an oil-free makeup remover. Gently run the saturated swab along the lash band, allowing the remover to soak in and loosen the adhesive. After a minute or so, you should be able to feel the glue breaking down. Carefully grasp the outer corner of the lash strip and slowly peel it away from your skin, moving inwards. It should come off easily without any pulling.
Cleaning and Storing for Reuse
With proper care, a good quality pair of false eyelashes can be worn multiple times. After removal, you need to clean them. Gently peel off any remaining adhesive from the lash band with tweezers. To clean the lashes themselves, place them on a paper towel and use a cotton swab with makeup remover to gently wipe away any mascara or makeup residue. Let them air dry completely before storing them back in their original case. This helps them maintain their shape and keeps them clean for the next use.