


Achieving intricate nail art at home can seem daunting, but nail stickers offer a simple and effective solution to elevate your hybrid manicure. These small decorative elements can transform a plain colour into a unique design in just a few minutes. Whether you prefer subtle accents or bold patterns, understanding how to properly apply and seal them is key to a flawless, long-lasting finish that looks professionally done. This guide will walk you through everything you need to know about using stickers with your hybrid nail polish.
Understanding Hybrid Nail Stickers
Hybrid nail stickers are pre-made designs printed on a special thin material, designed specifically for use in nail art. They are an accessible alternative to complex, hand-painted nail art, allowing anyone to create detailed and precise decorations without needing advanced artistic skills or special tools. They come in an endless variety of themes, colours, and styles, from delicate floral patterns and geometric shapes to seasonal motifs and abstract lines. Their main advantage is convenience and the ability to achieve consistent, repeatable results on every nail.
Types of Nail Stickers
There are several types of nail stickers available, each with a slightly different application method. Choosing the right one depends on your desired look and comfort level with the technique.
Water Decals
Water decals are incredibly thin designs printed on a paper backing. As the name suggests, they are activated with water. You cut out the desired design, soak it in water for a few seconds, and the decal slides off the backing paper. Because they are so fine, they conform beautifully to the curve of the nail, creating a seamless, almost painted-on look. They are an excellent choice for intricate, detailed patterns that need to lie perfectly flat on the nail surface.
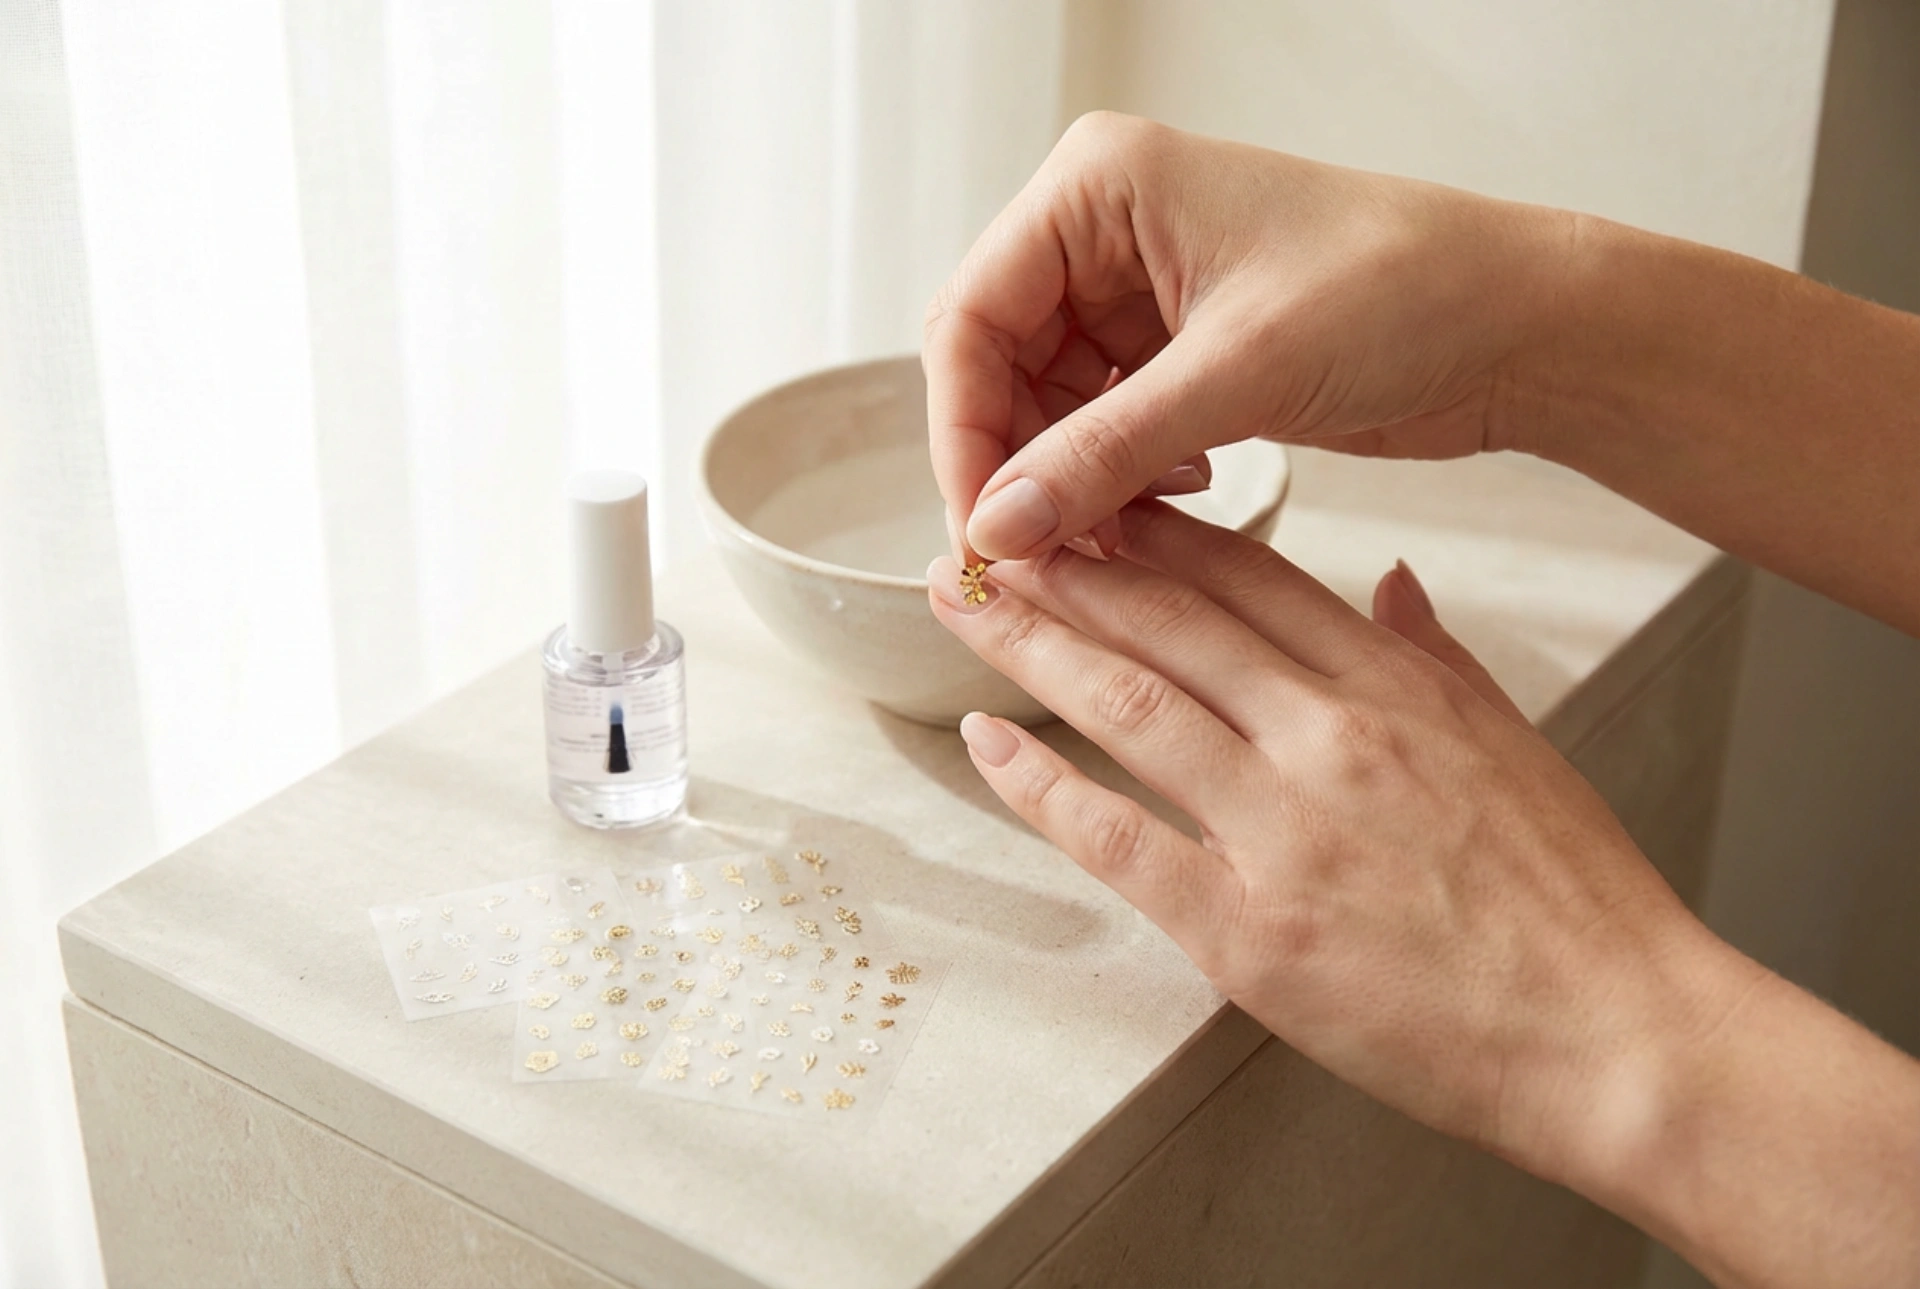
Self-Adhesive Stickers
These are the most straightforward type of nail decoration. They work just like regular stickers – you simply peel the design from its backing sheet and press it onto the nail. They often have a slightly thicker texture than water decals, and some even come in 3D or embossed varieties, adding physical texture to your manicure. They are perfect for beginners and for creating quick, impactful designs. Using tweezers for placement is highly recommended to ensure precision and avoid touching the adhesive.
Full-Cover Nail Wraps
Full-cover wraps are essentially large stickers designed to cover the entire nail plate. They offer a complete manicure design in a single step, replacing the need for coloured hybrid polish altogether. They are applied to a prepared nail, smoothed down, and the excess is filed away at the tip. While they offer a quick transformation, they must be sealed with a top coat to be compatible with the longevity of a hybrid system.
Step-by-Step Application Guide
Proper application is crucial for ensuring your nail stickers last as long as your hybrid manicure. Follow these steps for a perfect, bubble-free result.
- Step 1: Prepare the Nail Surface. Your nail stickers should be applied after you have cured your final layer of coloured hybrid polish. It is essential to wipe off the sticky dispersion layer with a cleaner before applying the sticker. A smooth, clean, and non-sticky surface ensures the best adhesion.
- Step 2: Position the Sticker. Use tweezers to handle the sticker, whether it's a self-adhesive one you've peeled off or a water decal you've slid off its backing. Carefully place it onto the desired position on the nail. Avoid placing it too close to the cuticles or the side walls, as this can lead to lifting.
- Step 3: Smooth it Down. Once the sticker is in place, gently press it down. Use a soft, lint-free wipe, a silicone tool, or your fingertip to smooth it out from the centre towards the edges. The goal is to remove any trapped air bubbles and ensure the sticker is completely flat against the nail.
Securing the Sticker for Longevity
A nail sticker is only as durable as the top coat that protects it. This final step is non-negotiable for hybrid manicures, as it seals the design and integrates it into the polish layers.
The Importance of a Top Coat
A high-quality top coat acts as a protective shield for your nail art. It prevents the edges of the sticker from catching on things and peeling off, protects the design from fading or rubbing away, and gives the entire nail a unified, glossy finish. Without a top coat, a sticker on a hybrid manicure would likely not last more than a day.
Application and Curing
Apply a generous layer of a hybrid top coat over the entire nail, including the sticker. Be sure to 'cap' the free edge of the nail by running the brush along the tip. This creates a seal that prevents lifting from the edge. For thicker 3D stickers, you may need two layers of top coat to ensure the surface is completely smooth. Once applied, cure the top coat in your LED/UV lamp according to the product's instructions. After curing and, if necessary, wiping the dispersion layer, your durable and beautifully decorated manicure is complete.


