


A beautifully executed manicure is a hallmark of elegance, and few styles are as subtly sophisticated as light ombre nails. This design, featuring a gentle transition between soft, natural hues, offers a polished and modern look that is perfect for both daily wear and special occasions. It enhances the natural beauty of the hands without being overpowering. Achieving this delicate gradient effect at home is easier than you might think, requiring just a few simple tools and a little patience.
What Defines Light Ombre Nails?
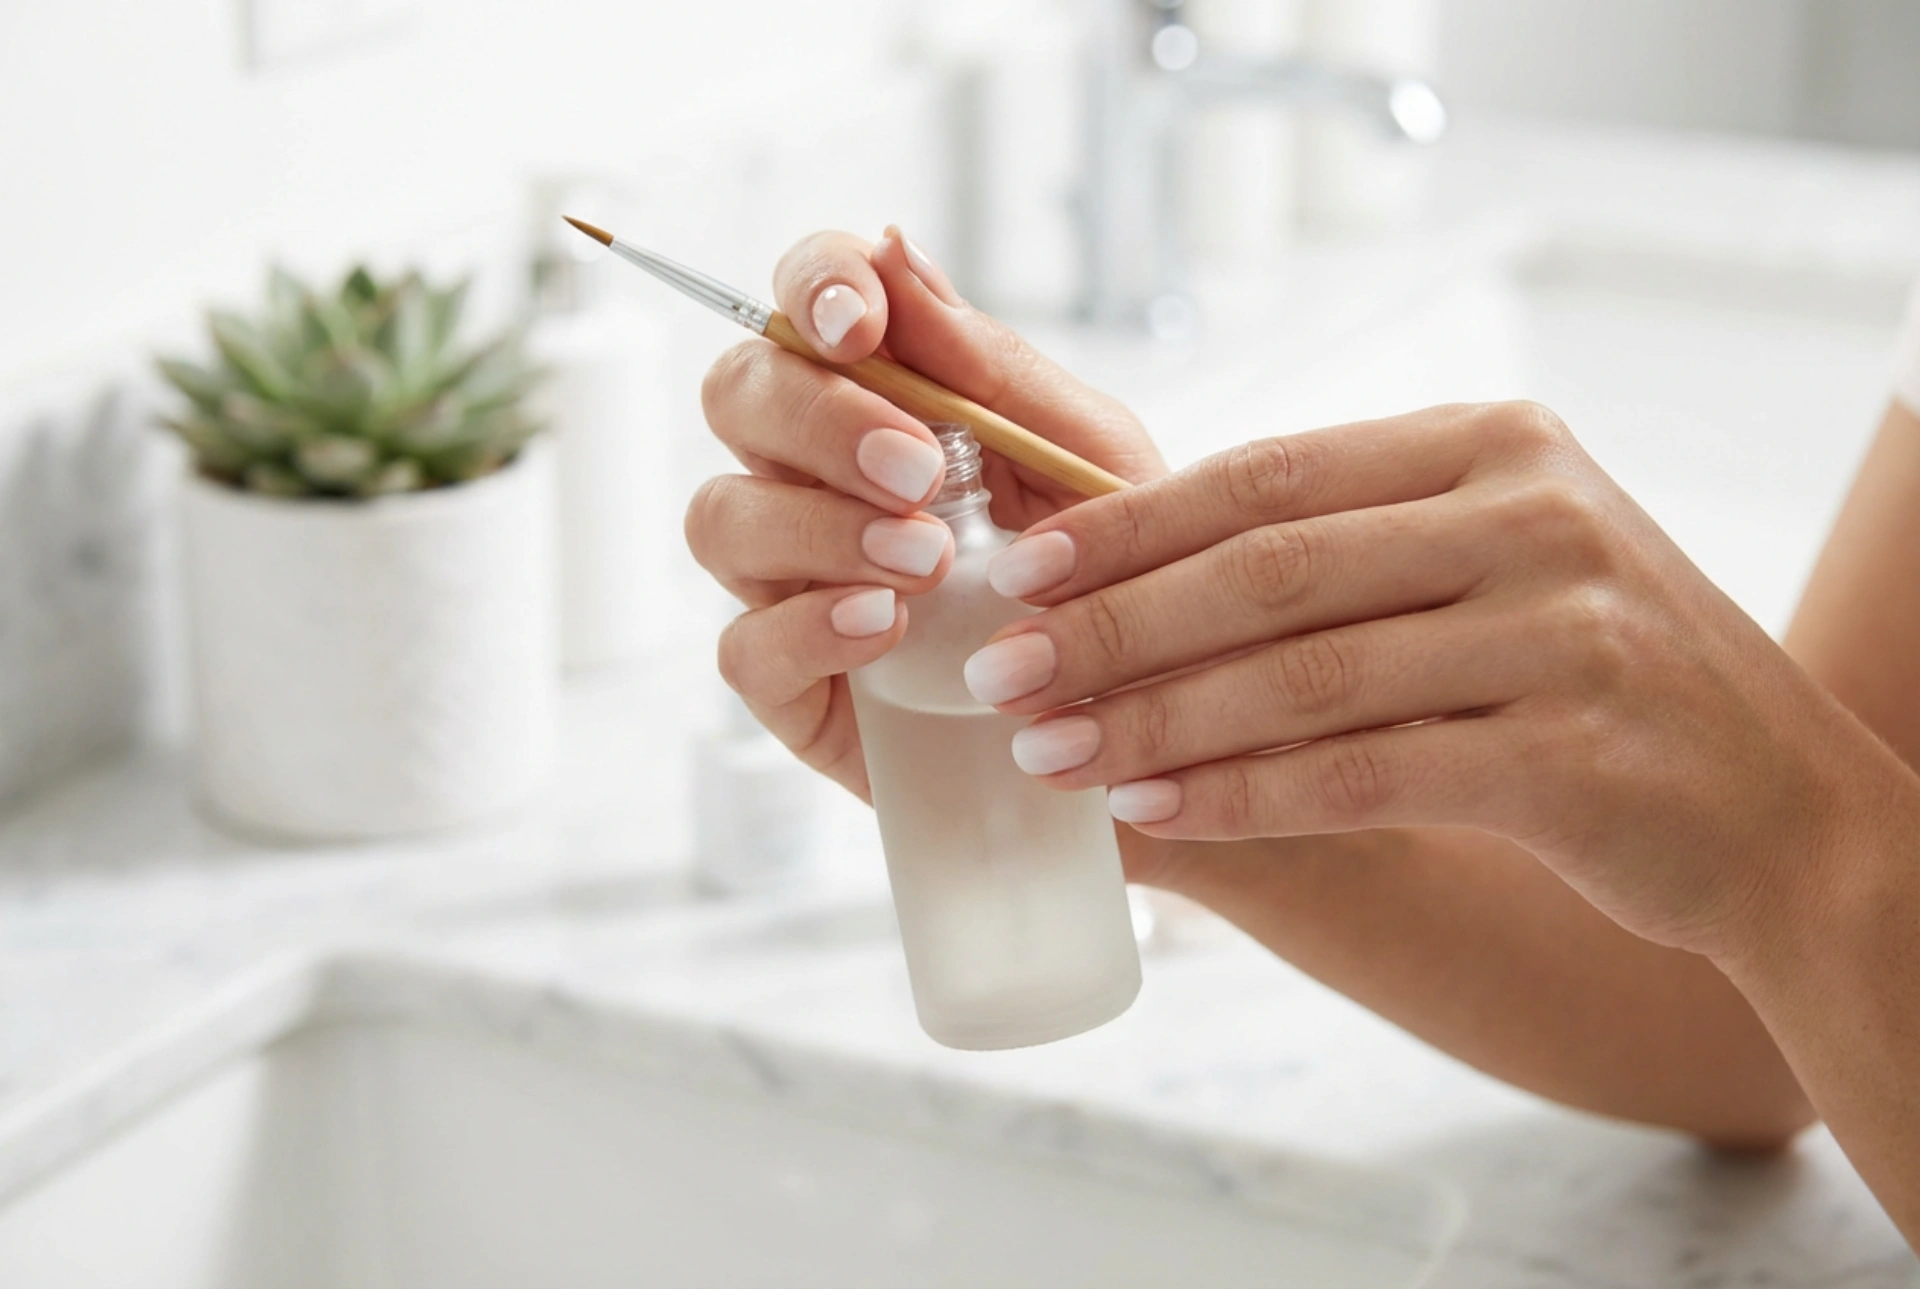
Light ombre nails are characterised by a seamless colour gradient, typically moving from a darker nude or soft pink at the base of the nail to a lighter shade, such as off-white or pale beige, at the tip. Unlike more dramatic colour combinations, the light ombre style focuses on subtlety and a 'your nails but better' aesthetic. The charm of this manicure lies in its versatility; it complements any outfit and occasion, looking effortlessly chic and well-maintained. It's a timeless choice that exudes refinement.
Preparing Your Nails for a Flawless Finish
Proper preparation is the foundation of any long-lasting and professional-looking manicure. Before you begin creating the ombre effect, it’s essential to get your nails into optimal condition. A clean and smooth canvas will ensure the polish applies evenly and adheres properly, preventing premature chipping.
Cleaning and Shaping
Start by removing any old nail polish with a gentle remover. Next, focus on your cuticles. Use a cuticle remover and gently push them back with a wooden stick or a pusher. Avoid cutting them, as this can lead to damage. Afterwards, file your nails into your desired shape, whether it's a classic oval, a modern square, or a soft squoval. Buff the surface of the nails lightly to remove any ridges and create a smooth base for the polish.
Applying the Base Coat
Never skip the base coat. This crucial step serves multiple purposes: it protects your natural nails from staining, helps the coloured polish adhere better, and fills in any minor imperfections on the nail surface. Apply one thin, even layer of a quality base coat to each nail and allow it to dry completely before proceeding to the colour application.
How to Create the Light Ombre Effect at Home
The secret to a beautiful ombre effect is the blending technique, which is easily achieved using a simple makeup sponge. With the right tools and steps, you can create a salon-quality gradient manicure in the comfort of your own home.
What You Will Need
- A protective base coat
- Two light-coloured nail polishes (e.g., a nude and an off-white)
- A high-shine top coat
- A small, disposable makeup sponge (a triangle wedge works well)
- Nail polish remover and a small brush or cotton bud for clean-up
Step-by-Step Guide
- Begin by applying your base coat and letting it dry.
- Apply one or two coats of the lightest of your two chosen colours over the entire nail. This will be your base shade. Ensure it is completely dry before moving on.
- Take your makeup sponge. Paint two horizontal stripes of your chosen polishes directly onto the sponge, with the colours touching and slightly overlapping in the middle. Be generous with the polish as the sponge will absorb some of it.
- Gently press and dab the sponge onto your nail. You can roll it slightly from side to side to help blend the colours. Don't worry about getting polish on the skin around your nail; this can be cleaned up later.
- Repeat the dabbing process to build up the colour intensity until you are happy with the gradient effect. Let the polish dry for a few minutes between layers.
- Once dry, dip a small brush or cotton bud in nail polish remover and carefully clean up any excess polish from the skin around your nails.
- Finish by applying a generous layer of a glossy top coat. This will smooth out any texture from the sponge, blend the colours even more seamlessly, and give your nails a beautiful shine while sealing the design.
Tips for a Long-Lasting Ombre Manicure
To keep your light ombre nails looking fresh and pristine for as long as possible, a little maintenance goes a long way. Apply a fresh layer of top coat every two to three days to restore shine and add an extra layer of protection against chipping. Keep your hands and cuticles moisturised by applying hand cream and cuticle oil daily. This not only promotes healthy nails but also frames your manicure beautifully. Finally, remember to wear protective gloves when doing household chores, as prolonged exposure to water and cleaning chemicals can cause your manicure to weaken and lift.


