


A sophisticated manicure can be the perfect finishing touch to any look, and the black cat-eye effect is a particularly captivating choice. This unique style offers a deep, multi-dimensional finish with a luminous streak of light that appears to shift and move as you do. It's an elegant yet modern design that can be achieved at home with the right tools and techniques. This guide will walk you through the process of creating a flawless black cat-eye manicure, from nail preparation to securing the final stunning effect.
Understanding the Cat Eye Nail Effect
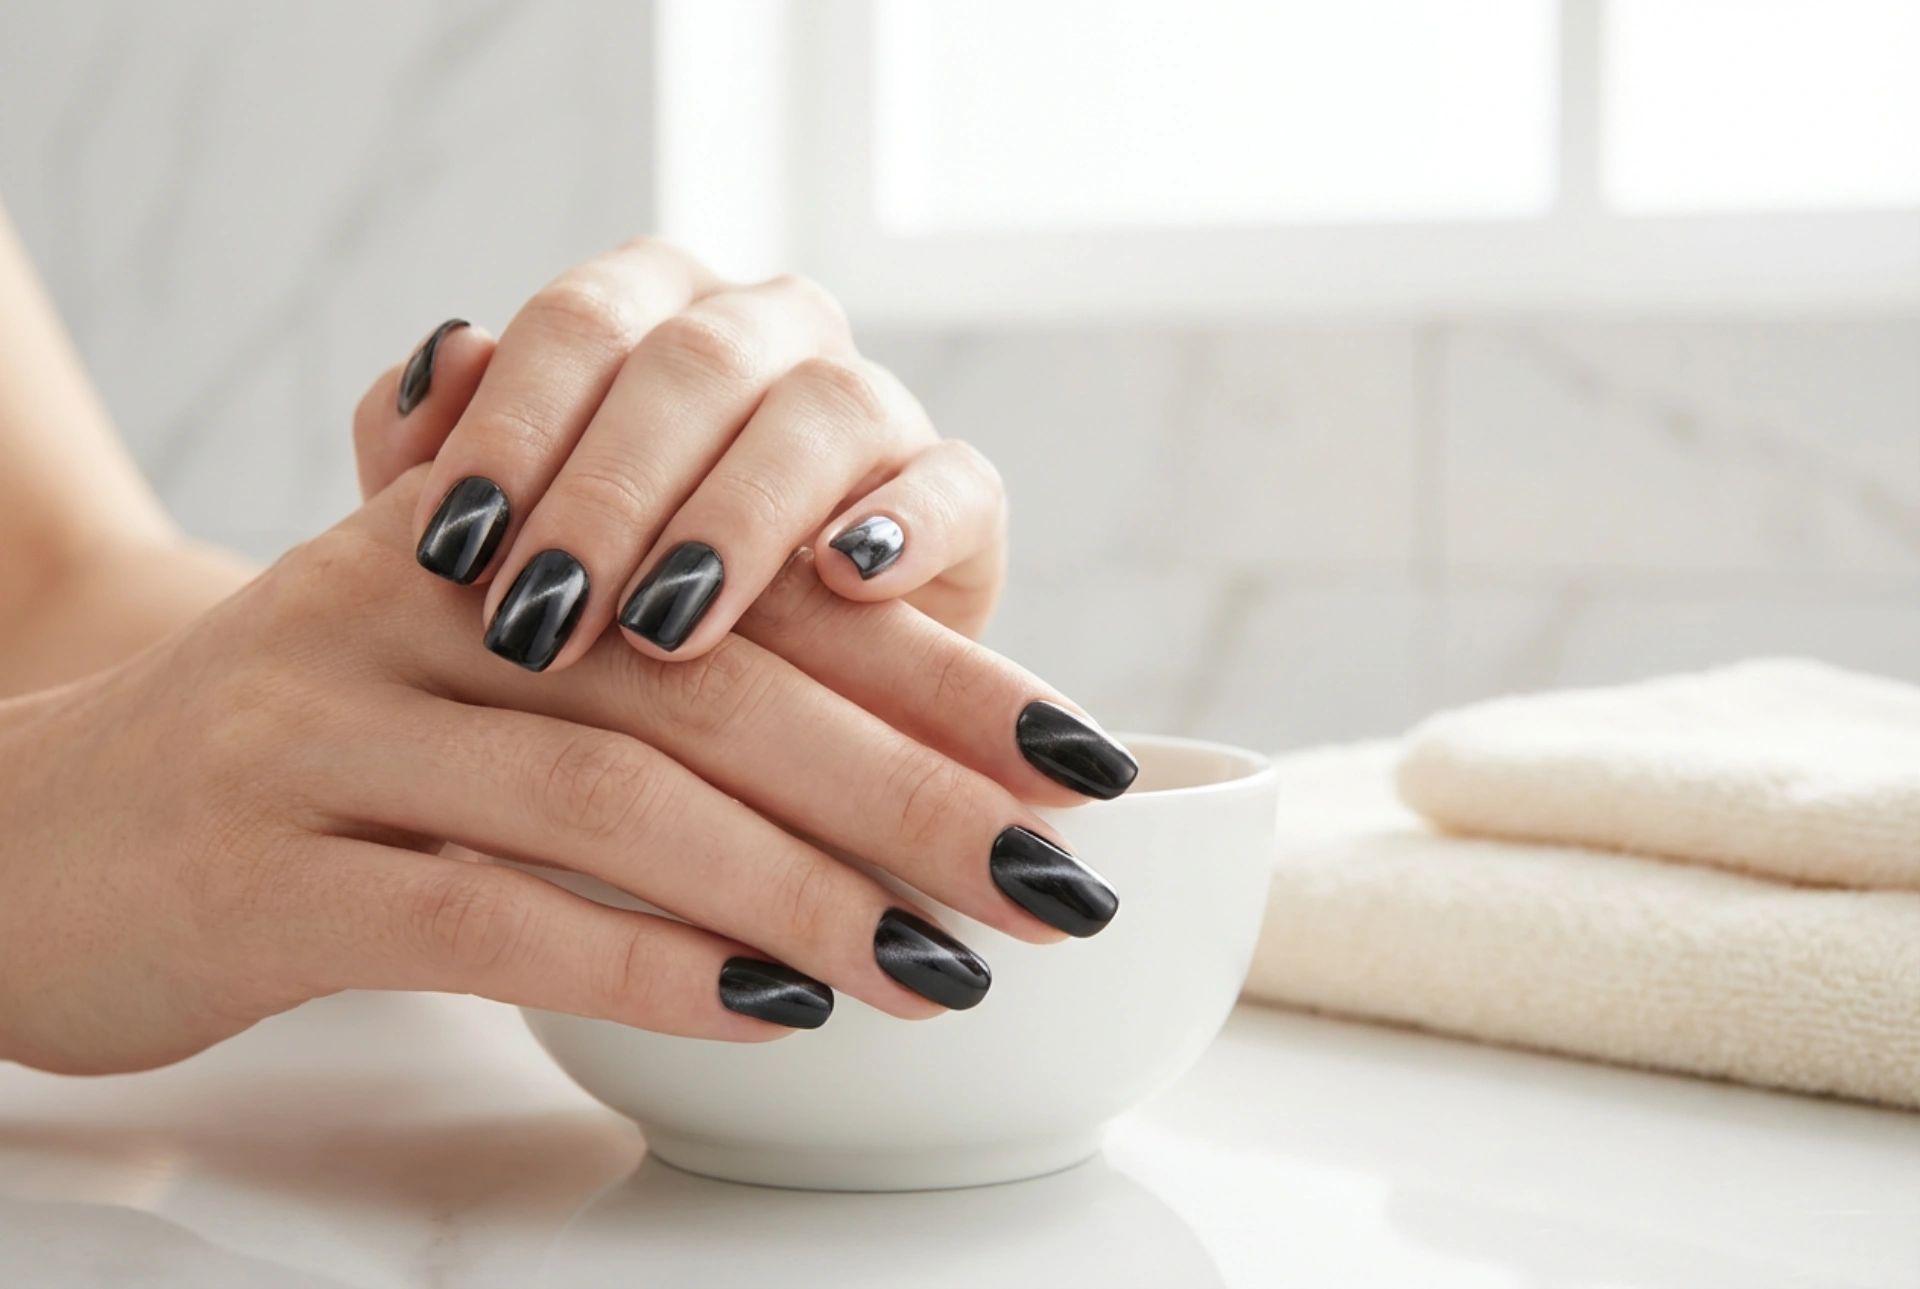
The 'cat eye' effect is created using a special type of gel polish infused with tiny magnetic particles. When a magnet is held over the wet polish, these particles are drawn together and aligned, forming a concentrated, shimmering line against the darker base. The contrast between the bright line and the deep background creates an illusion of depth and movement, much like the mesmerising slit in a cat's eye. While it looks complex, the technique is surprisingly straightforward once you understand the basic principles.
Essential Preparation for a Perfect Manicure
Proper preparation is the foundation of any long-lasting gel manicure. Skipping these steps can lead to lifting, chipping, or an uneven finish. Before you even open the magnetic polish, ensure your nails are perfectly prepped.
Step-by-Step Nail Preparation
- Clean and Shape: Start by removing any old polish. File your nails to your desired shape and length. An oval or almond shape beautifully complements the cat-eye effect.
- Cuticle Care: Gently push back your cuticles using a cuticle pusher. If you are experienced, you can carefully trim any excess dead skin, but avoid cutting the living tissue.
- Buff the Nail Plate: Lightly buff the surface of each nail with a fine-grit buffer. This removes the natural shine and creates a slightly rough texture, which helps the gel polish adhere better.
- Dehydrate and Prime: Wipe each nail with a lint-free wipe soaked in a nail cleaner or isopropyl alcohol. This removes any dust and oils. For enhanced adhesion, you can apply a thin layer of nail primer and let it air dry.
- Apply the Base Coat: Brush on a thin, even layer of gel base coat. Be careful not to get any on your skin. Cure the base coat under a UV/LED lamp according to the manufacturer's instructions.
Creating the Signature Black Cat Eye Look
With your nails prepped and ready, it's time for the main event. For the most dramatic black cat-eye effect, it's often best to work over a solid black base colour.
Application and Magnetic Activation
First, apply one or two thin coats of a standard black gel polish, curing each coat under the lamp. This creates a deep, opaque background that will make the magnetic line pop.
Next, apply a single, even coat of the black cat-eye gel polish. Do not cure it yet. This is the layer you will manipulate with the magnet. Now, take your manicure magnet. For the classic diagonal line, hold the magnet close to the nail (about 2-3mm away) at an angle over one corner and towards the opposite tip. Hold it steady for 5-10 seconds. You will see the magnetic particles gather into a sharp, bright line. If you're not happy with the placement, you can simply brush over the polish again and retry. Once you are satisfied with the line's position and sharpness, immediately cure the nail under the lamp to lock the design in place. Work one nail at a time to prevent the polish from settling and the line from blurring.
Experimenting with Magnet Positions
The classic diagonal line is just one option. You can create various effects by changing how you hold the magnet:
- Vertical Line: Hold the magnet parallel to the side of your nail.
- Horizontal Line: Hold the magnet parallel to the tip of your nail.
- Curved or 'S' Shape: Use a cylindrical magnet and slowly move it over the nail to guide the particles into a curve.
- Full Illumination: Use the round end of a magnet and hover it over the centre of the nail to draw the particles into a central burst of light.
Sealing the Design for Long-Lasting Beauty
The final step is crucial for protecting your design and giving it a high-gloss finish. Apply a generous layer of a no-wipe gel top coat over the entire nail, making sure to 'cap' the free edge by running the brush along the tip. This seals the polish and helps prevent chipping. Cure the top coat for the recommended time, which is often slightly longer than for colour coats. Once cured, your stunning black cat-eye manicure is complete. To finish, apply some cuticle oil to nourish the skin around your nails.


