


Achieving intricate, salon-worthy nail art at home can seem daunting, but with the right tools, it's surprisingly simple. Water decals offer a fantastic way to add detailed designs to your manicure without needing a painter's steady hand. These ultra-thin transfers allow for precision and creativity, transforming your nails into miniature canvases. With just a bowl of water and a protective top coat, you can create a sophisticated look that is both beautiful and durable.
What Exactly Are Nail Water Decals?
Nail water decals, also known as water slide decals, are designs printed on a special, absorbent paper that has a water-soluble adhesive layer. When submerged in water, the thin film carrying the design separates from its paper backing, allowing it to be easily slid onto the nail. Unlike traditional stickers, they are incredibly thin, which helps them conform perfectly to the curve of the nail and lie flat, creating a seamless, painted-on effect once sealed with a top coat. They come in an endless variety of patterns, from delicate florals and geometric shapes to complex illustrations.
How to Apply Water Decals: A Step-by-Step Guide
Patience and preparation are the keys to a flawless application. Following these steps will ensure your design looks professional and lasts as long as your manicure.
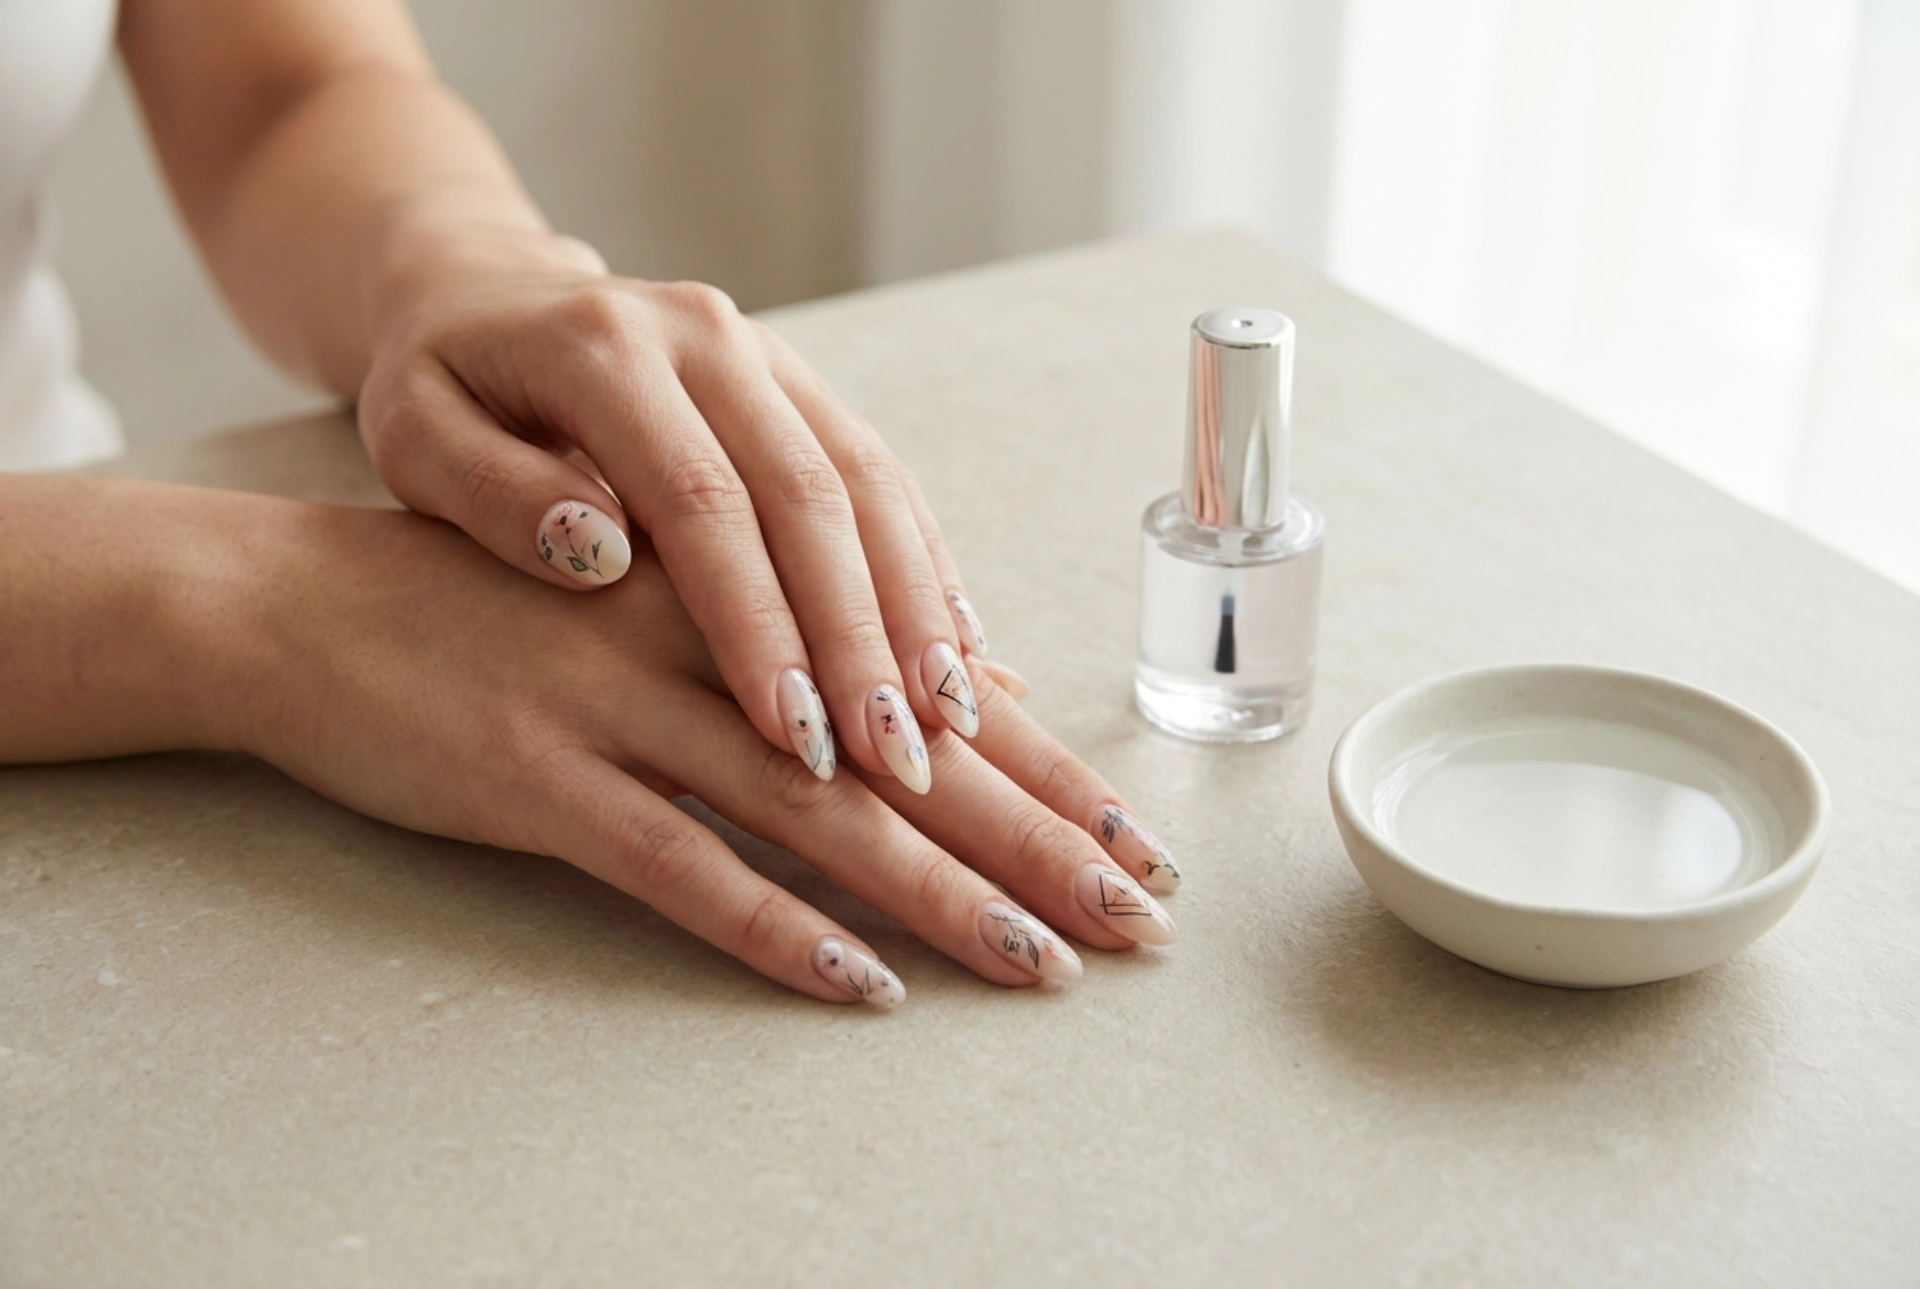
1. Prepare Your Nail Canvas
Before you begin, make sure your nails are clean, filed, and free of any oils. A good foundation is essential.
- Start by applying a quality base coat to protect your natural nails.
- Paint your nails with your chosen polish colour. Lighter shades often make the decal's design stand out more effectively, but feel free to experiment.
- Allow the polish to dry completely. Applying a decal to wet or tacky polish will result in smudging and an uneven surface. For best results, wait at least 30 minutes.
2. Cut and Soak the Decal
This is where the magic begins. Handle the decals carefully as they are very delicate.
- Carefully cut out the desired design from the decal sheet, trimming as close to the design's edges as possible.
- Using a pair of tweezers, pick up the cut-out decal and submerge it in a small bowl of room-temperature water for about 10-20 seconds.
- You will notice the design begin to separate from the paper backing. This indicates it's ready for application.
3. Slide and Position the Design
Timing and a gentle touch are important in this step. You have a short window to position the decal perfectly.
- Remove the decal from the water with your tweezers.
- Hold it over your nail and gently slide the design off the paper backing and onto the nail surface.
- Carefully manoeuvre the decal into your desired position. It will still be movable for a few seconds. Use the tip of your finger or the tweezers to make small adjustments.
4. Smooth and Set
To ensure a seamless look, you must remove any excess water and air bubbles.
- Once you are happy with the placement, gently dab the decal with a lint-free wipe, a soft sponge, or even your fingertip.
- Press lightly from the centre outwards to smooth out any wrinkles or trapped air bubbles and to absorb any remaining water.
- Let the decal air dry on the nail for a minute or two to ensure it has fully adhered.
The Final Step: Sealing Your Art
This is arguably the most important step for longevity and a professional finish. Do not skip it! A top coat protects the delicate decal from daily wear and tear, prevents chipping, and beautifully melts the decal's edges into your base polish, making it look like a hand-painted design. Apply one or two thin layers of a high-shine top coat over the entire nail. Be sure to 'cap' the free edge of your nail to provide extra protection against chipping. Allow it to dry completely, and your stunning new manicure is complete.
Tips for a Flawless Finish
- For a perfect fit, you can measure the decal against your nail and trim it to size before soaking.
- If any part of the decal hangs over the edge of your nail, you can gently file it away in a downward motion after the top coat is fully dry.
- For cleanup around the cuticles, use a small brush dipped in nail polish remover for a crisp, clean line.
- Don't be afraid to get creative! You can layer different decals, use them as an accent on one or two nails, or combine them with other nail art elements like glitter or foil.
- Removing them is simple. When you are ready for a new look, the decal will come off along with your polish using a standard nail polish remover.


