


Red lipstick is more than just a cosmetic; it's a statement of confidence and timeless elegance. The quest for the perfect red can seem daunting, but with a few key principles, you can find a shade and finish that beautifully complements your features and personal style. This guide will walk you through the process, from identifying your skin's undertone to achieving a flawless, long-lasting application.
Understanding Your Skin's Undertone
The secret to finding the most flattering red lipstick lies in understanding your skin's undertone. This is the subtle hue beneath your skin's surface, which can be cool, warm, or neutral. Getting this right is the first step towards finding a red that harmonises with your complexion.
How to Determine Your Undertone
There are several simple tests you can do at home to discover your undertone:
- The Vein Test: Look at the veins on the inside of your wrist in natural daylight. If they appear predominantly blue or purple, you likely have a cool undertone. If they look greenish, your undertone is warm. If you find it difficult to tell or see a mix of both, you may be neutral.
- The Jewellery Test: Think about which precious metal flatters your skin more. If silver and platinum make your skin look bright and vibrant, you're likely cool-toned. If gold makes you glow, you're probably warm-toned. If both look equally good on you, you're fortunate to have a neutral undertone.
Matching Red Shades to Undertones
Once you know your undertone, choosing a red becomes much simpler. You can narrow down the vast selection to shades that are guaranteed to suit you.
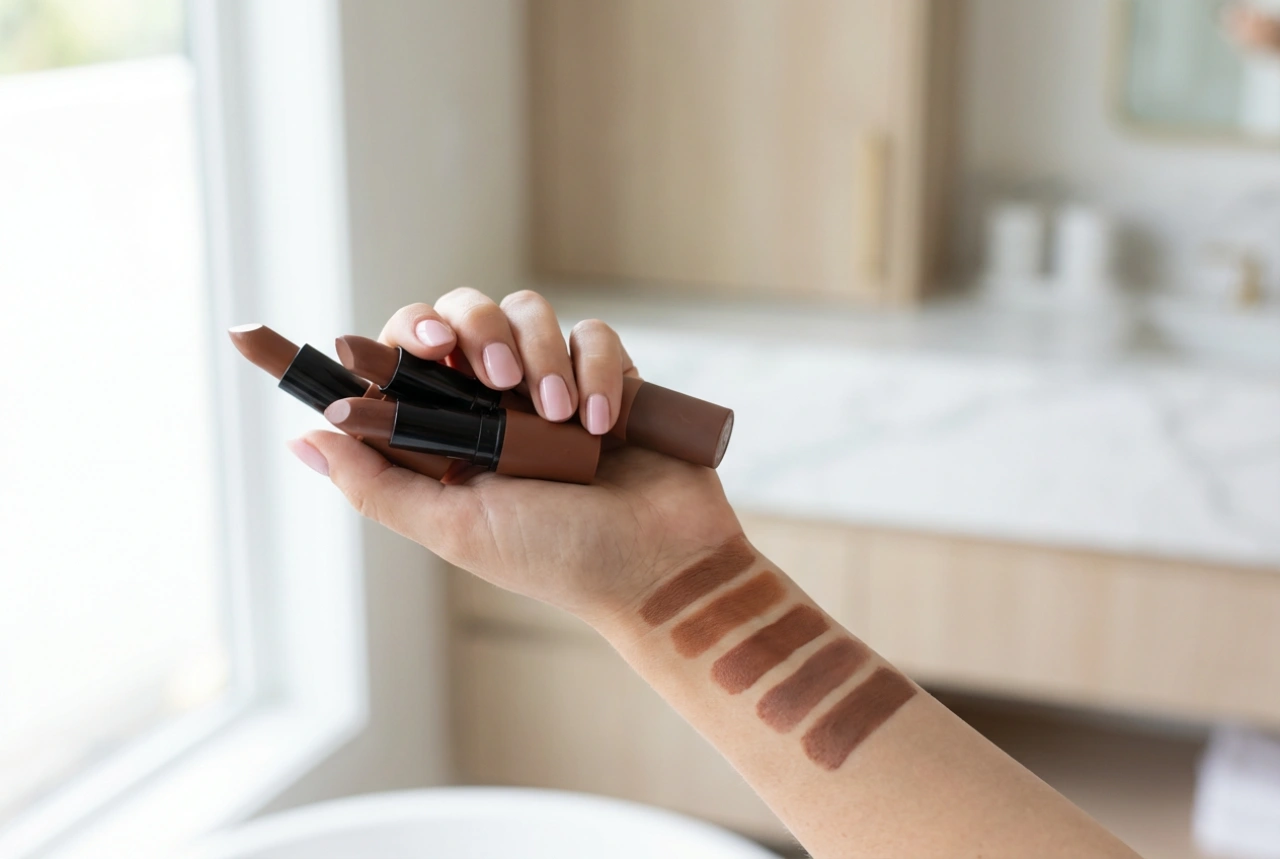
- For Cool Undertones: Look for red lipsticks that have blue or purple bases. Think of shades like cherry, raspberry, wine, or berry. These will complement the coolness in your skin and have the added benefit of making your teeth appear whiter.
- For Warm Undertones: Opt for reds with orange, peach, or golden undertones. Shades like brick red, terracotta, coral-red, or fiery orange-red will beautifully enhance the warmth in your complexion.
- For Neutral Undertones: You have the most flexibility and can pull off a wide spectrum of reds. You can wear true, primary reds with ease, as well as experiment with shades leaning slightly cool or warm to see what you prefer.
Choosing the Right Finish
The finish of a lipstick dramatically affects its appearance, feel, and longevity. The perfect red isn't just about colour, but also about texture and the final effect you wish to achieve.
- Matte: A matte finish delivers a bold, velvety look with no shine. It is known for its excellent staying power and is perfect for a classic, sophisticated statement. However, it can sometimes feel drying, so lip preparation is key.
- Satin or Crème: This is a popular middle-ground. It has a slight, subtle sheen, feels comfortable and hydrating on the lips, and provides good colour payoff without being as intense or drying as a matte.
- Gloss: High-shine and light-reflective, a gloss finish can make lips appear fuller and plumper. It is generally less long-lasting and requires more frequent application, but provides a fresh, modern, and youthful look.
- Sheer: For those new to red lipstick or who prefer a more subtle effect, a sheer finish provides a translucent wash of colour. It's often hydrating and easy to apply on the go, making it perfect for daytime wear.
Mastering the Application Technique
A precise application is essential for a polished red lip. Taking a few extra moments to apply it correctly will ensure it looks neat, defined, and lasts for hours.
Step 1: Prep Your Lips
Smooth, hydrated lips provide the best canvas. Gently exfoliate with a soft-bristled toothbrush or a simple sugar scrub to remove any dry flakes. Follow up with a light layer of lip balm and let it absorb for a few minutes before blotting away any excess oiliness.
Step 2: The Importance of a Lip Liner
A lip liner that matches your chosen lipstick or your natural lip colour is a non-negotiable step for a bold lip. It helps to define and perfect your lip shape, prevents the colour from feathering or 'bleeding' into fine lines around the mouth, and provides a base for the lipstick to adhere to, which increases its longevity.
Step 3: Applying the Lipstick
For the most precise application, a lip brush is your best tool. Load the brush with colour and start applying it to the centre of your lips, blending it outwards towards the corners. A brush gives you complete control over the amount of product and allows you to build the intensity gradually. If applying directly from the tube, start at the cupid's bow and work outwards, using the pointed tip for definition.
Step 4: Blotting and Setting for Longevity
After your first layer, gently press your lips together on a tissue to remove excess product. This is known as blotting and it helps to press the pigment into the lips. For maximum staying power, you can then apply a second layer of lipstick. For an even more durable finish, place a single ply of tissue over your lips and lightly dust a translucent setting powder over it with a fluffy brush. This sets the colour without making it look dull.
Finding your signature red is a personal journey of discovery. Do not be afraid to experiment with different shades and finishes to find what makes you feel your most confident and beautiful. A well-chosen and perfectly applied red lipstick is a powerful accessory that can elevate any look and any mood.