


Achieving a flawless, salon-quality manicure at home is a skill that brings immense satisfaction. It transforms a simple routine into a moment of creative self-care. The secret lies not just in a steady hand, but in having the right tools and following a structured technique. A perfectly arranged set of nail polishes and manicure tools is the first step towards beautiful, long-lasting results. This guide will walk you through creating your essential nail painting kit and mastering the application process for an even, professional finish every time.
Building Your Essential Home Manicure Kit
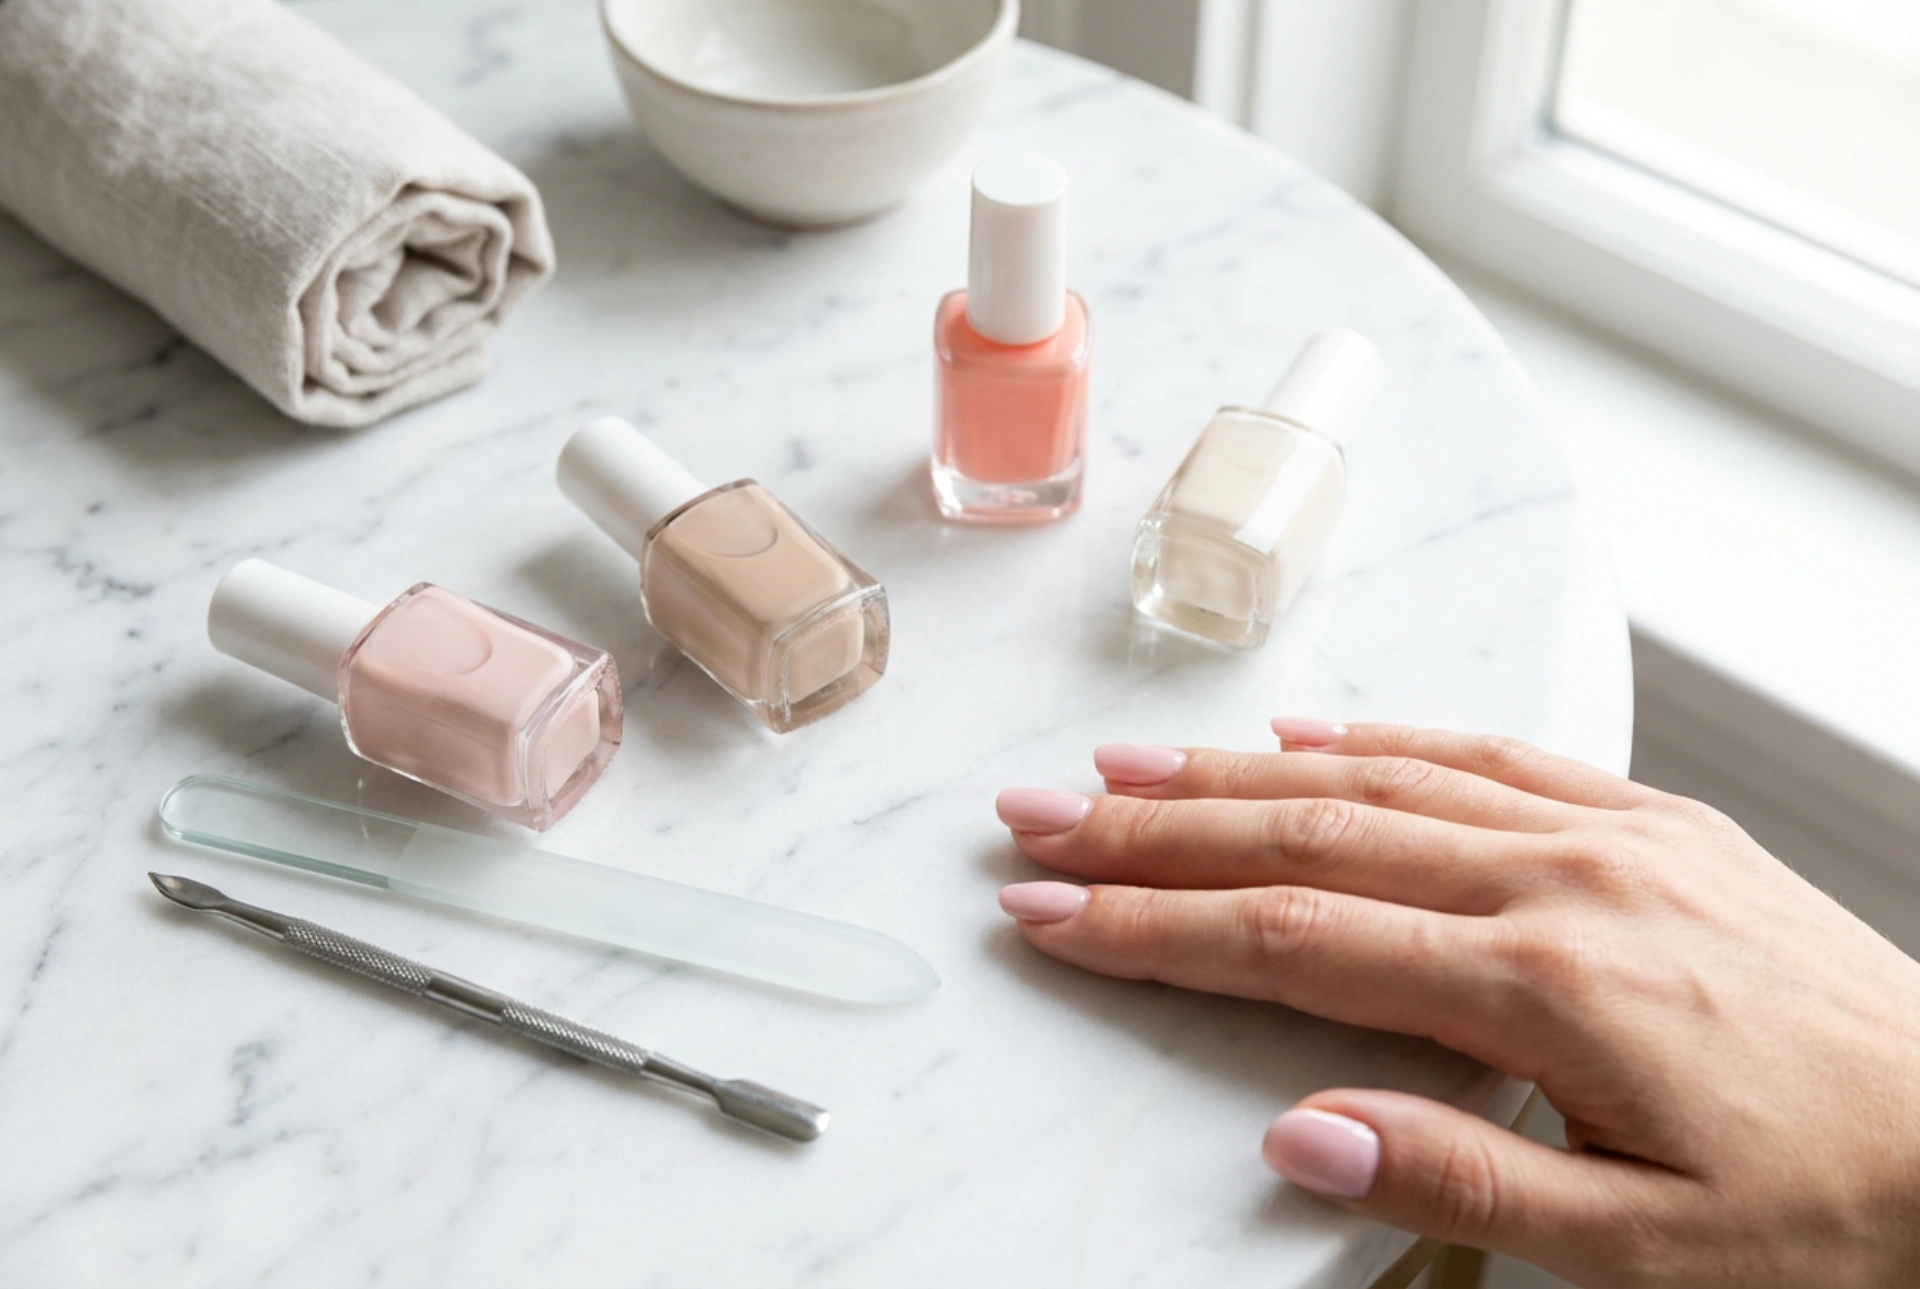
Before you even think about colour, assembling a core set of tools is crucial. These items will ensure your nails are properly prepped and your polish application is smooth and durable. You don't need a vast collection, just a few high-quality essentials.
- Nail File: A glass or crystal file is gentle on the nails, helping to seal the edge as you file and prevent peeling. Emery boards are also effective, but opt for a fine grit (240 or higher) for natural nails.
- Cuticle Pusher and Remover: A wooden orangewood stick or a stainless steel pusher is used to gently push back the cuticles. A liquid cuticle remover can soften them, making this step easier and safer.
- Base Coat: This is a non-negotiable first step. A good base coat protects your nails from staining, creates a smooth surface for the colour, and helps the polish adhere better, extending the life of your manicure.
- Coloured Nail Polish: Choose your desired shades. Look for formulas that promise good coverage and a smooth application.
- Top Coat: This is the finishing touch that seals your colour, adds a high-gloss shine, protects against chipping, and can speed up the drying process.
- Nail Polish Remover and Cotton Pads: For correcting mistakes and, of course, for removing the manicure when you're ready for a change. A small brush (like an old lip or eyeliner brush) dipped in remover is perfect for cleaning up edges.
Preparing Your Nails for a Perfect Finish
Proper preparation is arguably the most important stage for a long-lasting manicure. Rushing this step can lead to chipping, peeling, and an uneven look. Dedicate time to creating the perfect canvas.
1. Clean and Shape
Start with clean, dry nails. If you have old polish on, remove it completely. Next, shape your nails. File them gently in one direction, from the side to the centre. Avoid a back-and-forth sawing motion, as this can weaken the nail and cause splitting. Aim for a uniform shape across all your nails, whether you prefer square, round, or almond.
2. Cuticle Care
Apply a cuticle remover solution to the base of your nails and let it sit for a minute. Then, using a cuticle pusher, gently push back the softened skin. The cuticle is a protective barrier, so avoid cutting it at home. Simply tidying up the area by pushing it back will create a cleaner, more elongated nail bed for polishing.
3. Buff and Cleanse
Lightly buff the surface of your nails with a soft buffing block. This removes natural oils and ridges, creating a slightly textured surface that helps the polish grip better. Afterwards, wipe each nail with a cotton pad soaked in nail polish remover. This final cleanse removes any remaining oils and filing dust, ensuring the nail plate is perfectly prepped.
The Art of Application: A Step-by-Step Guide
With your nails prepped, it's time for the main event. The key to an even, streak-free finish is applying thin, controlled layers.
The Base Coat
Always start with one thin layer of base coat. Cover the entire nail plate, from the cuticle to the tip. Don't forget to 'cap' the free edge by running the brush along the very tip of your nail. This helps to prevent chipping.
Applying the Colour
The 'three-stroke' method is a professional favourite for a reason. Load your brush with enough polish for one nail – you shouldn't have a large drop hanging off it. Wipe one side of the brush on the neck of the bottle. Place the brush in the centre of your nail, slightly away from the cuticle. Push back gently towards the cuticle without touching the skin, and then pull the brush straight down to the tip. Return to the base and paint one stroke down the left side, and a final stroke down the right side. This method ensures full, even coverage without flooding the cuticles.
Building the Colour
Apply your first coat of colour as thinly as possible. It might look a little sheer, and that's okay. Wait at least two to three minutes for it to dry before applying a second thin coat using the same three-stroke technique. Two thin coats will always look smoother, dry faster, and last longer than one thick, gloopy coat.
Sealing with a Top Coat
Once your second coat of colour is touch-dry, apply a generous layer of top coat. This will smooth out any minor imperfections, add brilliant shine, and provide a durable shield. Remember to cap the free edge with the top coat as well. This final seal is vital for preventing chips and extending the wear of your manicure.


