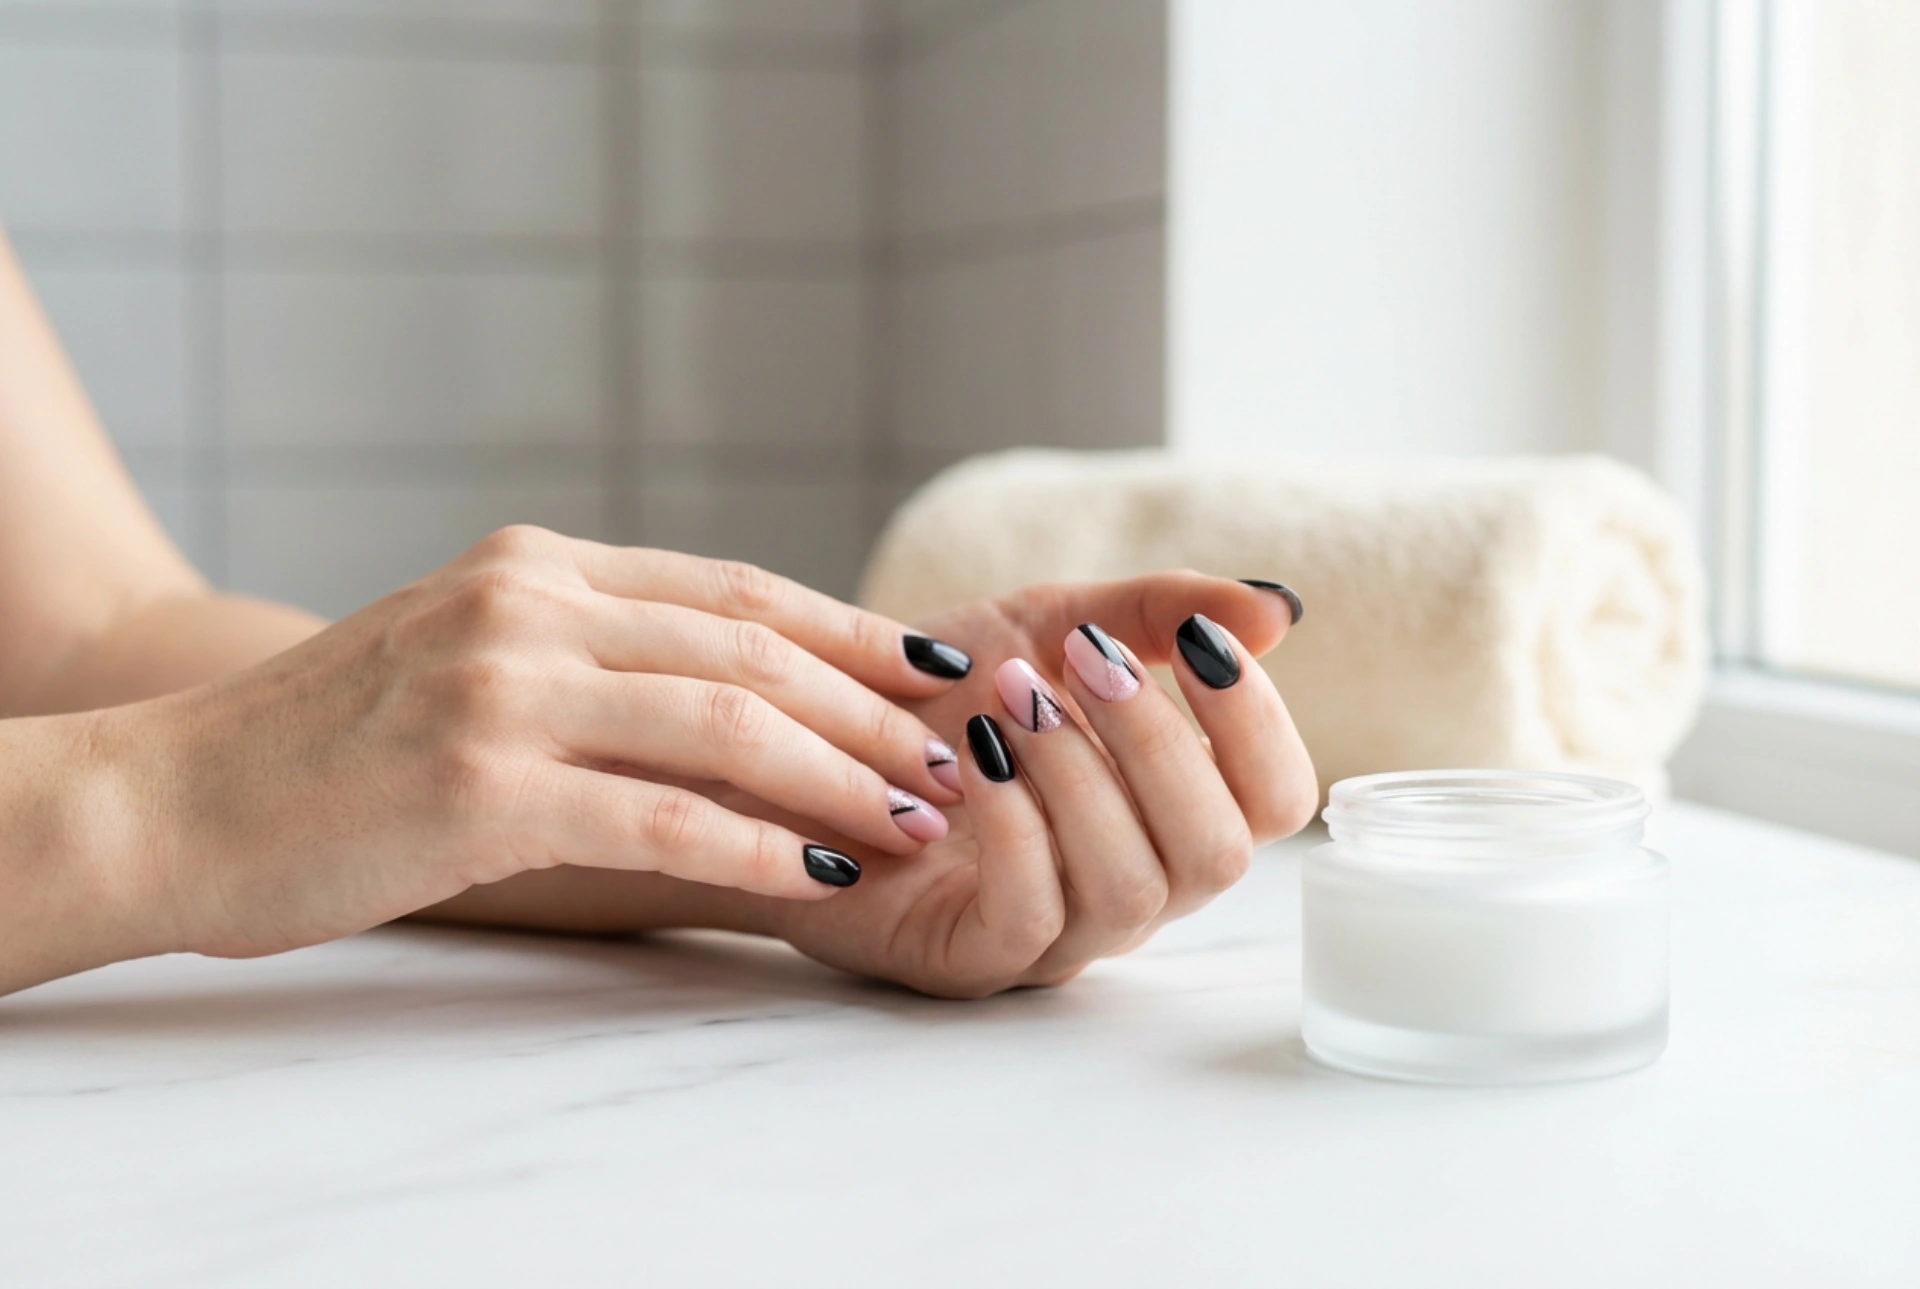


Nail art is a wonderful way to express your personal style, and the combination of black and pink offers a perfect balance between classic elegance and modern edge. This versatile duo can be adapted for any occasion, from a casual day out to a sophisticated evening event. By incorporating geometric patterns and a touch of glitter, you can elevate this look into a true statement manicure. This guide will walk you through creating a stunning black and pink design at home, step by step.
Preparation: The Foundation for a Perfect Manicure
Before you start painting, proper preparation is key to ensuring your design looks professional and lasts as long as possible. A clean and smooth canvas allows for better polish application and a more durable finish.
- Clean and Shape: Start by removing any old polish with a gentle nail polish remover. Wash your hands and nails thoroughly. File your nails to your desired shape – oval, square, or almond shapes all work beautifully with this design. Gently push back your cuticles using a cuticle pusher, but avoid cutting them to prevent irritation.
- Buff the Surface: Lightly buff the surface of your nails with a fine-grit buffer. This removes natural oils and creates a slightly textured surface that helps the polish adhere better. Wipe away any dust with a clean, dry cloth or brush.
- Apply a Base Coat: Never skip the base coat. It protects your natural nails from staining, especially with dark colours like black, and creates a smooth foundation for your colour polish. Apply one thin layer to each nail and let it dry completely.
Creating the Black and Pink Base
With your nails prepped, it's time to apply the base colours. You have several creative options for how to combine the black and pink. You could paint all nails pink with one or two black accent nails (or vice versa), alternate the colours on each finger, or even create a half-and-half design on a single nail.
Application Technique
For a flawless finish, apply two thin coats of your chosen colour polish rather than one thick coat. Thin layers dry faster and are less prone to smudging and bubbling. Allow the first coat to dry for at least two minutes before applying the second. Ensure the polish is completely dry before moving on to the detailed artwork – this can take 15-20 minutes. Patience is crucial for clean, sharp lines later.
Adding Geometric Accents Step-by-Step
Geometric patterns add a sharp, contemporary feel to the manicure. The contrast between black and pink makes these shapes stand out beautifully. The easiest way to achieve crisp lines at home is by using nail art tape.
Using Nail Art Tape
- Plan Your Design: Decide on your geometric pattern. Simple lines, chevrons, triangles, and colour-blocking are all great options.
- Apply the Tape: Once your base colour is 100% dry, place thin strips of nail art tape on your nail to section off the areas you want to paint. Press the tape down firmly, especially along the edges, to prevent the polish from bleeding underneath.
- Paint the Accent Colour: Carefully paint the contrasting colour over the taped-off section. For example, if your base is pink, you'll be using black polish. Apply a thin, even coat.
- Remove the Tape: This is the most critical step. Remove the tape *immediately* after painting, while the polish is still wet. Pull it off slowly and carefully to reveal a clean, sharp line. If you wait for the polish to dry, it may peel off with the tape.
Using a Fine Brush
If you have a steady hand, you can create geometric shapes using a fine-tipped nail art brush. Simply dip the brush in your contrasting polish and draw your desired lines or fill in shapes. This method offers more creative freedom but requires more practice to perfect.
Incorporating Glitter for Extra Sparkle
A touch of glitter can instantly elevate your design from chic to glamorous. It catches the light and adds an element of texture and dimension. There are a few stylish ways to add it.
- Glitter Accent Nail: The simplest method is to dedicate one nail, often the ring finger, as a full glitter accent. Apply two coats of a high-quality glitter polish over your dried base coat.
- Glitter Gradient: Apply a small amount of glitter polish to a makeup sponge and dab it onto the tip of your nail, fading it down towards the cuticle. This creates a beautiful ombré effect.
- Tracing Geometric Lines: For a more subtle sparkle, use a fine brush and a glitter liner polish to trace along the edges of your geometric shapes. This highlights the design and adds a sophisticated shimmer.
Finishing and Protecting Your Artistry
The final step is to seal your beautiful design. A good top coat is non-negotiable. It not only adds a high-gloss shine but also protects your nail art from chipping, smudging, and fading. Apply one even layer of a quick-drying top coat over all your nails, making sure to 'cap' the free edge by swiping the brush along the tip of your nail. This creates a seal that significantly extends the life of your manicure. Allow it to dry completely, and enjoy your stunning, self-made black and pink geometric nails!


