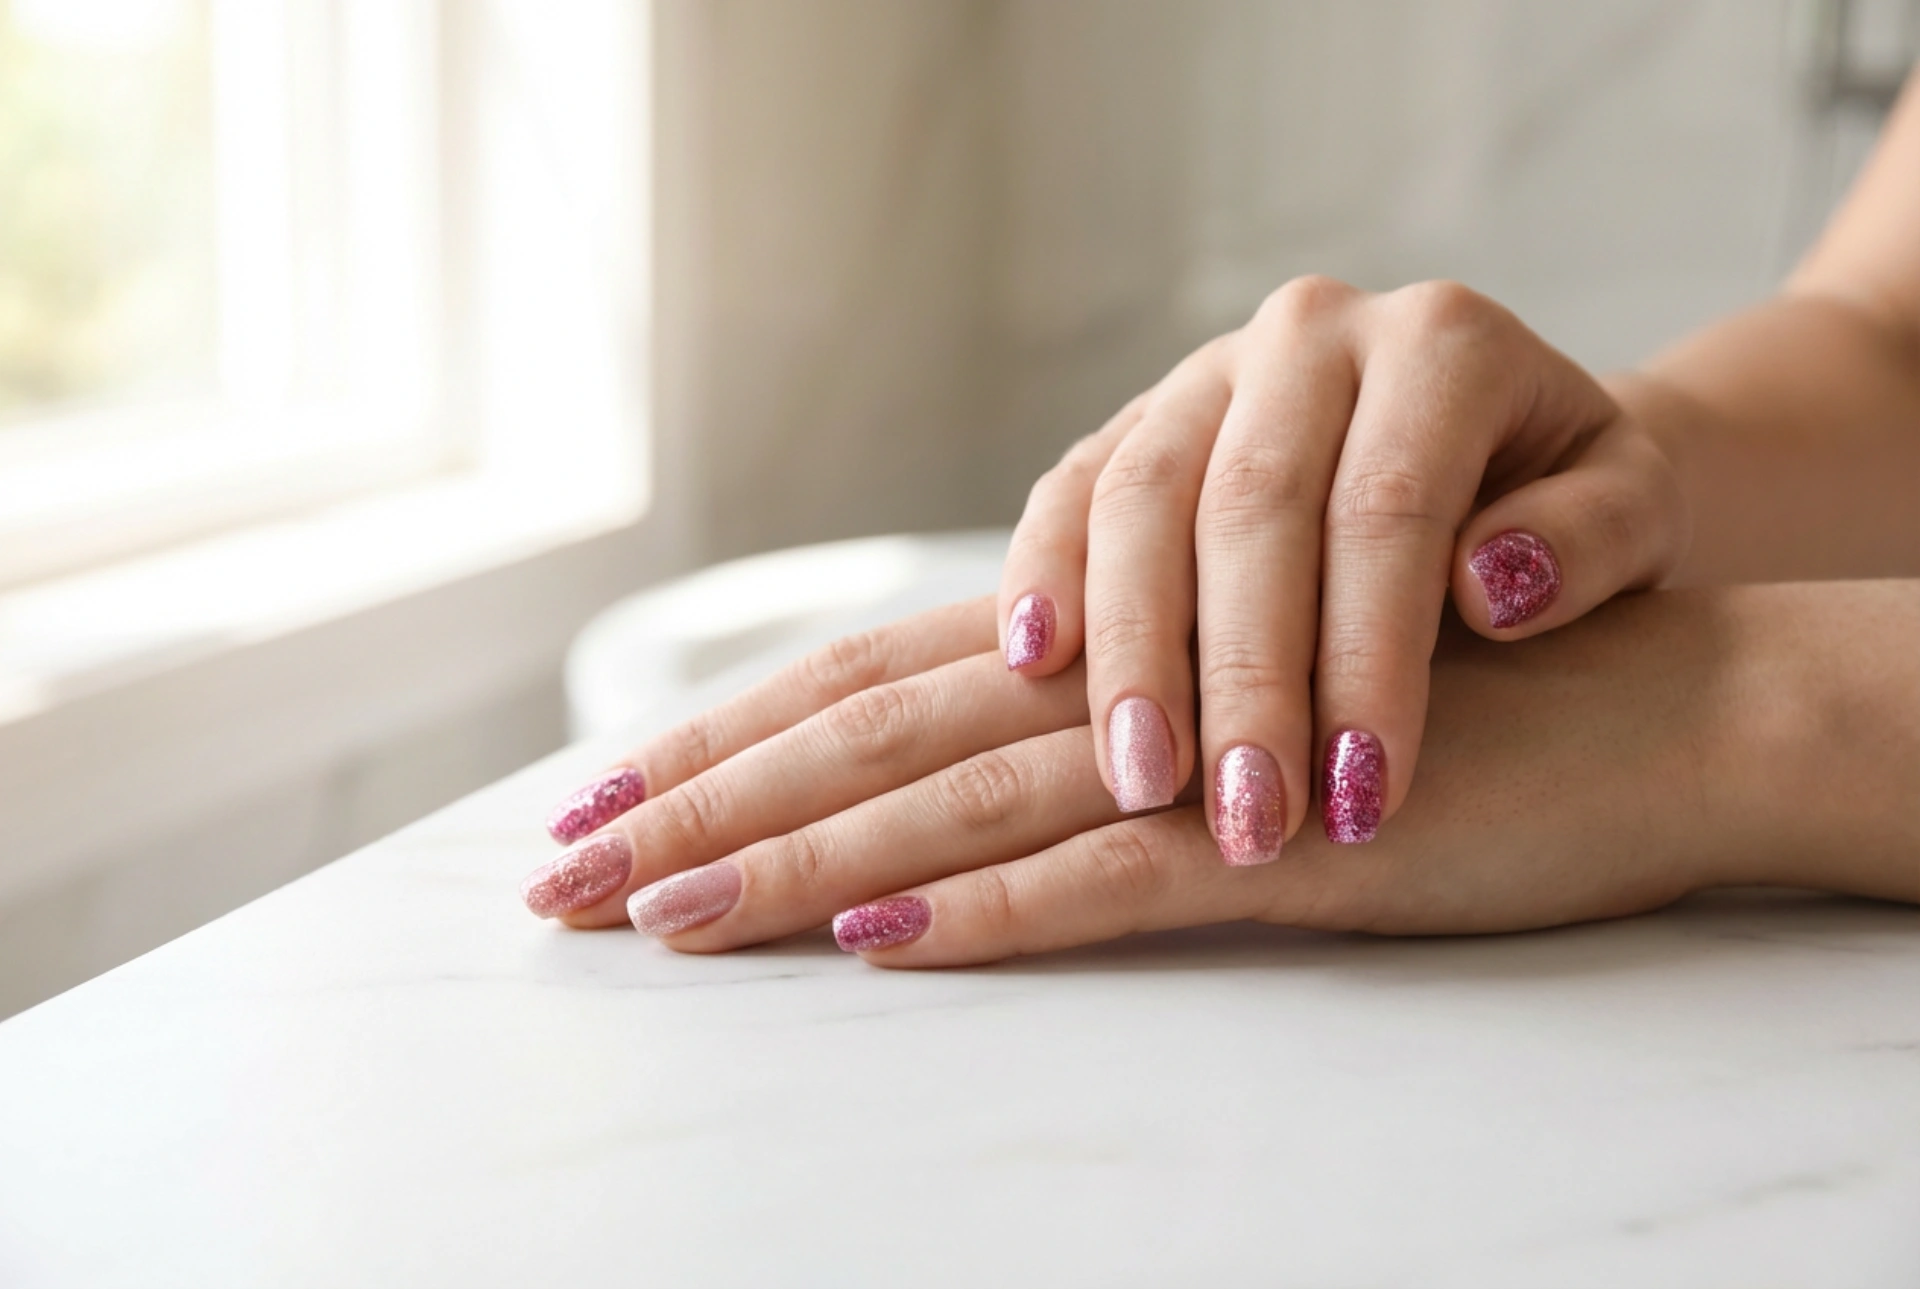


A pink glitter manicure is a timeless choice that combines femininity with a touch of glamour. It's incredibly versatile, suitable for everything from daily wear to special occasions. Whether you prefer a subtle shimmer or a bold, dazzling sparkle, there is a pink glitter look for everyone. Understanding how to artfully combine different shades of pink with various glitter textures is the key to creating a sophisticated and personalised nail design that truly stands out. This guide will walk you through the essentials of crafting the perfect pink glitter nails at home.
Choosing Your Perfect Pink
The spectrum of pink is vast and varied, offering a shade to suit every skin tone, mood, and event. Before you even consider the glitter, finding your ideal base colour is the first step. Think about the undertones of your skin. Cooler skin tones are often complemented by pinks with blue undertones, such as magenta or fuchsia. Warmer skin tones shine with peachy or coral-based pinks and rose gold. Neutral skin tones have the versatility to wear almost any shade of pink beautifully.
Consider the Occasion
The setting can also influence your choice of pink. A soft, pale blush or a delicate rose pink provides an elegant and understated look perfect for a professional environment or a formal event. For a fun night out or a festive celebration, a vibrant hot pink or a deep berry shade can make a much bolder statement. Don't be afraid to have a few different pink polishes in your collection to switch up your style.
The World of Glitter Textures
Glitter is not a one-size-fits-all finish. The size, shape, and type of glitter particles dramatically change the final effect of your manicure. Understanding these differences will allow you to customise your look with precision.
Fine Shimmer
Fine shimmer consists of tiny, dust-like particles that create a smooth, pearlescent, or metallic sheen. This type of glitter polish provides a subtle glow that catches the light gently. It's an excellent choice for those new to glitter or anyone seeking a more refined and grown-up sparkle. It’s also generally easier to apply and remove than its chunkier counterparts.
Chunky Glitter
Chunky glitter features larger, often irregularly shaped particles. This can range from small hexagonal pieces to larger, more abstract shapes. Manicures with chunky glitter are bold and eye-catching, creating a multi-dimensional, textured effect. They are perfect for creating an accent nail or a full-on statement look. Application can require a bit more patience to ensure the glitter pieces lay flat and are evenly distributed.
Holographic and Iridescent Glitter
For a truly mesmerising effect, holographic and iridescent glitters are the way to go. Holographic glitters create a rainbow effect as they reflect light, while iridescent glitters shift between different colours depending on the angle of view. These options add a magical, futuristic feel to any pink base, transforming a simple manicure into a captivating work of art.
Techniques for Combining Shades and Textures
Once you have your chosen pinks and glitters, it's time to get creative. Combining them effectively is what elevates a manicure from standard to stunning.
- The Glitter Ombré: This popular technique involves creating a gradient effect. Start by painting your nail with a solid pink base colour. Once dry, use a makeup sponge to dab a glitter polish onto the tip of the nail, concentrating the product there and fading it out as you move towards the cuticle. This creates a beautiful transition from colour to sparkle.
- The Accent Nail: This is one of the simplest and most effective ways to incorporate glitter. Paint most of your nails with your chosen pink creme polish, and then paint one nail—typically the ring finger—entirely with a contrasting glitter polish. You can match the glitter to the pink base or choose a completely different texture or colour for a high-impact look.
- A Modern French Manicure: Give the classic French manicure a playful update by replacing the traditional white tip with pink glitter. You can create a crisp line with a fine glitter polish or a faded, ombré-style tip with a chunkier glitter for a softer, more modern feel.
- Layering Textures: For added depth, try layering different glitter finishes. Apply a coat of fine pink shimmer all over the nail, and then strategically place a few pieces of chunky glitter on top. This creates a complex and luxurious finish that looks professionally done.
Tips for a Flawless At-Home Application
Achieving a salon-quality glitter manicure at home is entirely possible with the right technique. Always start with a quality base coat to protect your natural nails and create a smooth canvas. When applying chunky glitter, it can be helpful to dab the polish on rather than brushing it to get a denser concentration of glitter particles. Finally, always seal your design with one or two layers of a high-gloss top coat. This not only adds shine and protects your manicure from chipping but also smooths out the gritty texture of the glitter, preventing it from snagging on clothes.


