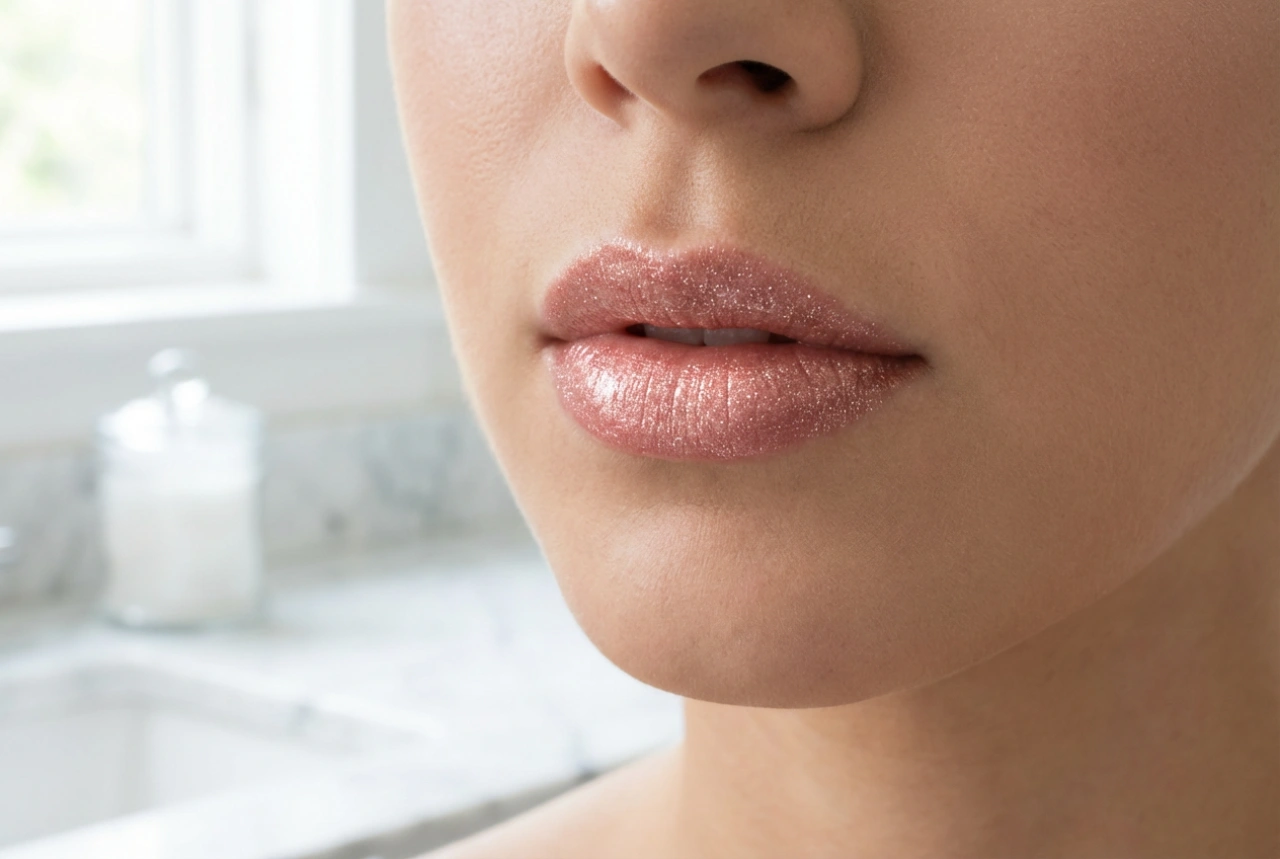


False eyelashes are a fantastic way to elevate any makeup look, adding volume, length, and definition to frame the eyes beautifully. While they might seem daunting to a newcomer, the process of choosing, applying, and removing them can be simple and entirely stress-free. With a little guidance and practice, you can master the art of false lashes and make them a seamless part of your beauty routine, whether for a special occasion or everyday wear. This guide will walk you through everything you need to know for a flawless and comfortable experience.
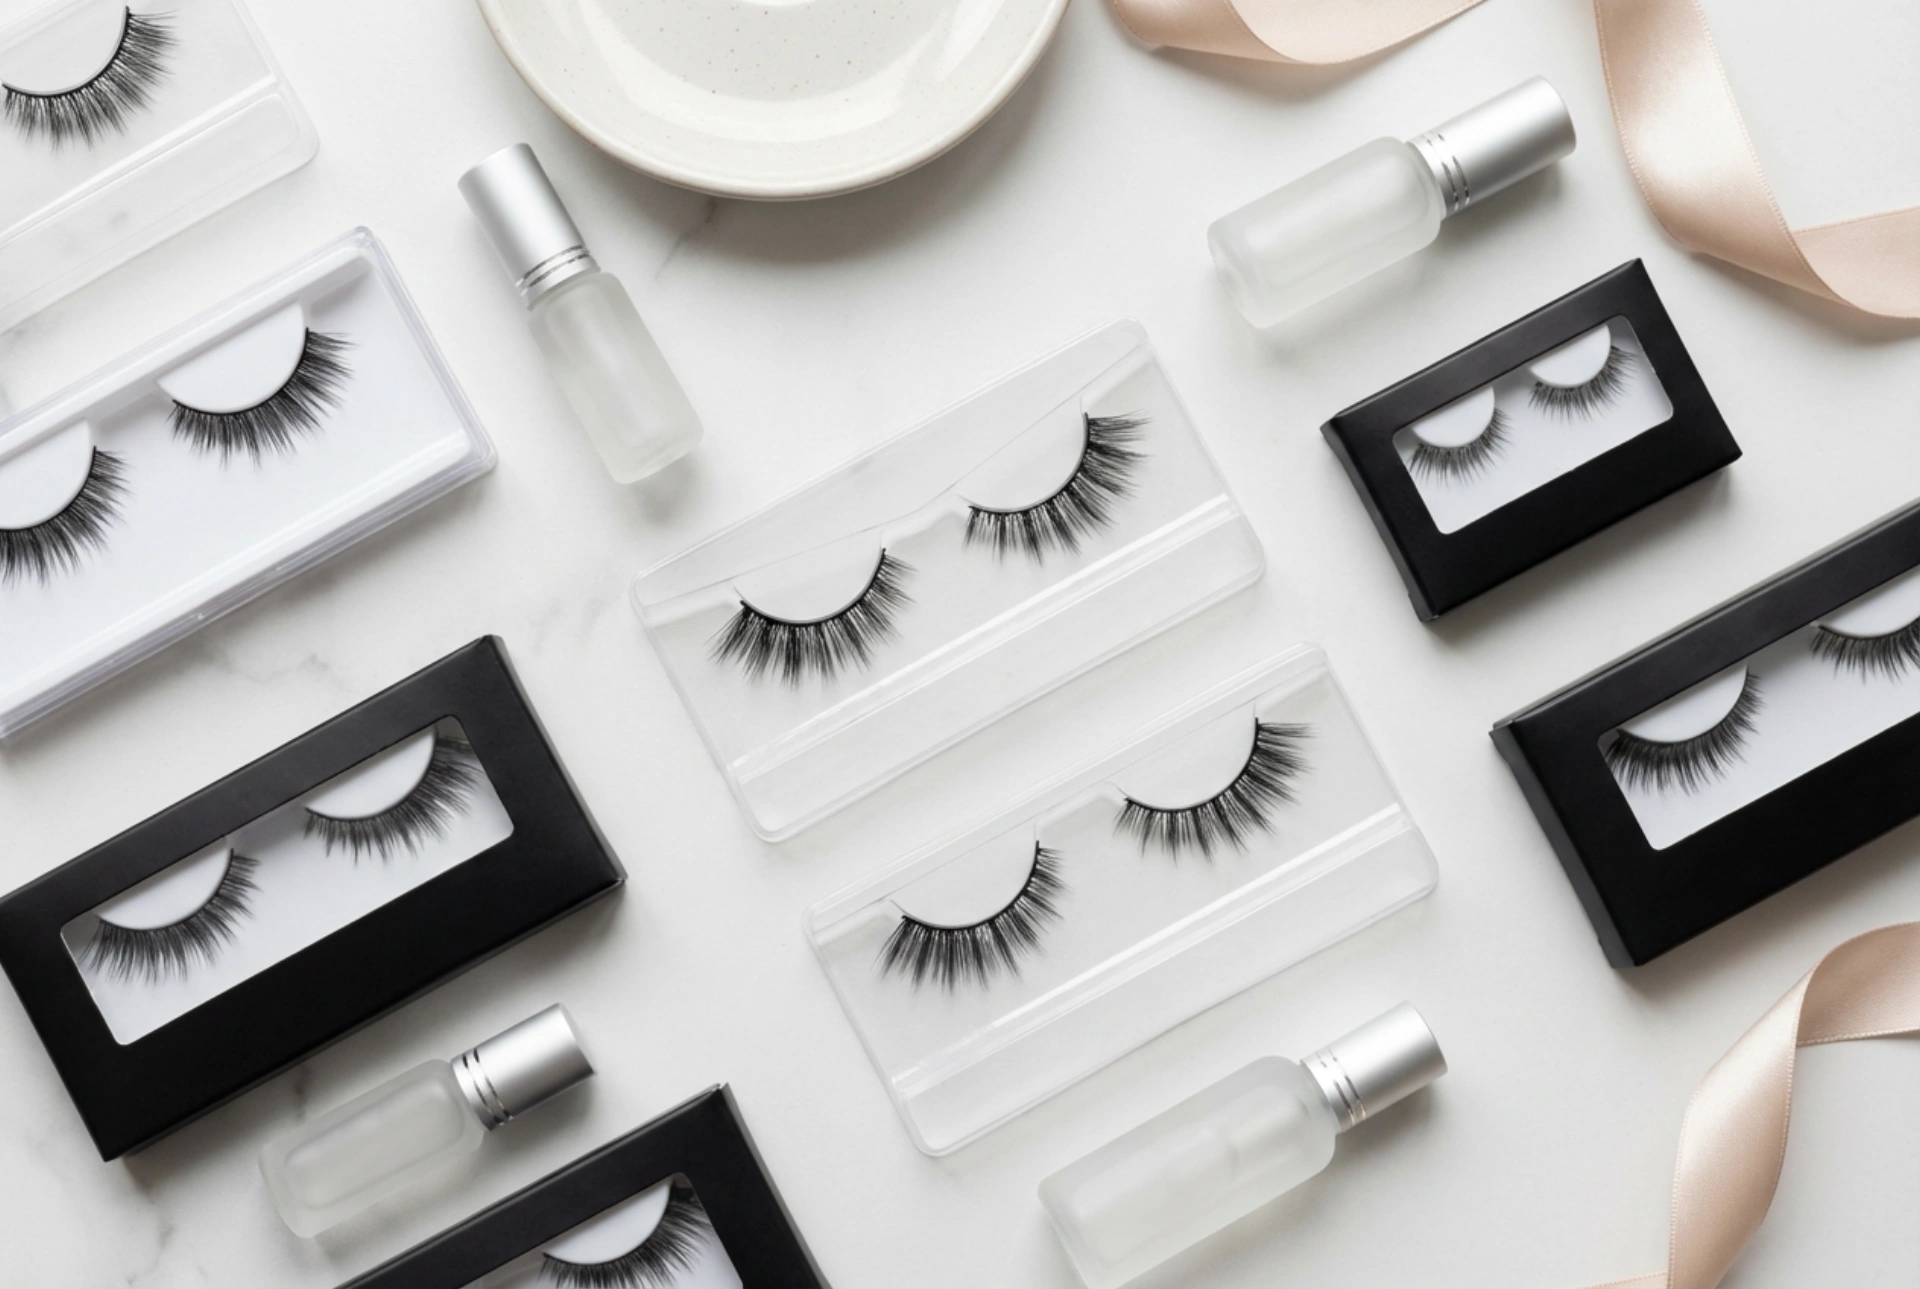
Choosing the Right False Eyelashes
The first step is selecting a style that complements your eyes and suits the occasion. The world of false lashes is vast, but they generally fall into a few main categories. Understanding the differences will help you make the perfect choice.
Strip Lashes
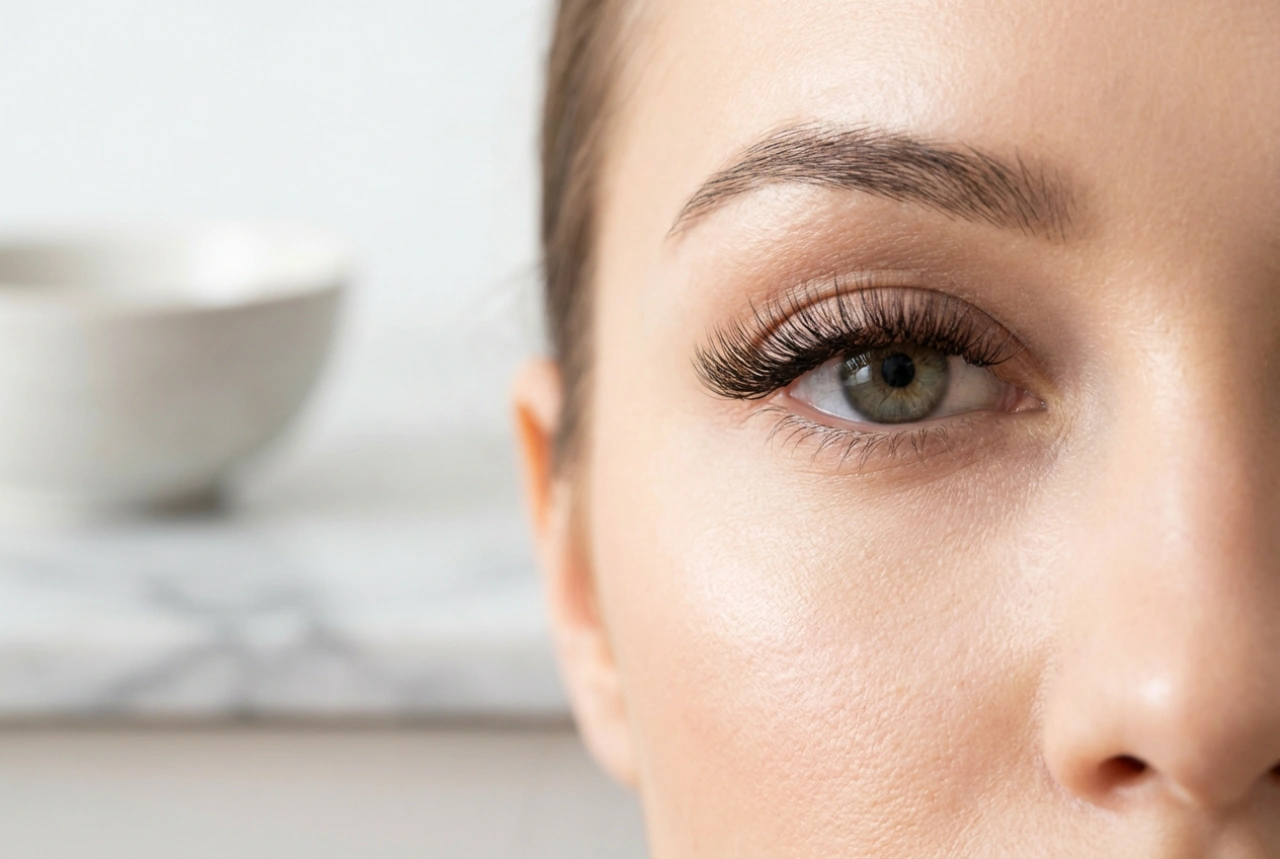
Strip lashes are the most common type and are ideal for beginners. They consist of a full row of lashes attached to a single band, which is then applied across the entire lash line. They come in a huge variety of styles, from very natural and wispy to thick and dramatic. A flexible, thin band is often more comfortable and easier to apply than a stiff, thick one. Natural styles are perfect for daytime, adding subtle enhancement, while more glamorous, dense styles are great for evening events.
Individual or Cluster Lashes
For a more customisable and natural-looking effect, you might consider individual or cluster lashes. Individual lashes are single strands, while clusters are small groups of two or three lashes bundled together. You can apply as few or as many as you like, allowing you to fill in sparse areas, add a little flare to the outer corners, or build up volume across the entire eye for a bespoke look. While they require a bit more time and precision, the result can be incredibly subtle and seamless.
Considering Your Eye Shape
The most flattering lash style often depends on your eye shape. For almond-shaped eyes, most styles work well. For round eyes, winged or cat-eye styles that are longer on the outer corners can create an elongating effect. If you have hooded eyes, choose lashes that are longest in the centre to help open up the eye. Experimenting with different shapes is the best way to find what makes you feel most confident.
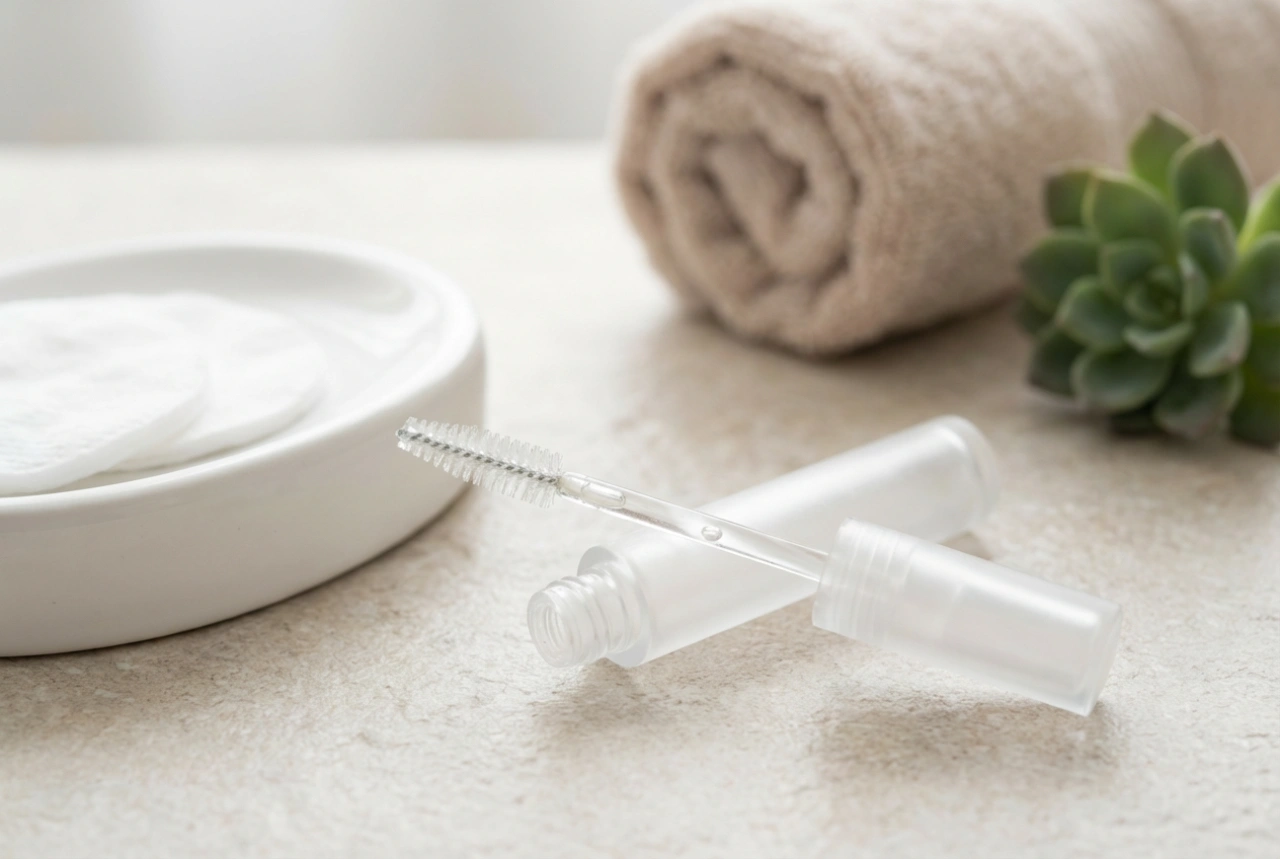
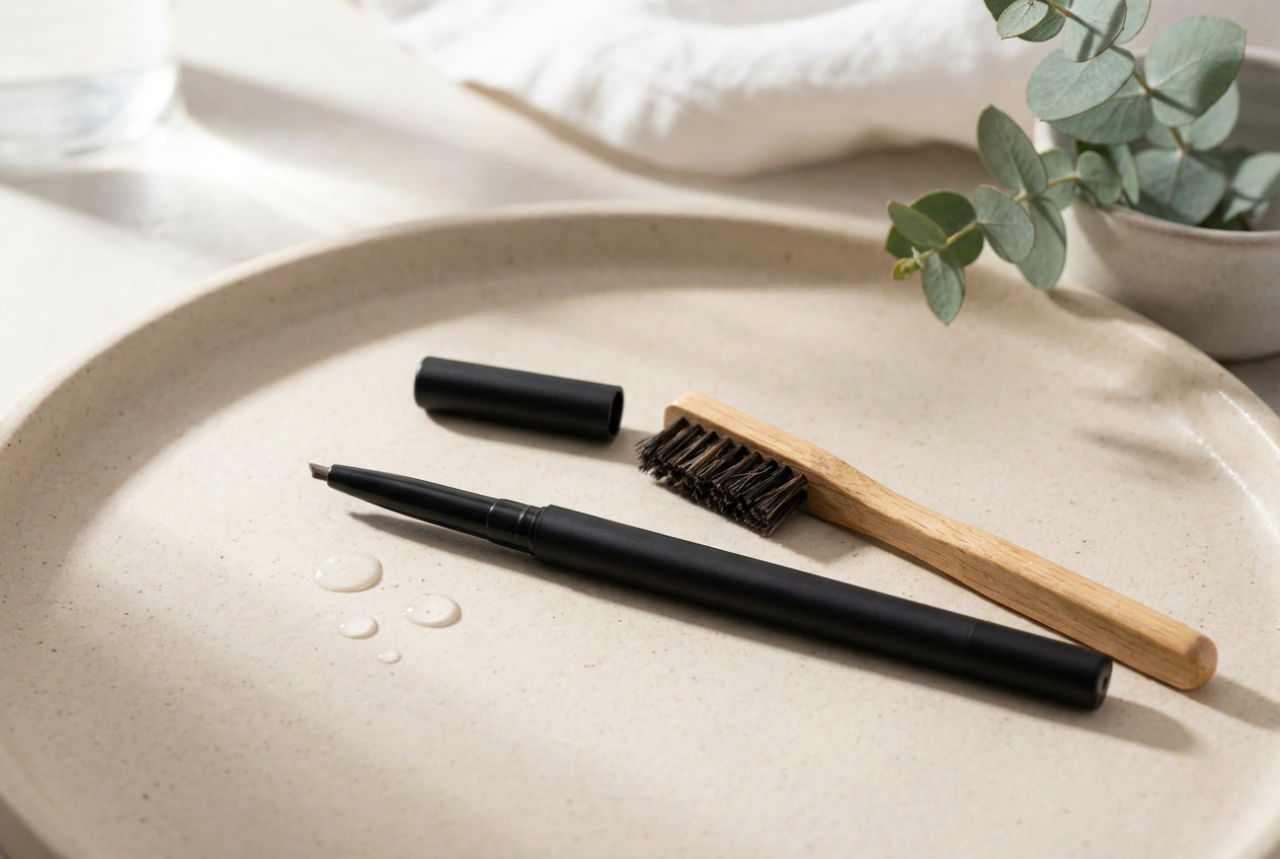
The Importance of a Good Lash Glue
The adhesive you use is just as important as the lashes themselves. A good quality glue will ensure your lashes stay in place all day without causing irritation. Look for a formula that is gentle and formulated for use around the sensitive eye area. Most glues are available in two main types: clear and black. Clear-drying glue is very forgiving for beginners as it becomes invisible once set. Black glue can double as an eyeliner, helping to blend the lash band seamlessly into your natural lash line for a more dramatic, defined look.
A Simple Guide to Application
With the right technique, applying false lashes can be quick and easy. Follow these steps for a perfect application every time.
- Measure and Trim: Before applying any glue, rest the lash strip along your lash line to check the fit. If the band is longer than your natural lash line, trim the excess from the outer corner using small scissors. This prevents the lash from drooping and irritating your eye.
- Apply Adhesive: Apply a thin, even layer of lash glue along the entire band of the false eyelash. Pay special attention to the inner and outer corners, as these are the areas most likely to lift.
- Wait for it to Get Tacky: This is a crucial step that many people skip. Wait for about 30-60 seconds after applying the glue. This allows it to become tacky, which helps the lash adhere instantly to your skin instead of sliding around.
- Place the Lash: Using your fingers or a pair of tweezers, carefully place the lash strip as close to your natural lash line as possible. Start by pressing it down in the centre, then secure the inner and outer corners. Gently press along the band to ensure it's fully attached.
Safe and Gentle Removal
Proper removal is essential for protecting the health of your natural lashes and preserving your false lashes for future use. Never pull or rip off your false lashes, as this can damage your own delicate lashes.
- Loosen the Adhesive: Dip a cotton swab or a reusable cotton pad in an oil-free makeup remover or a dedicated false lash remover. Gently press it against your lash line for about 30 seconds to a minute. This will soften and dissolve the glue.
- Peel Away Gently: Once the glue has loosened, the lash should peel away easily. Start from the outer corner and gently pull the strip inwards towards your nose. It should come off without any resistance.
- Clean Your Eyelids: Use the same makeup remover to wipe away any remaining glue residue from your eyelids and natural lashes. Follow up with your regular cleansing routine.
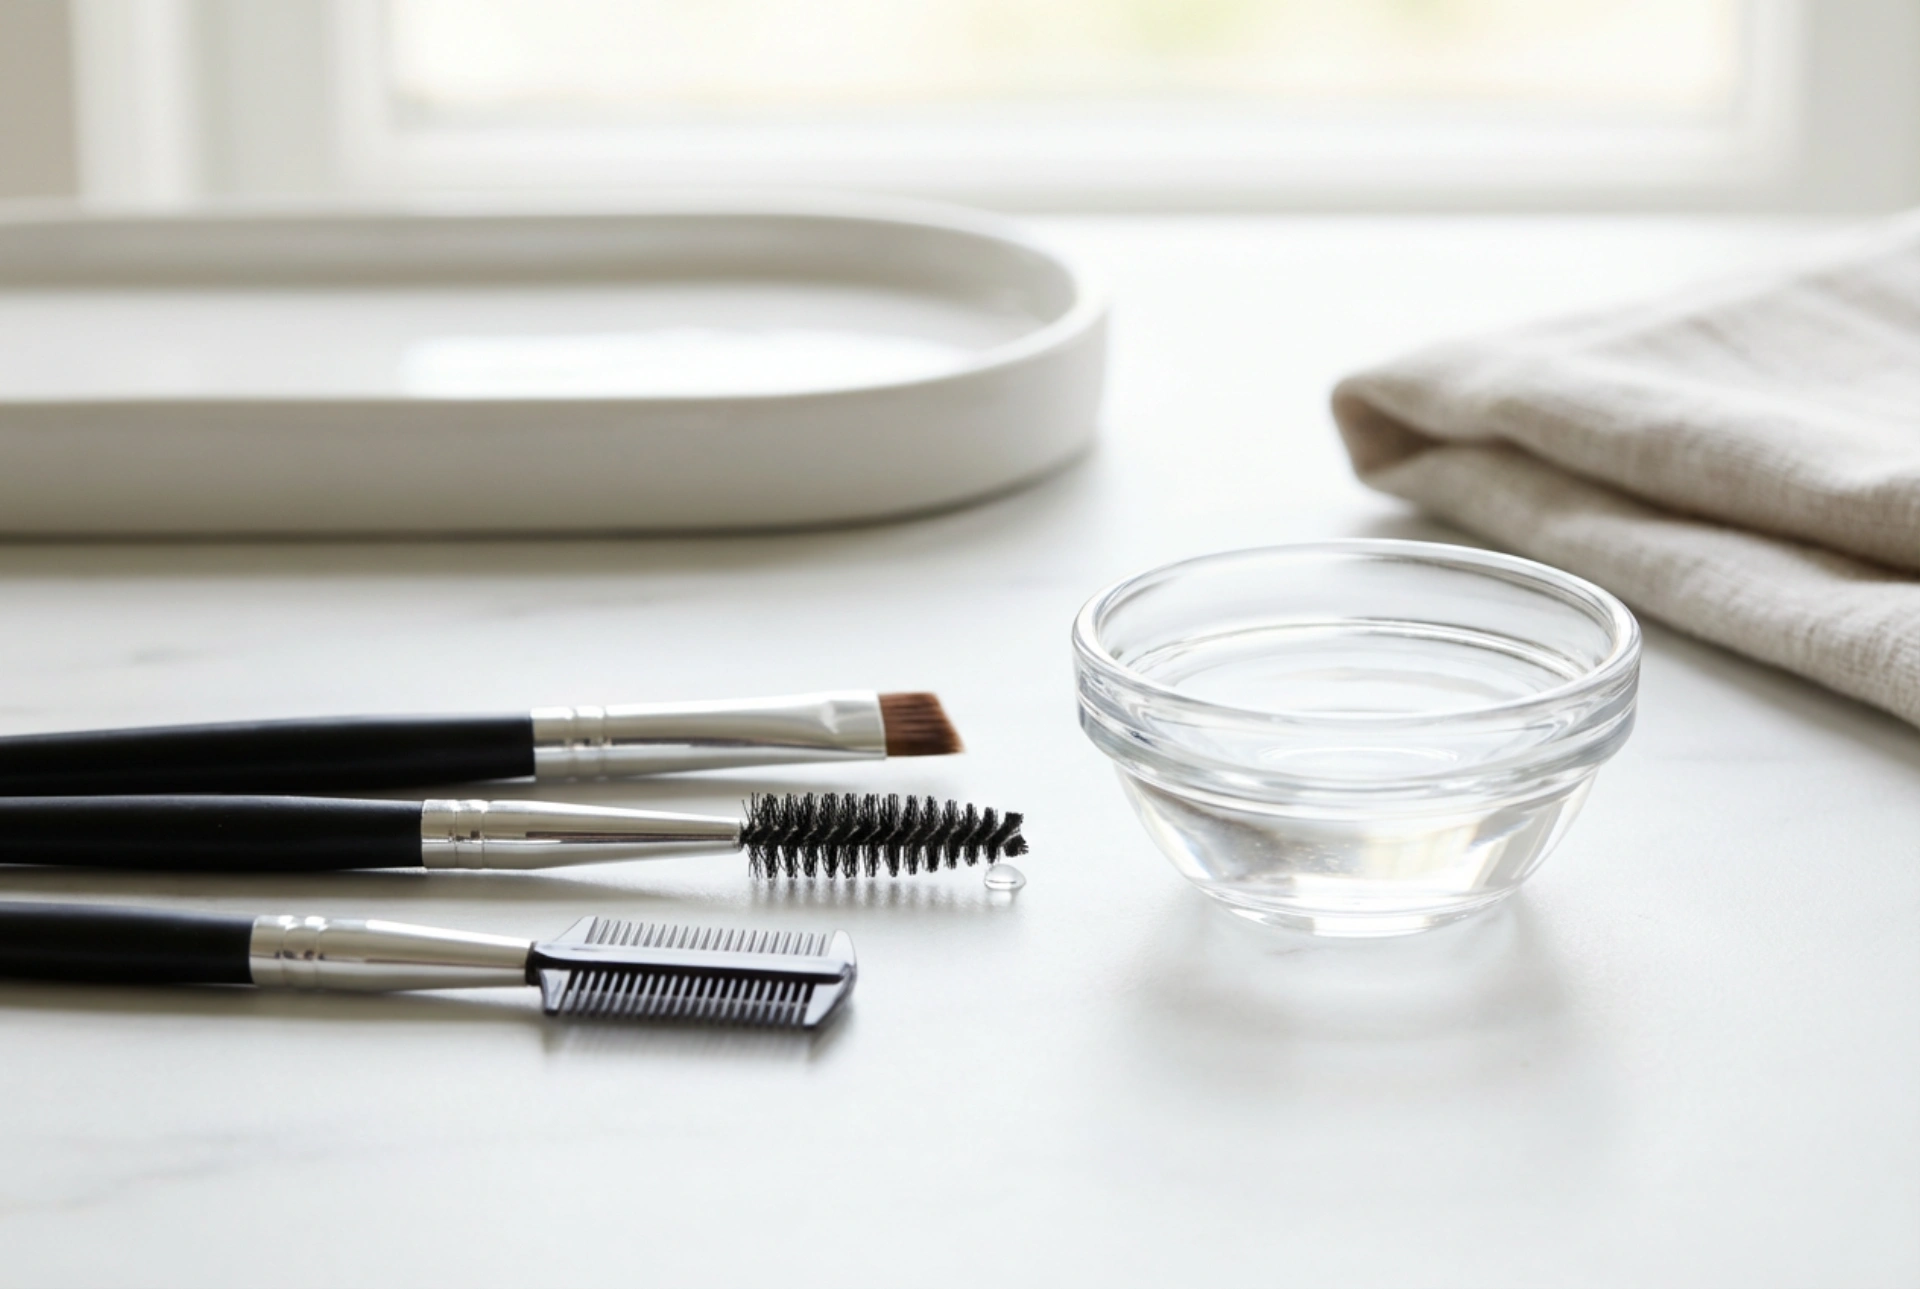
- Clean Your False Lashes: To reuse your false lashes, it’s important to clean them. Gently peel any old glue from the lash band with tweezers. You can then use a cotton swab with a small amount of alcohol-free makeup remover to clean the lash fibres themselves before storing them back in their original case to maintain their shape.