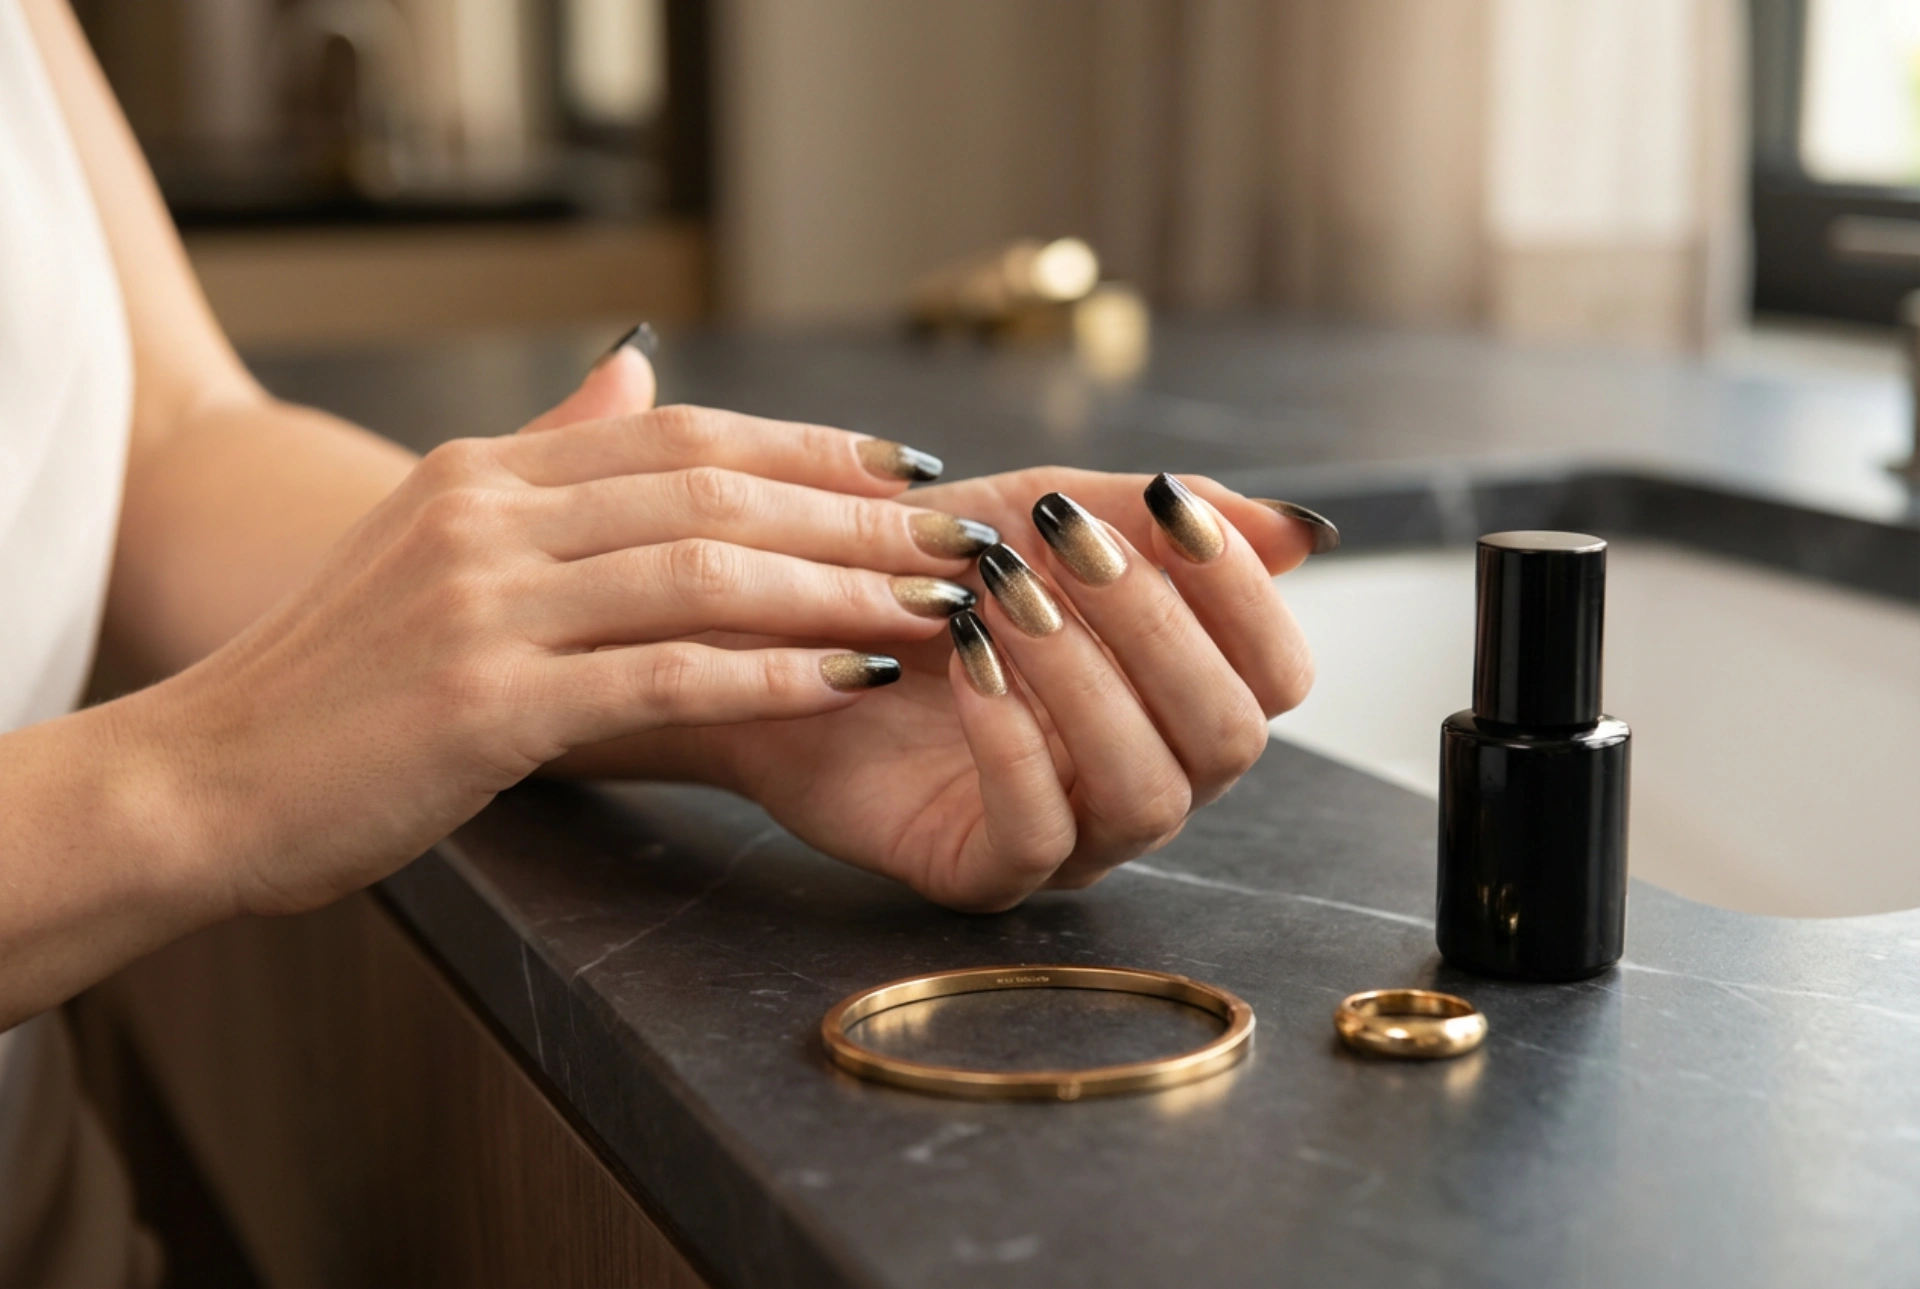


The combination of black and gold has long been a symbol of luxury and sophistication. When applied to nail art, this classic pairing creates a look that is both dramatic and timelessly elegant. Black and gold ombre nails, with their seamless transition from deep, mysterious black to shimmering, opulent gold, are the perfect accessory for a special evening out, a festive celebration, or any time you want your hands to make a statement of pure glamour.
Why Choose the Black and Gold Combination?
The appeal of black and gold ombre lies in its powerful contrast and universal elegance. Black provides a bold, strong base that signifies sophistication and modernity, while gold introduces light, warmth, and a touch of luxury. The gradient effect, or ombre, masterfully blends these two opposing forces, creating a visually captivating design that appears soft yet striking. This type of manicure is incredibly versatile; it complements a wide range of outfits, from a simple black dress to more elaborate evening wear, adding an instant touch of refined style without being overwhelming.
The Beauty of the Gradient
The ombre technique allows for a gradual blending of colours, which looks far more polished than a harsh line. This subtle transition can make the nails appear longer and more slender. Whether you opt for a dramatic shift from pure black to bright gold or a softer blend with hints of bronze and charcoal, the gradient effect ensures a professional and high-end finish that is sure to draw compliments.
How to Create Black and Gold Ombre Nails at Home
Achieving this sophisticated look at home is easier than it might seem. With a few simple tools and a little patience, you can create a salon-quality manicure. Here is a step-by-step guide to help you get started.
What You Will Need
- A clear base coat
- A black nail polish
- A gold nail polish (glitter or metallic)
- A clear top coat
- A small, disposable makeup sponge
- Liquid latex or sticky tape for skin protection
- Nail polish remover and a small brush or cotton bud for clean-up
Step-by-Step Instructions
- Preparation: Start with clean, dry nails. File and shape them to your desired length and form. Gently push back your cuticles. Apply a single layer of a clear base coat to protect your natural nails from staining and to help your manicure last longer. Allow it to dry completely.
- Apply the Base Colour: Apply one to two coats of your chosen base polish. For a classic black-to-gold look, a solid black polish works best as the base. Ensure each coat is thin and even, and let it dry fully before proceeding.
- Protect Your Skin: Apply liquid latex or pieces of sticky tape to the skin around your nail. This will make the clean-up process much easier later on.
- Create the Gradient on the Sponge: On a flat, non-porous surface, paint a stripe of black polish and a stripe of gold polish directly next to each other on your makeup sponge. Overlap them slightly in the middle to help the colours blend.
- Apply the Ombre: Gently dab the sponge onto your nail. Use a light rolling or dabbing motion to transfer the polish. You may need to repeat this two or three times to achieve the desired opacity and blend. Don't worry if it looks a bit textured at this stage; the top coat will smooth it out.
- Clean-Up and Finish: While the polish is still slightly tacky, carefully remove the liquid latex or tape. Use a small brush or cotton bud dipped in nail polish remover to clean up any polish that got onto your skin. Once the design is completely dry, apply a generous layer of a glossy top coat. This will smooth out the texture from the sponge, add a beautiful shine, and seal in your design.
Personalising Your Ombre Look
One of the best things about this design is its versatility. You can easily customise it to suit your personal style.
Finish and Texture
Consider the type of gold polish you use. A fine glitter polish will give a sparkly, festive feel, while a smooth metallic or chrome polish offers a more sleek and liquid-metal appearance. For a modern, edgy twist, try applying a matte top coat over the finished design. This will create a velvety, non-reflective finish that is incredibly chic.
Direction and Embellishments
You can also experiment with the direction of the gradient. Try a reverse ombre with gold at the cuticle fading into a black tip, or even a vertical or diagonal gradient for a unique look. To add extra glamour, consider placing a few tiny gold studs or rhinestones near the cuticle or along the transition line after the ombre is dry but before applying the top coat.
Making Your Manicure Last
To keep your beautiful black and gold ombre nails looking perfect for as long as possible, a little maintenance is key. Re-apply a thin layer of top coat every two to three days to prevent chipping and maintain the shine. Wear gloves when washing dishes or using cleaning products, as harsh chemicals and prolonged water exposure can cause polish to lift. Finally, keep your cuticles and the skin around your nails hydrated by applying a nourishing cuticle oil daily. This not only promotes healthy nails but also frames your manicure beautifully.


