


The classic French manicure is a symbol of timeless elegance, but its modern variations offer a playful and creative way to express personal style. Adding a splash of colour to your nail tips can transform your look, providing a subtle yet striking detail. Achieving a professional-looking, streak-free colourful French manicure at home is entirely possible with the right techniques and a little patience. This guide will walk you through the process step-by-step, ensuring your nails look perfectly polished and vibrant.
Essential Preparation for a Flawless Canvas
Before you even think about picking up a coloured polish, proper preparation is crucial. A smooth, well-cared-for nail is the foundation of any long-lasting and beautiful manicure.
Nail and Cuticle Care
Start by removing any old polish thoroughly. Next, shape your nails. Whether you prefer square, oval, or almond shapes, use a gentle nail file and file in one direction to prevent splitting. Gently buff the surface of your nails to create a smooth base for the polish to adhere to. Pay attention to your cuticles; apply a cuticle remover and gently push them back with an orangewood stick or a dedicated tool. Avoid cutting your cuticles, as this can lead to irritation and damage. Finish by washing your hands to remove any dust or oils.
Choosing and Applying the Base Coat
The base of your French manicure sets the tone for the entire look. You can opt for a traditional sheer pink, a subtle nude that matches your skin tone, or a completely clear coat for a more natural appearance. A good quality base coat not only provides a smooth surface but also protects your natural nails from staining and helps the manicure last longer. Apply one thin, even layer and allow it to dry completely before proceeding.
Mastering the Art of the Colourful Tip
This is the creative part where you bring your vision to life. The key to a beautiful coloured tip is precision and clean lines. There are several methods you can use to achieve this, catering to different skill levels.
Selecting Your Colour Palette
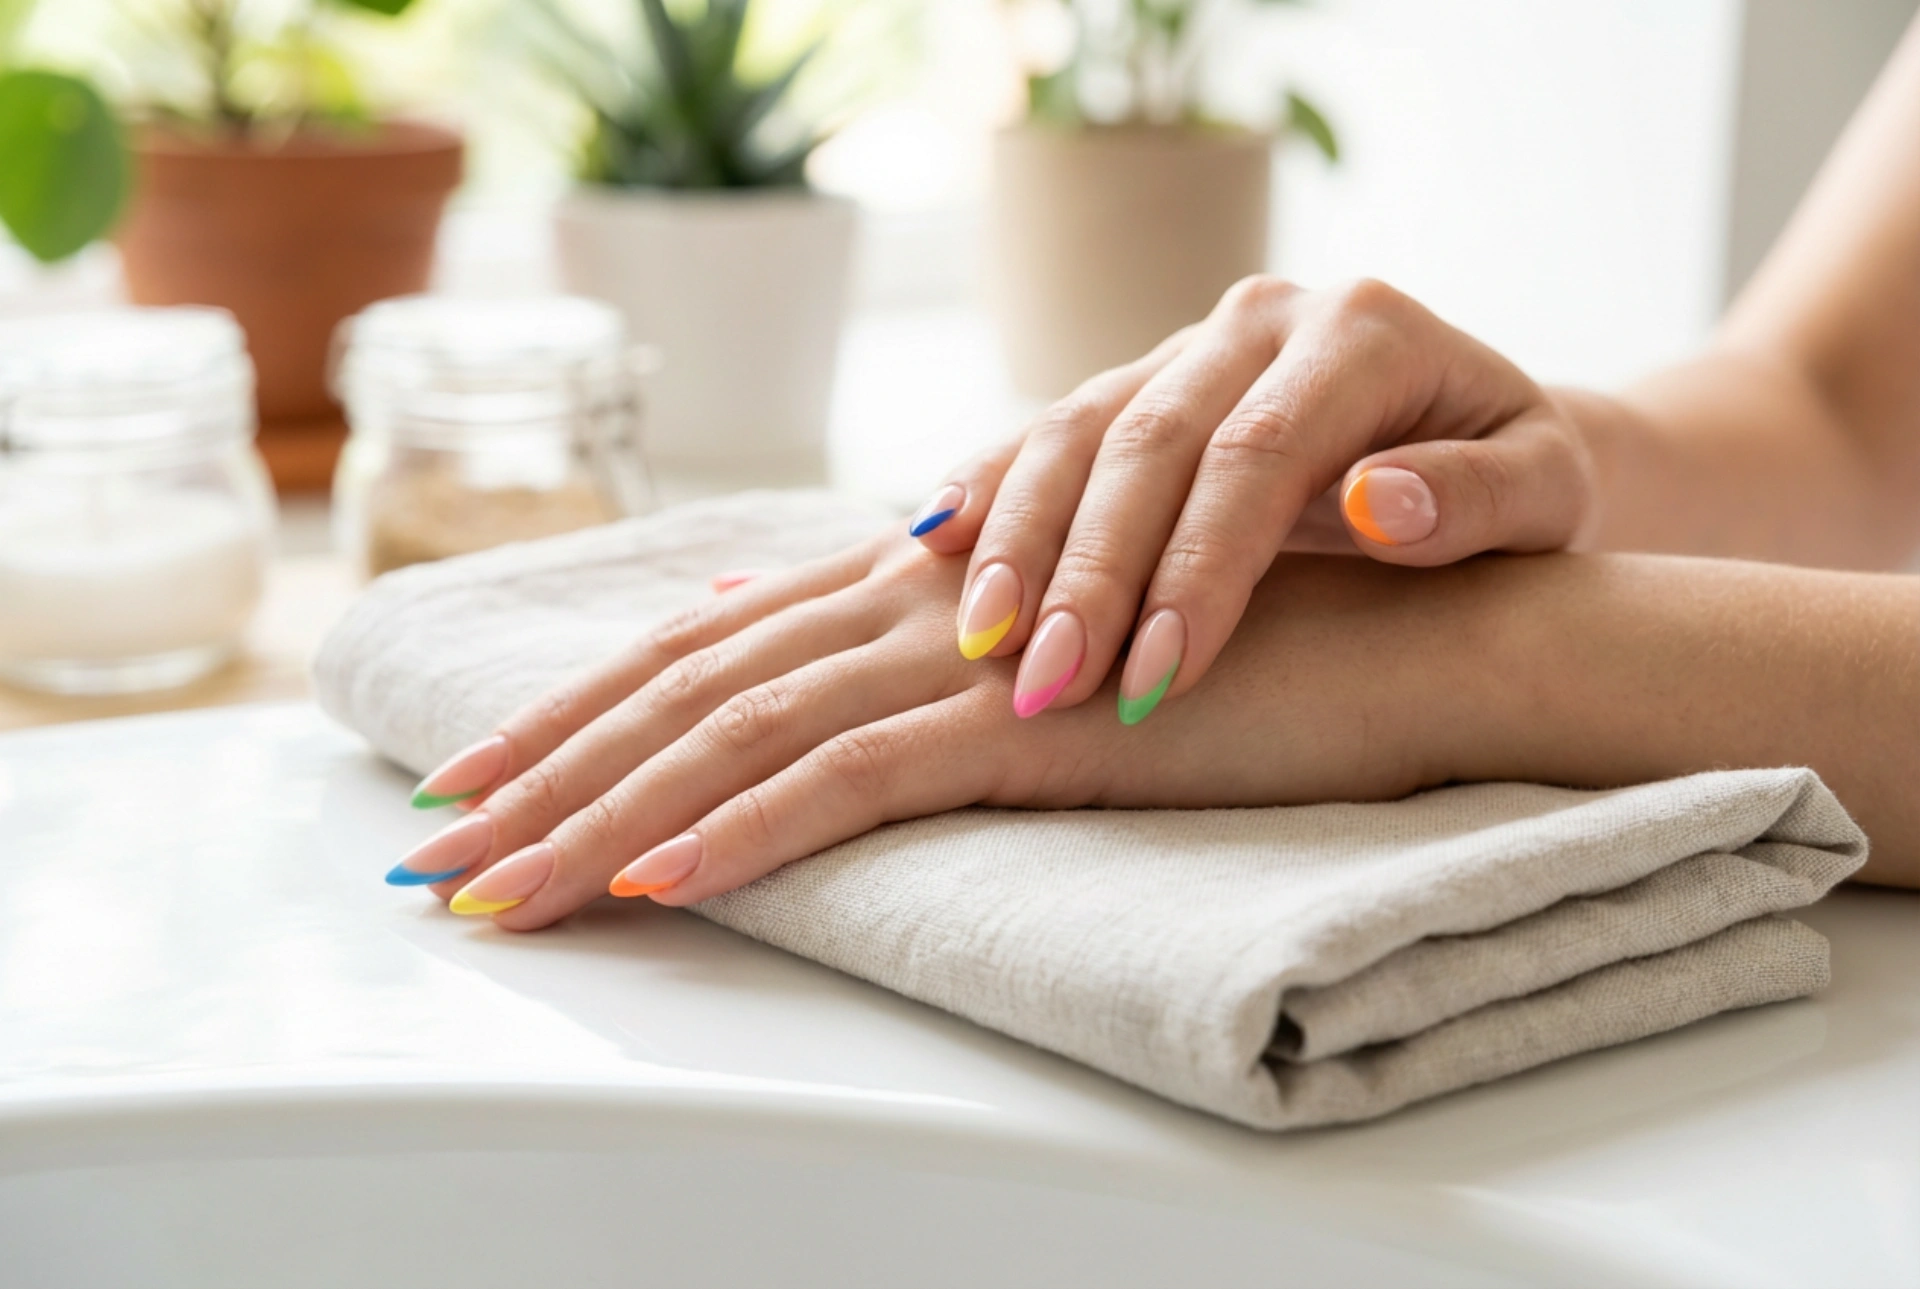
The possibilities are endless. You could choose a single bold colour for a minimalist statement, a different pastel shade for each nail for a soft, dreamy look, or a vibrant rainbow across your fingertips. Consider colours that complement your skin tone or an outfit for a special occasion. Don't be afraid to experiment with neons, metallics, or glitter polishes for extra flair.
Application Techniques for Sharp Lines
- The Freehand Method: For those with a steady hand, this method offers the most control. Use a very thin nail art brush dipped in your chosen colour. Rest your hand on a stable surface, and slowly paint a thin, curved line across the tip of your nail. Fill in the tip with the same colour. It may take some practice, but this technique allows for customised thickness and shape.
- Using Nail Guides: A foolproof method for beginners. Place French manicure guide strips just below the line where you want your tip to end. Press them down firmly to prevent any polish from seeping underneath. Paint your coloured tip above the guide. Apply one or two thin coats, and remove the sticker while the polish is still slightly wet to ensure a crisp line.
- The Silicone Stamper Trick: A popular and easy hack. Apply a small amount of your coloured polish directly onto a clear silicone nail stamper. Gently press the tip of your nail into the polish on the stamper at a 45-degree angle. This technique quickly and evenly coats the tip of the nail, creating a perfect curve with minimal effort.
Tips for a Smooth, Streak-Free Finish
Streaks and uneven texture can ruin the look of an otherwise perfect manicure. The consistency of your polish and your application technique are the two most important factors in achieving a smooth finish.
Polish Consistency and Application
Nail polish that is too thick can be difficult to apply evenly, while polish that is too thin may require many coats and look patchy. Aim for a polish that flows smoothly from the brush. When applying your coloured tip, use thin coats. It's better to apply two thin coats than one thick, goopy one. Allow the first coat to dry completely before applying the second to prevent dragging and smudging. For the base and top coat, the 'three-stroke rule' works well: one stroke down the centre of the nail, followed by one on each side.
The Final Seal: The Top Coat
A top coat is non-negotiable. It seals in your design, protects against chips, and adds a beautiful, glossy shine that makes the colours pop. Wait for your coloured tips to be completely dry to the touch before applying it. When applying the top coat, 'float' the brush over the nail. This means using a generous bead of polish on your brush and applying it with a light touch, avoiding direct pressure that could drag the coloured polish underneath and cause smudging. Make sure to cap the free edge of your nail by running the brush along the very tip to further prevent chipping.
Maintaining Your Vibrant Manicure
To keep your colourful French manicure looking fresh for as long as possible, a little aftercare goes a long way. Daily hydration is key. Apply cuticle oil or a nourishing hand cream every day to keep your nails and the surrounding skin healthy. When doing household chores, especially those involving water or cleaning agents, wear protective gloves. This is the single most effective way to prevent premature chipping and wear. For extra longevity, you can apply a fresh layer of your top coat every two to three days to restore shine and add another layer of protection.


