


The mermaid effect on nails is a stunning trend that captures the magical, iridescent shimmer of a mermaid's tail. This enchanting look combines a soft colour gradient with a special, light-reflecting powder to create a multi-dimensional finish. It’s a beautiful way to add a touch of fantasy to your manicure, and with the right technique, you can achieve this professional-looking design right at home. This guide will walk you through the products and steps needed to create your own flawless mermaid ombre nails.
What You Need for Mermaid Ombre Nails
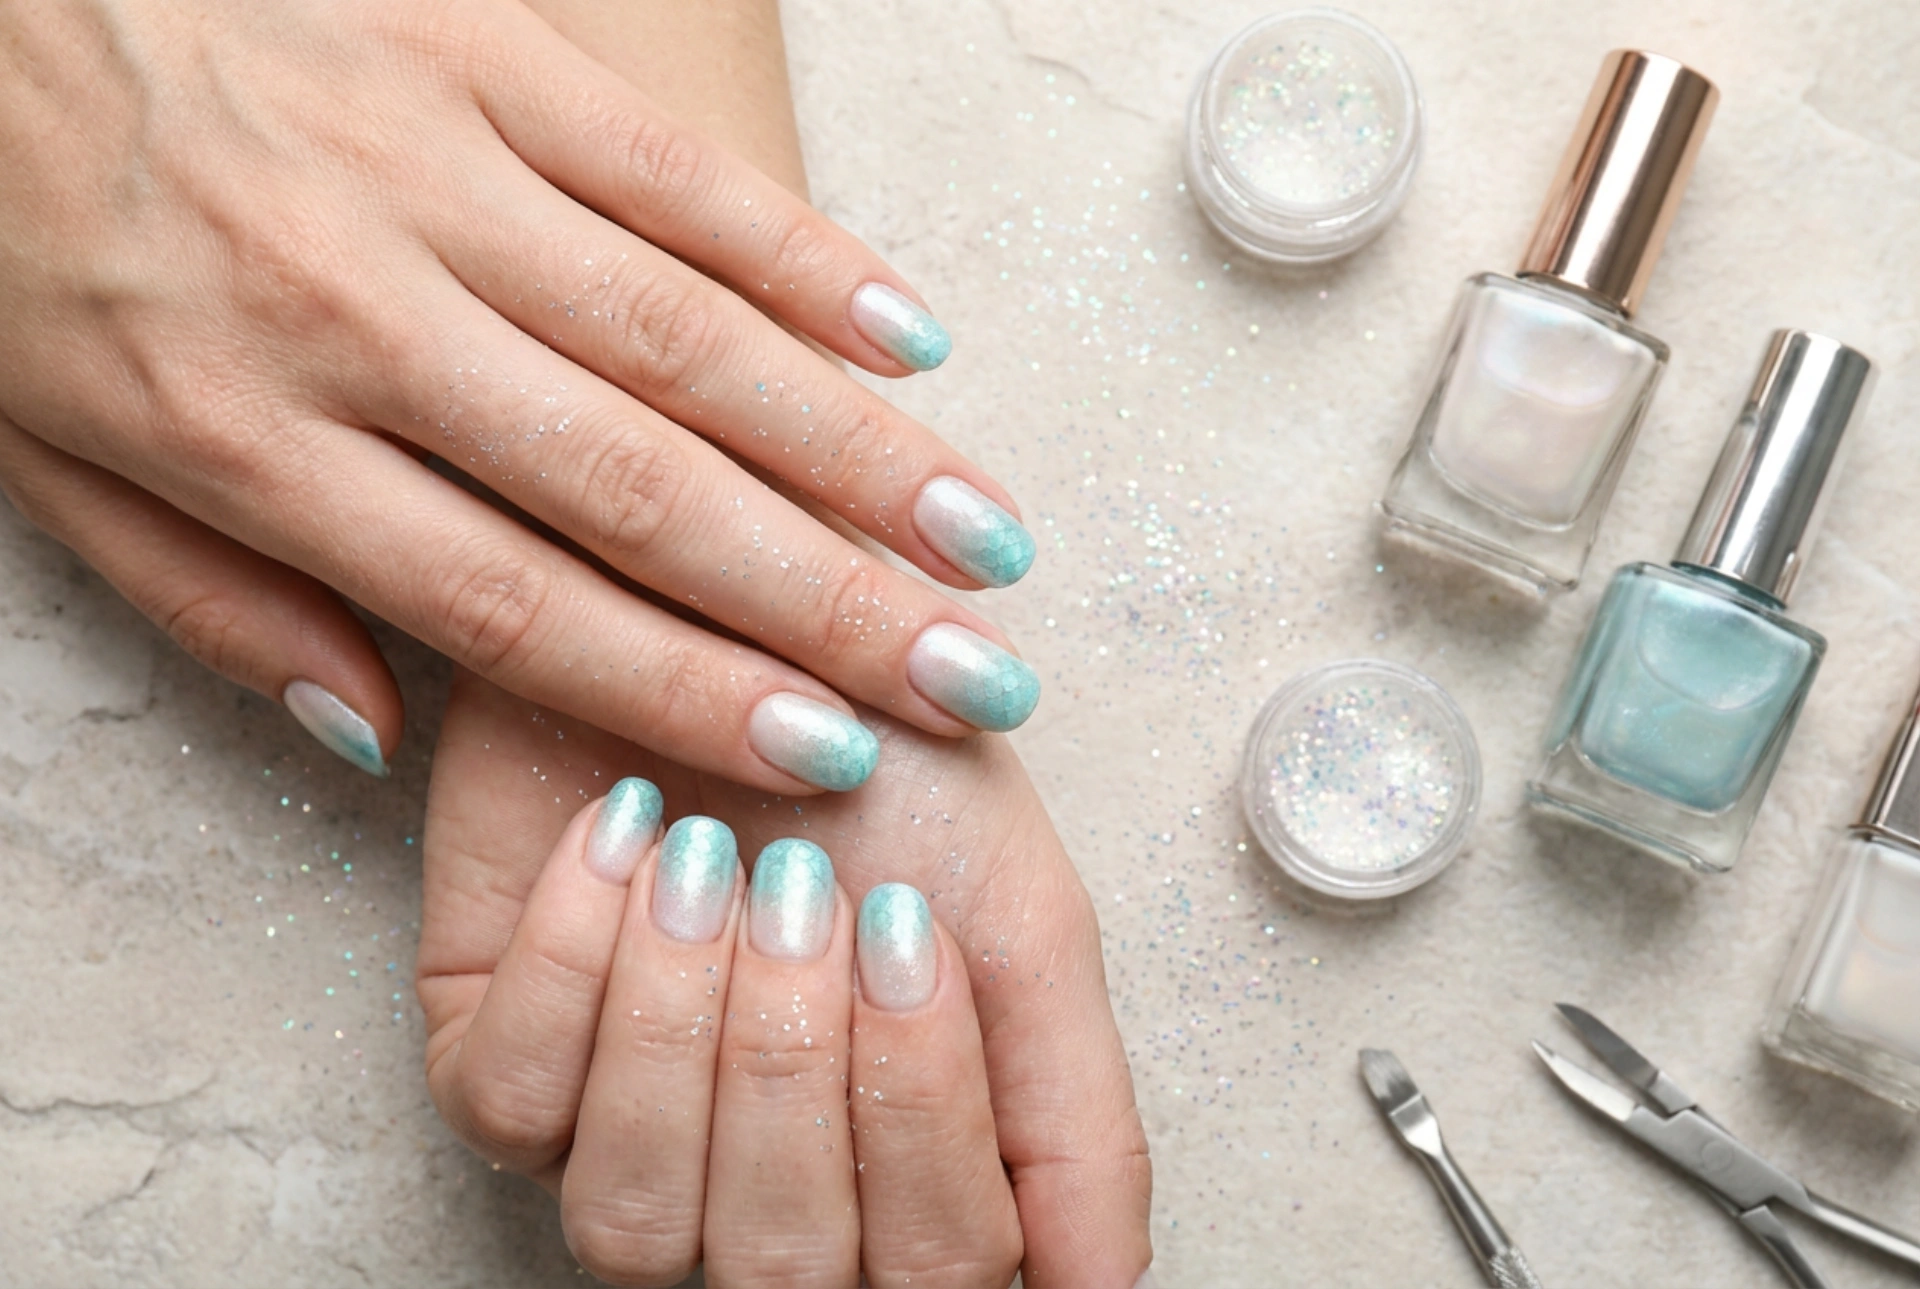
Before you begin, gather the essential tools and products. Having everything ready will make the process smoother and more enjoyable. You don't need professional-grade equipment, but a few specific items are key to achieving the signature shimmer.
Basic Manicure Tools and Polishes
- Base Coat: To protect your natural nails and create a smooth foundation.
- Two Complementary Nail Polish Colours: For the ombre effect, choose two colours that blend well together. Classic mermaid combinations include light blue and green, or pearly white and aquamarine.
- Top Coat: A high-shine top coat is crucial to seal the powder and protect your design. For hybrid manicures, a 'no-wipe' top coat is often recommended.
Specialised Application Tools
- Makeup Sponge: A small, disposable makeup sponge is perfect for dabbing on the polish to create the gradient effect.
- Mermaid Effect Powder: This is the star of the show. It's a very fine, iridescent powder that creates the shimmering finish. It comes in various shades.
- Applicator: A small eyeshadow applicator, a silicone nail tool, or even your fingertip (covered with a glove) can be used to rub the powder onto the nail.
- Soft Brush: A fan brush or a fluffy makeup brush is needed to gently dust off any excess powder.
Step-by-Step Guide to Mermaid Ombre Nails
Follow these steps carefully to create a beautiful and durable mermaid manicure. The process is similar for both classic and hybrid/gel polish, with minor differences in drying or curing times.
Step 1: Prepare Your Nails
Start with clean, dry nails. Shape your nails with a file and gently push back your cuticles. Wipe the nail plate with a cleanser to remove any oils. Apply one thin layer of base coat and let it dry completely (or cure it under a lamp if using a gel system).
Step 2: Create the Ombre Base
Paint your nails with the lighter of your two chosen colours and let it dry. Next, take your makeup sponge. Apply stripes of both your chosen nail polish colours directly onto the sponge, side by side, slightly overlapping them to help with blending. Gently dab the sponge onto your nail, moving it slightly up and down to blend the colours. You may need to apply two or three layers to achieve an opaque and smooth gradient, letting each layer dry in between. Clean up any polish on the skin around your nail.
Step 3: Apply the Mermaid Effect Powder
This is the magical step. The timing is crucial. For a classic polish manicure, you need to apply the powder when the last colour coat is still slightly tacky but not wet. For a hybrid manicure, you typically apply it over a cured no-wipe top coat. Dip your applicator into the mermaid powder and gently rub it onto the nail surface. Use circular or vertical motions until the entire nail is covered and the surface becomes smooth and chromatically reflective. The powder will stick to the polish, transforming the ombre base into an iridescent masterpiece.
Step 4: Seal Your Design
Once you are happy with the shimmer, gently sweep away any excess powder from the nail and surrounding skin with your soft brush. To protect the effect and give it a glossy finish, apply a generous layer of top coat. Be sure to cap the free edge of the nail to prevent chipping. Let the top coat dry completely (or cure it under the lamp). Once dry, your mesmerising mermaid ombre nails are complete.
Tips for a Perfect Finish
To ensure your manicure looks its best and lasts as long as possible, keep these tips in mind.
- Colour Choice Matters: Light or pastel base colours often make the mermaid effect pop more vibrantly.
- Work One Nail at a Time: When applying the powder, especially with classic polish, working on one nail at a time ensures the polish is at the perfect stage of tackiness.
- Less is More: You only need a small amount of powder to cover the nail. Applying too much can make it look clumpy.
- Patience is Key: Allow each layer of polish to dry or cure properly before moving to the next step. Rushing the process can lead to smudges and a shorter-lasting manicure.


