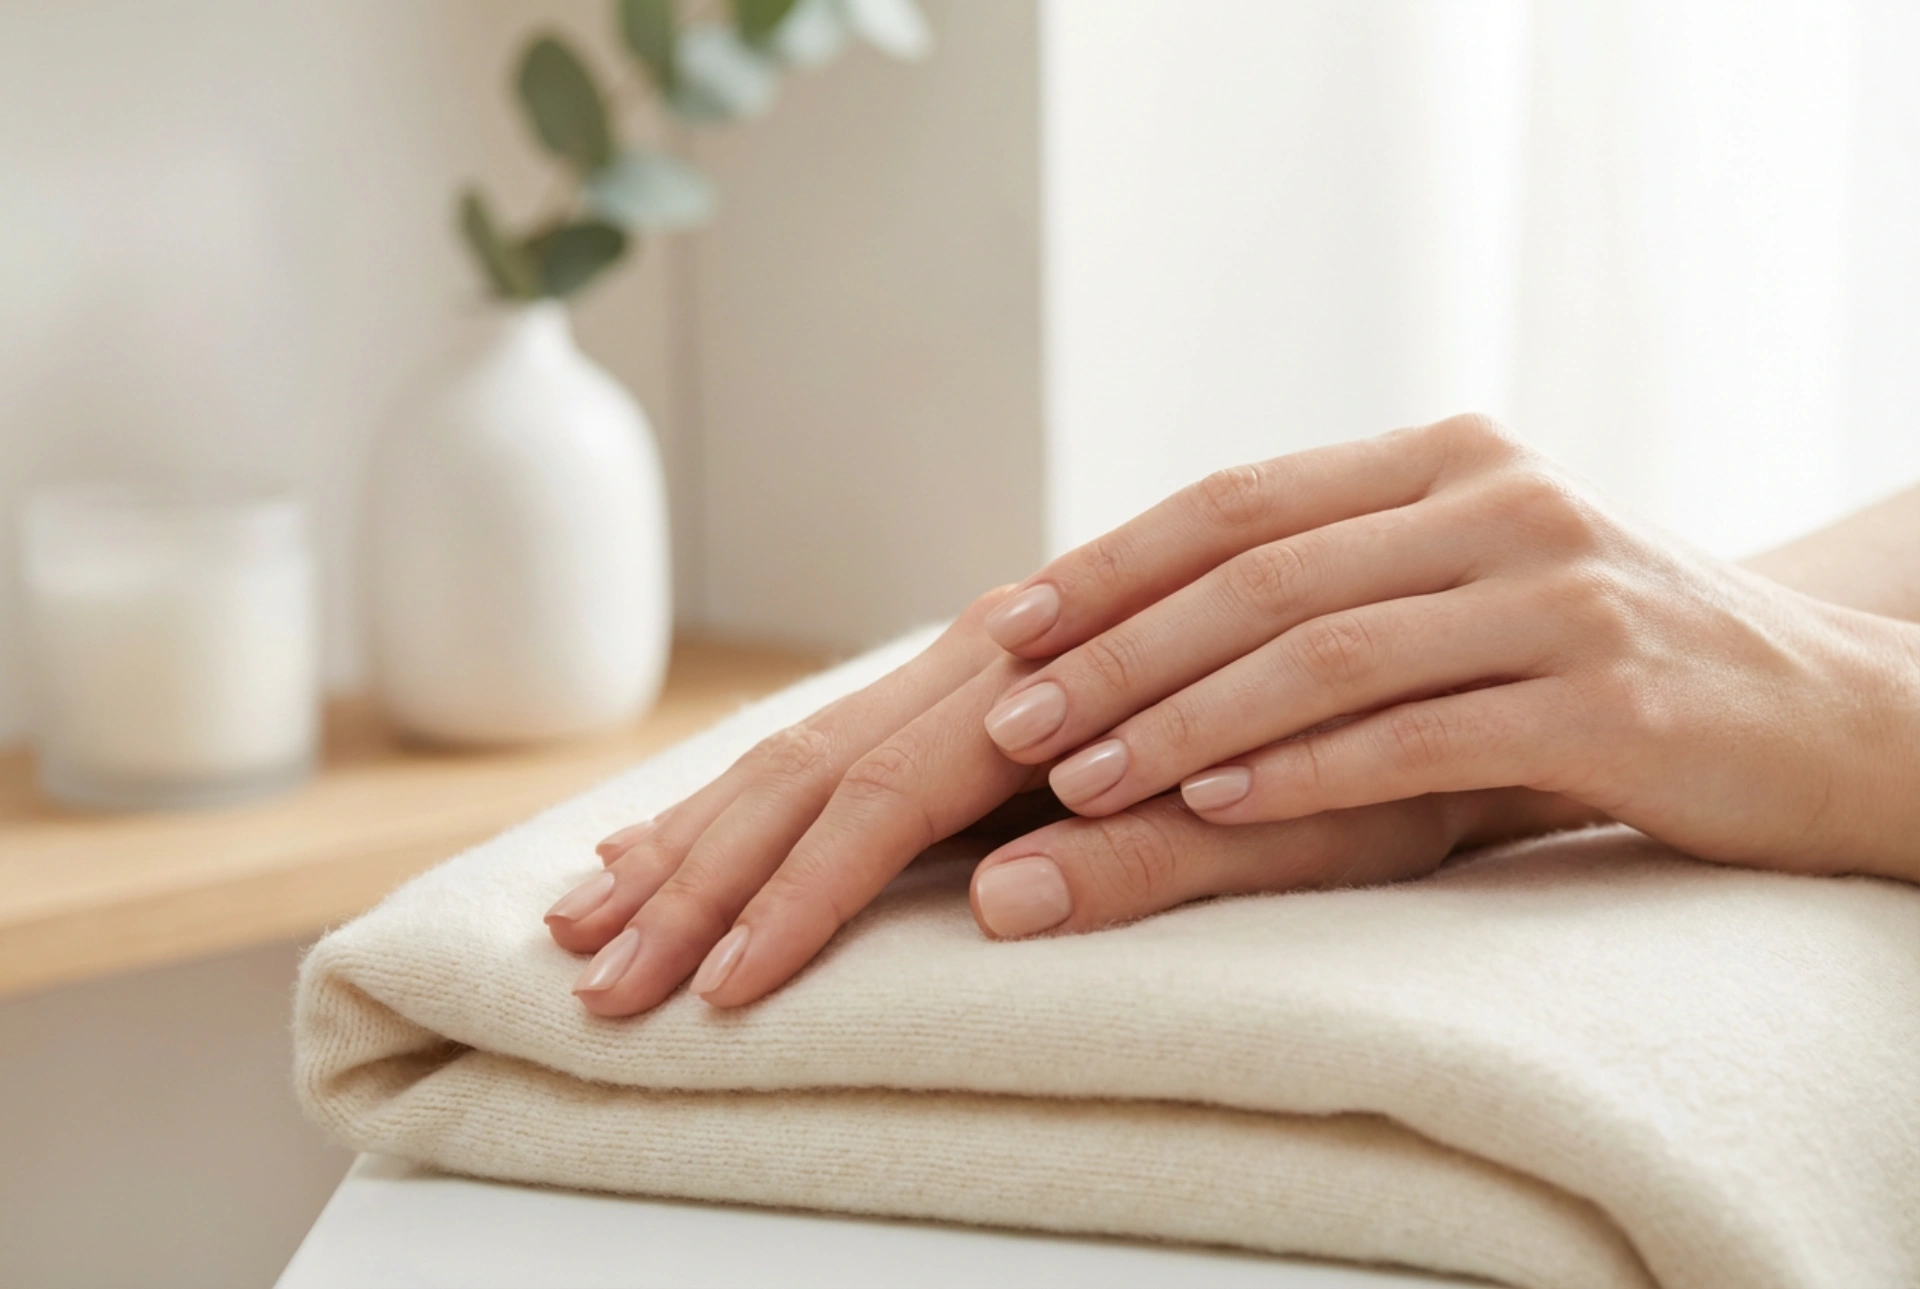


The classic nude manicure is a symbol of timeless elegance and sophistication. It complements any outfit, occasion, and skin tone, making it a universal choice for beautifully groomed hands. However, the key to a perfect nude manicure is achieving a look that enhances your natural nails rather than covering them with a thick, mask-like layer. The goal is an effortless, 'your-nails-but-better' finish. This guide will walk you through the steps to select the right shade and apply it flawlessly for a subtle and chic result.
Choosing Your Perfect Nude Shade
The secret to a natural-looking nude manicure lies in the shade selection. The right colour should harmonise with your skin tone, not clash with it. A poorly chosen shade can make the skin appear dull or create an unflattering contrast. To find your ideal match, consider your skin's undertones.
Identifying Your Skin's Undertones
Your skin has either cool (pink, red, or blue hints), warm (yellow, peachy, or golden hints), or neutral undertones (a mix of both). Here’s a simple way to check:
- Cool Undertones: Look for nude polishes with a hint of pink. These shades will brighten your skin. Avoid yellowish beiges, which can make your skin look sallow.
- Warm Undertones: Opt for nude polishes with beige or peachy undertones. These colours will give your skin a healthy, warm glow. Steer clear of pink-based nudes that might look too stark.
- Neutral Undertones: You're in luck! Most nude shades will likely suit you. You can experiment with both pinkish and beige-toned nudes to see what you prefer.
When in doubt, choose a shade that is one or two shades lighter or darker than your skin tone for a subtle contrast that defines the nail shape beautifully. Sheer or semi-sheer formulas are often more forgiving and contribute to a more natural finish than fully opaque creams.
The Importance of Nail Preparation
A flawless application is impossible without a perfectly prepared canvas. Proper nail prep not only helps the manicure look better but also makes it last longer. Taking the time to care for your nails and cuticles is a non-negotiable step.
Step 1: Shaping and Filing
Gently file your nails into a uniform shape. Soft, rounded shapes like oval or 'squoval' (square-oval) tend to look most natural and are less prone to snagging. Always file in one direction to prevent splitting or weakening the nail.
Step 2: Cuticle Care
For a clean nail bed, cuticle care is essential. After softening your skin by soaking your fingertips in warm water, apply a cuticle remover. Then, gently push back the cuticles using a wooden stick or a soft-tipped pusher. Avoid cutting your cuticles, as this can lead to irritation and damage the protective barrier.
Step 3: Buffing the Nail Surface
Lightly buff the surface of your nails with a fine-grit buffer. This smooths out any ridges and creates a slightly porous surface that helps the base coat and polish adhere better. Be gentle to avoid thinning the nail plate.
Technique for a 'Second Skin' Application
The application technique is what separates a natural-looking manicure from a thick, artificial one. The key is to work with thin, even layers.
The Base Coat Is Essential
Never skip the base coat. It acts as a barrier protecting your natural nails from staining and provides a sticky foundation for the colour to grip onto. Apply one thin layer and let it dry completely before moving on to the colour.
Applying Thin Coats of Colour
To avoid the dreaded 'mask effect', apply your nude polish in two to three very thin coats. A single thick coat will not only look heavy but will also take much longer to dry and be more prone to smudging. The first coat may look streaky and sheer, which is normal. The second and third coats will build up the opacity to the desired level while maintaining a lightweight feel. Remember to allow each coat to dry for at least two to three minutes before applying the next.
Finishing Touches for a Lasting Manicure
The final steps are crucial for sealing your work and ensuring it looks pristine for days.
Seal with a Top Coat
A high-quality top coat is your manicure's best friend. It protects the colour from chipping, adds a beautiful shine (or a modern matte finish, if you prefer), and helps to smooth out any minor imperfections in the layers below. Be sure to 'cap' the free edge of the nail by running the brush along the tip to prevent premature wear.
Nourish with Cuticle Oil
Once the top coat is completely dry to the touch, finish by applying a nourishing oil to your cuticles and the surrounding skin. This instantly hydrates the area, making your manicure look professionally done and promoting healthy nail growth. It’s a small step that makes a huge difference in the overall appearance of your hands.


