


Boxer braids, also known as double Dutch braids, are a sleek and practical hairstyle that has transitioned from the sports arena to everyday fashion. Characterised by two tight, symmetrical braids that sit visibly on top of the head, they offer a polished look that keeps hair neatly away from the face. This style is both functional and chic, making it suitable for a workout, a day at the office, or a night out. This guide will walk you through the process of creating this stylish look at home, focusing on the precise technique required for clean, beautiful braids.
Preparing Your Hair for Braiding
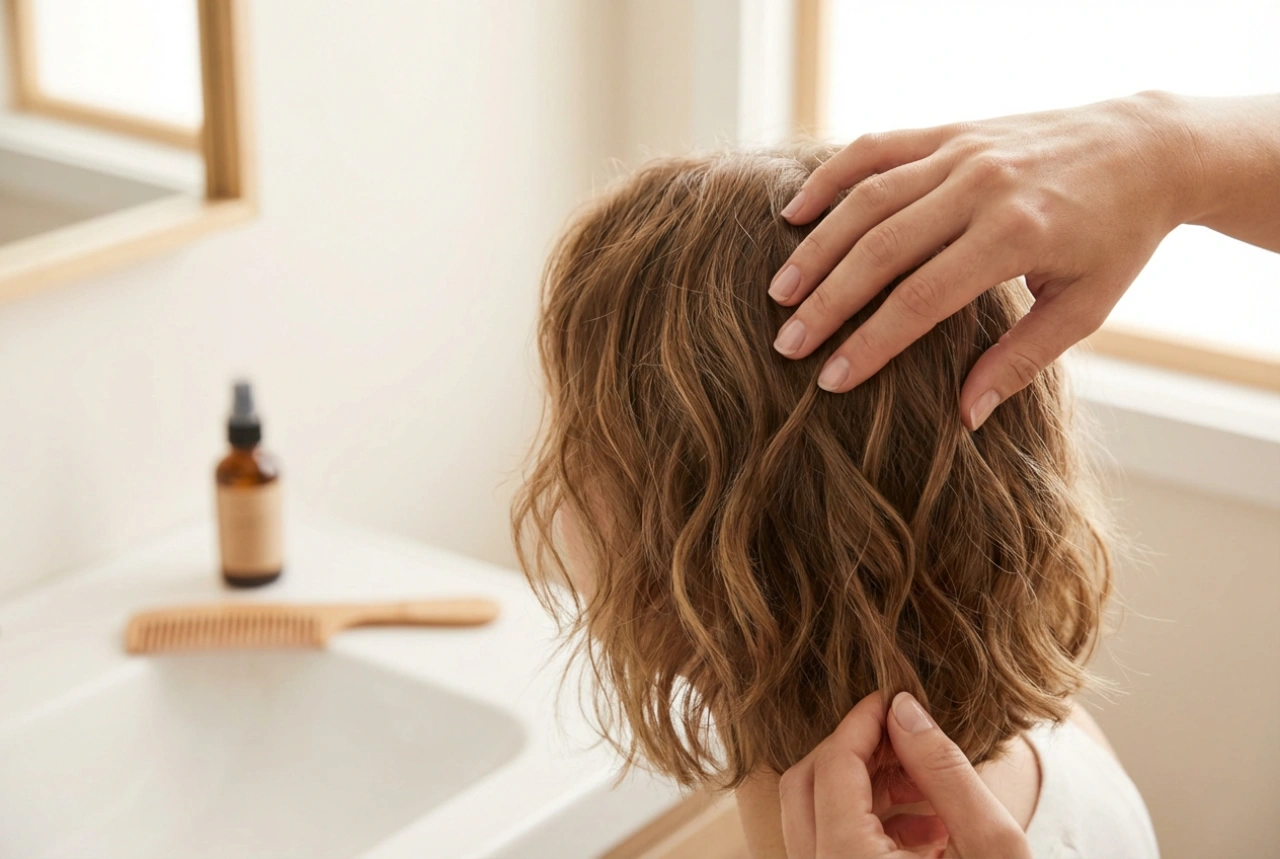
Proper preparation is key to achieving smooth, long-lasting boxer braids. While some prefer to work with day-old hair for extra grip, you can also start with freshly washed hair. Ensure your hair is completely dry and thoroughly detangled before you begin. Use a paddle brush or a wide-tooth comb to remove all knots, starting from the ends and working your way up to the roots to minimise breakage. For those with hair prone to frizz or flyaways, applying a small amount of smoothing cream, light-hold gel, or mousse can provide better control and a sleeker finish. This will help the sections of hair stay together as you braid.
A Step-by-Step Guide to Weaving Boxer Braids
The signature look of boxer braids comes from the Dutch braiding technique, where the strands are crossed under one another, making the braid pop out from the head. Patience is important, especially if you are new to this style. Work in front of a mirror, and consider having a second mirror to check the back of your head.
Step 1: Parting the Hair
Using a pintail comb for precision, create a straight, clean part down the centre of your head. The part should run from your forehead all the way to the nape of your neck. A neat part is the foundation for symmetrical braids. Clip one side of your hair away so it doesn't interfere while you work on the first braid.
Step 2: Starting the First Braid
On the unclipped side, take a small, triangular section of hair at your hairline. The smaller you start, the more intricate the braid will look at the front. Divide this section into three equal strands. Begin the Dutch braid by crossing the right strand *under* the middle strand. Then, cross the left strand *under* the new middle strand. This is the opposite of a classic French braid and is the crucial technique for this style.
Step 3: Adding Hair to the Braid
Before you repeat the crossing-under motion, you need to add more hair. Pick up a small, new section of hair from the hairline and add it to the rightmost strand. Now, cross this combined right strand under the middle strand. Next, pick up a small section of hair from along the centre parting and add it to the leftmost strand. Cross this combined left strand under the new middle strand. Continue this pattern—adding hair to the outer strands before crossing them under the middle—down the length of your head. Try to pick up sections of a similar size each time for a uniform look.
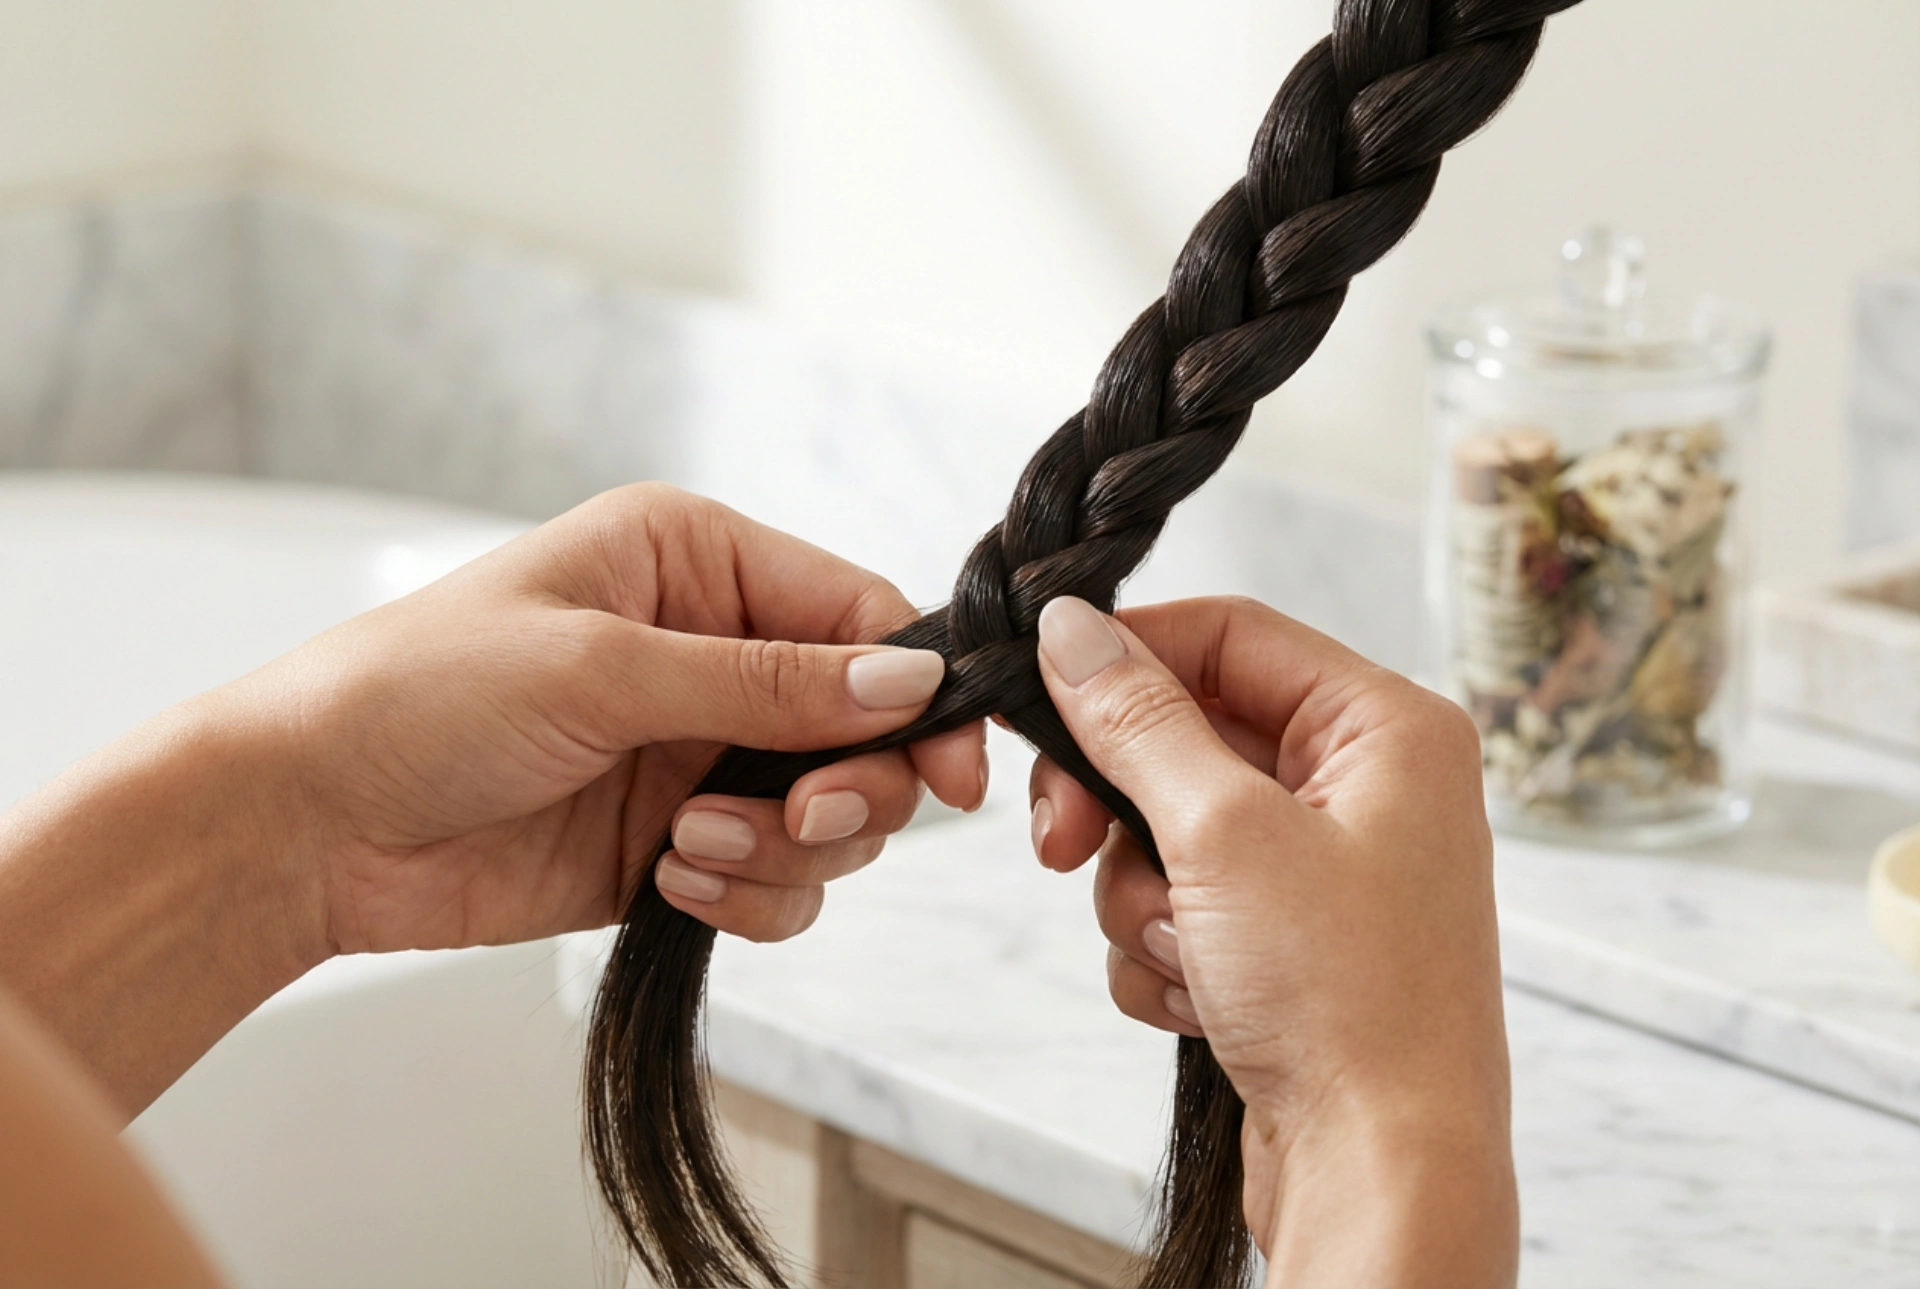
Step 4: Finishing the Braid
Once you reach the nape of your neck and there is no more hair to add, continue with a standard three-strand braid until you reach the ends. Remember to keep crossing the strands under each other to maintain the Dutch braid style. Secure the end with a small, clear or hair-coloured elastic band.
Step 5: Creating the Second Braid
Unclip the other side of your hair and repeat the entire process. Strive for symmetry in terms of braid placement, tightness, and the size of the sections you add. This will ensure your boxer braids look balanced and professional.
Tips for Perfect and Long-Lasting Boxer Braids
Achieving the perfect look can take practice, but a few tips can help you master the style and make it last longer.
- Maintain Tension: Keep a firm, consistent tension as you braid. This prevents the braid from becoming loose and helps create that signature sharp, clean look.
- Smooth as You Go: Use a little pomade or smoothing cream on your fingertips to tame flyaways and incorporate them neatly into the braid as you work.
- Protect Overnight: To make your boxer braids last for a second day, protect them while you sleep. Wrapping your hair in a silk or satin scarf or using a silk pillowcase can reduce friction and prevent frizz.
- Gentle Removal: When it's time to take the braids out, be gentle. Remove the elastic bands carefully and use your fingers to slowly undo the braids from the bottom up to avoid creating knots.
Variations on the Classic Boxer Braid
Once you have mastered the classic two-braid style, you can experiment with variations. For a more complex look, try creating four or even six braids across your head. You can also weave in coloured extensions for a playful and vibrant touch. Another popular variation is to end the braids in a low bun or a single ponytail at the nape of your neck for a different silhouette. The core Dutch braiding technique remains the same, offering a foundation for endless creativity.