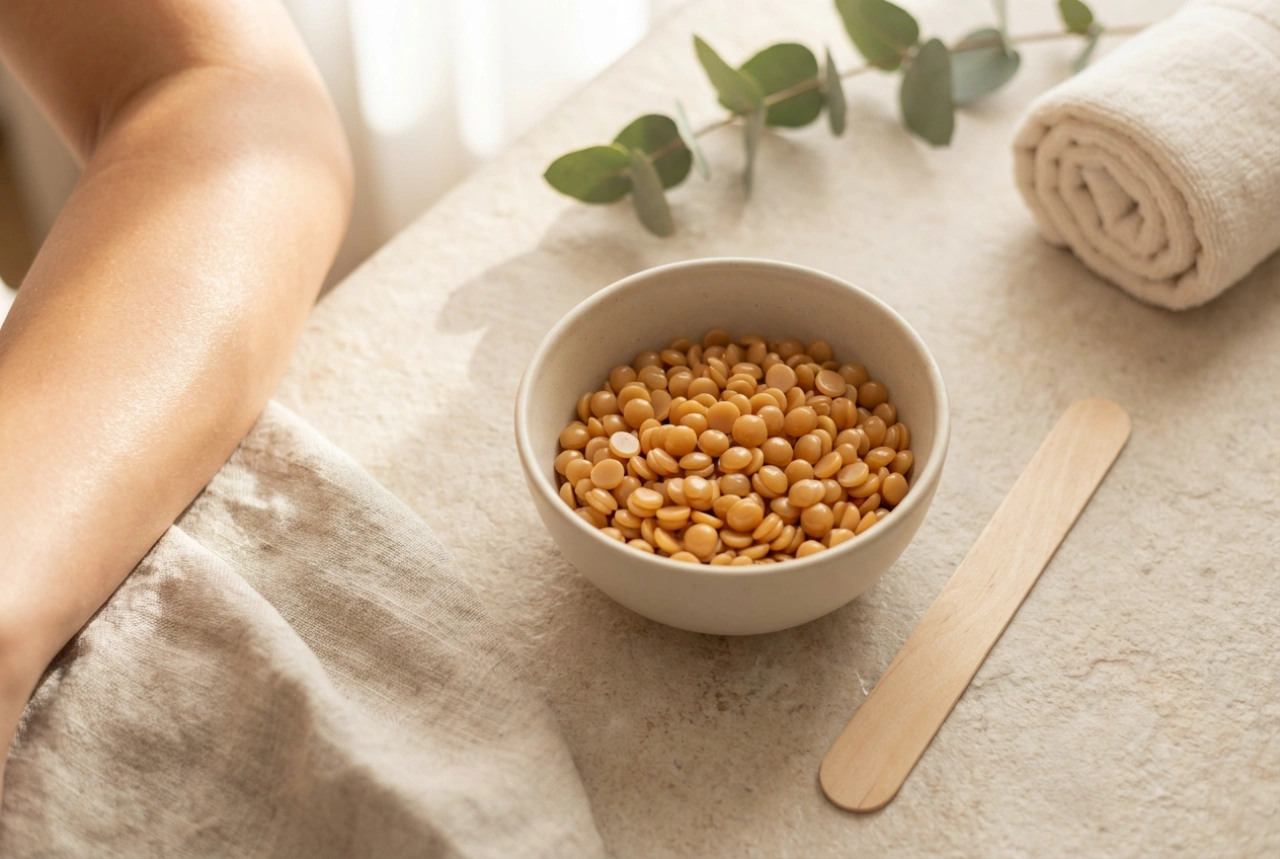


Granulated wax, also known as hard wax, has become a favourite for at-home hair removal, offering a salon-quality experience from the comfort of your own space. Its ability to adhere to the hair rather than the skin makes the process more comfortable for many. Mastering the technique of melting, applying, and removing these versatile wax beads is key to achieving beautifully smooth skin. This guide will walk you through each step, transforming your hair removal routine into a calm and effective self-care ritual.
Preparing Your Skin for Waxing
Proper preparation is the foundation of a successful and less uncomfortable waxing session. Starting with a clean canvas ensures the wax can perform its job effectively. Follow these simple steps before you begin:
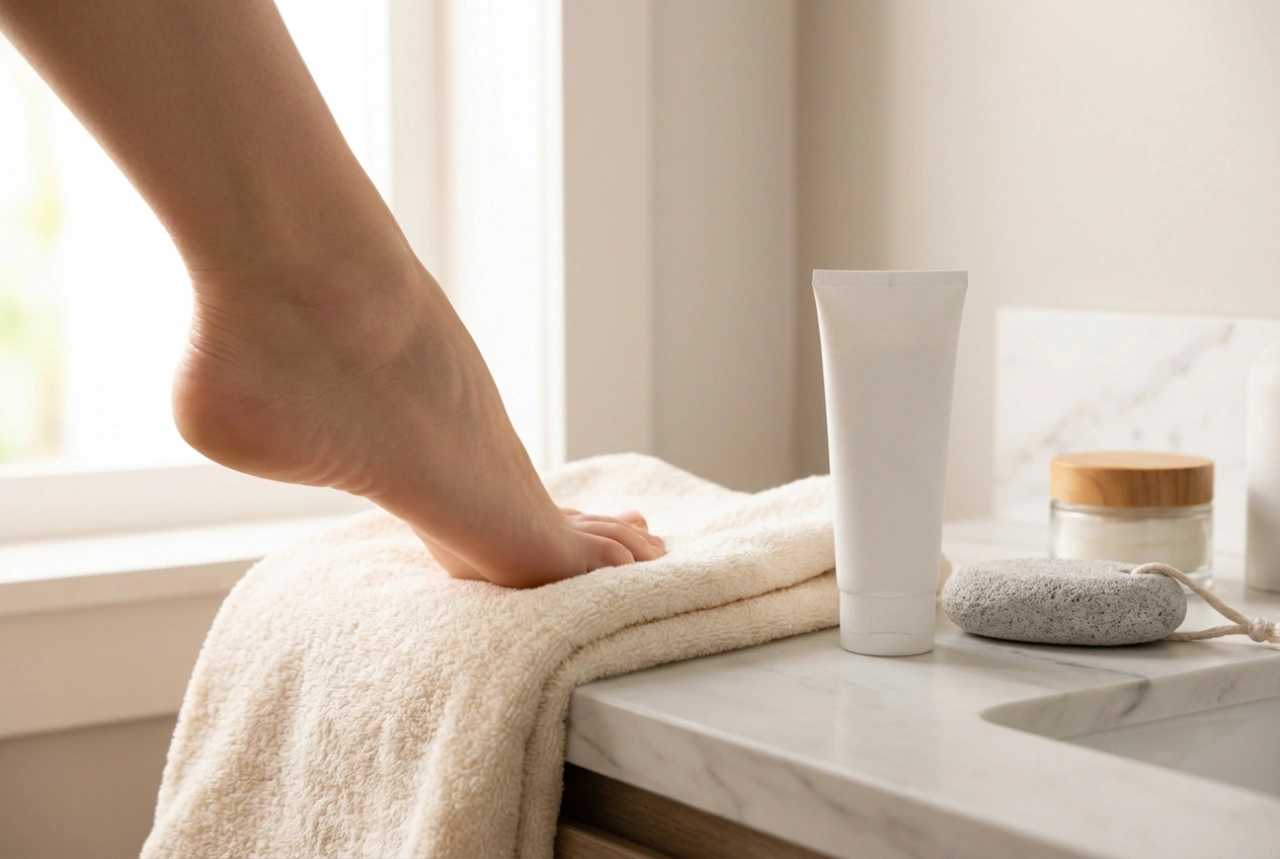
- Cleanse the Area: Gently wash the skin you intend to wax with a mild cleanser and water. This removes any oils, lotions, or dirt that could prevent the wax from adhering properly to the hair. Pat the skin completely dry with a clean towel. Any moisture left on the skin will interfere with the wax's grip.
- Exfoliate in Advance: A day or two before your planned waxing session, use a gentle scrub or exfoliating mitt on the area. This helps to remove dead skin cells and release any trapped hairs, which can help prevent ingrown hairs later on. Avoid exfoliating on the day of waxing, as this can make your skin too sensitive.
- Apply a Pre-Wax Product: Consider using a light dusting of talc-free powder or a specially formulated pre-wax cleanser. This step is particularly helpful in humid conditions or for areas prone to perspiration, as it absorbs any excess moisture and creates an optimal surface for the wax to bind to the hair.
The Art of Melting Granulated Wax
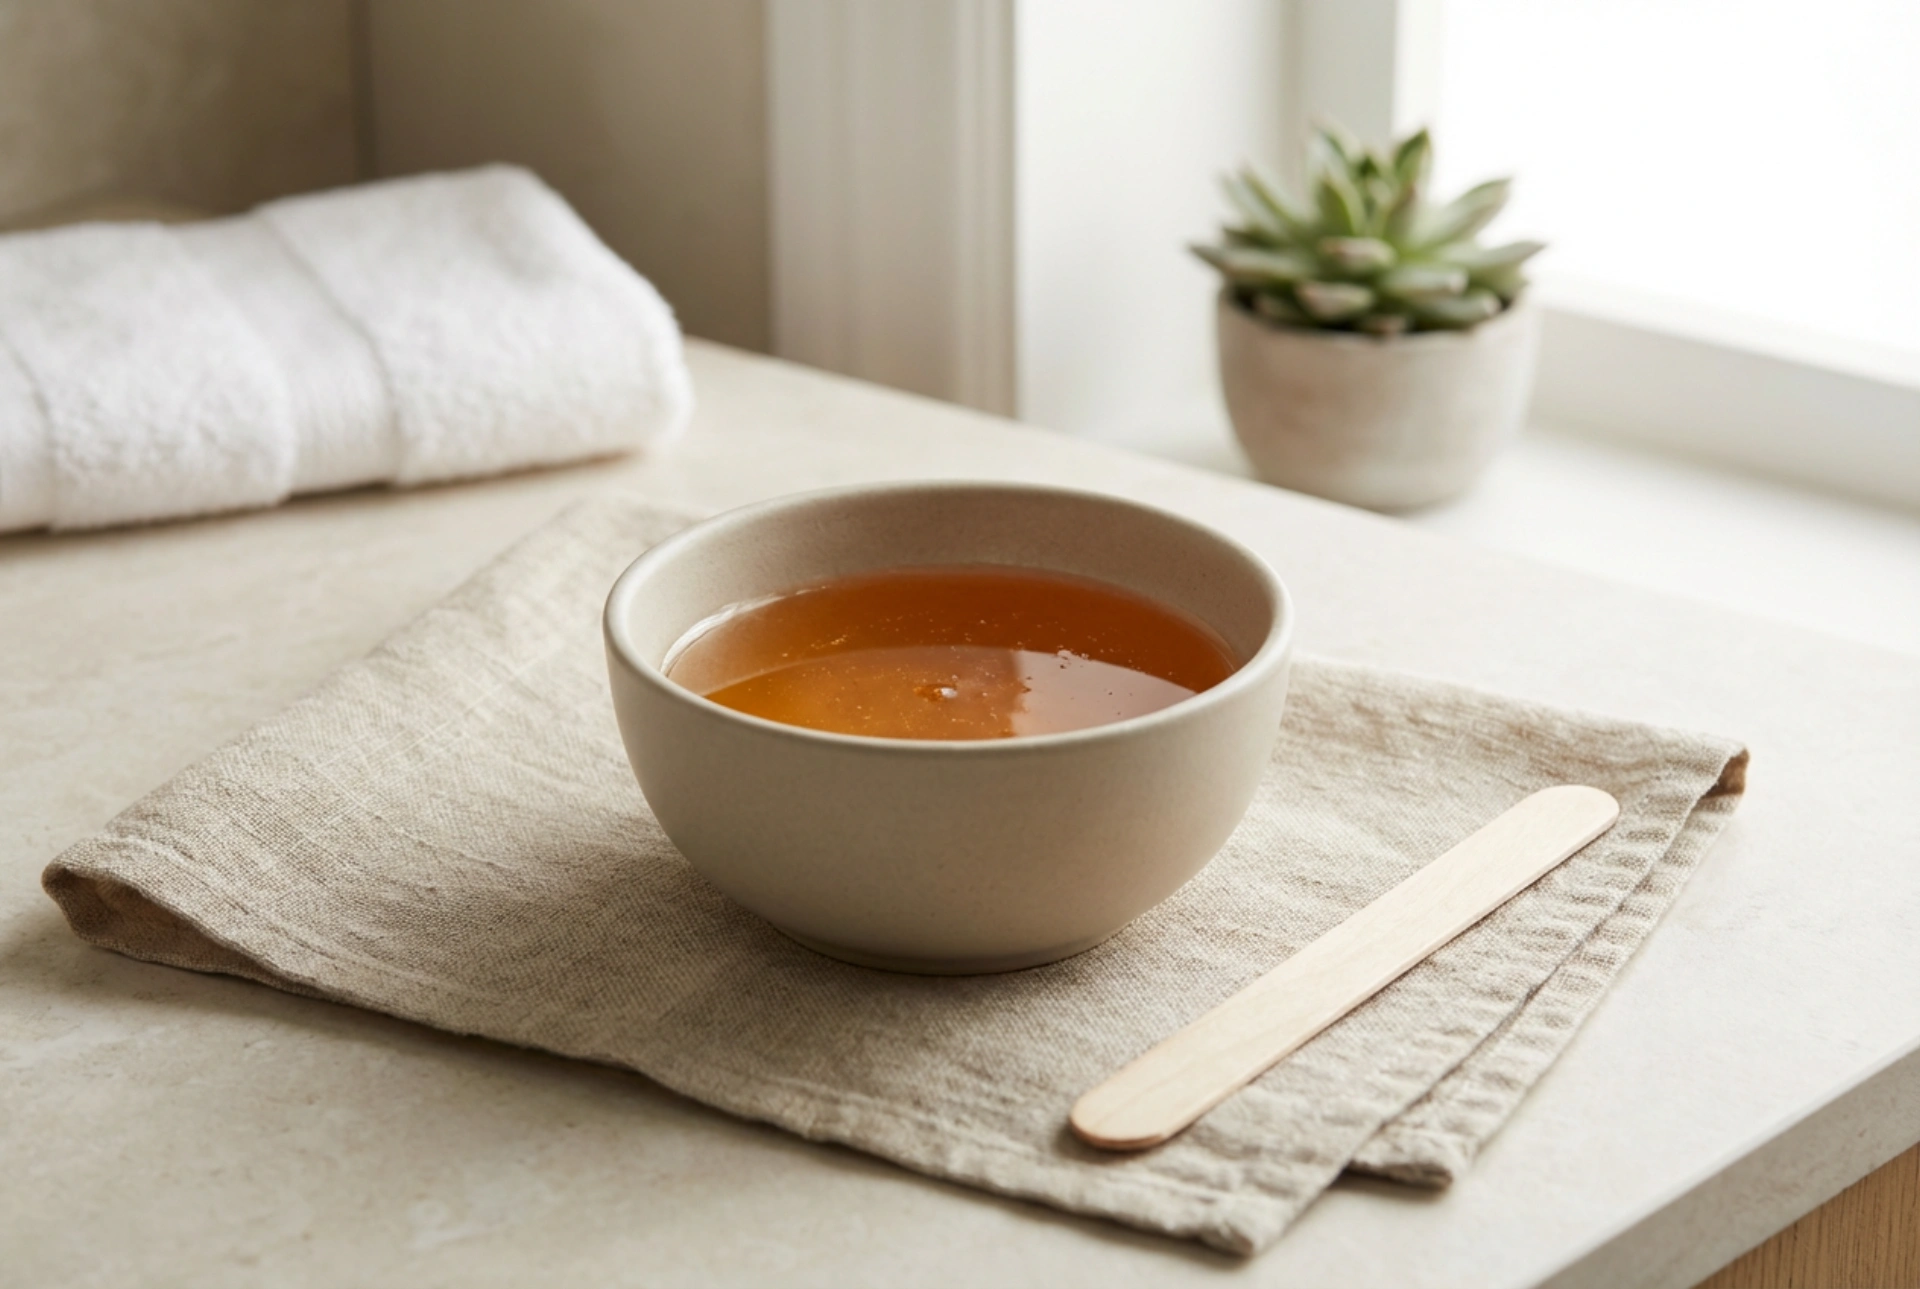
Achieving the right wax consistency is crucial for both safety and effectiveness. Wax that is too hot can cause skin irritation, while wax that is too cool will not spread properly or remove hair effectively. The goal is a smooth, pliable texture similar to thick honey or caramel.
Melting Process
The safest and most reliable way to melt granulated wax is in a dedicated wax heater. These devices are designed to heat the wax to a consistent, optimal temperature and maintain it throughout your session. Simply pour the desired amount of wax beads into the pot, set the heater to the recommended temperature, and allow the beads to melt completely, stirring occasionally with a spatula. If you do not have a wax heater, you can use a double boiler method, but this requires constant monitoring to avoid overheating.
Temperature Check
Before applying the wax to the target area, always perform a temperature test. Dip a clean spatula into the melted wax and apply a small patch to the inside of your wrist. It should feel warm and comfortable, not unpleasantly hot. This simple check is a vital step to prevent discomfort and ensure the wax is ready for application.
Application Techniques for Effective Hair Removal
How you apply the wax is just as important as how you remove it. A precise application ensures that every hair is encased in the wax, leading to a cleaner, smoother result.
- Work in Small Sections: It is always better to work in small, manageable sections, especially in contoured areas like the underarms or bikini line. This gives you more control and makes the removal process less daunting.
- Apply in the Direction of Hair Growth: Dip your spatula into the wax and scoop up a moderate amount. Apply it to your skin in a firm, even layer, spreading it in the same direction that your hair grows. The layer should be thick enough to be opaque but not overly bulky.
- Create a 'Lip' for Removal: As you finish applying a strip of wax, make the edge at the end slightly thicker. This creates a small 'lip' or tab that you can grip firmly when it comes time to remove the strip. This eliminates the need for fabric strips and makes the process much cleaner.
Removing the Wax with Minimal Discomfort
The removal technique is what most people worry about, but a few simple tricks can make a significant difference in the level of discomfort you experience. The key is to be quick and confident.
The Removal Process
Wait for the wax to set. It should be firm to the touch but still pliable, not brittle. This usually takes about 30 to 60 seconds, depending on the thickness of the application. Once it's ready, hold your skin taut with one hand just below the wax strip. This stabilises the skin and minimises pulling. With your other hand, grip the thicker 'lip' you created. In one swift, fluid motion, pull the wax strip off in the opposite direction of hair growth. Keep your hand close and parallel to the skin as you pull, rather than pulling upwards. This technique is more effective and less uncomfortable. Immediately after removing the strip, place the palm of your hand firmly on the freshly waxed area for a few seconds. The gentle pressure can help soothe the initial sting.
Aftercare: Soothing and Maintaining Your Skin
Post-waxing care is essential for calming the skin and maintaining your smooth results. Your skin will be more sensitive after hair removal, so it needs gentle attention.
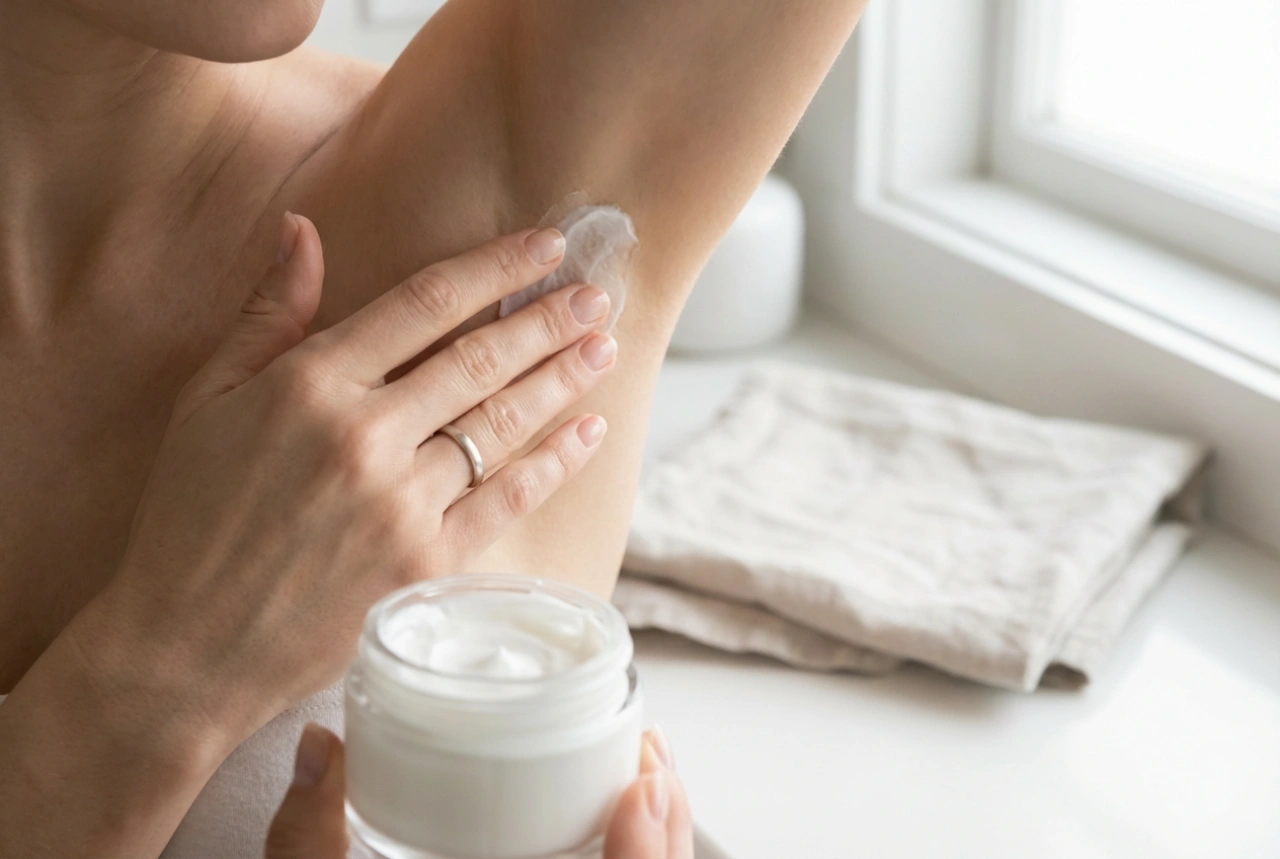
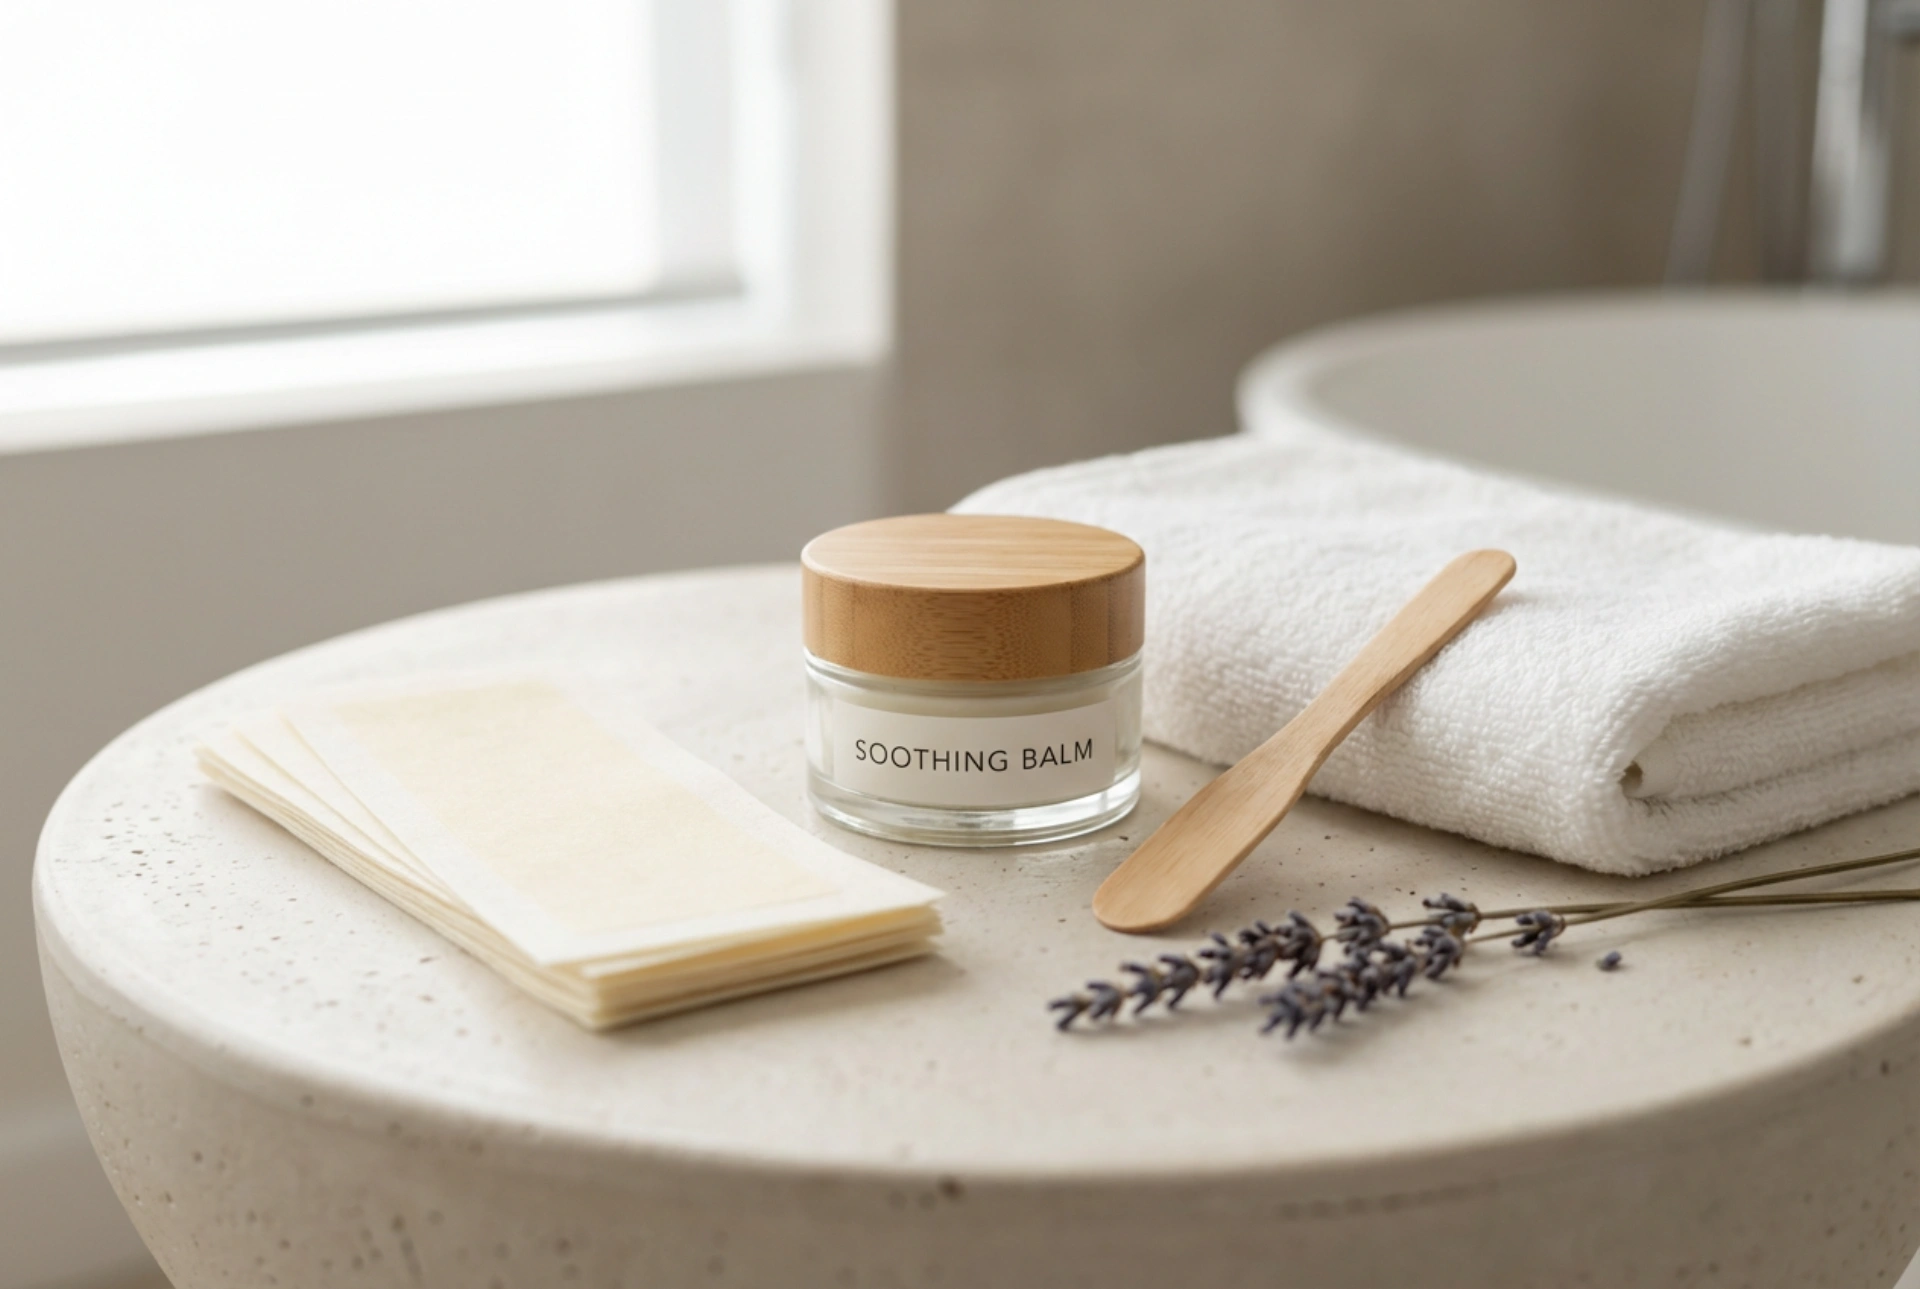
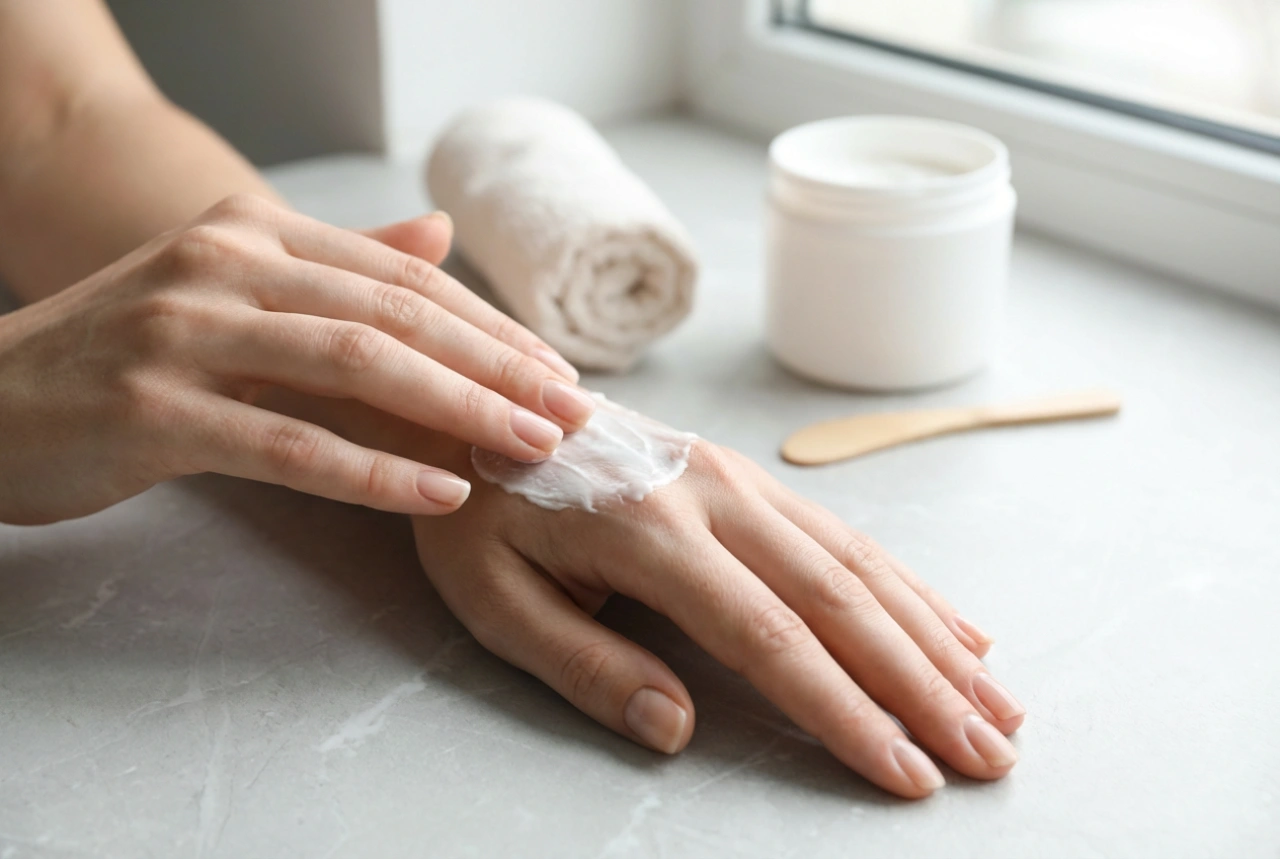
- Remove Residue and Soothe: Use a post-wax oil or a natural oil (like coconut or almond oil) on a cotton pad to gently wipe away any small bits of wax residue. These oils are also excellent for calming and moisturising the skin.
- Avoid Irritants: For the first 24 to 48 hours after waxing, avoid hot baths, saunas, swimming pools, and intense exercise that causes excessive sweating. Also, steer clear of heavily fragranced lotions or exfoliants on the treated area.
- Prevent Ingrown Hairs: A few days after your waxing session, resume gentle exfoliation two to three times a week. This will help keep the skin smooth and prevent dead skin cells from blocking hair follicles, which is a common cause of ingrown hairs.