


A well-executed manicure can be a wonderful form of self-care, leaving your hands looking elegant and polished. Creating this experience at home is entirely achievable with the right set of tools and a little know-how. Assembling a personal manicure kit not only saves time but also ensures you have everything you need for beautiful, healthy-looking nails at your fingertips.
Building Your Essential Home Manicure Kit
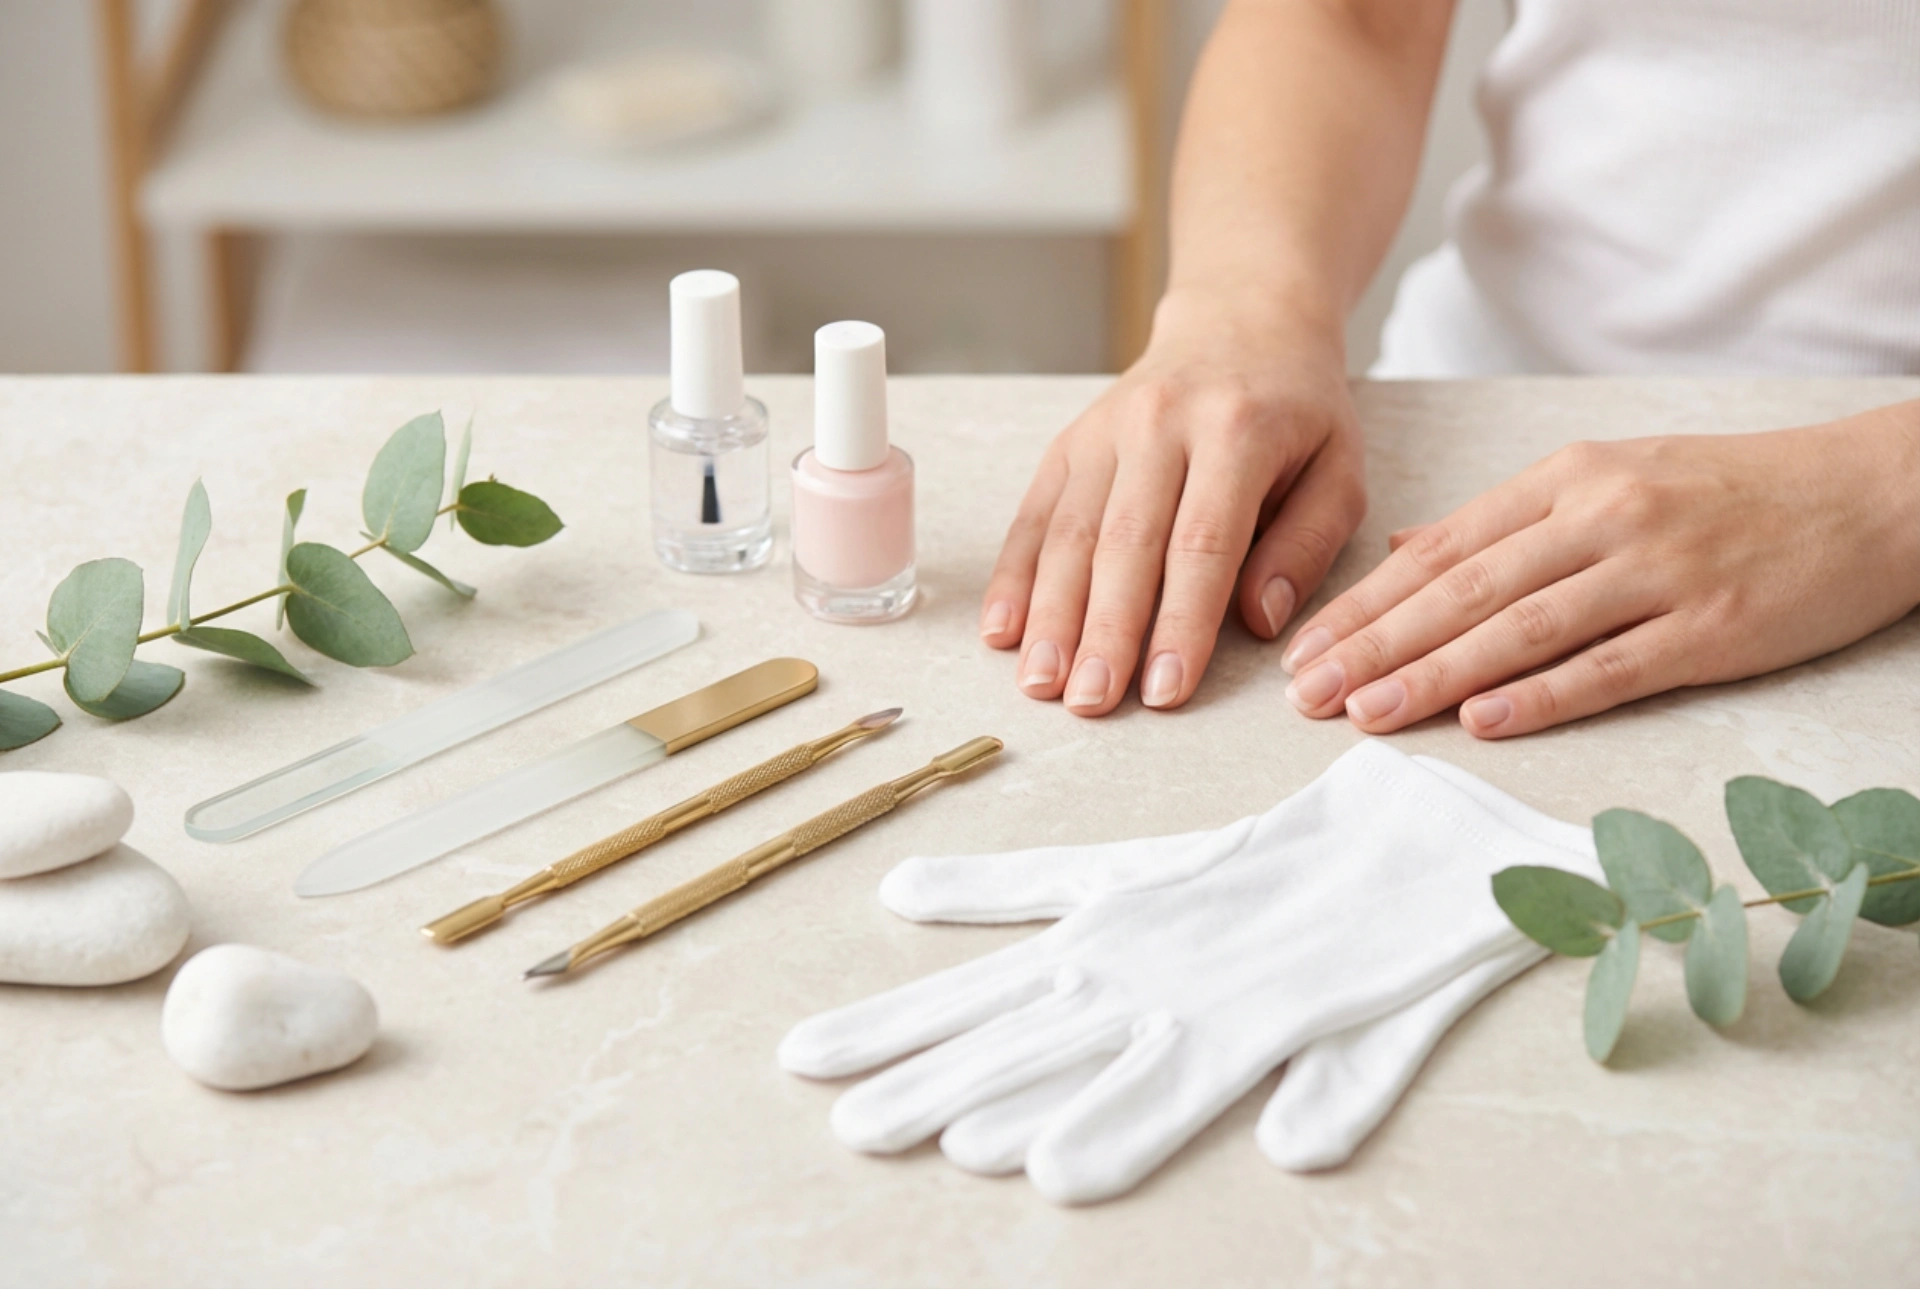
To perform a complete manicure, you need a few key items. While pre-made sets are available, building your own allows you to choose high-quality tools that suit your specific needs. Here are the must-have components for your personal collection.
Nail Shaping and Filing Tools
The foundation of any great manicure is well-shaped nails. You'll need:
- Nail Clippers or Scissors: Choose whichever you find more comfortable for trimming your nails to the desired length. Ensure they are sharp for a clean cut.
- Nail File: Avoid harsh metal files. Opt for a glass (crystal) file, which is gentle and long-lasting, or a soft emery board (240-grit or higher) for natural nails. A file helps to smooth the edges and create your preferred shape, whether it's square, round, or almond.
Cuticle Care Essentials
Proper cuticle care is crucial for a neat appearance and healthy nail growth. Gentle treatment is key. Your kit should include:
- Cuticle Pusher: A wooden orangewood stick or a metal pusher with a soft, rounded edge is ideal for gently pushing back softened cuticles.
- Cuticle Remover Solution: This liquid helps to soften and dissolve excess dead skin around the nail, making it easier to push back without force.
- Cuticle Oil: An essential for hydration. Applying it at the end of your manicure and daily keeps cuticles and the surrounding skin soft and nourished.
Nail Surface Preparation
For a smooth polish application, you'll need a buffer. A four-sided buffer block is a versatile tool that typically has different grits for filing, buffing, smoothing, and shining the nail surface. Use the smoothing side very gently to remove ridges before applying polish.
A Step-by-Step Guide to a Safe Home Manicure
Once your kit is ready, follow these steps for a safe and effective manicure that protects your nail health.
- Step 1: Prepare Your Nails. Start by thoroughly washing your hands. Remove any old nail polish with a gentle, non-acetone remover to avoid drying out your nails and cuticles.
- Step 2: Shape Your Nails. If needed, trim your nails with clippers. Then, file them into your desired shape. Always file in one direction, from the side to the centre, to prevent splitting and peeling.
- Step 3: Tend to Your Cuticles. Apply a cuticle remover solution and let it sit for a minute. Then, soak your fingertips in a bowl of warm, soapy water for a few minutes to further soften the skin. Gently push back your cuticles using an orangewood stick or a soft-edged pusher. Never cut your cuticles, as they act as a protective barrier.
- Step 4: Buff the Surface. Lightly buff the surface of your nails with the fine-grit side of a buffer block. This creates a smooth canvas for your polish but be careful not to overdo it, as this can thin the nail.
- Step 5: Cleanse and Dehydrate. Wipe each nail with a lint-free pad soaked in rubbing alcohol or a specialised nail cleanser. This removes any oils and residue, helping the polish adhere better.
- Step 6: Apply the Base Coat. Always start with a base coat. It protects your nails from staining and provides a tacky surface for the colour to grip onto, extending the life of your manicure.
- Step 7: Apply Colour. Apply two thin coats of your chosen nail polish, allowing the first coat to dry for a couple of minutes before applying the second. Thin coats dry faster and are less likely to smudge.
- Step 8: Seal with a Top Coat. A top coat is essential for adding shine, preventing chips, and sealing in the colour. Be sure to "cap" the free edge of your nail by running the brush along the tip.
- Step 9: Hydrate. Once your nails are completely dry to the touch, apply a drop of cuticle oil to the base of each nail and massage it in. Finish by applying a nourishing hand cream.
Maintaining Your Manicure Tools
Hygiene is paramount to prevent the transfer of unwanted particles. Clean tools ensure every manicure is a safe one.
- Clean After Every Use: Wash metal tools like clippers and pushers with soap and water. Use a small brush to scrub away any debris.
- Disinfect Regularly: After washing, disinfect your metal tools by wiping them down with rubbing alcohol and letting them air dry completely.
- Store Properly: Keep your clean, dry tools in a dedicated case or pouch to protect them from dust and moisture.
- Know When to Replace: Disposable items like orangewood sticks should be single-use. Replace nail files when they become worn and less effective, and sharpen or replace clippers when they become dull.
With a well-stocked and clean manicure kit, you have the power to maintain beautiful, healthy hands and nails from the comfort of your own home. This simple ritual of self-care can be a relaxing way to unwind while achieving a professional-looking result.


