


Black nail polish is the epitome of chic, a bold statement of elegance and confidence. However, achieving a perfect, streak-free, and glossy black manicure can be challenging. Unlike lighter shades, dark polishes are unforgiving, showing every imperfection. The secret to a professional-looking finish lies not in the polish alone, but in a meticulous application technique. By mastering the fundamentals of preparation, layering, and sealing, you can achieve an impeccable black manicure at home.
The Foundation: Why a Base Coat is Non-Negotiable
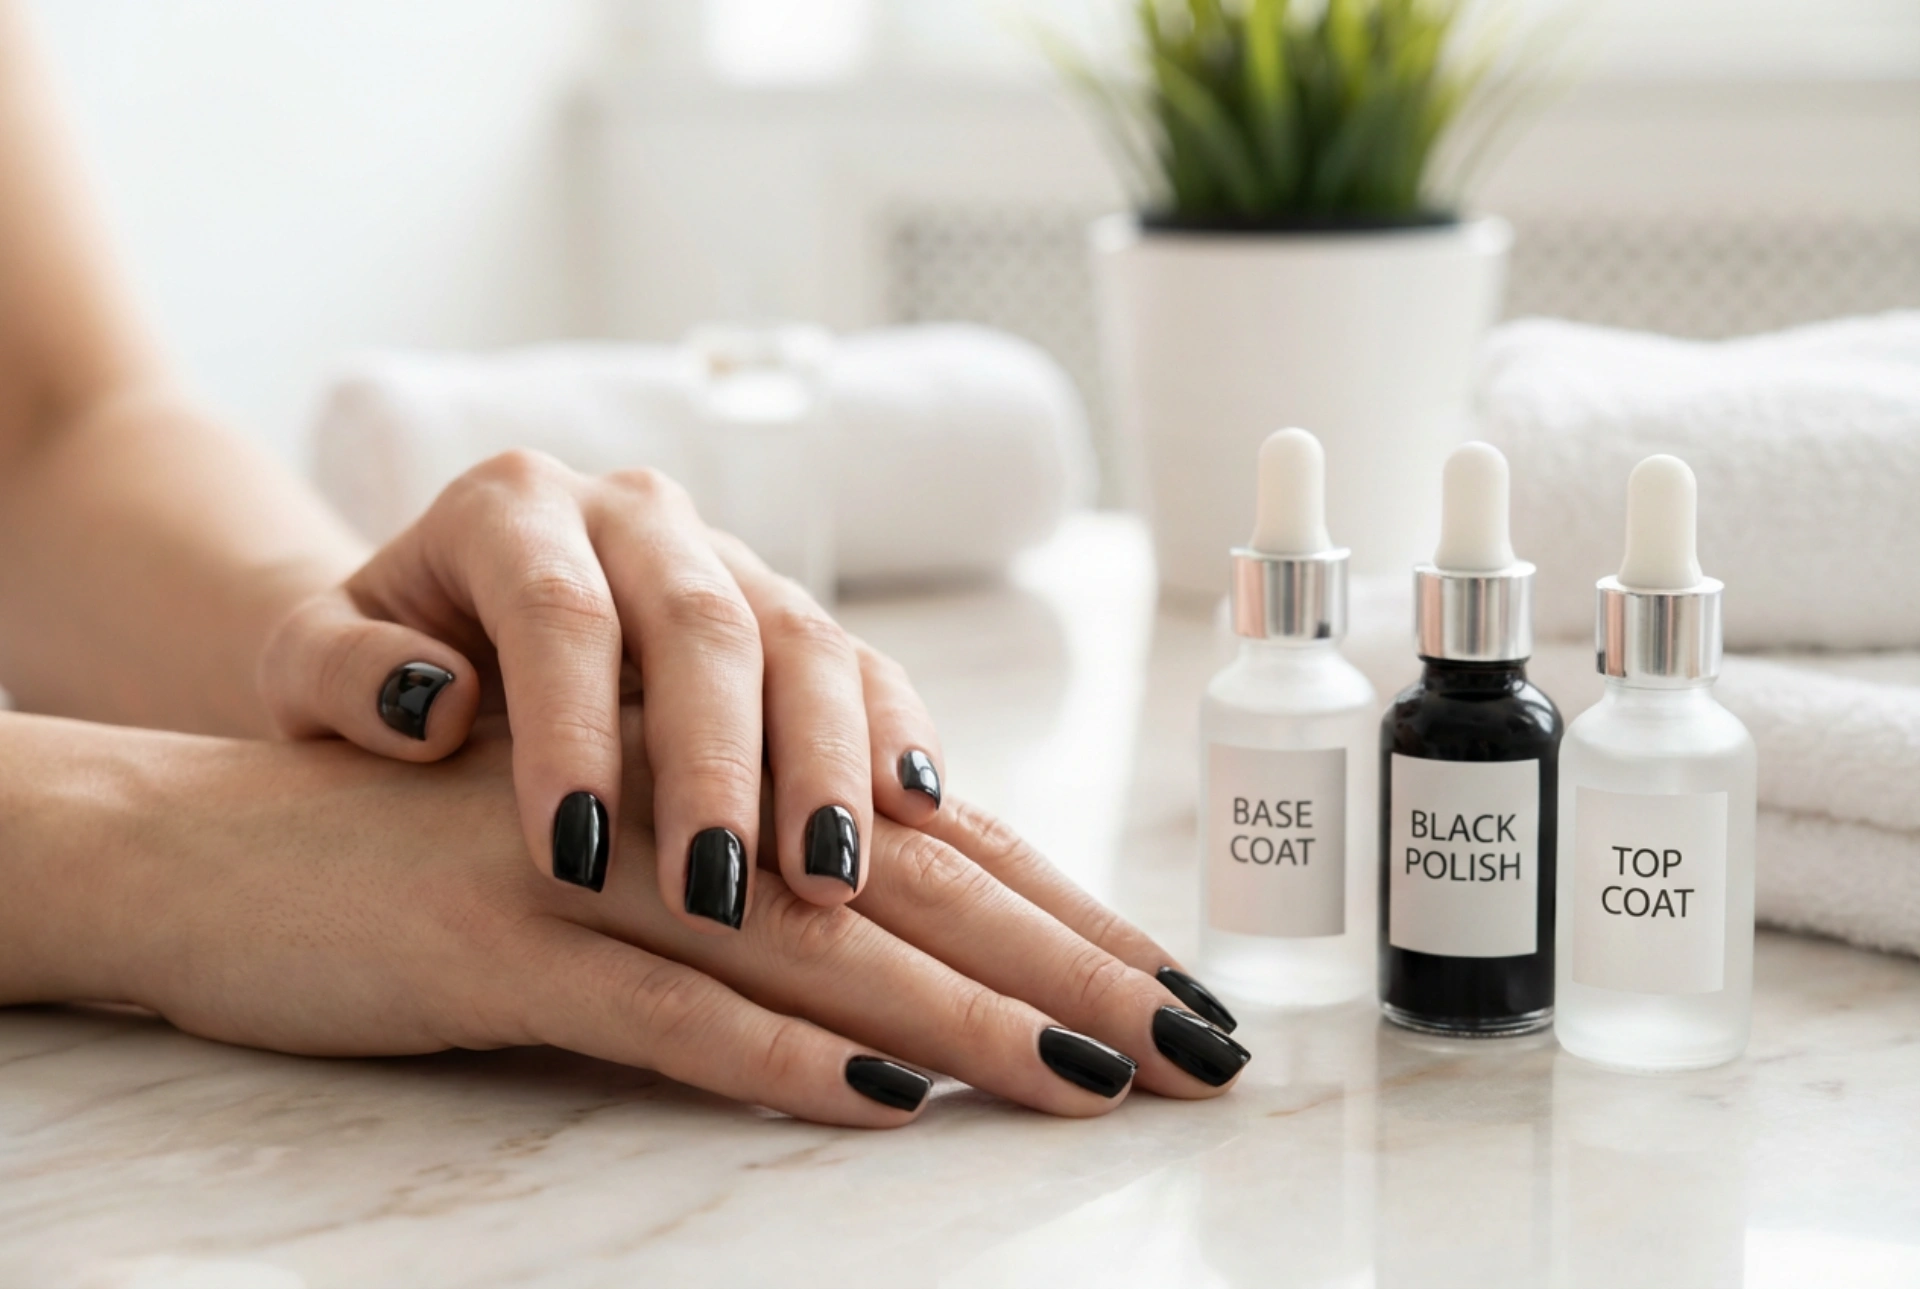
Before you even think about applying that deep black colour, the first essential step is a quality base coat. This clear layer is the unsung hero of a lasting manicure. Its primary function is to create a barrier between your natural nail and the dark pigment of the polish, effectively preventing the dreaded yellowing or staining that dark colours can leave behind. Furthermore, a good base coat smooths out any natural ridges on the nail surface, creating a perfectly even canvas. This ensures that the black polish glides on more uniformly, which is the first step in preventing streaks and patches. It also significantly improves adhesion, helping your manicure last longer without chipping.
The Art of Application: Thin Layers are Key
The most common mistake when applying dark polish is trying to achieve full opacity in a single, thick coat. This approach almost always results in a streaky, bubbly, and slow-drying mess. The professional secret is to build the colour with multiple, whisper-thin layers.
First Coat: Sheer and Even
Begin with your first thin layer of black polish. Load your brush with a small amount of product, wiping off the excess on the inside neck of the bottle. Apply the polish using the three-stroke method: one stroke down the centre of the nail, followed by one on each side, from the base to the tip. Don't worry if this coat looks patchy or sheer; that is completely normal. The goal here is to establish a thin, even foundation of colour, not to achieve full coverage. Allow this layer to dry for at least two to three minutes before proceeding.
Building Colour: The Second (and Sometimes Third) Coat
The second coat is where the magic happens. Apply it just as thinly as the first. This layer will build on the foundation, deepening the colour and covering any patchiness. In most cases, two thin coats are sufficient to achieve a rich, opaque black. However, depending on the polish formula, a third very thin coat might be necessary for absolute perfection. The most critical part of this process is patience. Ensure each layer is adequately dry to the touch before applying the next one. Rushing this step can cause the brush to drag the layer underneath, creating the very streaks you are trying to avoid.
Sealing the Deal: The Power of a Top Coat
Once your final colour coat is dry, the last step is to seal your work with a high-quality top coat. This is not a step to be skipped, especially with a dark colour like black. A good top coat serves several purposes. Firstly, it delivers that coveted high-gloss, mirror-like shine that makes black nails look so luxurious. Secondly, it acts as a protective shield, guarding your manicure against chips, scratches, and everyday wear and tear. Finally, it has a wonderful smoothing effect, helping to meld the layers of polish together and blur any minor surface imperfections, resulting in a truly flawless, uniform finish. For an extra durable manicure, you can reapply the top coat every two to three days.
Extra Tips for a Salon-Worthy Finish
To elevate your at-home black manicure, keep a few extra tricks in mind. Nail preparation is key: ensure your nails are clean, dry, and lightly buffed before you begin. For clean edges, use a small, stiff brush or a cotton bud dipped in nail polish remover to meticulously wipe away any polish that gets on your skin. Finally, give your nails ample time to dry completely. Even if they feel dry to the touch, the inner layers may still be soft. Avoid any activities that could cause smudges for at least an hour for the best results. With practice and patience, these techniques will ensure your black nails look sharp and stunning every time.


