


Achieving the perfect nail length and shape can be a challenge, but gel nail tips offer a fantastic solution for creating a durable and elegant manicure. Unlike traditional plastic tips, modern gel systems provide a lightweight feel and a more natural look. Proper application is key to ensuring they last and look flawless. From selecting the right size to preparing the surface for colour, each step plays a vital role in the final outcome. This guide will walk you through the process, helping you achieve a professional-quality manicure at home.
Choosing the Right Gel Tips
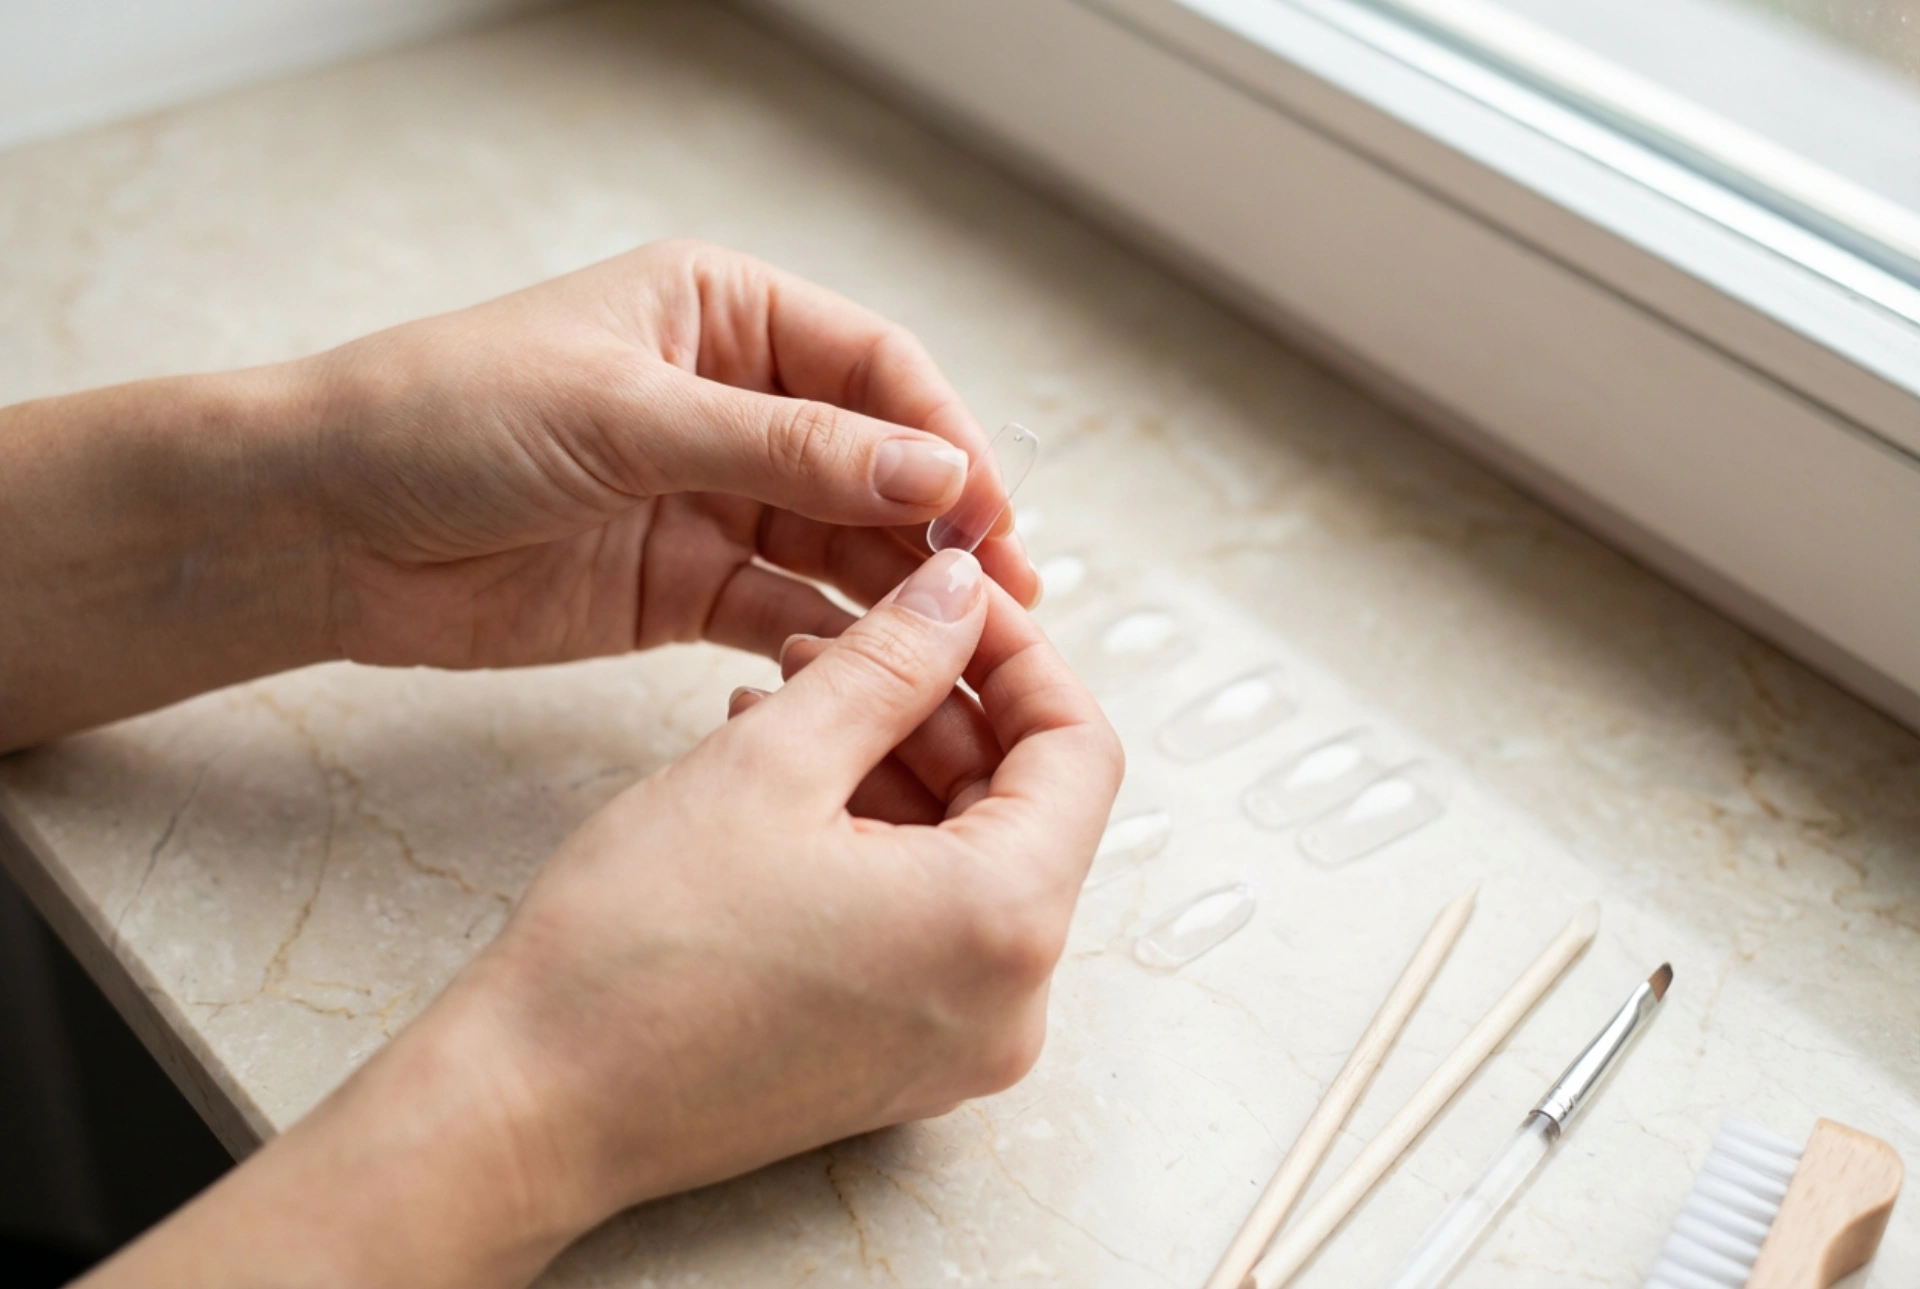
The foundation of a great set of extensions is choosing the correct gel tips. They come in various shapes, such as almond, stiletto, coffin, and square, and in a wide range of sizes. The most important factor is the fit. A tip should fit your natural nail from one sidewall to the other without being too wide or too narrow. If it’s too wide, it can look bulky and lift prematurely. If it's too narrow, it will leave the sides of your natural nail exposed and create an unnatural appearance. You should also consider the 'C-curve' of the tip. It should mimic the natural curve of your nail bed for a seamless and comfortable fit. It's better to choose a tip that is slightly larger and file it down for a perfect match than to use one that is too small.
Preparing the Natural Nail Plate
Proper preparation is non-negotiable for adhesion and longevity. Skipping these steps can lead to lifting and a shorter lifespan for your manicure. Follow this routine for a pristine canvas:
- Cuticle Care: Gently push back your cuticles using a cuticle pusher. Avoid cutting them aggressively, as they serve as a protective barrier.
- Shape the Natural Nail: Lightly file the free edge of your natural nail to ensure it's neat and uniform.
- Buff the Surface: Using a fine-grit buffer, gently remove the shine from the entire surface of the natural nail. This creates a slightly rough texture that helps the gel product adhere more effectively. Be careful not to over-file or thin the nail plate.
- Cleanse and Dehydrate: After buffing, remove all dust with a soft brush or a lint-free wipe soaked in a nail cleanser or isopropyl alcohol. This step dehydrates the nail plate, removing any oils and contaminants that could interfere with adhesion.
- Apply a Primer: For an extra layer of security, apply a thin coat of a nail primer designed for gel systems. This product works like double-sided tape, creating a strong bond between the natural nail and the gel.
The Application Process: A Step-by-Step Guide
Once your nails are prepped, you can begin applying the tips. This requires a specific gel formulated for adhesion, often called a press-on gel or builder gel, and a UV/LED lamp for curing.
Step 1: Size and Prepare the Tips
Before you begin, size a gel tip for each finger and lay them out in order. To enhance adhesion, you can lightly buff the inside of the gel tip where it will make contact with your natural nail or apply a primer to it.
Step 2: Apply the Adhesive Gel
Apply a thin layer of the adhesive gel to your prepared natural nail, like a base coat. Then, apply a small bead of the same gel to the underside of the gel tip, in the area that will sit over your nail plate. Don't use too much product, as it will spill out from the sides when you press the tip on.
Step 3: Attach and Cure the Tip
Place the gel tip onto the nail, starting at the cuticle area at a 45-degree angle. Slowly press it down towards the free edge, applying even pressure to push out any air bubbles. While holding the tip firmly in place, 'flash cure' it for 10-15 seconds under a small LED lamp to secure its position. Once all tips are in place, perform a full cure for the time recommended by the gel manufacturer (usually 60 seconds in an LED lamp) to ensure a complete and strong bond.
Final Shaping and Preparation for Colour
After all the tips are securely attached and cured, your extensions are almost ready for colour. The final stage involves refining the shape and preparing the surface. Use a nail file to shape the free edge and sidewalls to your desired look, whether that's sharpening a stiletto point or perfecting a square. Once you're happy with the shape, gently buff the entire surface of the gel tip to remove the shine. This creates a slightly porous surface for your gel polish to adhere to, preventing chipping. Finally, cleanse the nails thoroughly with a lint-free wipe and alcohol to remove all dust and debris before proceeding with your gel polish colour application.


