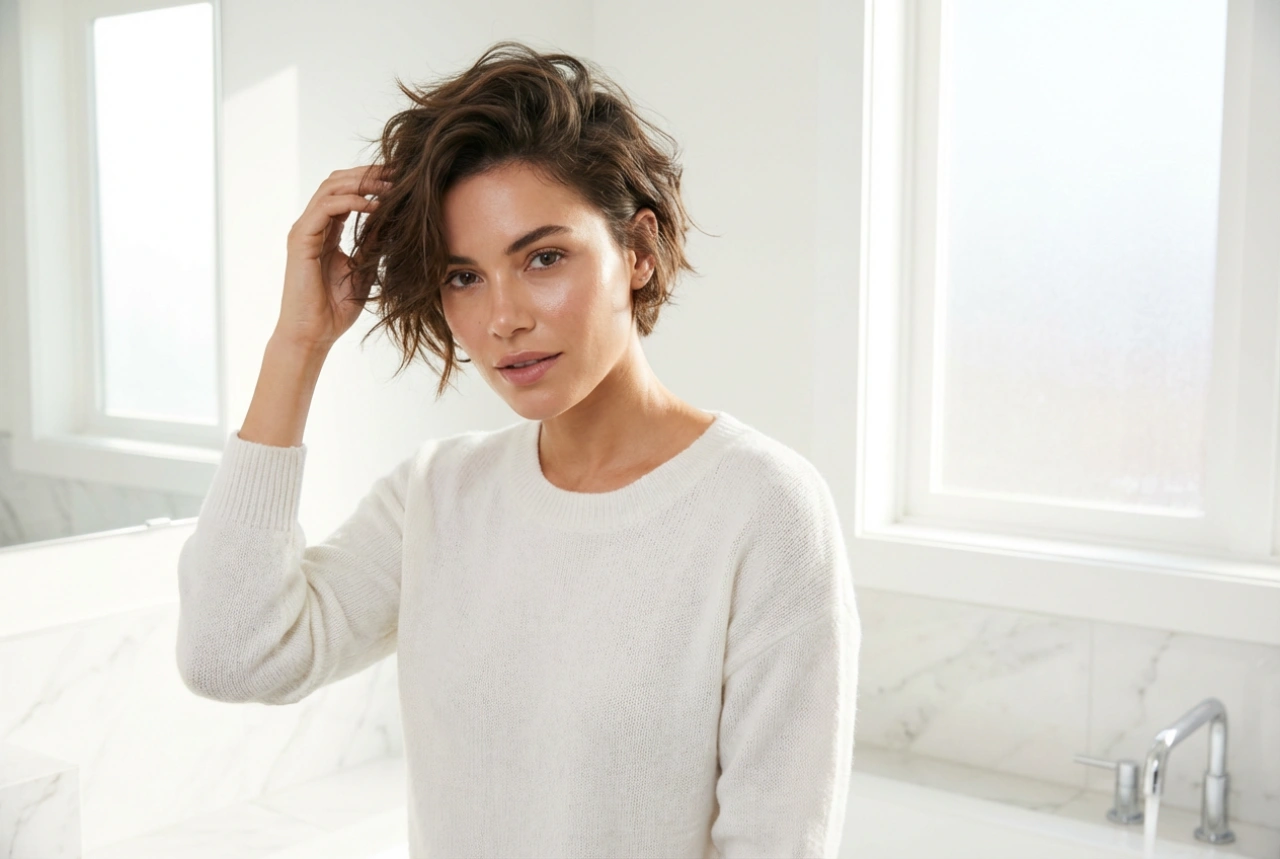


An asymmetrical short haircut is a fantastic way to express a modern and sophisticated sense of style. Characterised by its deliberately uneven lengths, this cut is both edgy and elegant. However, its true beauty lies in proper styling. The key is not to fight the haircut's unique geometry but to enhance it, ensuring the lines remain sharp and the overall look beautifully balances your facial proportions. With the right techniques and products, you can easily master the art of styling your asymmetrical cut at home.
Understanding the Dynamics of Your Asymmetrical Cut
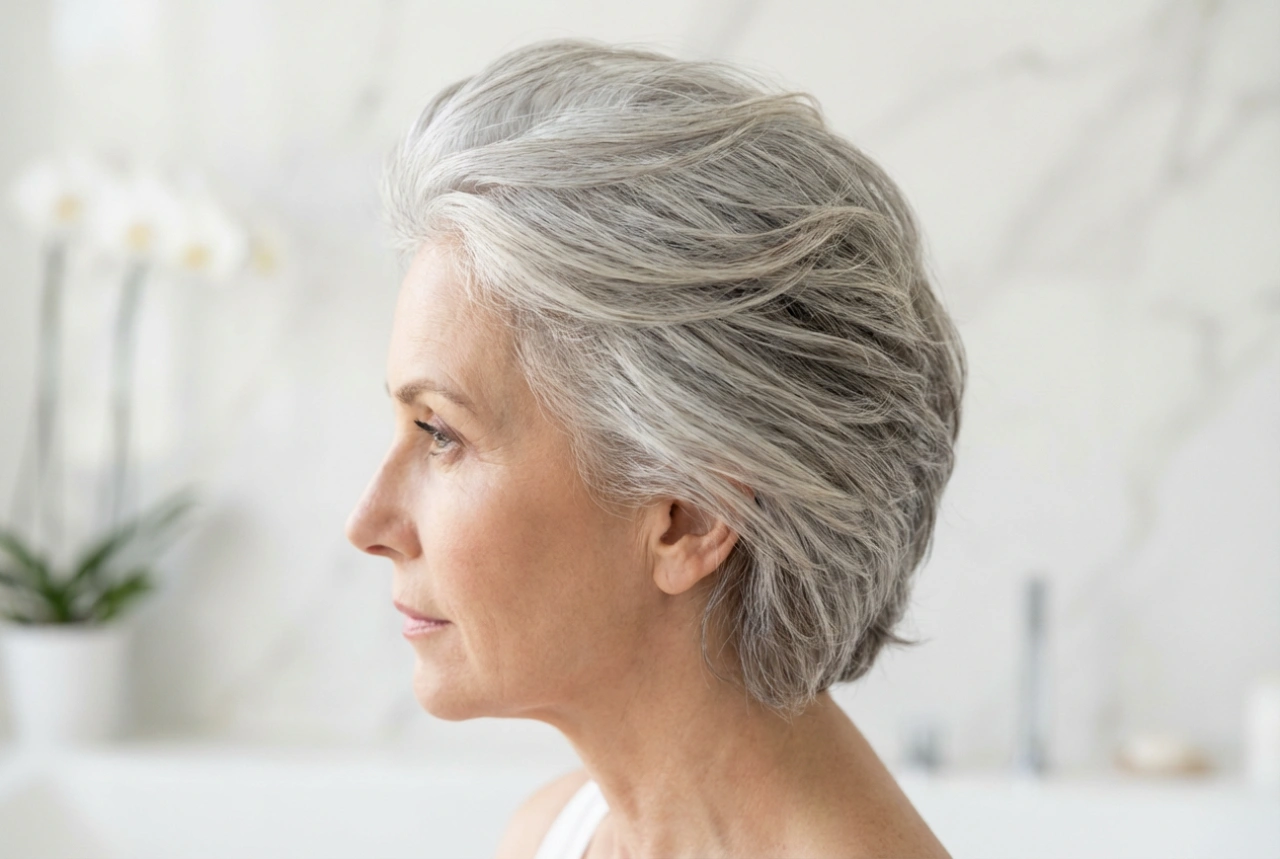
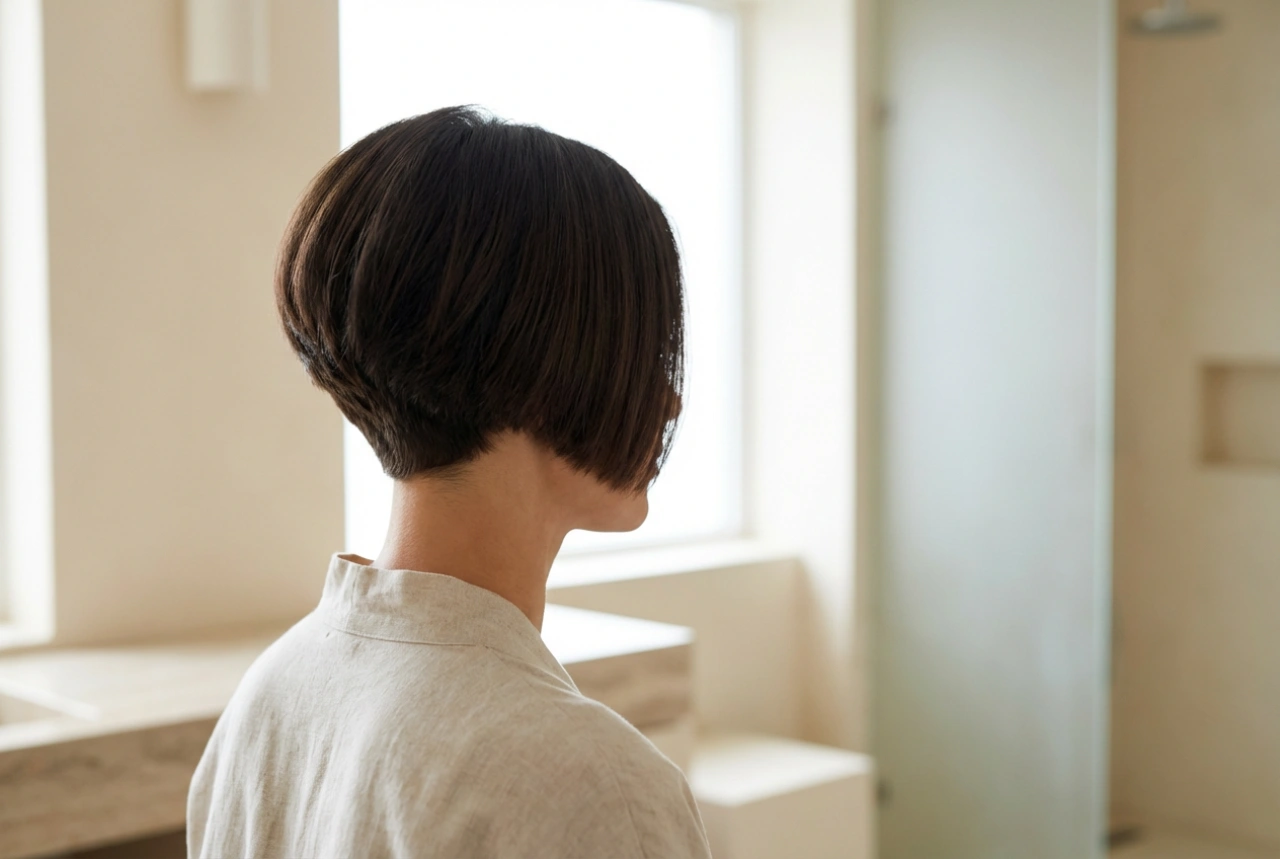
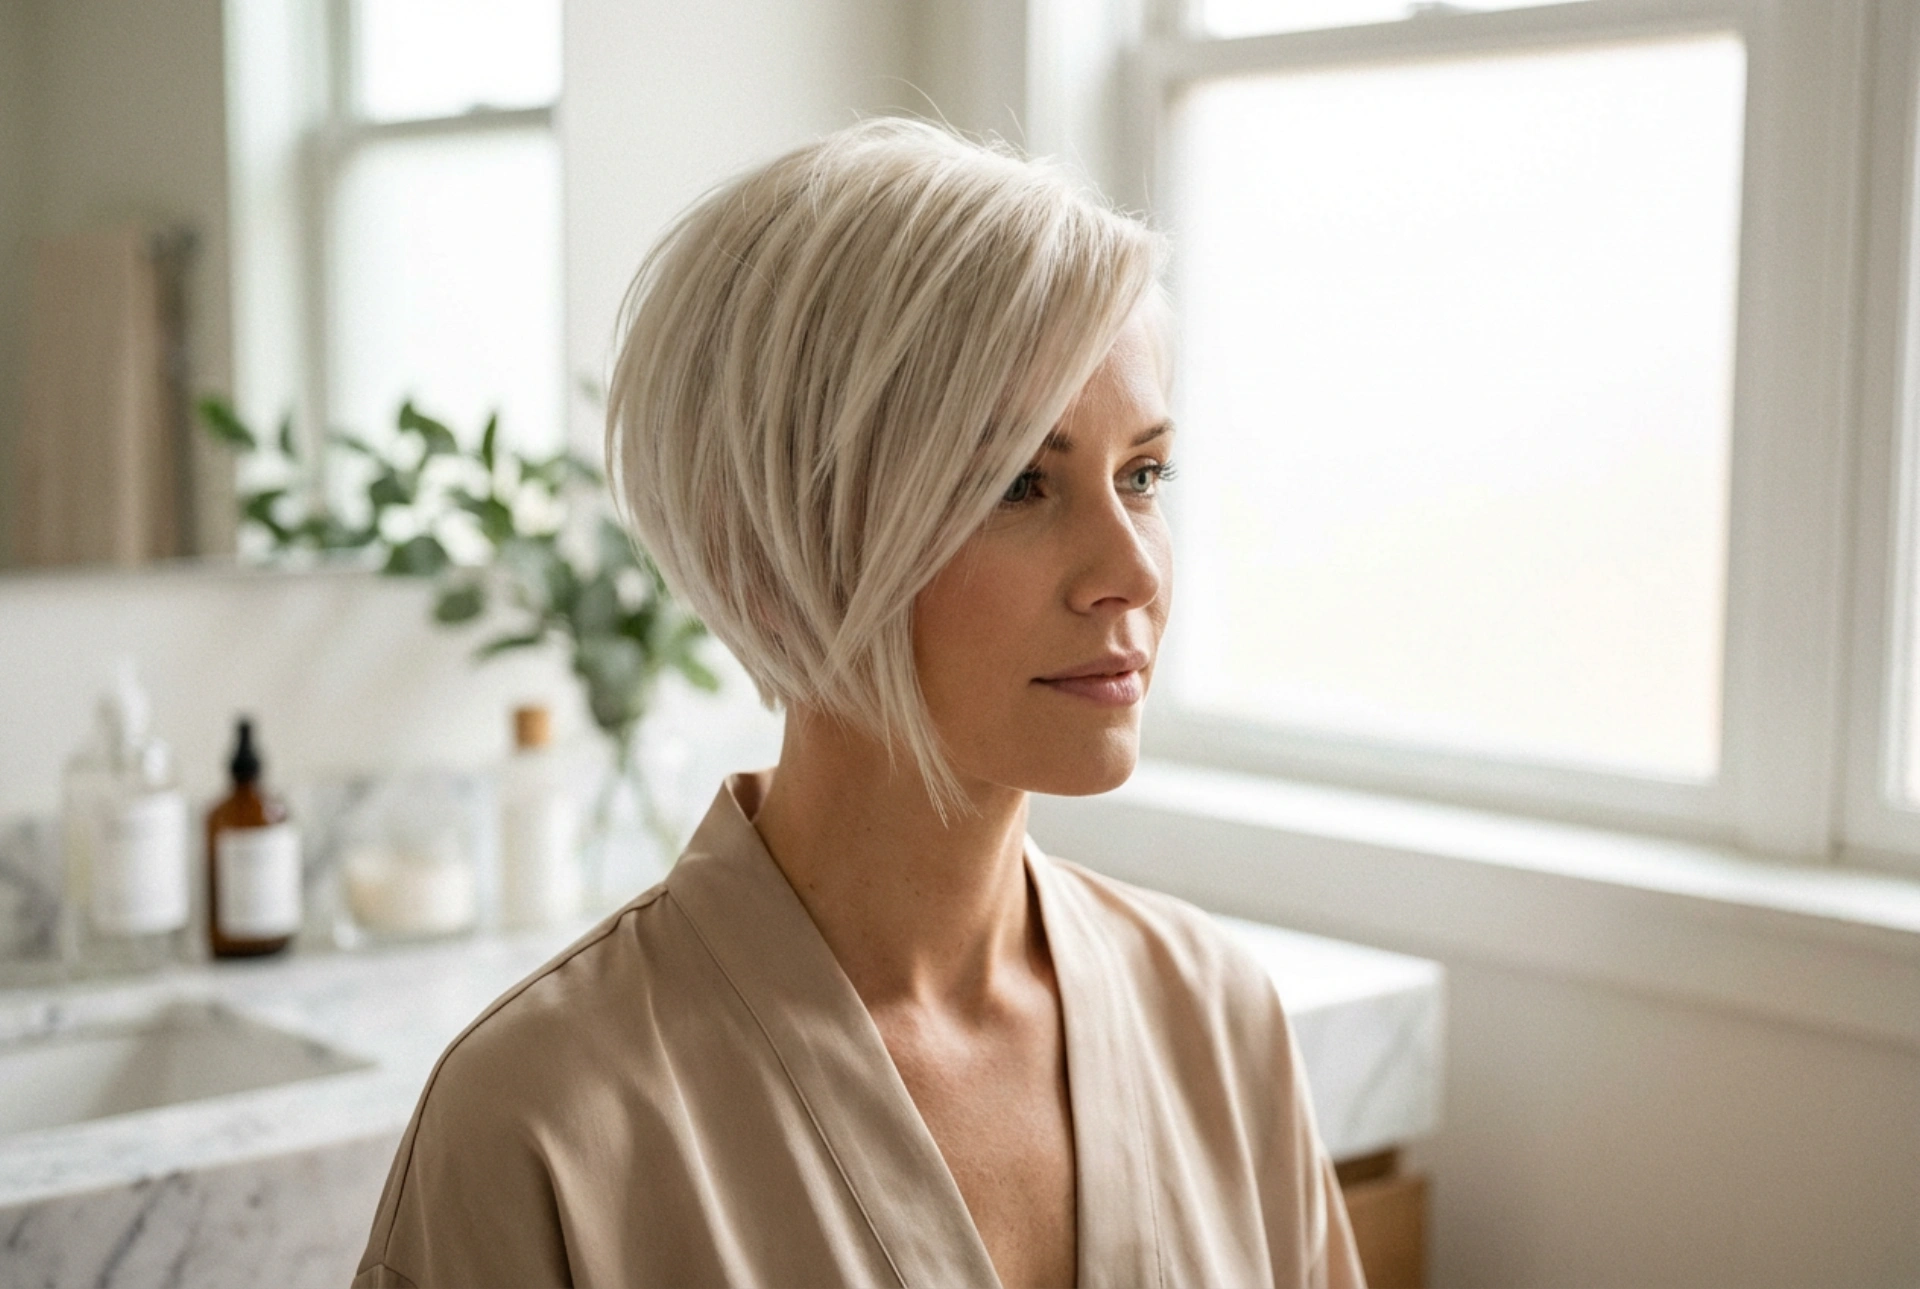
An asymmetrical haircut is defined by having one side significantly longer than the other. This could range from a subtle difference in a bob to a dramatic contrast in an undercut pixie. Before you even pick up a hairdryer, take a moment to understand your specific cut. Identify the longer, heavier side and the shorter, lighter side. The styling goal is to accentuate this difference. The shorter side often serves to frame the face and jawline, while the longer side provides softness, movement, and a point of interest. Understanding this balance is the first step towards a flawless style every time.
Essential Styling Tools and Products
Having the right arsenal of tools and products is crucial for managing an asymmetrical style. You don't need a professional salon's worth of equipment, but a few key items will make a world of difference.
- Heat Protectant Spray: Non-negotiable. Always apply this to damp hair before any heat styling to prevent damage and keep your hair healthy.
- Volumising Mousse: Applied to the roots, this product gives lift and body, which is especially important for the longer section of your hair.
- Hairdryer with a Concentrator Nozzle: The nozzle helps to direct the airflow precisely, giving you more control over the shape and smoothness of your style.
- Round Brush: Perfect for creating volume and a slight curve on the longer side. Choose a size appropriate for your hair length—smaller for shorter layers, larger for longer ones.
- Texturising Pomade, Wax, or Clay: A small amount of one of these products is essential for defining layers, taming flyaways, and adding that piecey, modern texture.
- Light-Hold Hairspray: Use this to set your finished look without making it feel stiff or crunchy. The goal is a style that moves naturally.
A Step-by-Step Guide to Perfect Styling
With your tools ready, you can move on to the styling process. Follow these steps for a polished and balanced result.
Step 1: Preparation is Key
Start with freshly washed, towel-dried hair. It should be damp, not dripping wet. Comb through gently to remove any tangles. Apply a heat protectant spray evenly from roots to ends. Next, work a golf-ball-sized amount of volumising mousse into the roots, concentrating on the crown and the longer side of your haircut.
Step 2: Blow-Drying for Shape and Volume
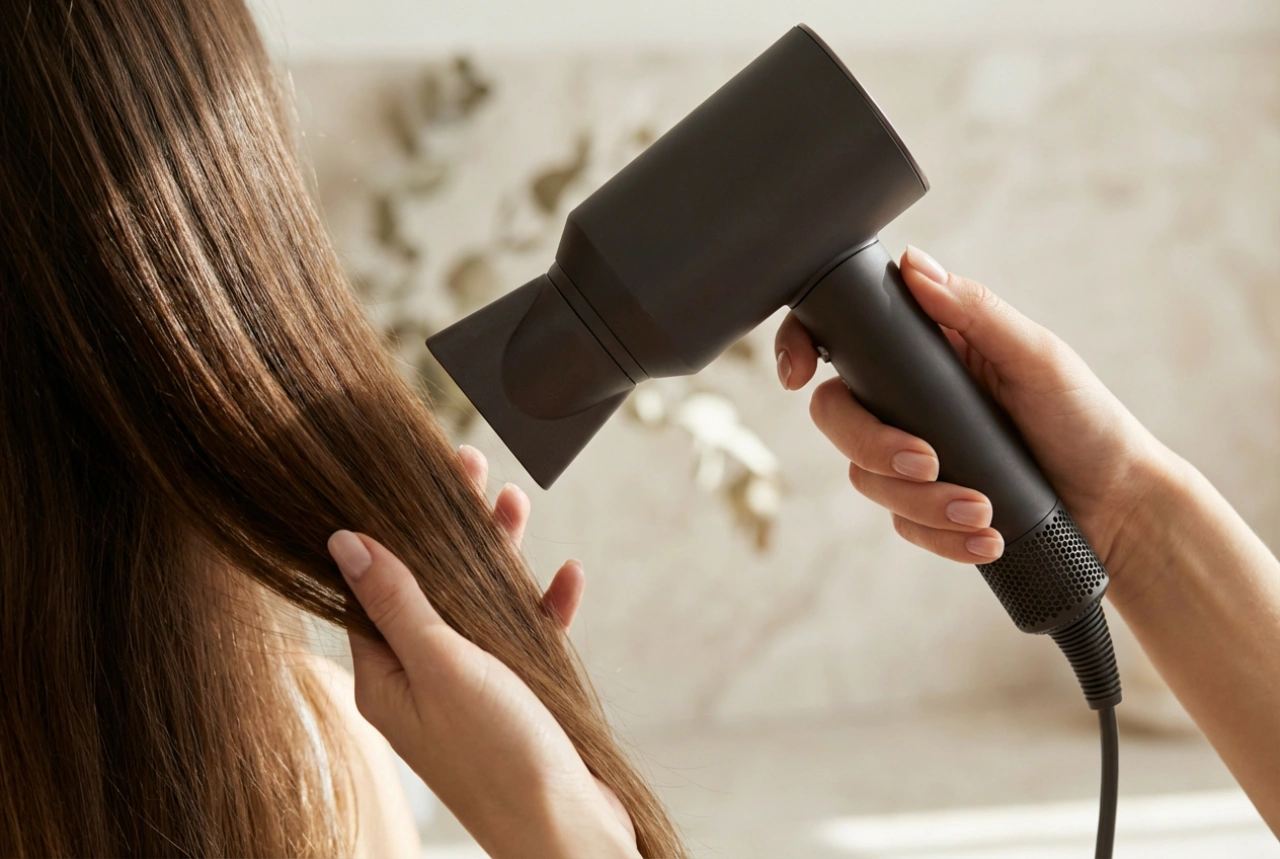
This is where you build the foundation of your style. Attach the concentrator nozzle to your hairdryer.
- The Shorter Side: Begin with the shorter section. Use your fingers or a comb to direct the hair. For a sleek look, blow-dry it downwards and slightly forwards, keeping the nozzle pointed along the hair shaft to encourage smoothness. The aim is to get this side to lie relatively flat and neat against your head.
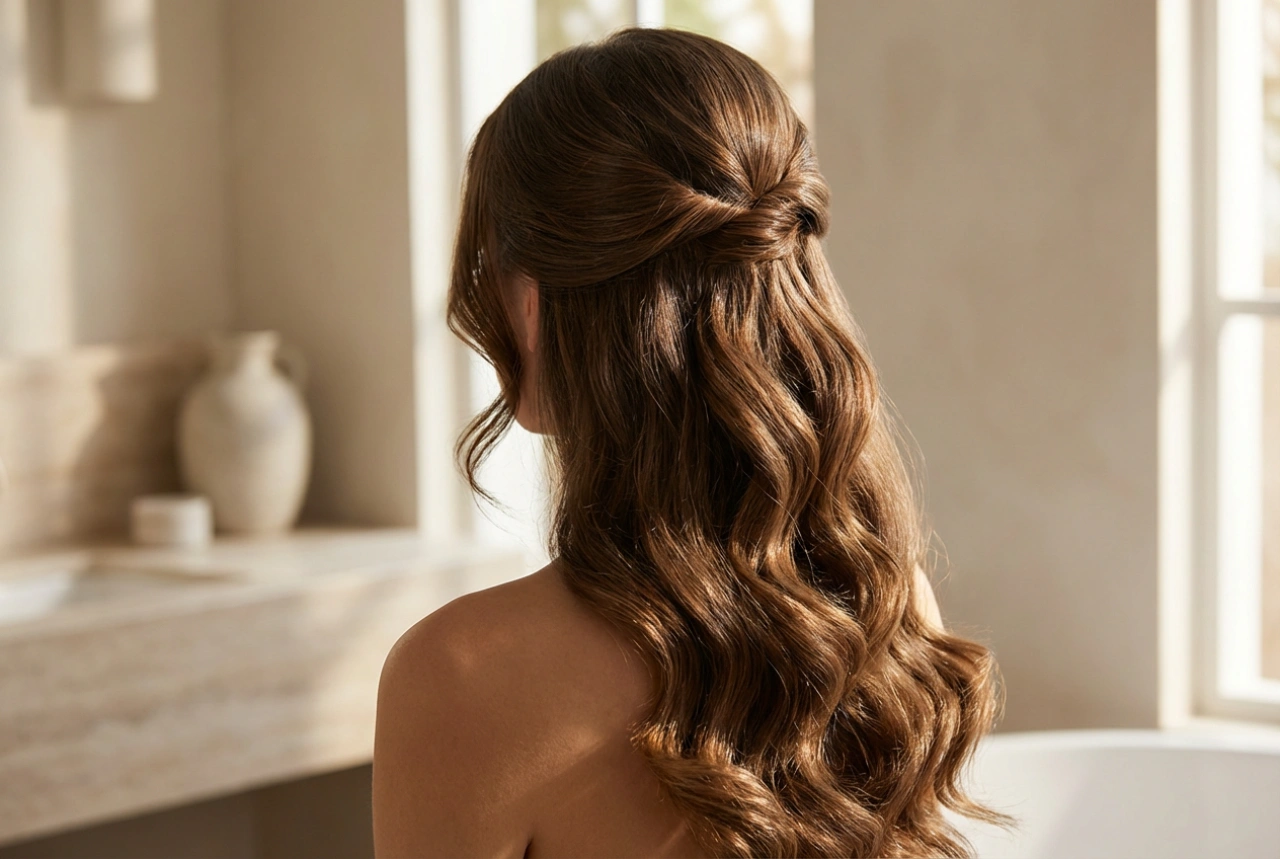
- The Longer Side: Now, turn your attention to the longer side. Using your round brush, take a section of hair, place the brush at the roots underneath the section, and aim the hairdryer's airflow at the brush. Lift the roots as you dry to create volume. Pull the brush through to the ends, slightly turning it inwards to create a soft, face-framing curve. Repeat this process section by section until the entire longer side is dry and voluminous.
Step 3: Adding Definition and Texture
Once your hair is completely dry, it's time to add the finishing touches that make an asymmetrical cut pop. Take a pea-sized amount of texturising pomade or wax and rub it between your palms to warm it up. Lightly run your fingers through the layers of the longer side, twisting small pieces to create separation and movement. Use the remaining product on your fingertips to gently define the ends on the shorter side and tame any unruly hairs. The key is to use a minimal amount of product; you can always add more if needed.
Adapting Your Style for Any Occasion
The versatility of an asymmetrical cut is one of its greatest strengths. With a few minor adjustments, you can tailor your look to suit any event.
The Sleek and Professional Look
For a more formal or office-appropriate style, aim for smoothness. After blow-drying, you might want to run a flat iron over the longer section to make it extra sleek. Use a fine-toothed comb and a touch of anti-frizz serum to ensure everything is perfectly in place. Tucking the shorter side neatly behind your ear can also create a very chic and polished appearance.
The Tousled, Casual Vibe
For a relaxed weekend or casual outing, embrace texture. Be less precise with your blow-dry and use your fingers more than a brush to create a more undone look. Once dry, use a texturising spray or sea salt spray instead of a pomade. Scrunch it into the longer sections to encourage a natural wave and a piecey, lived-in feel.
Common Styling Pitfalls to Avoid
To keep your asymmetrical cut looking its best, be mindful of a few common mistakes.
- Overloading on Product: Using too much mousse, wax, or hairspray will weigh your hair down, making it look greasy and flat. Always start with less than you think you need.
- Ignoring Regular Trims: Asymmetrical styles rely on precise lines. To maintain the shape and prevent the ends from looking untidy, schedule regular trims with your hairstylist.
- Fighting the Asymmetry: Remember, the cut is meant to be uneven. Avoid the temptation to try and create volume on the short side or flatten the long side. The beauty is in the contrast.
- Skipping Heat Protection: Short hair is still susceptible to heat damage. Consistent use of a heat protectant is vital for maintaining the health and shine of your hair.
Mastering the styling of your asymmetrical short haircut is a rewarding process. It's about celebrating the unique structure of the cut and using it to frame your face beautifully. With a little practice, these techniques will become second nature, allowing you to enjoy your chic and versatile hairstyle every single day.