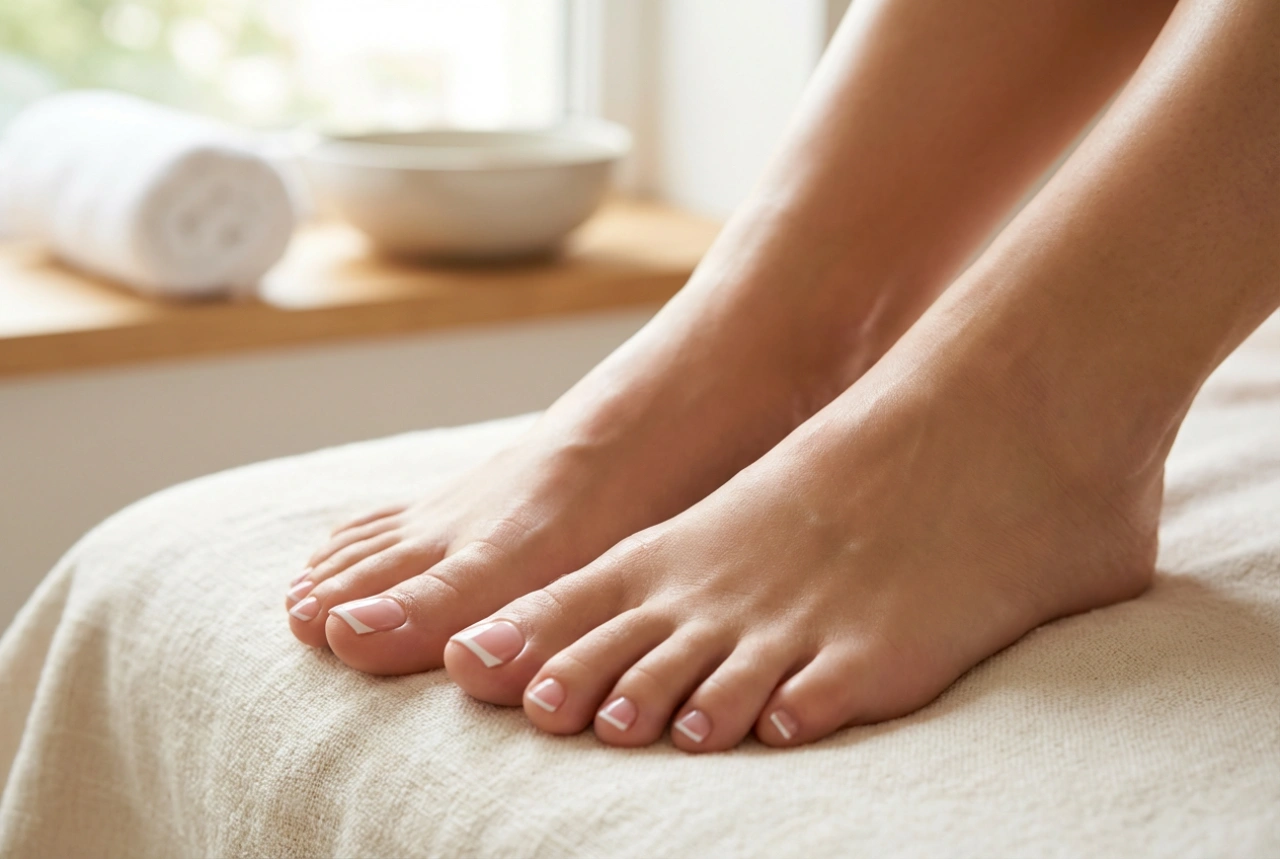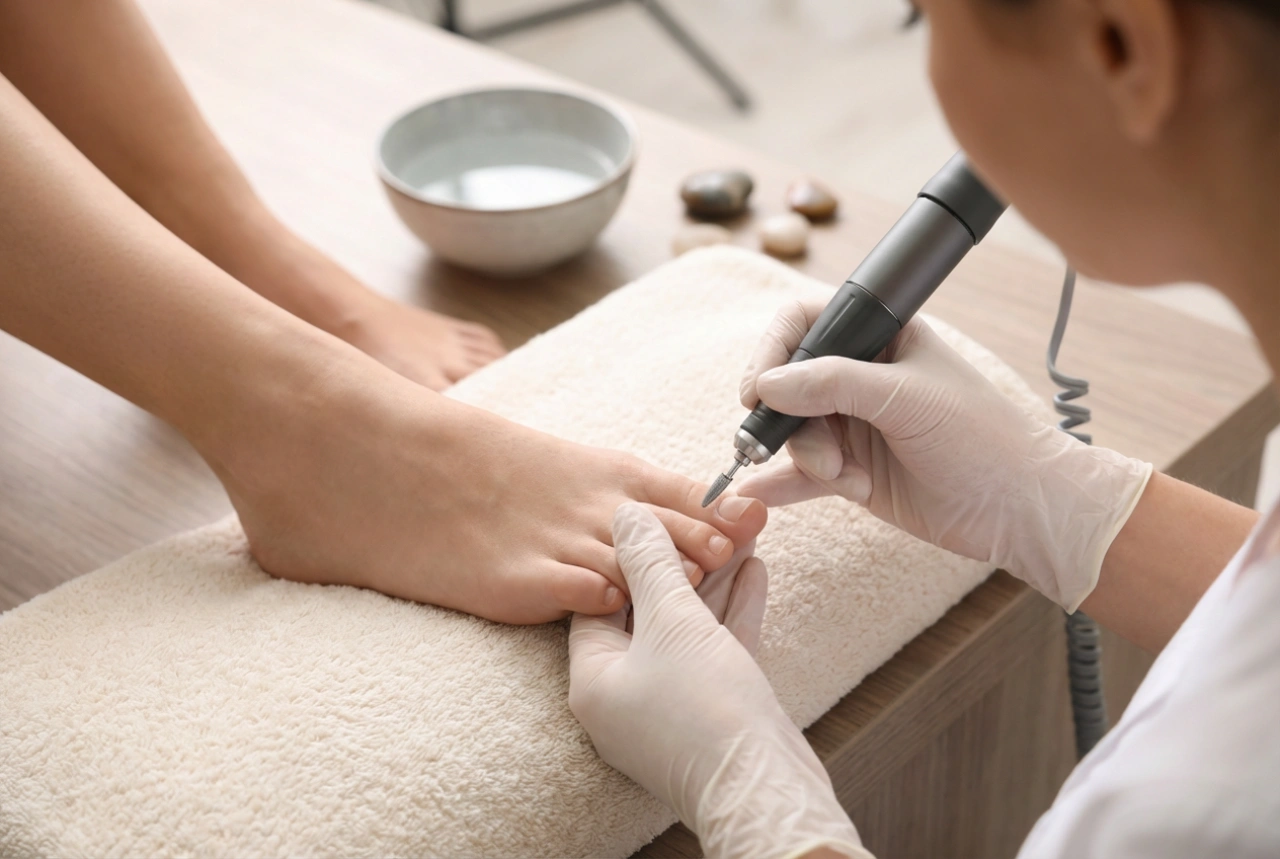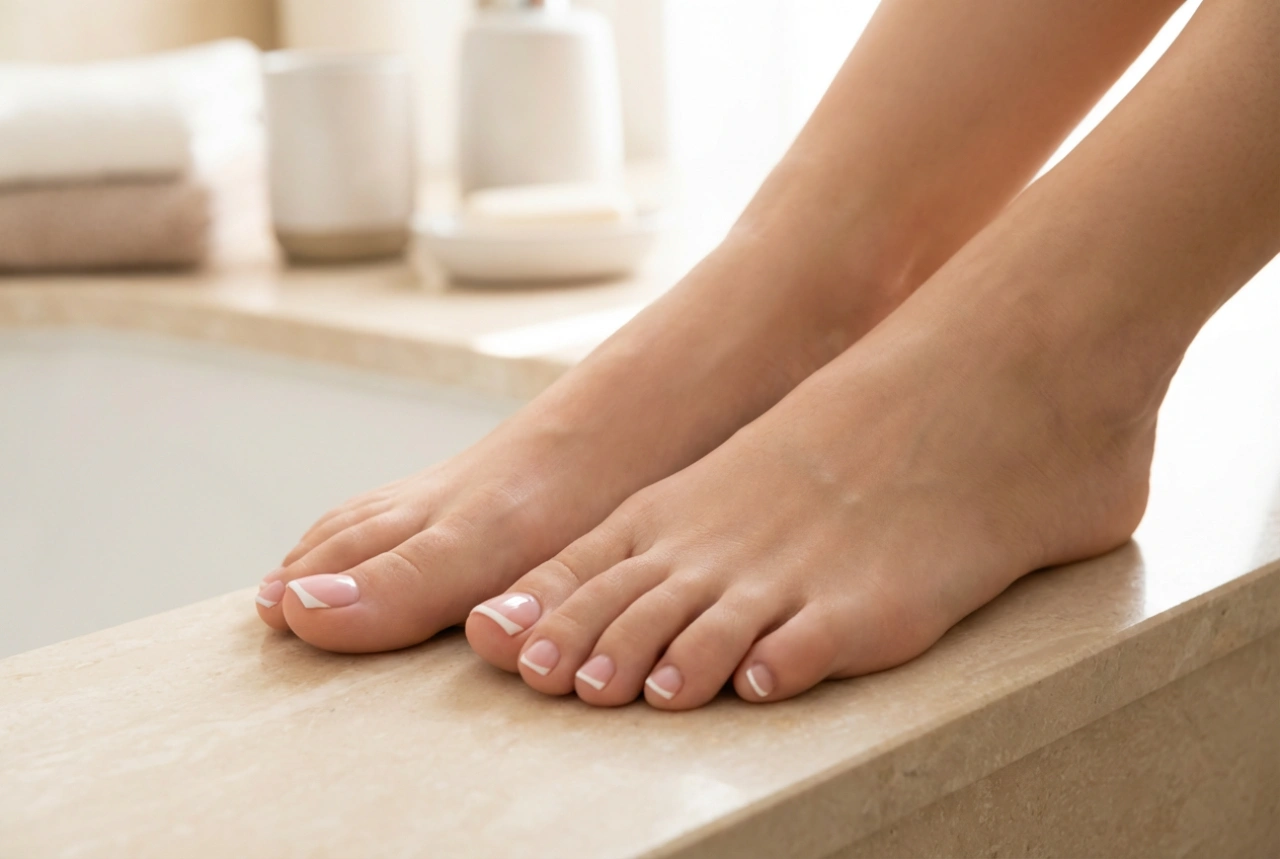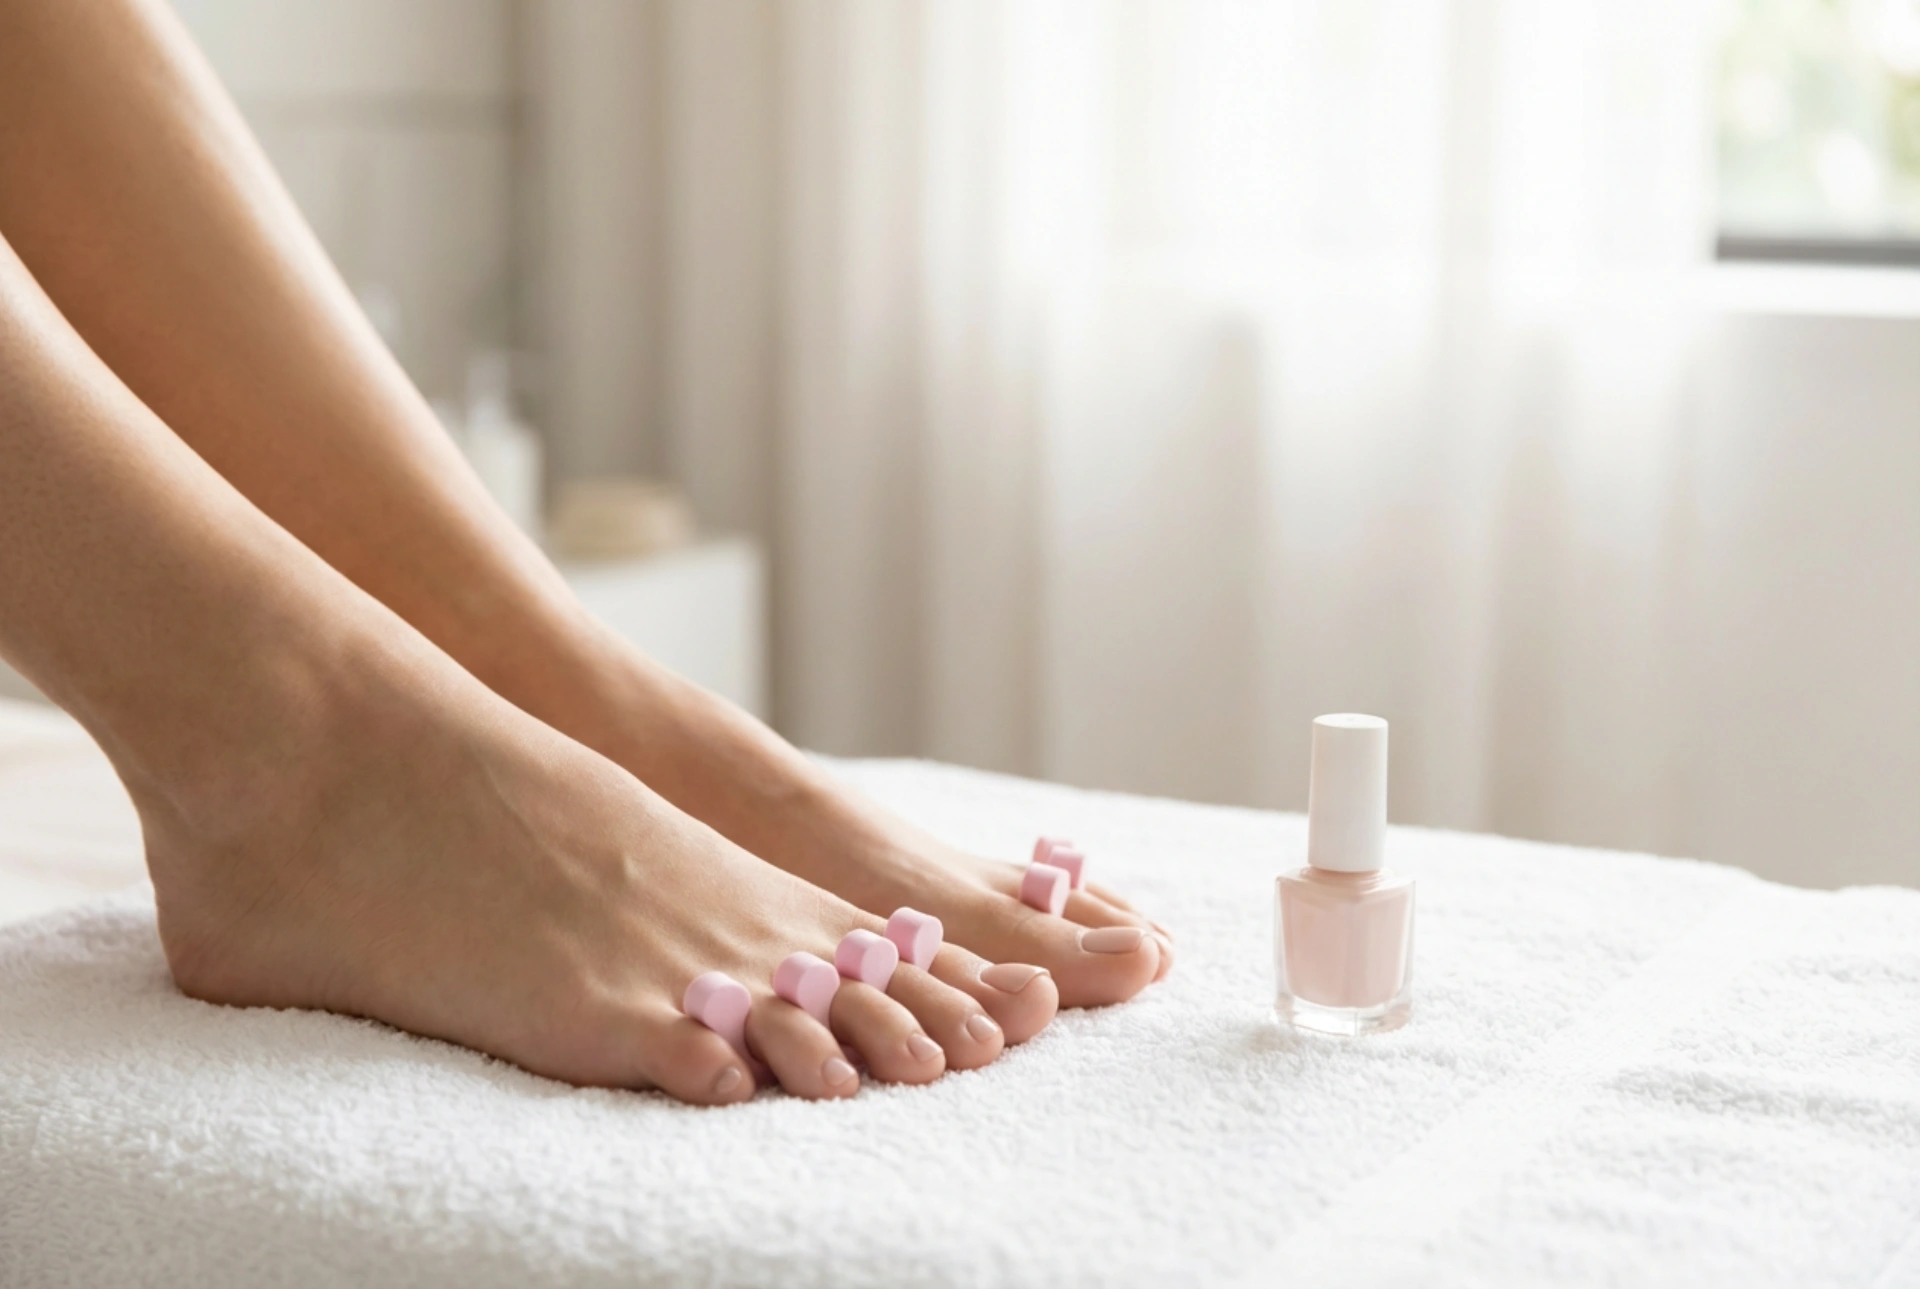


A peaceful home pedicure session is one of the most relaxing self-care rituals we can enjoy. Placing a soft towel under your feet, selecting a beautiful pastel nail polish, and taking the time to care for your toes creates a serene, spa-like experience. While many focus on the perfect shade of polish or the rich texture of foot creams, one simple accessory makes all the difference in achieving a flawless, smudge-free finish: the humble toe separator. Understanding how to select and utilise this tool can transform your routine from a messy chore into a professional-looking treatment.
Why Toe Separators are Essential for Home Pedicures
Toe separators are designed to keep the digits comfortably spaced apart during the preparation and painting phases of a pedicure. Without them, natural foot anatomy means that toes often press against one another, causing freshly applied nail polish to smudge, smear, or transfer onto the skin. This simple tool provides the structural stability needed for precise brush strokes, ensuring that each nail receives an even, clean coat of polish.
Beyond preventing smudges, separators make the application of base coats, colour, and top coats much more comfortable. They hold the toes in an optimal position, allowing you to reach the edges of the nail plate without having to awkwardly stretch your feet. They also prevent skin-on-skin contact, which helps the polish dry faster by encouraging optimal airflow around each toe.
Types of Toe Separators: Materials and Shapes
Not all toe separators are created equal. Depending on your comfort preferences and how often you perform pedicures, different materials offer distinct benefits:
- Classic Foam Separators: These are lightweight, highly flexible, and very affordable. They usually come as a single strip with cut-outs for all five toes. They are soft and adapt easily to different foot shapes, making them an excellent choice for occasional use.
- Silicone and Gel Separators: Made from soft, flexible silicone, these separators are highly durable and hygienic. They can be washed and sanitised repeatedly without losing their shape. Many users find gel separators to be the most comfortable option as they cushion the skin gently.
- Individual Toe Spacers: Unlike the full-foot strips, these are separate pieces placed only between specific toes. They are ideal for individuals who find full-width separators uncomfortable or those who only need assistance with specific overlapping toes.
How to Choose the Right Separators for Your Feet
Selecting the right accessory depends on the natural shape of your feet and your personal comfort threshold. If your toes are naturally close together, a soft gel or foam separator with thinner barriers is ideal to prevent over-stretching the joints. For those with wider spaces or overlapping toes, firmer silicone models can help hold the digits in a stable position without slipping.
It is also important to consider hygiene and longevity. If you prefer a sustainable, zero-waste beauty routine, investing in high-quality silicone separators that can be sterilised is the best approach. On the other hand, if you are hosting a pampering night with friends, disposable foam separators are the most hygienic and practical choice.
Step-by-Step Guide to Using Separators for a Flawless Finish
To get the most out of your home spa session, incorporate toe separators seamlessly into your routine by following these easy steps:
1. Prepare Your Feet
Begin by cleansing your feet, gently removing any old polish, and shaping your nails. Apply a hydrating moisturiser or cuticle oil, ensuring it is fully absorbed. Wipe the surface of the nail plates with a dry cloth to remove any oily residue that might prevent the polish from adhering properly.
2. Position the Separators
Carefully slide the separator between your toes while your feet are resting on a clean, comfortable surface. Ensure the device sits comfortably at the base of the toes, not pressing too tightly against the webbing of the skin. Your toes should feel gently spread, not strained.
3. Apply Your Polish
With your toes securely separated, apply a thin base coat, followed by two coats of your chosen nail colour, and a protective top coat. The spacing allows you to paint right to the edges of the nail without touching the surrounding skin.
4. Allow to Dry and Remove Carefully
Leave the separators in place until the polish is completely dry to the touch. Removing them too early can lead to accidental smudging as the toes relax back into their natural positions. Once dry, gently lift the separators straight upwards to avoid any contact with the nails.
Maintenance and Storage for Long-Lasting Use
To keep your pedicure accessories hygienic and safe for future use, proper maintenance is crucial. After each use, wash silicone or plastic separators with warm, soapy water. Allow them to air dry completely on a clean towel before storing them in a breathable pouch or container. Foam separators can also be rinsed gently, but they should be replaced regularly once they begin to lose their shape or show signs of wear. Proper care ensures that your next home spa day is always clean, safe, and relaxing.