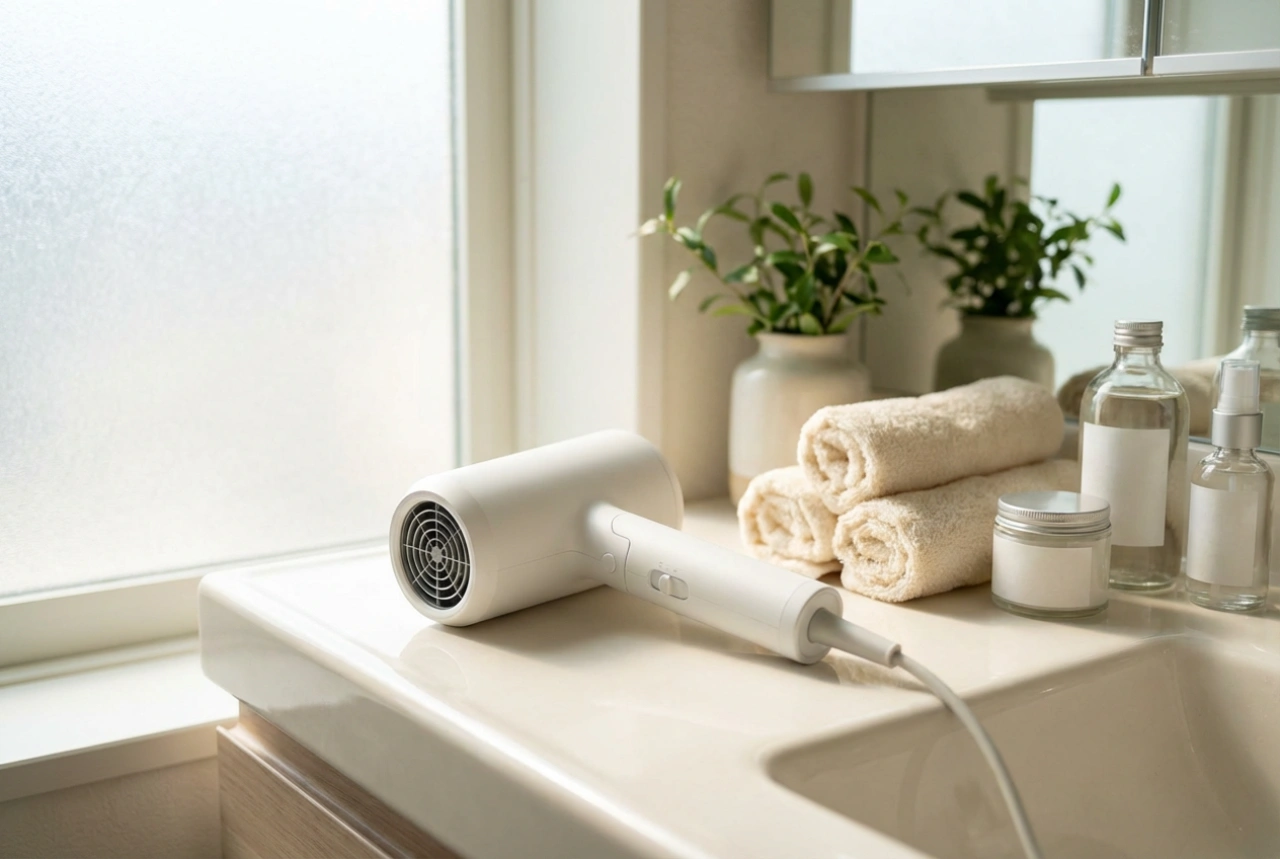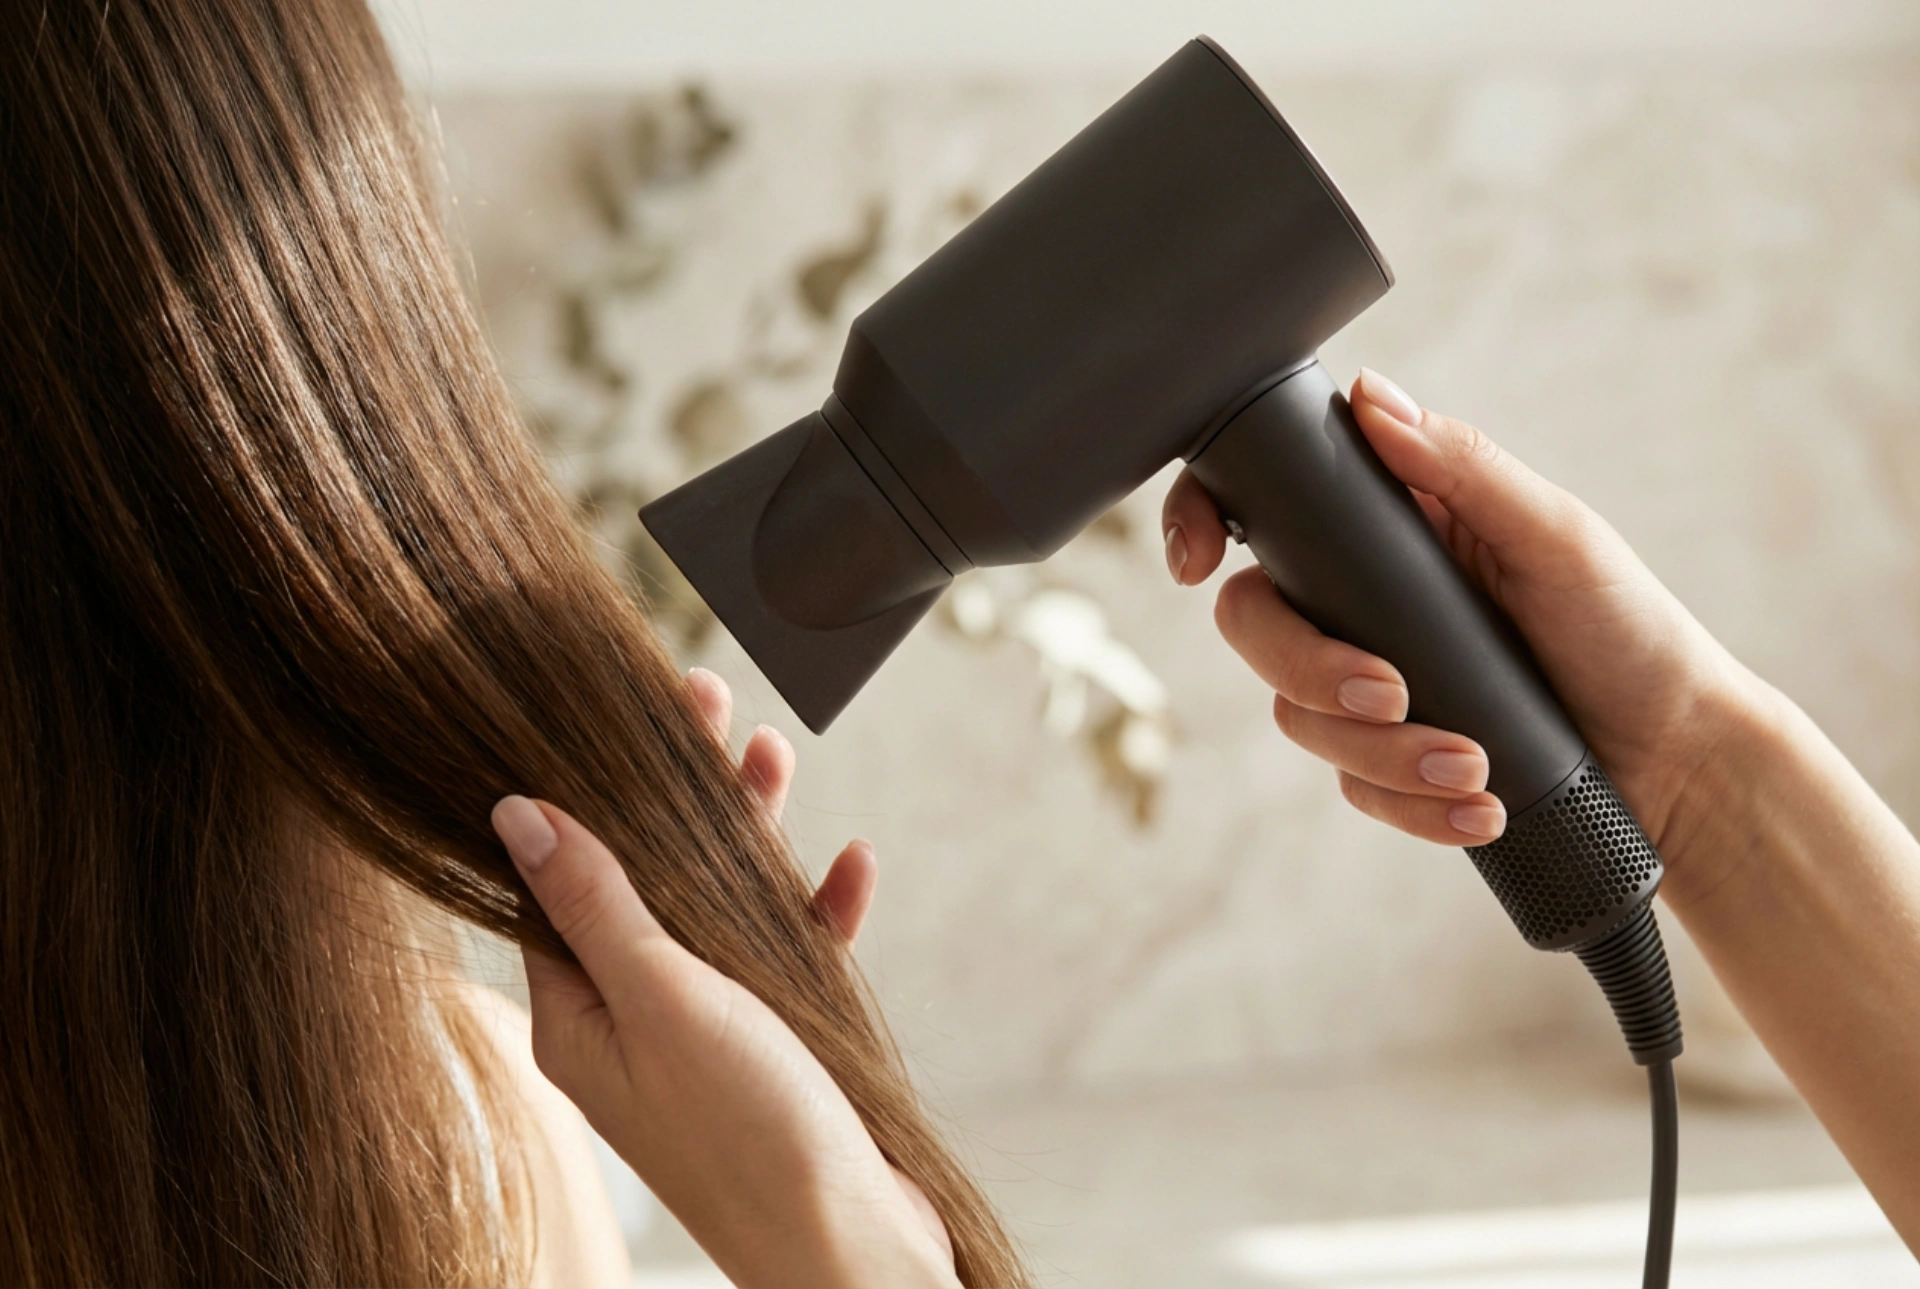


Achieving salon-quality results at home starts with understanding the tools in your hands. When holding a sleek, modern hair dryer, carefully directing the airflow onto a section of lustrous hair under soft, natural light, it becomes clear that gentle care is the key to maintaining hair health. A 2000-watt hair dryer is a powerful styling tool that offers professional efficiency. However, to get the most out of this high-performance appliance without causing heat-induced damage, you must learn how to customise both the temperature and the airflow speed to suit your specific hair type. By taking control of these settings, you can protect your hair's natural barrier and enjoy beautiful styling results every day.
Understanding the Power of a 2000W Dryer
A hair dryer rated at 2000 watts provides a robust combination of heating power and motor strength. This level of power is ideal because it allows for faster drying times, which actually minimises the duration your hair is exposed to heat. However, possessing such power means you must use it responsibly. Many people mistakenly assume that higher power means they should always use the maximum heat and speed settings. In reality, the high wattage is designed to give you greater flexibility and control, allowing you to tailor the drying process to your hair's unique structure and condition.
Selecting the Optimal Temperature for Your Hair Type
Temperature control is the most critical factor in preventing moisture loss and structural damage to the hair shaft. Modern 2000W dryers typically offer three heat levels, each serving a distinct purpose for different hair textures:
- Low Heat: This setting is essential for fine, thin, or fragile hair. Chemically treated, coloured, or dry hair also requires this gentle approach to prevent further cuticle damage. Low heat gently evaporates surface water without stripping the inner moisture core of the hair strand.
- Medium Heat: Best suited for normal, healthy hair of medium thickness. It provides a balanced rate of drying that is efficient yet safe for regular styling. It is also the ideal setting for refining your style once the excess moisture has been removed.
- High Heat: This setting should be reserved for thick, coarse, or highly textured hair. Coarser hair strands have a thicker cuticle layer that requires more thermal energy to reshape and dry. Even with thick hair, it is advisable to use high heat only during the initial drying phase and lower it as the hair dries.
Additionally, the cool shot button is an indispensable feature of any high-quality dryer. Cool air helps to seal the hair cuticle, lock the style in place, and impart a natural, healthy shine. Always finish your styling routine with a blast of cool air to ensure your hair remains smooth and resistant to frizz throughout the day.
Adjusting the Airflow Speed
While temperature dictates the level of heat, the speed settings control the volume and force of the air leaving the nozzle. Properly balancing speed with temperature is crucial for styling precision and hair protection:
- High Speed: Excellent for removing excess water quickly immediately after washing. This setting is particularly useful for thick or long hair, helping to reduce overall styling time. However, using high speed on fine or curly hair can lead to tangles, frizz, and disrupted curl patterns.
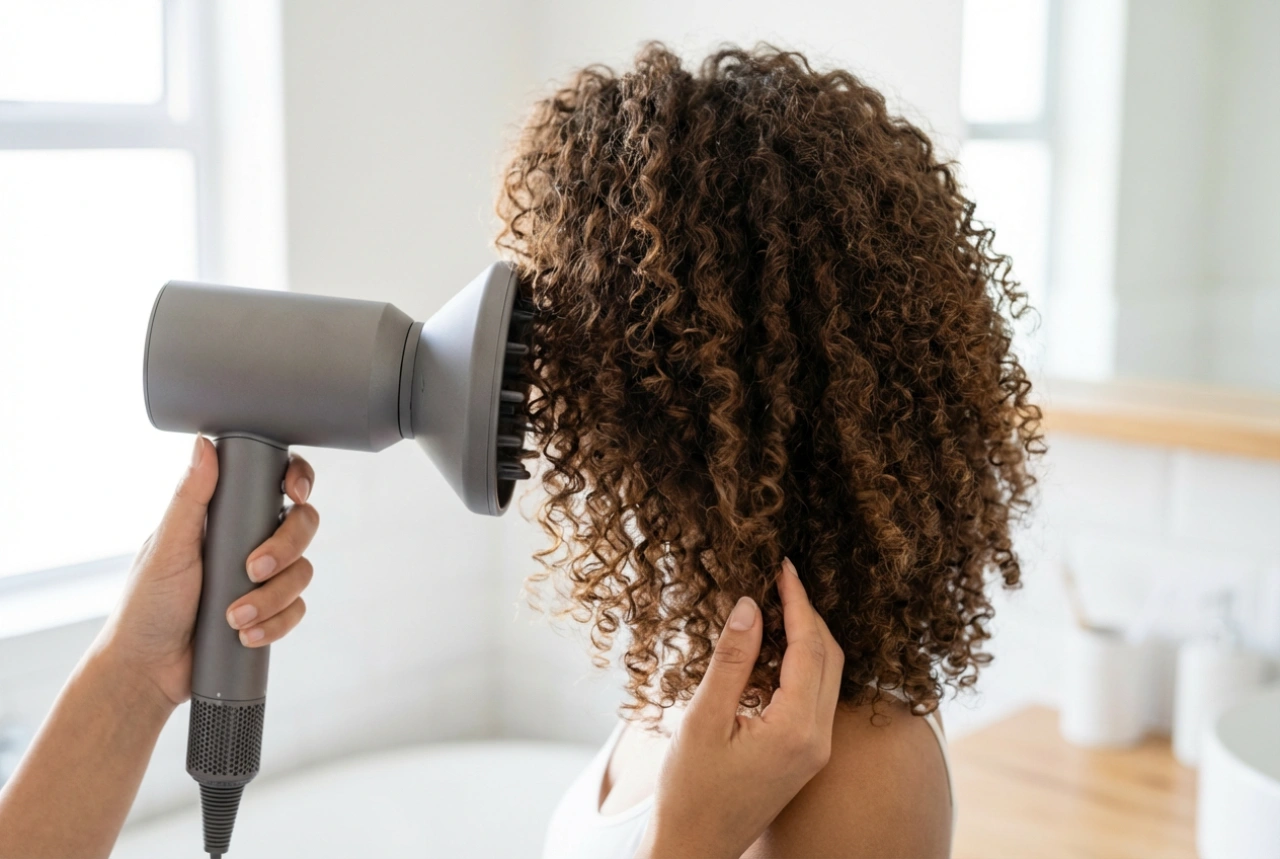
- Low Speed: This setting offers the control needed for detailed styling, lifting the roots, and shaping specific sections with a brush. It is also the preferred setting for drying curly or wavy hair when using a diffuser attachment, as it gently circulates air around the curls without blasting them out of shape.
Step-by-Step Guide to Safe and Efficient Drying
To ensure your hair remains healthy, shiny, and strong, integrate these simple yet effective steps into your blow-drying routine:
1. Pre-Drying Preparation
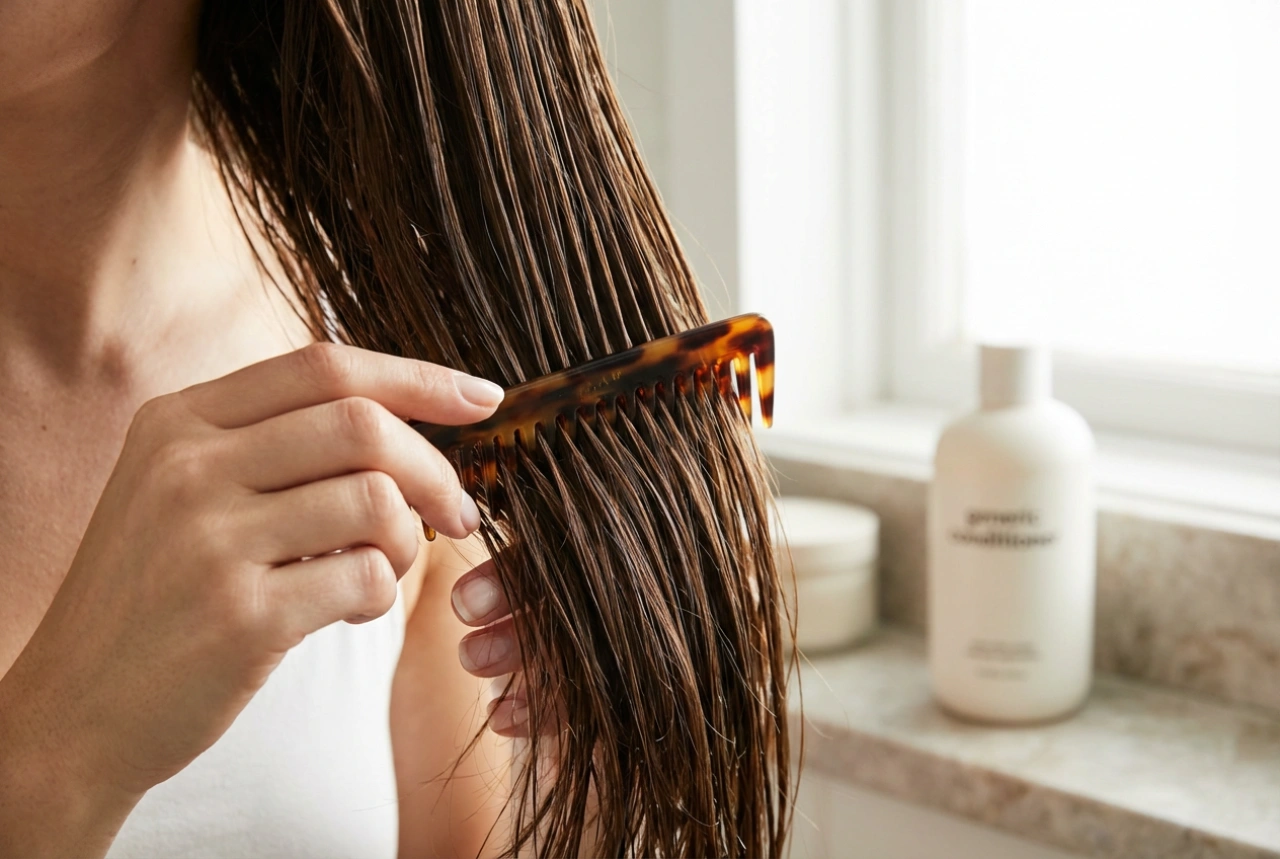
Never blow-dry soaking wet hair. Gently squeeze out excess water with a soft microfibre towel first. This simple step significantly reduces the amount of time your hair is exposed to the dryer's airflow, protecting its natural structure.
2. Maintain the Correct Distance
Always keep the dryer nozzle at least 15 to 20 centimetres away from your hair. Holding the tool too close can overheat the hair shaft, leading to bubble hair deformity and surface damage, regardless of the setting used.
3. Section Your Hair
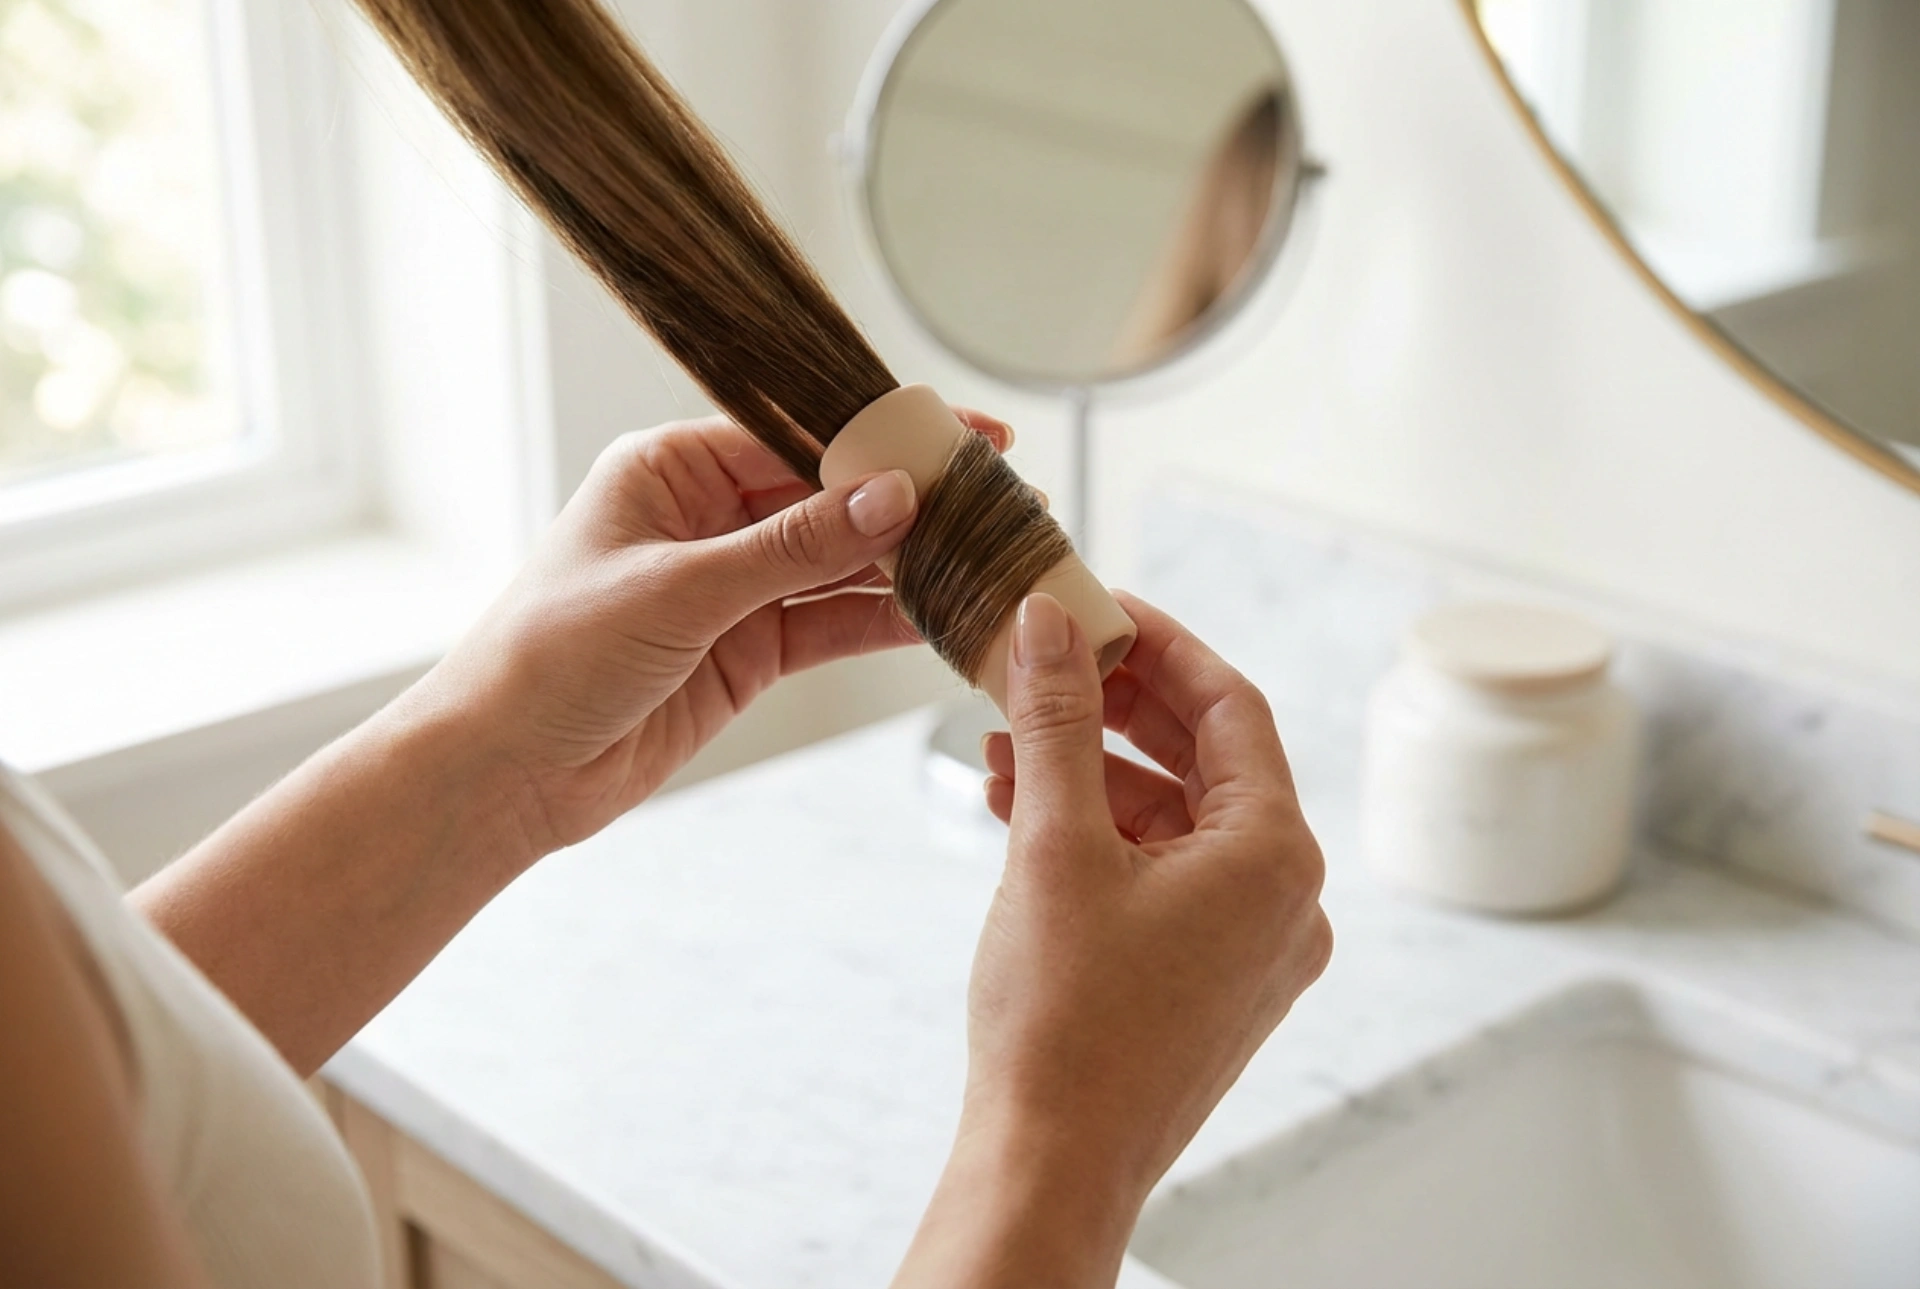
Divide your hair into manageable sections. This method allows you to focus the airflow precisely, ensuring even drying from root to tip. It also prevents you from repeatedly heating the same areas, which can cause localised dry spots and brittleness.
4. Utilise Attachments Wisely
Always use the concentrator nozzle for smooth, straight styles, as it directs the air downwards along the hair cuticle, reducing frizz. For curly textures, use a diffuser to distribute the air evenly, preserving the natural bounce and definition of your curls.
By understanding how to manipulate the temperature and airflow speed of your 2000W hair dryer, you transform a standard grooming routine into a customised care ritual. Respecting your hair type and adjusting your tools accordingly ensures that your locks remain vibrant, strong, and beautiful day after day.