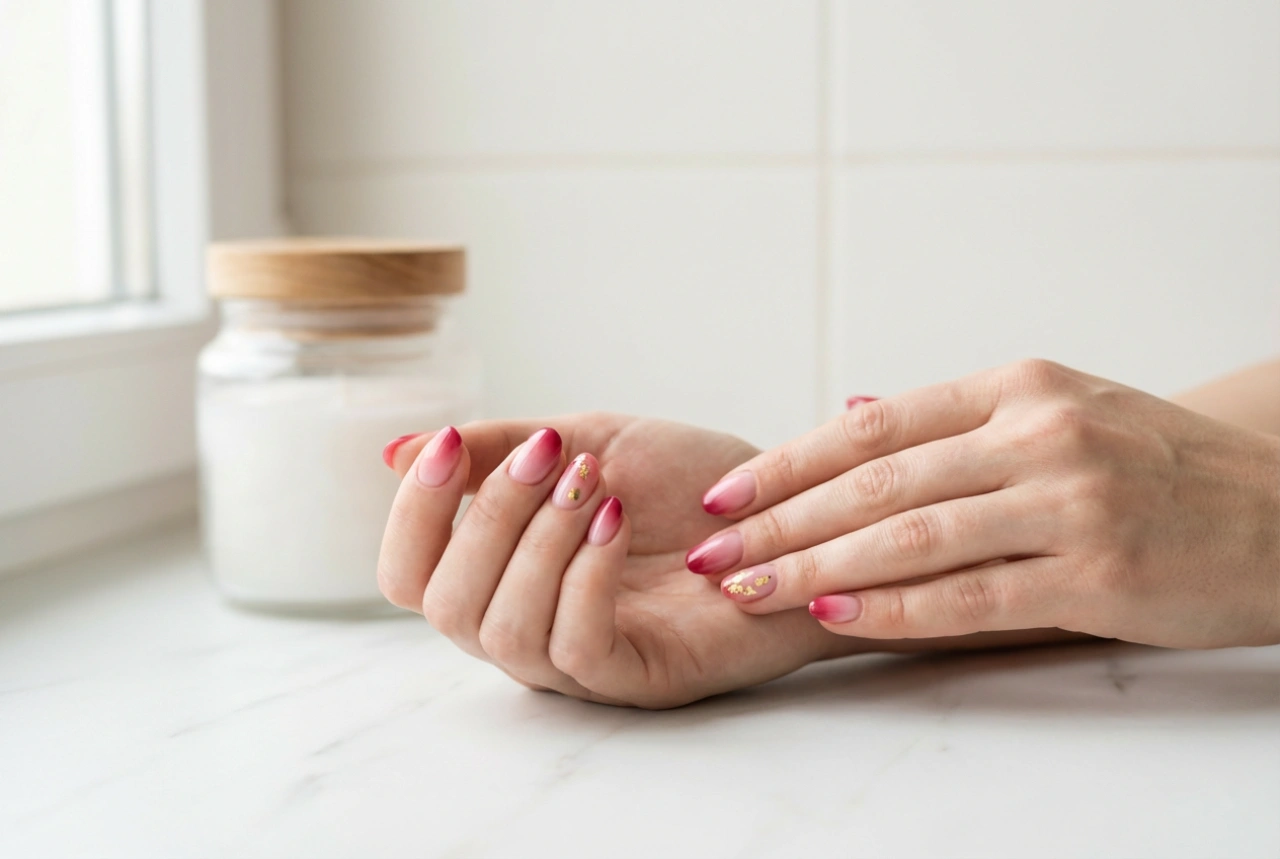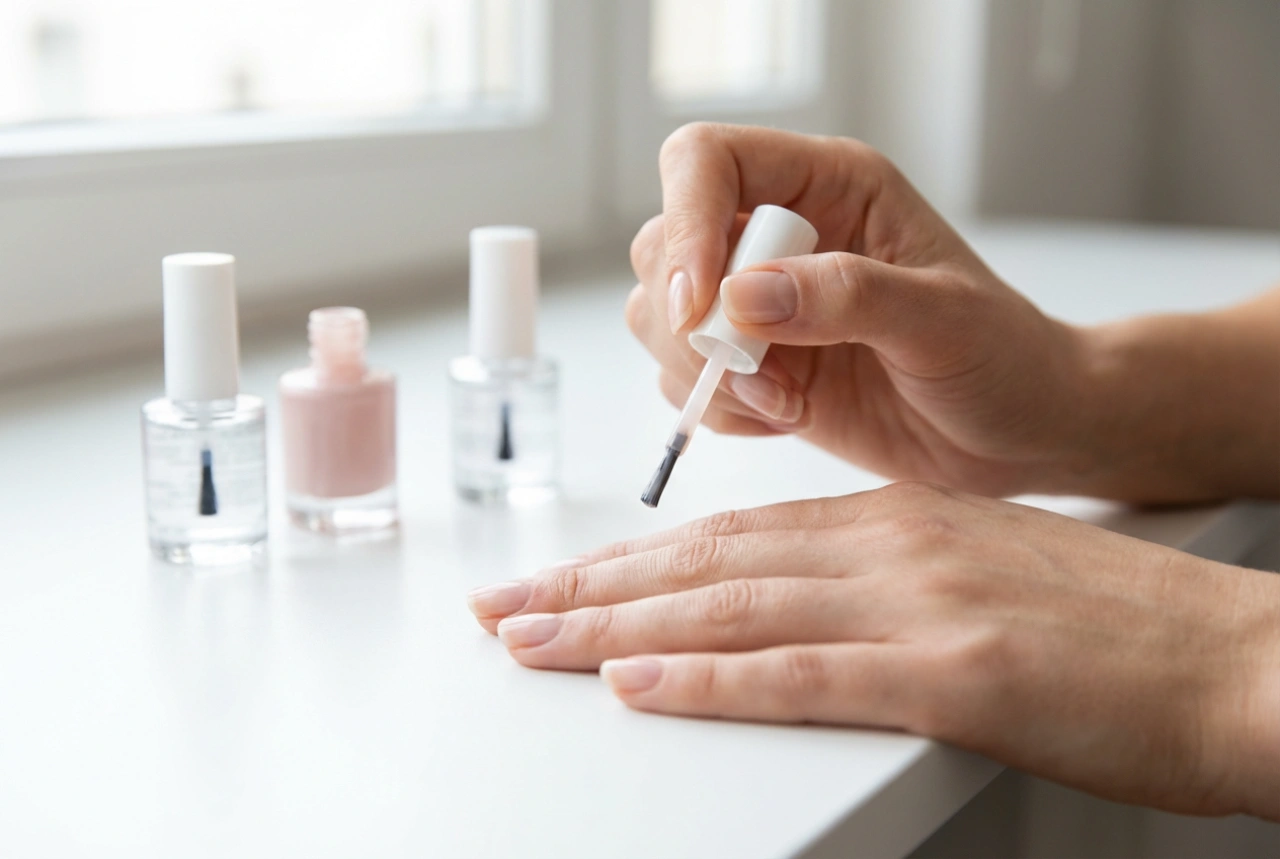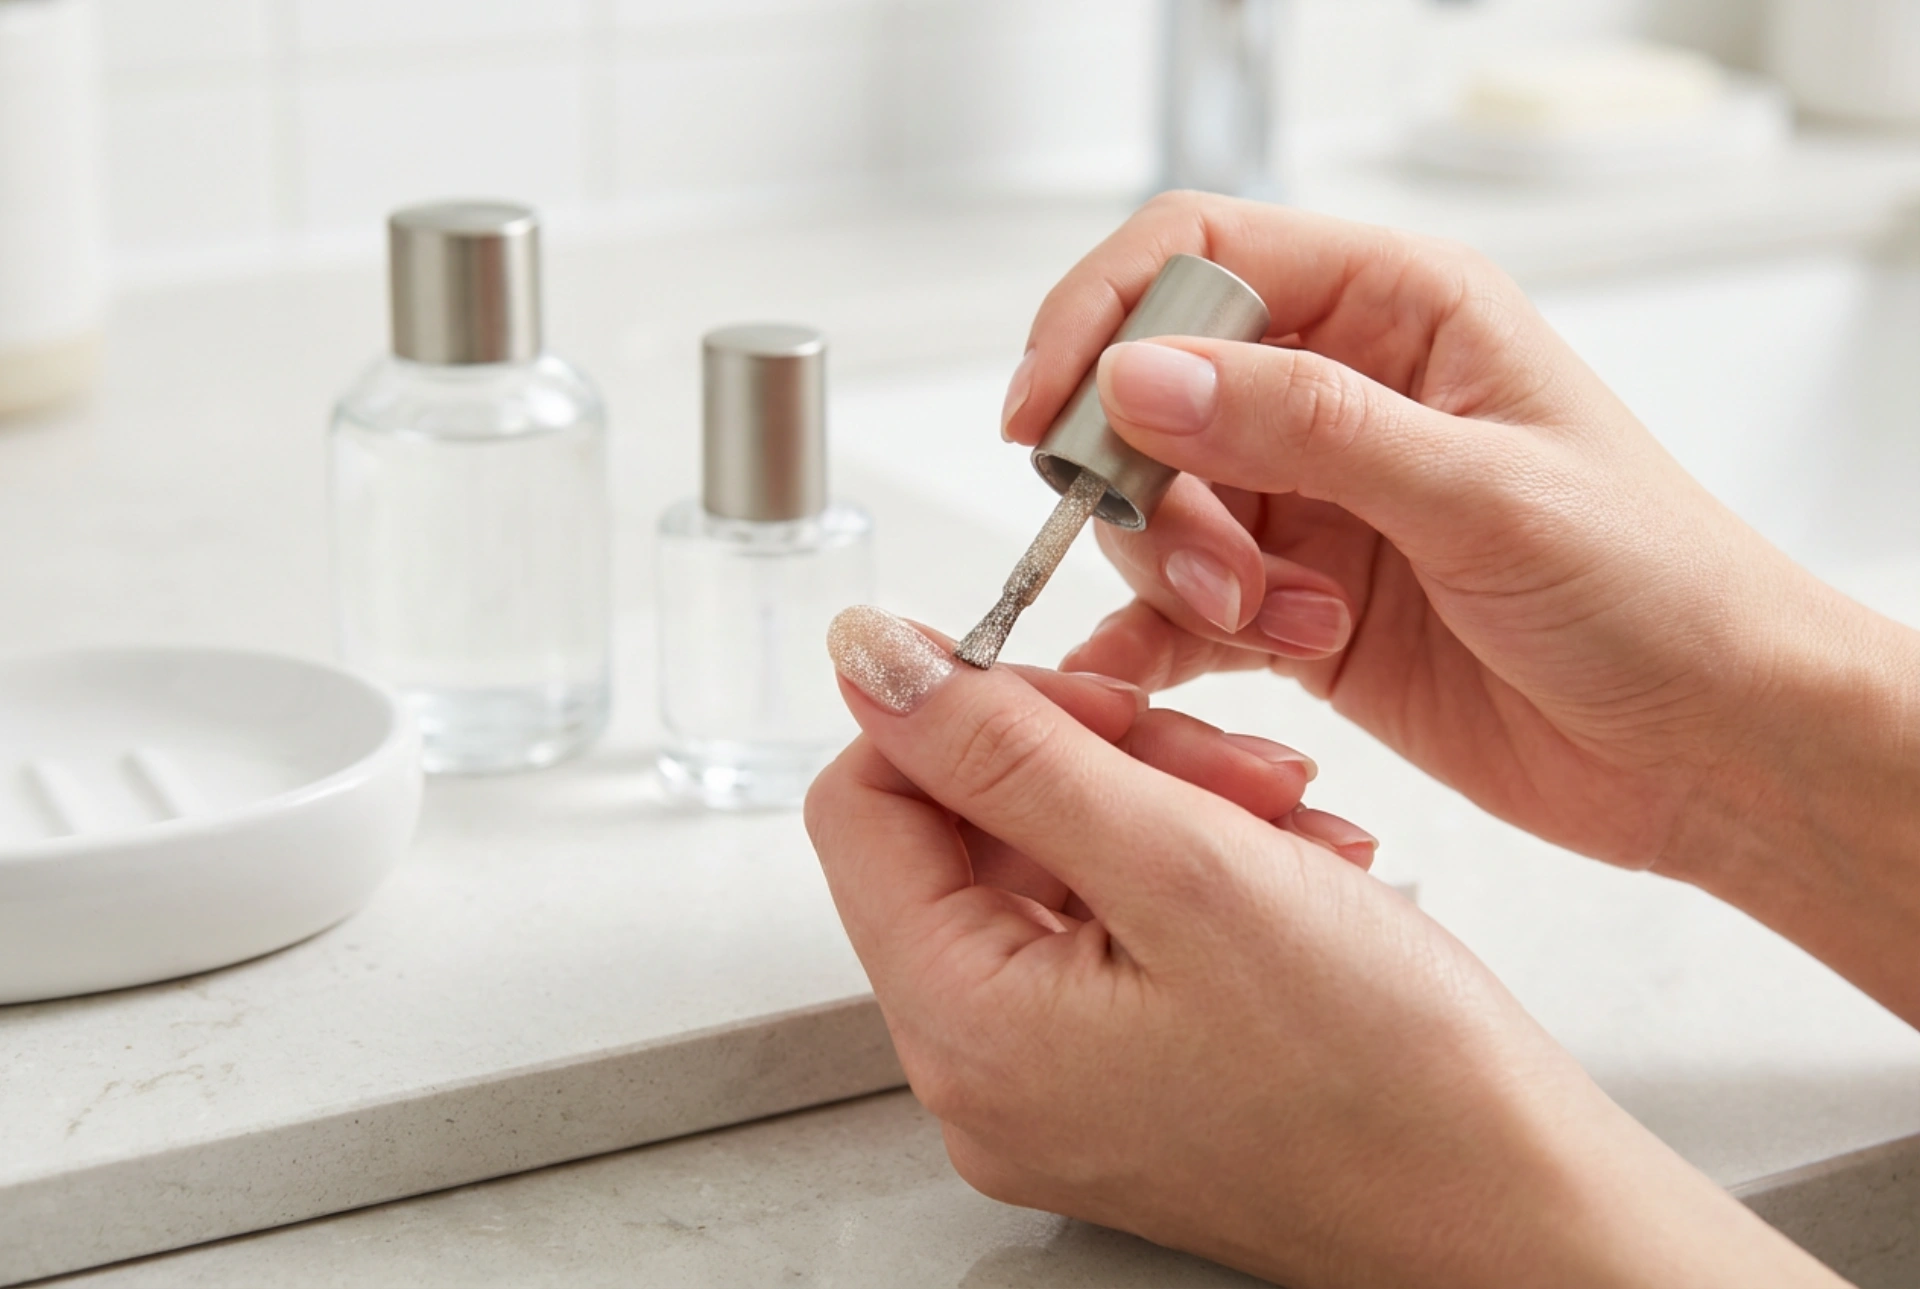


Shimmering glitter nail polish adds a touch of sophistication and festive brilliance to any manicure. Capturing the soft, natural light with every movement, a well-applied glitter polish creates a stunning, luminous effect that elevates your overall look. However, achieving a completely smooth, professional finish with textured particles can sometimes be challenging. This guide explores the best practical methods to apply shimmering polishes at home, ensuring both maximum sparkle and a touchably sleek surface without the need for professional salon interventions.
Preparing the Nails for Glitter Application
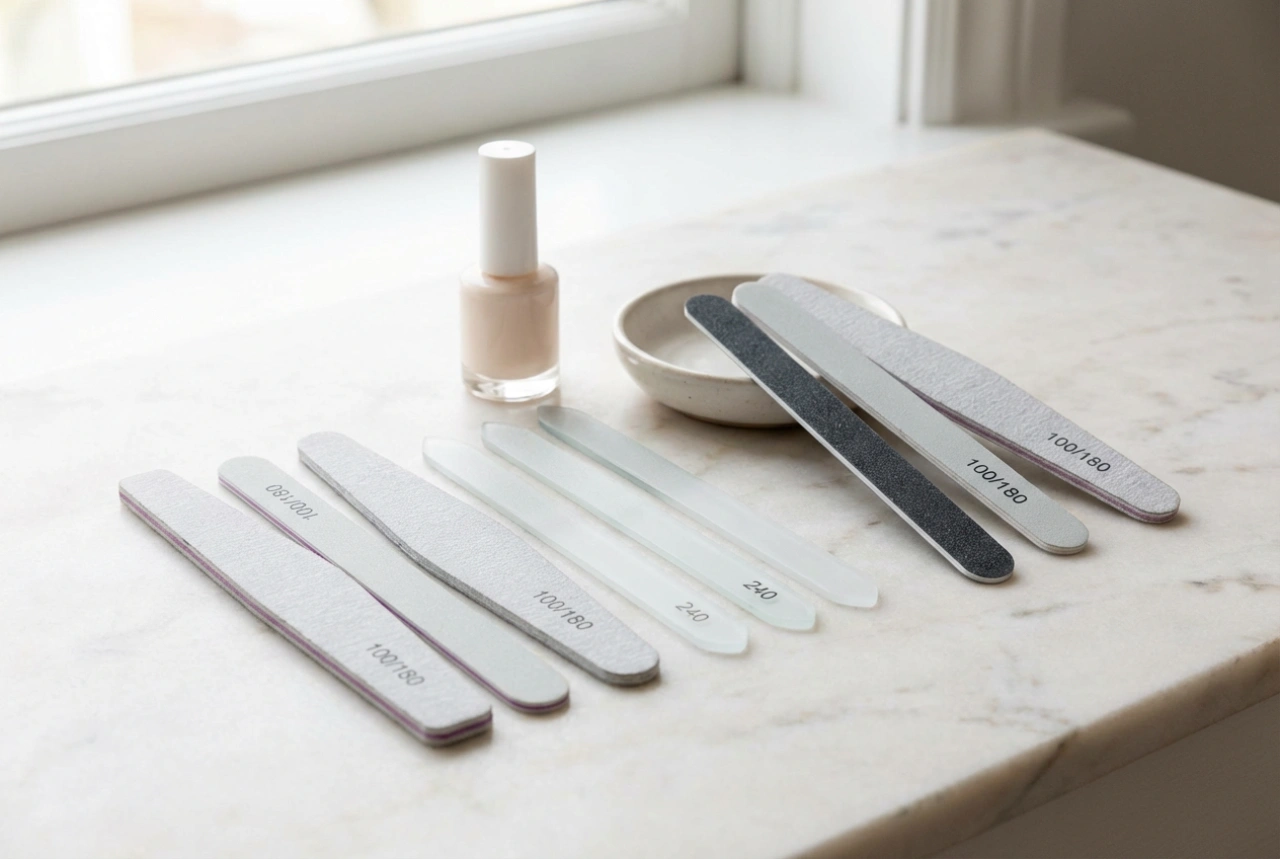
Before introducing any glitter to the nail plate, proper preparation is essential. Any unevenness on the natural nail will be magnified by light-reflecting particles, making thorough prep the foundation of a successful manicure. Start by shaping the nails with a gentle file, moving in one direction to prevent splitting, and carefully pushing back the cuticles. Buffing the nail surface lightly helps to remove any ridges and creates an even, smooth canvas.
Once the nails are shaped, it is crucial to cleanse the nail plate. Use a lint-free wipe with a gentle dehydrating solution to remove any natural oils or dust. Following this, a high-quality base coat is non-negotiable. The base coat protects the natural nail from potential staining, which is particularly common with highly pigmented or dark glitter polishes. Additionally, it provides a slightly tacky surface that helps the decorative particles adhere evenly, preventing them from bunching up in certain areas.
Effective Application Techniques for Even Coverage
Applying glitter lacquer requires a slightly different approach than standard cream polishes. If you use the brush directly from the bottle in traditional long strokes, you may find that the glitter distributes unevenly, leaving bare patches alongside dense clusters. To avoid this, try the dabbing technique. Instead of sweeping the brush, gently pat the polish onto the areas of the nail that require more coverage. This allows you to place the particles precisely where they are needed.
For an intense, full-coverage glitter look, the makeup sponge method is highly effective and widely used. To try this at home, apply a protective barrier, such as a rich cream or a peel-off guard, around the skin of the cuticle. Next, paint a small amount of the glitter polish directly onto a clean cosmetic sponge. The porous sponge naturally absorbs the excess liquid base while keeping the glitter particles on its surface. Gently dab the sponge onto your prepped nail. This transfers a dense, rich layer of sparkle quickly and evenly, reducing the number of coats required and keeping the layers thin.
Securing a Smooth and Glossy Finish
One of the most common challenges with textured polishes is their rough, gritty surface once dry. Glitter naturally dries to an uneven texture, which can catch on delicate fabrics and easily lose its lustre. To achieve a glassy, professional-looking finish, the secret lies in strategic top-coating. Once your glitter layer is completely dry, apply a dedicated, plumping top coat. These formulas are slightly thicker than standard top coats and are designed to fill in the microscopic gaps between the glitter particles.
In many cases, a double layer of top coat is the key to achieving a perfectly smooth surface. Apply the first layer of top coat and allow it to dry thoroughly. This initial layer acts as a filler, smoothing out the physical texture. Once dry to the touch, apply a second, thinner layer of top coat to seal the manicure and add a brilliant, mirror-like shine. This process not only makes the nails smooth to the touch but also locks the glitter in place, significantly increasing the longevity of your manicure.
Safe Maintenance and Gentle Removal Tips
Glitter manicures are remarkably durable, but they still require a little maintenance to keep their brilliant shine over time. To protect your nails and keep them looking fresh, apply a thin layer of standard top coat every few days. This helps to restore any lost shine and adds an extra layer of protection against daily wear and tear, especially on the tips of the nails.
When it comes to removing glitter polish, patience is key. Avoid scraping, peeling, or scrubbing the polish, as these actions can easily strip away the top layers of your natural nail plate, leading to thinning and peeling. Instead, opt for the gentle soaking method. Soak small pieces of cotton wool in a gentle nail polish remover, place them directly over each nail, and wrap each fingertip in a small piece of aluminium foil to keep the warmth in. Leave them undisturbed for roughly ten minutes. When you slide the foil wraps off, the glitter particles will slide away easily with the cotton wool, leaving your natural nails clean, healthy, and undamaged.