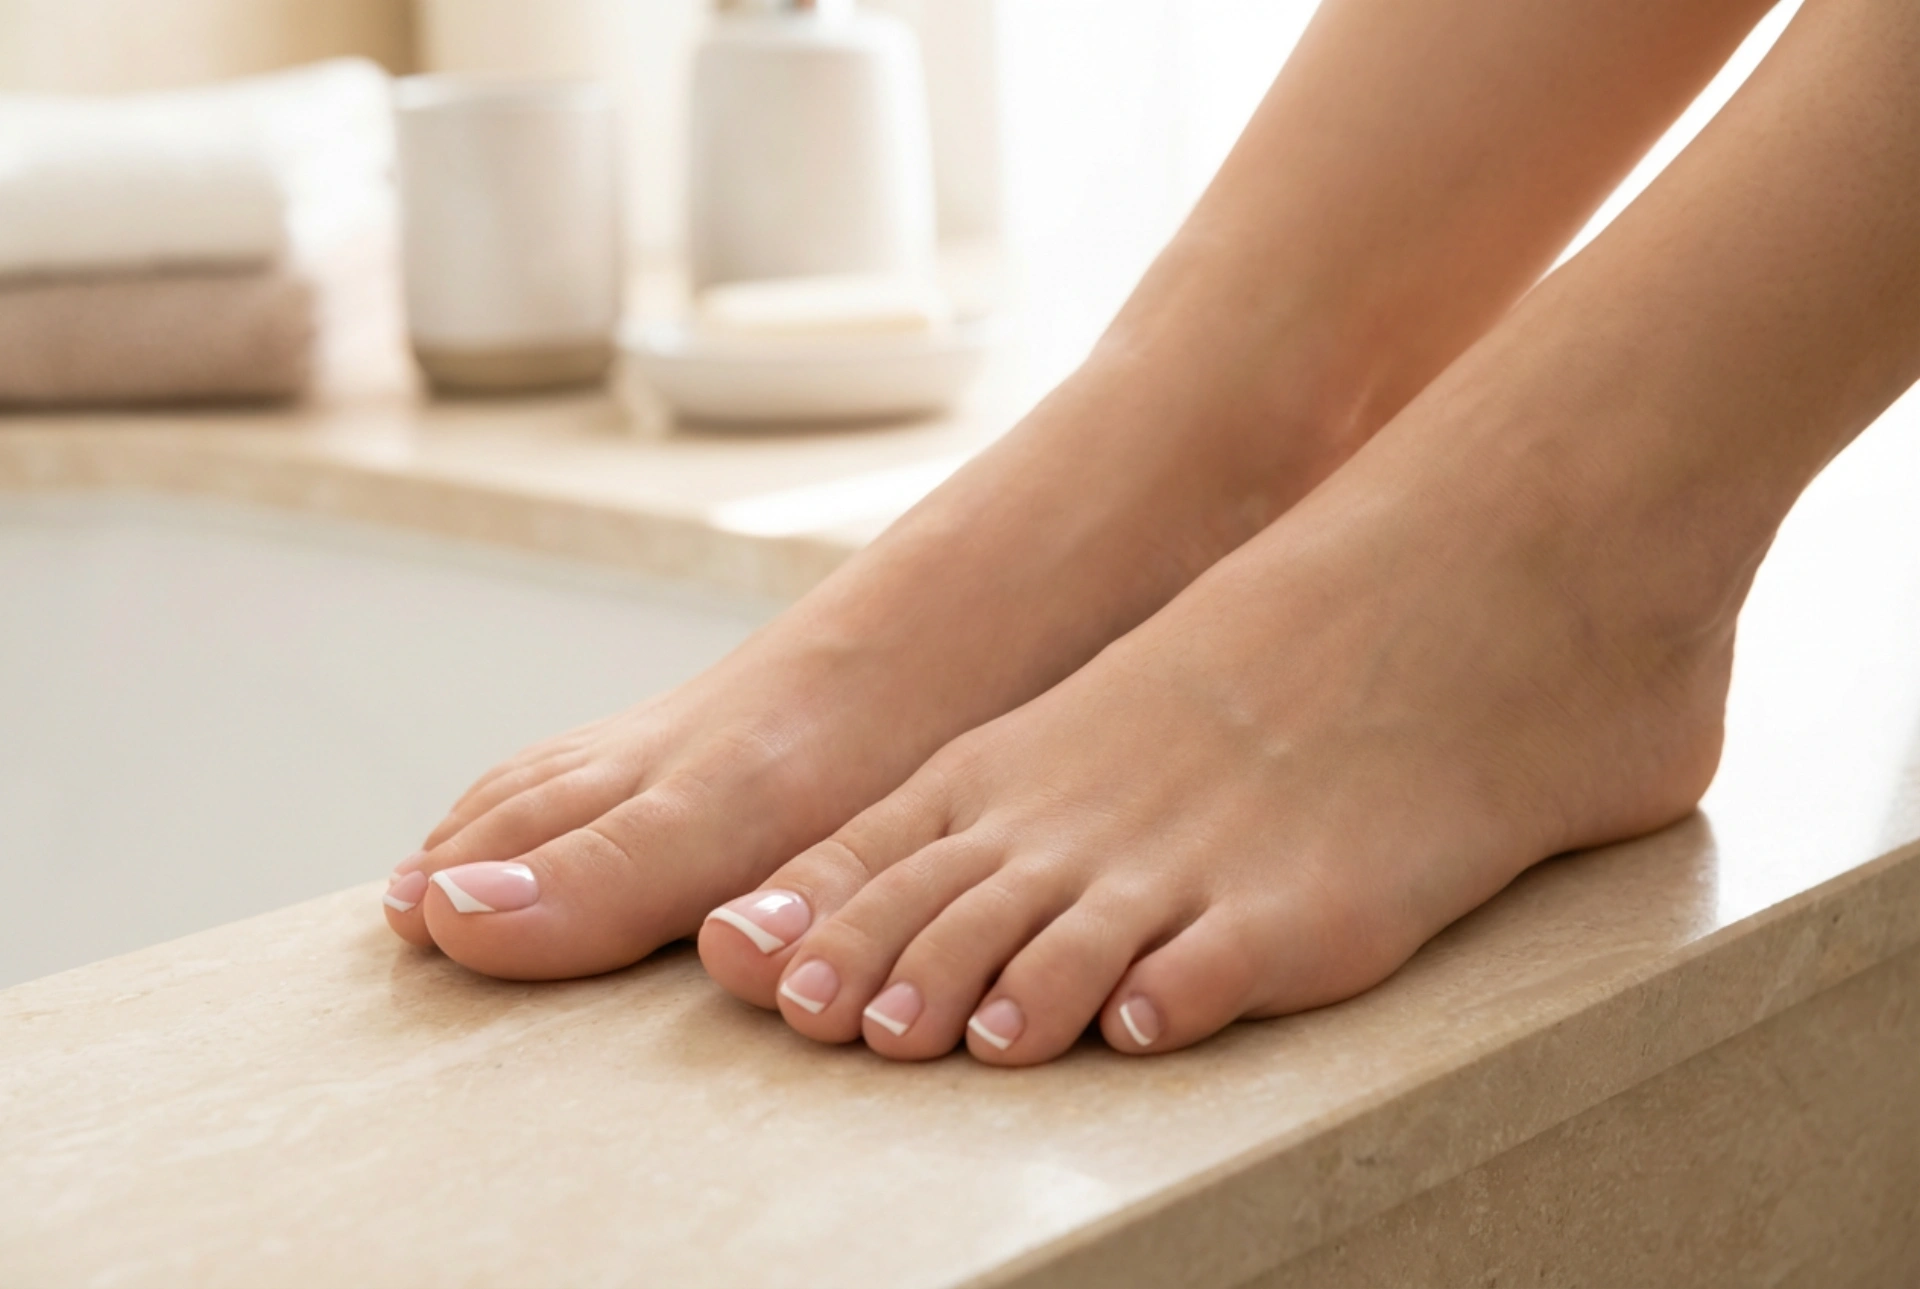


A classic French pedicure is the epitome of elegance, offering a clean, sophisticated look that pairs beautifully with any footwear. Achieving that crisp white line and flawless, smudge-free finish at home can often feel challenging. However, with the right preparation, correct technique, and a bit of patience, you can recreate this timeless aesthetic with ease. Let us explore the steps to achieving a perfect, salon-quality French pedicure in the comfort of your own home.
Preparation is Key: Shaping and Smoothing
The foundation of any beautiful pedicure lies in thorough preparation. Before reaching for any nail polish, your feet and nails must be properly prepped to ensure the lacquer adheres smoothly and lasts for weeks.
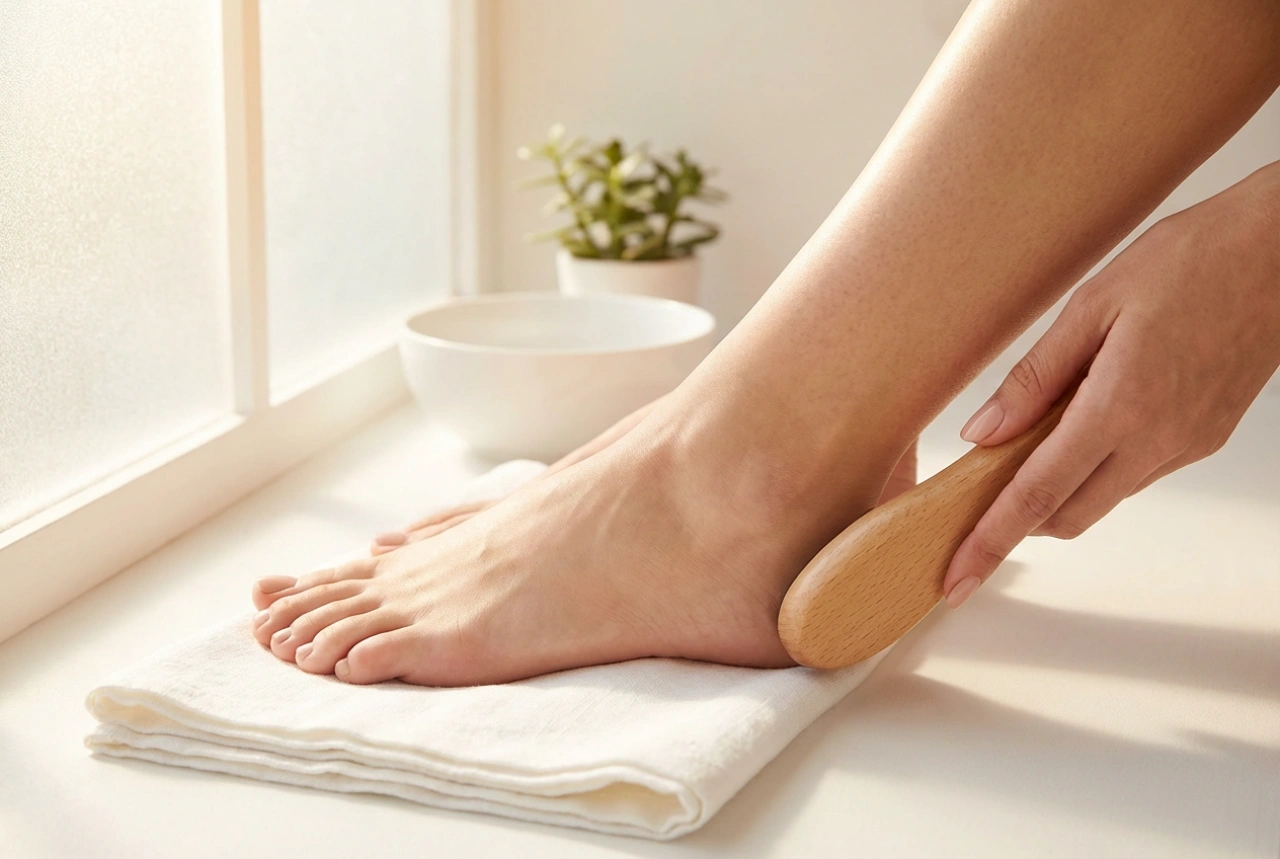
- Soften and Cleanse: Begin by soaking your feet in warm water with a few drops of mild oil or bath salts for about ten minutes. This softens the skin and nail plates.
- Shape the Nails: Trim your toenails straight across to prevent ingrown nails, then use a fine-grit file to smooth the edges. Gently round the corners slightly for a natural look.
- Tidy the Cuticles: Apply a cuticle softener, wait a minute, and then gently push back the cuticles with a wooden stick. Avoid cutting them to maintain a natural barrier against debris.
- Smooth the Surface: Use a gentle buffing block to lightly smooth the surface of each nail. This removes natural ridges and ensures a flat, even surface for the polish.
The Base and the perfect sheer Pink
One of the secrets to a smudge-free French pedicure is applying thin, even layers of polish. A common mistake is using too much product, which leads to slow drying times and eventual smudging. Always start by thoroughly cleaning the nail plates with a dehydrating cleanser to remove any oil residue from creams or scrubs.
Applying the Base Coat
Never skip the base coat. It serves a dual purpose: protecting your natural nail from staining and creating a slightly tacky surface that grips the colour polish. Apply a very thin layer and let it dry completely before moving on.
Choosing and Applying the Sheer Polish
For a traditional look, choose a sheer, milky pink, soft peach, or translucent beige. Apply one thin, even coat over the entire nail. This acts as the background for your French tips. Ensure the application is smooth, as streaks in the base colour will show through the final design.
Mastering the Crisp White Tips
Creating the signature white line on the tips of the toes requires a steady hand and the right tools. Because toenails are smaller than fingernails, the white line should be kept delicate and proportioned to the nail size.
- Use a Fine Brush or Tape: If you are confident, you can paint the tip freehand using a fine nail art brush dipped in opaque white polish. Alternatively, guide strips or stencils can help you achieve a perfectly curved line.
- The Sweep Method: Start from one side of the nail and sweep the brush towards the centre, then repeat from the other side. This prevents pooling of the white polish at the edges.
- Keep it Thin: Avoid making the white line too thick, which can look unnatural. A thin, neat band is much more elegant.
- Clean Up Instantly: Keep a small, flat brush dipped in nail polish remover nearby. Use it to instantly correct any wobbles or smooth out the line before the polish dries.
Securing the Shine and Preventing Smudges
Once you have completed the white tips, let the polish set for at least five minutes. To blend the look together, you can apply a second very sheer coat of your pink polish over the entire nail, or proceed straight to the final protective step.
Apply a high-quality, quick-drying top coat. This seals the design, adds a brilliant high-shine finish, and protects the tips from chipping. To prevent smudges, keep your feet still and avoid putting on closed-toe shoes or socks for at least a few hours. The longer you let the polish cure, the more durable and pristine your beautiful French pedicure will remain.