

A hybrid pedicure is an excellent way to maintain beautiful, chip-resistant toenails for many weeks. The durability of gel polish on feet is typically even greater than on hands, making it a favourite choice for holidays and busy schedules. To achieve a professional, salon-like finish that lasts without lifting, it is crucial to focus on the key stages of the process: thorough plate preparation, precise application, and proper protection of the final look.
Step 1: Preparing the nail plate
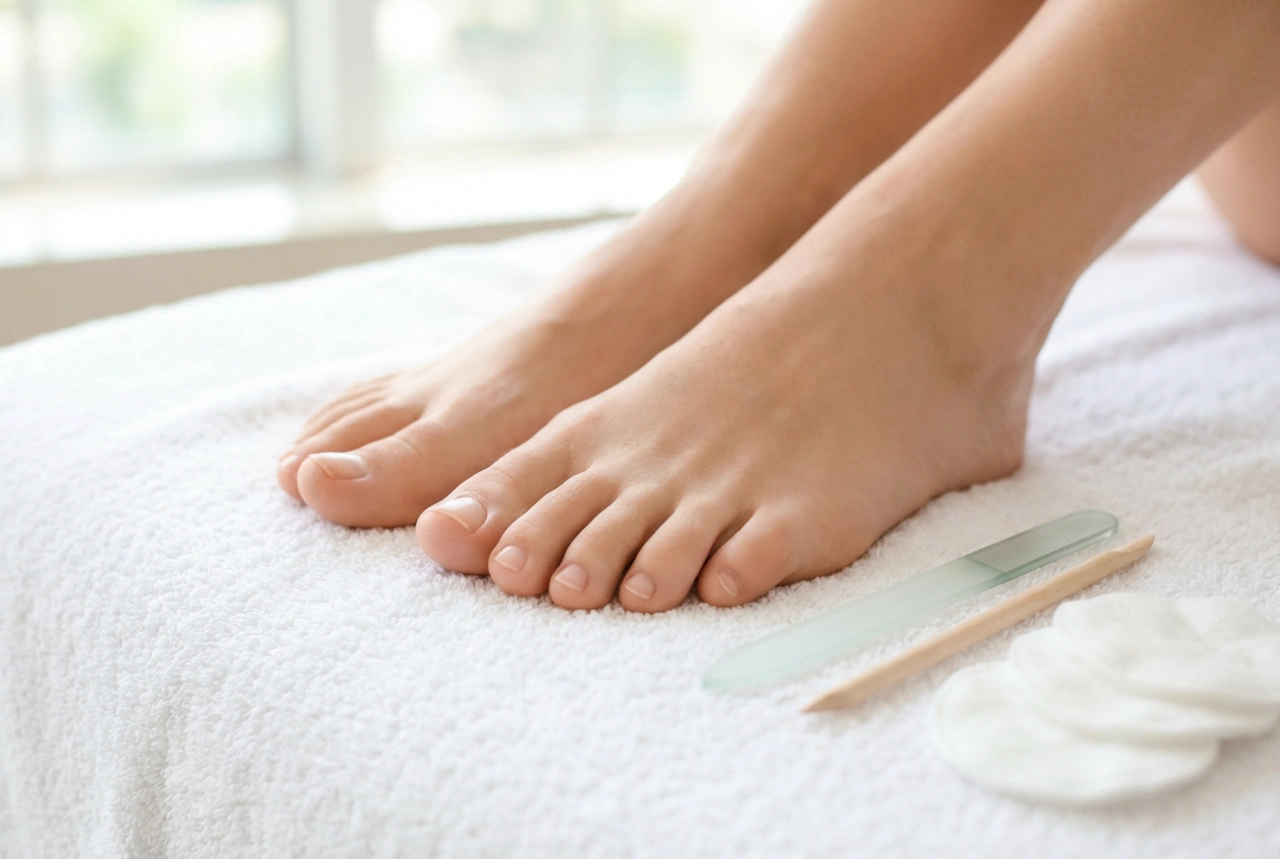
The foundation of any long-lasting pedicure lies in how well the natural nail plate is prepared. Unlike fingernails, toenails are often exposed to greater friction and moisture, meaning any leftover oils or dead skin can quickly cause the hybrid polish to lift. Start by gently softening the cuticles using a dedicated cuticle remover, then push them back with a wooden stick or a precise pusher.
Next, shape the toenails. It is highly recommended to cut and file them straight across rather than rounding the edges too deeply, as this helps prevent the painful issue of ingrown nails. Once the shape is achieved, use a fine-grit buffer block to gently mattify the entire surface of each nail. This step removes the natural shine and creates a textured surface that the base coat can adhere to. Finally, cleanse the nails thoroughly with a professional nail prep solution or dehydrator to remove all dust, oils, and moisture.
Step 2: Applying the hybrid layers
The application process requires patience and precision. A common mistake is applying layers that are too thick, which can lead to improper curing and peeling. Begin with a thin layer of a high-quality base coat. Pay extra attention to avoid touching the cuticles, as any gel cured on the skin will inevitably cause air bubbles and lifting. Cure the base under an LED or UV lamp according to the manufacturer's guidelines.
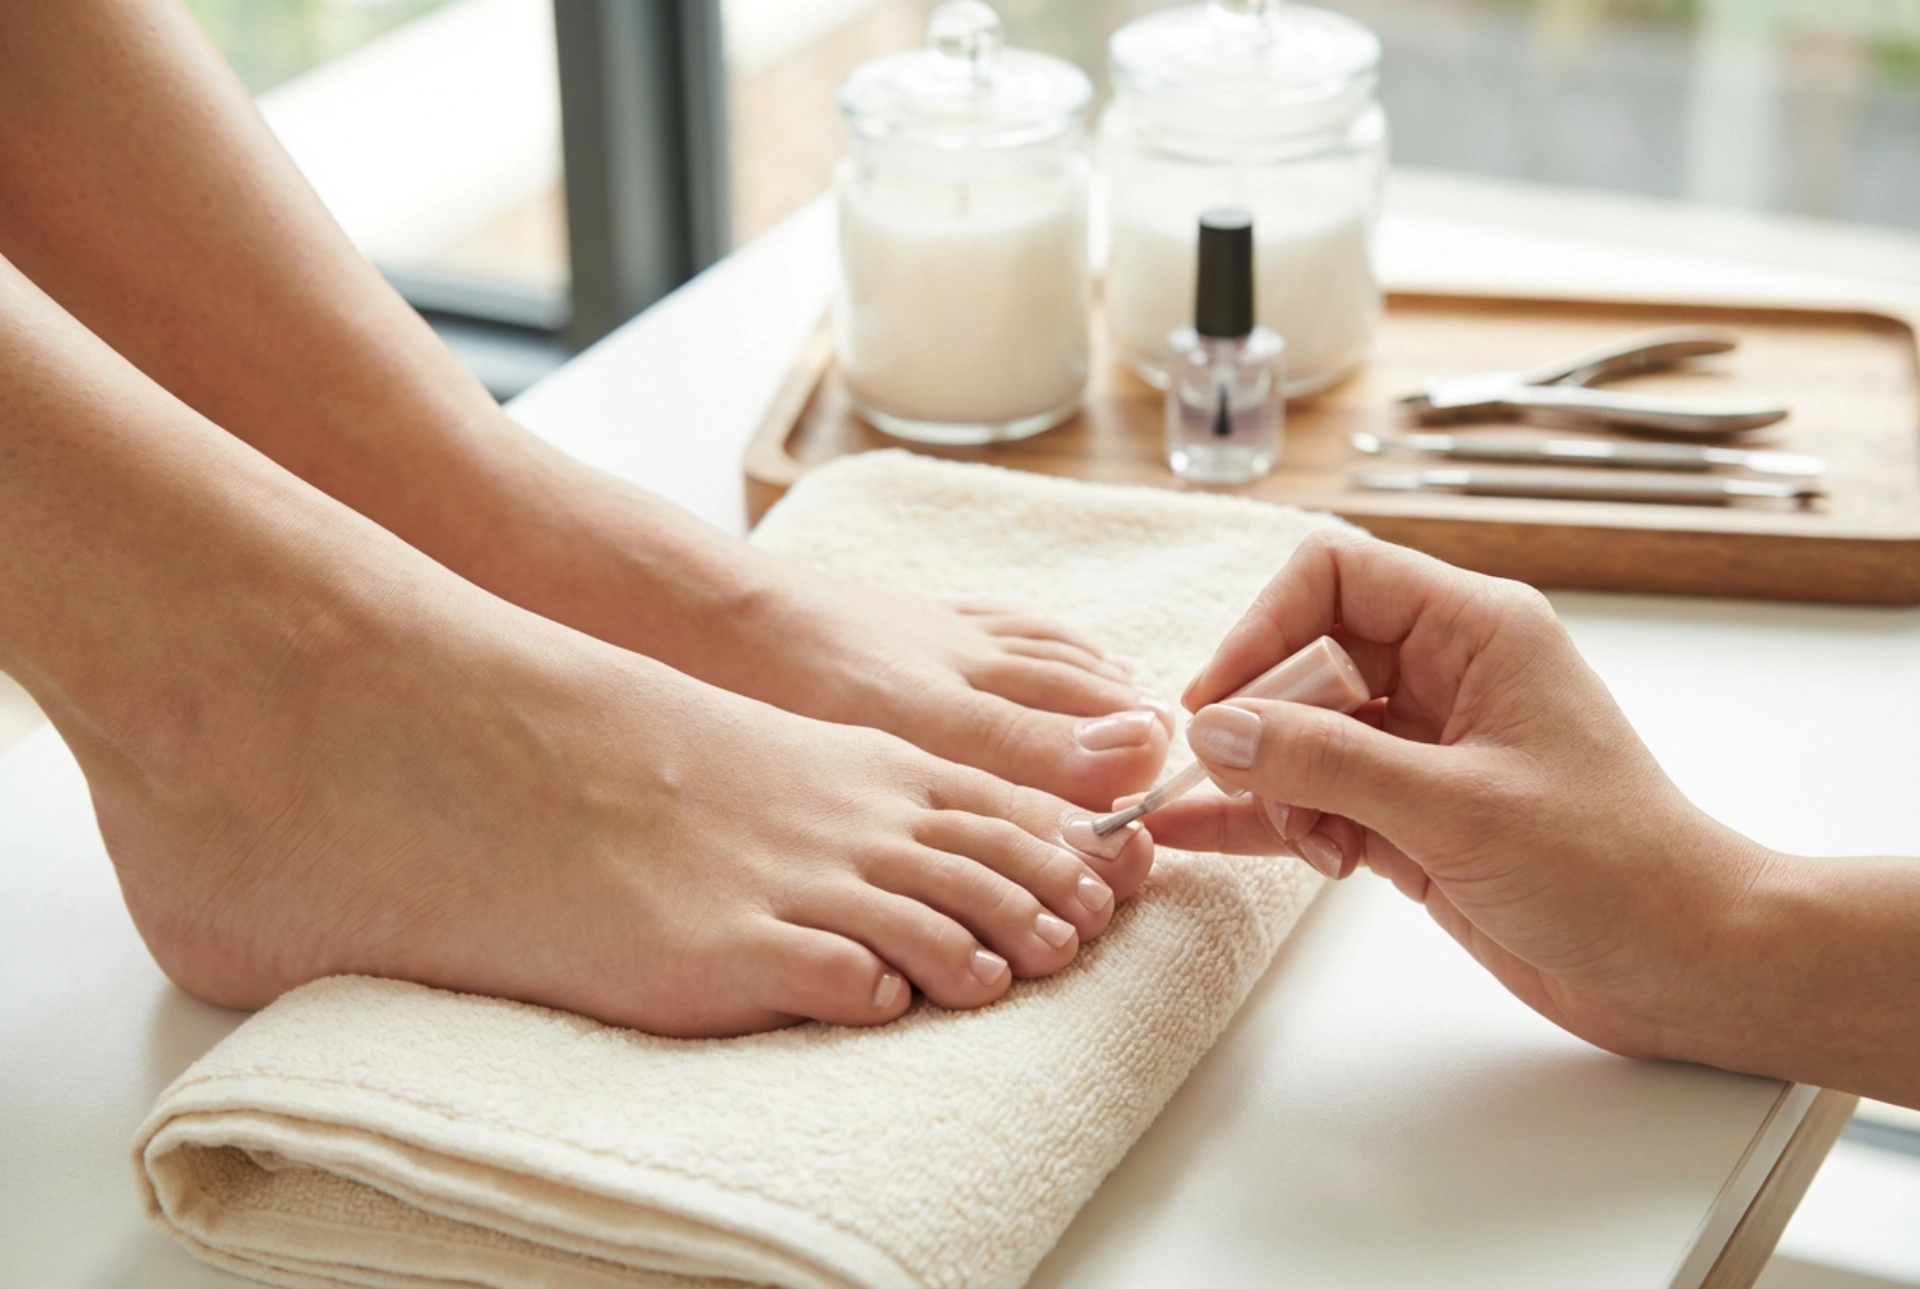
Once the base is set, it is time for the colour. Apply the hybrid polish in very thin coats. For most shades, two layers are sufficient to achieve full coverage and depth. Cure each layer individually. When working with toenails, especially the smaller ones, using a fine nail art brush can help you apply the colour close to the cuticle line without making a mess on the surrounding skin.
Step 3: Securing and protecting the pedicure
The final step determines the longevity and shine of your hybrid pedicure. Applying a top coat is essential to seal the colour and protect it from daily wear and tear, pool water, and friction from shoes. Apply a generous but even layer of top coat, making sure to seal the free edge of each nail. This capping technique locks the layers together and prevents chipping from the tips.
After curing the top coat, if you are using a traditional formula, wipe away the sticky inhibition layer with a lint-free wipe soaked in a gentle cleanser. To finish the ritual and restore hydration to the skin, apply a drop of nourishing cuticle oil to each toe and gently massage it in. This not only nourishes the skin but also gives the pedicure a beautiful, fresh-from-the-salon glow.