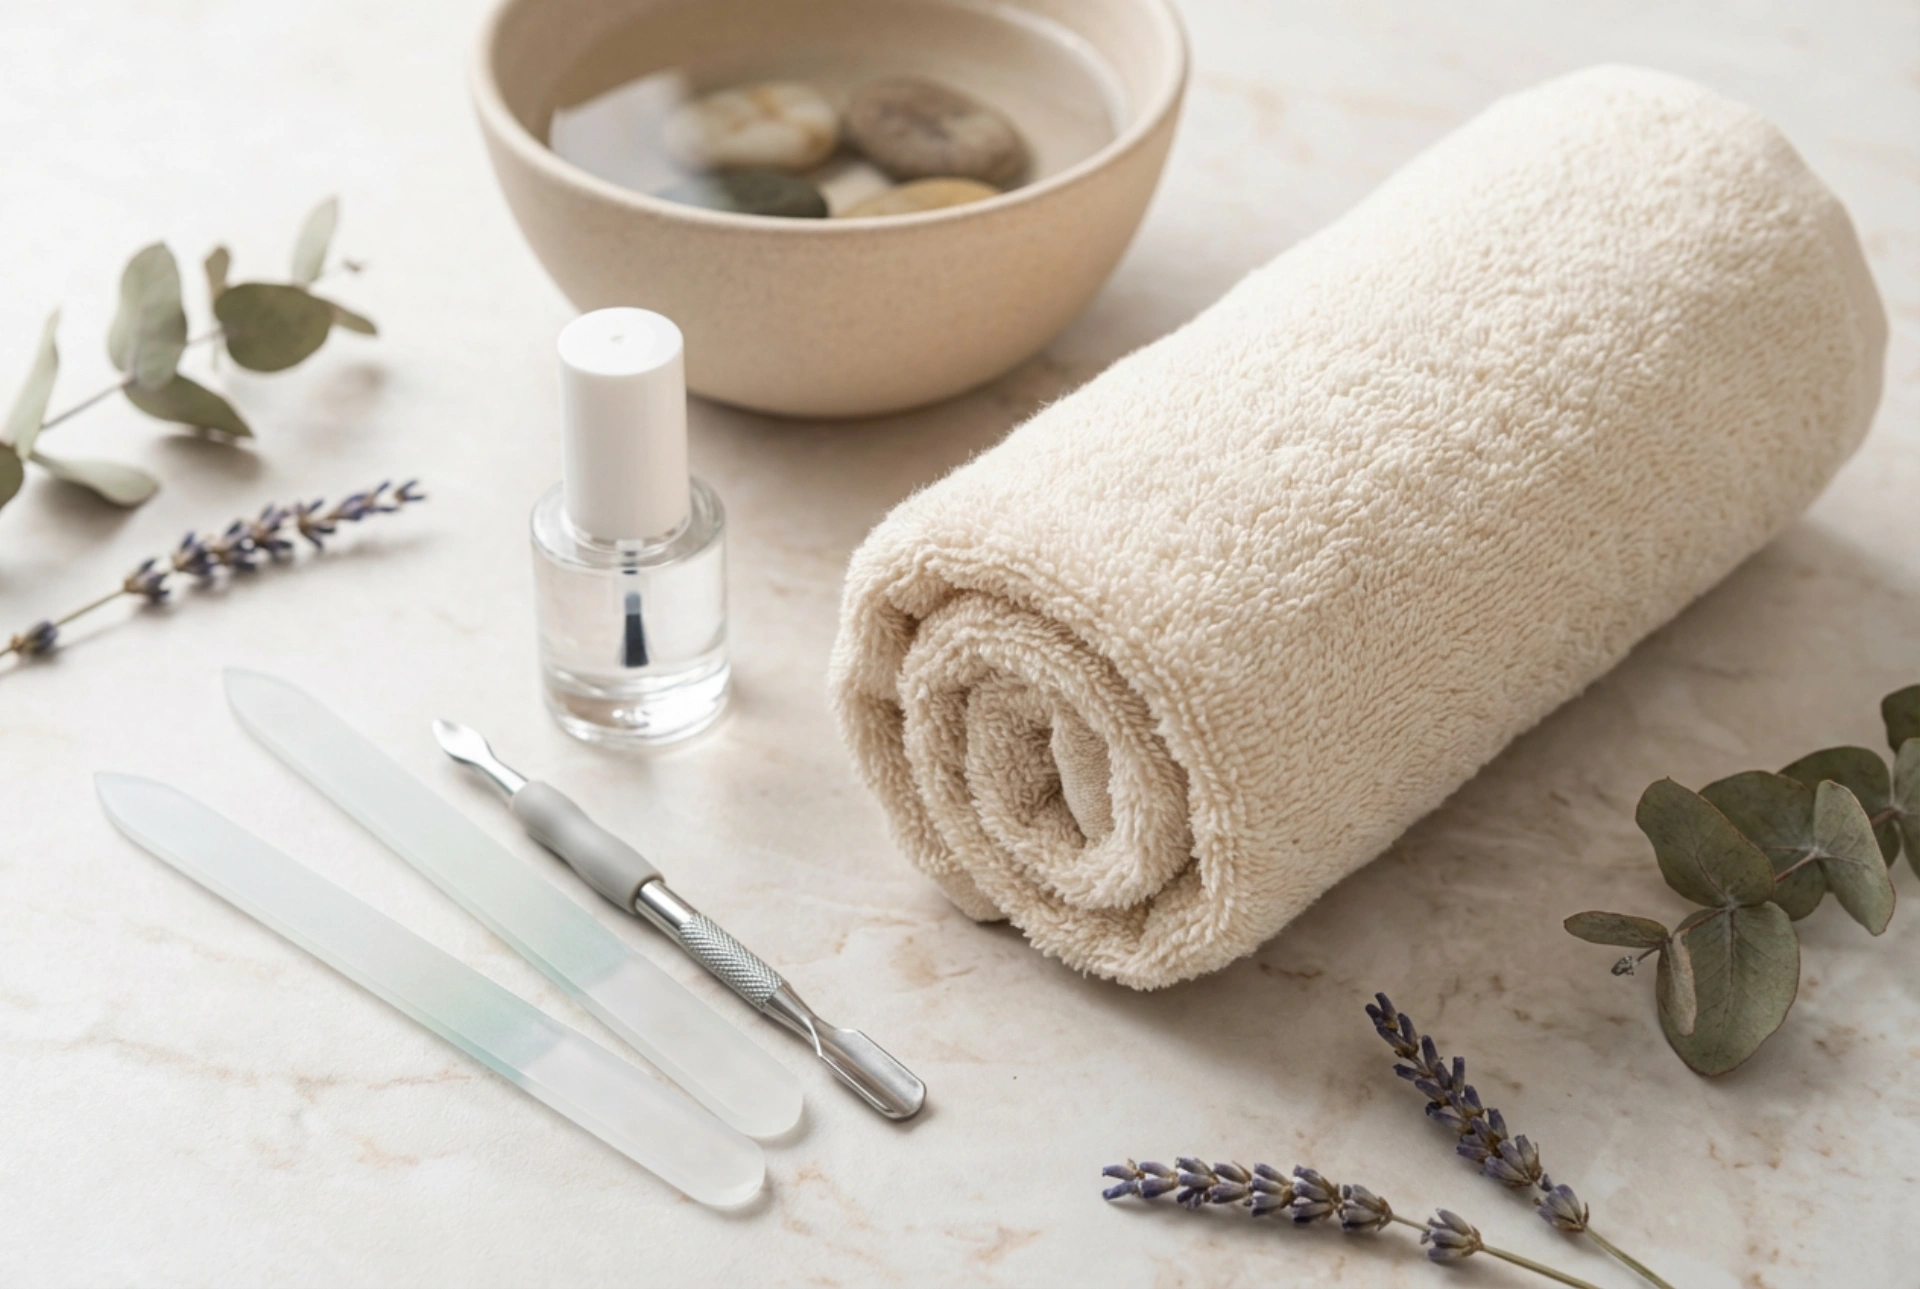


Taking time out for self-care is one of the most rewarding ways to relax and pamper yourself at home. A beautifully organised setup with soft, plush towels, gentle nail files, a wooden cuticle pusher, and your favourite nail polishes can instantly transform your bathroom into a tranquil sanctuary. Caring for your feet not only enhances their appearance but also provides a sense of comfort and lightness. Performing a home pedicure is a simple, step-by-step process that allows you to maintain neat, healthy-looking nails and soft skin without the need for specialised salon visits.
Essential Tools for an At-Home Pedicure
Before you begin, it is important to gather all the necessary accessories to ensure a smooth and seamless experience. Having everything within reach allows you to maintain a relaxing flow without having to interrupt your ritual. To achieve professional-looking results, you do not need complex equipment; a few basic, high-quality tools are more than enough to achieve excellent results.
- Nail clippers or scissors: Designed specifically for toenails, these help you trim your nails cleanly and safely.
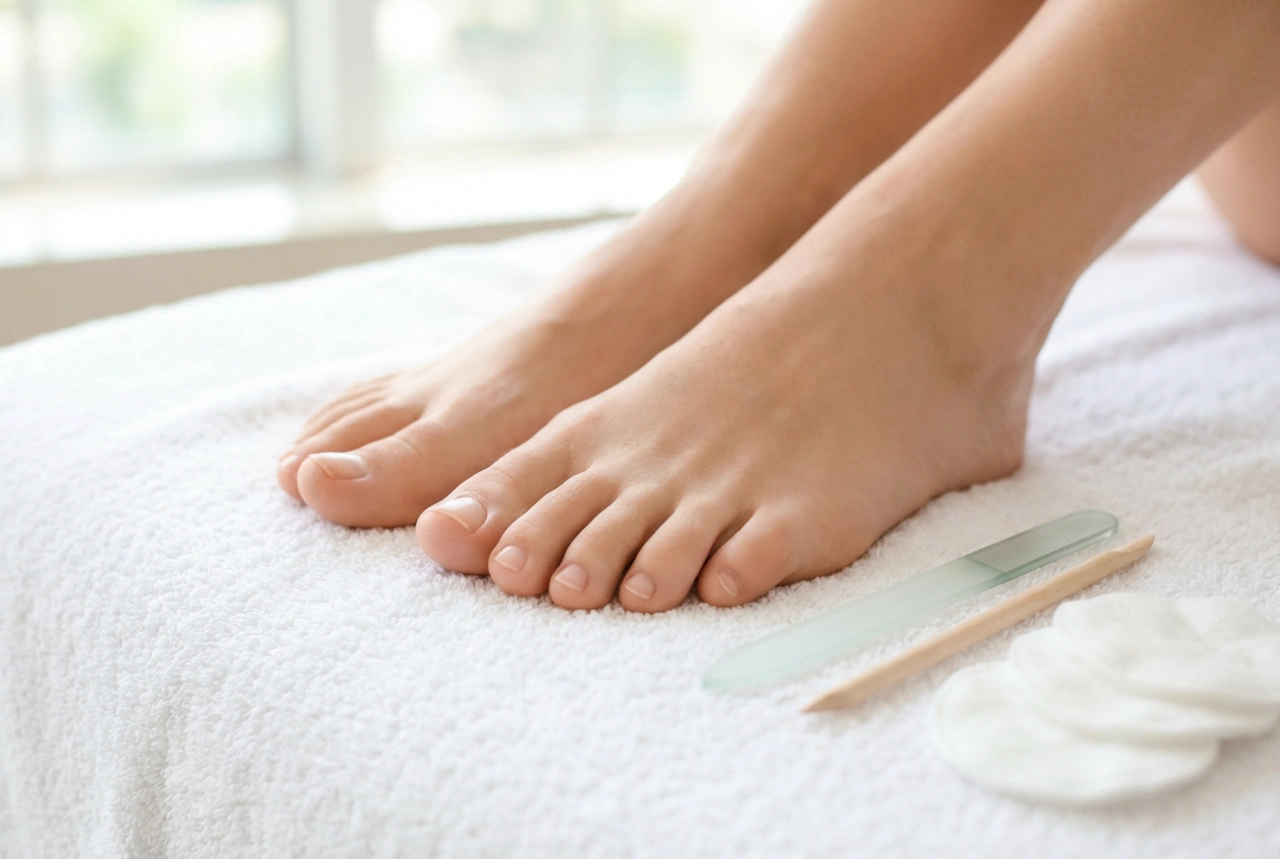
- Nail files: A classic glass or fine-grit paper file is ideal for shaping the edges without causing splitting.
- Cuticle pusher: A wooden hoof stick or a gentle rubber-tipped pusher is perfect for neatly tidying the nail bed.
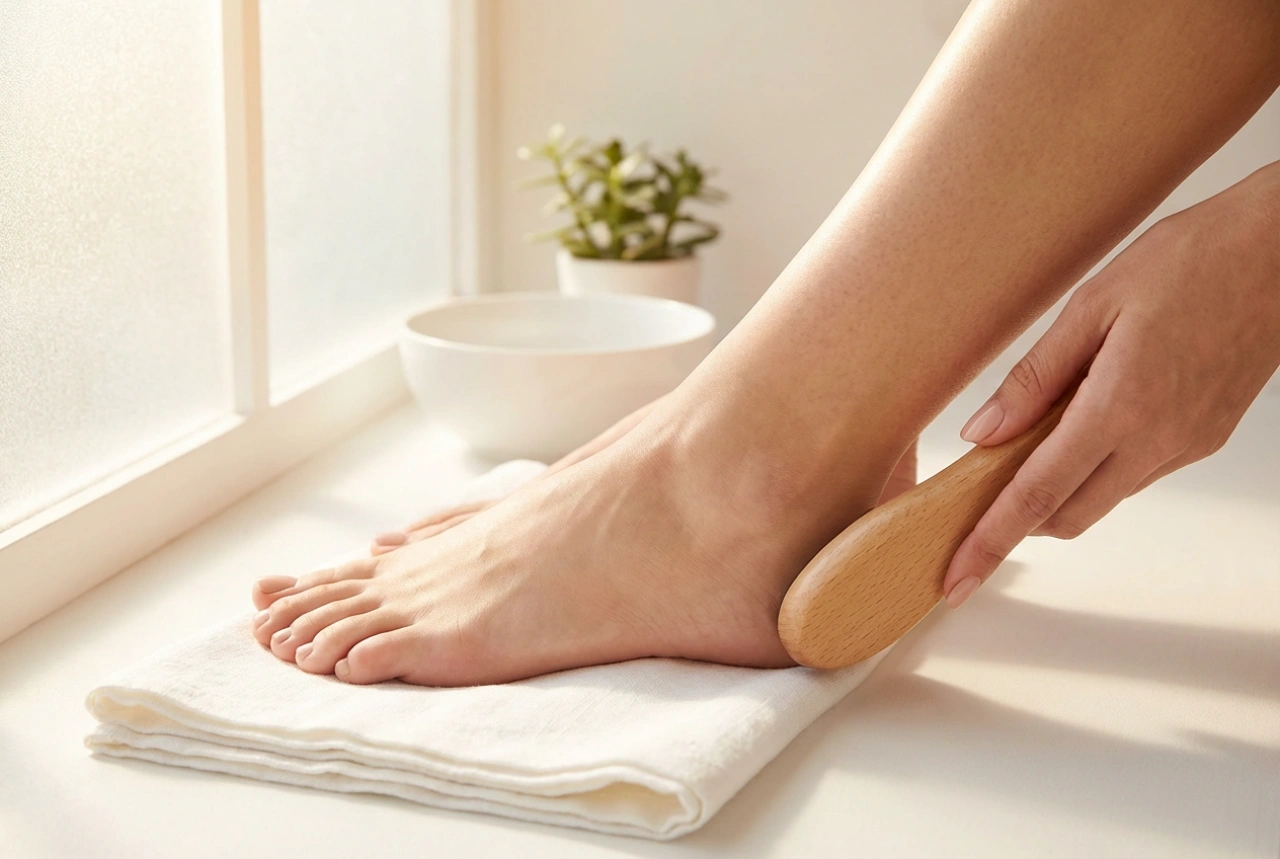
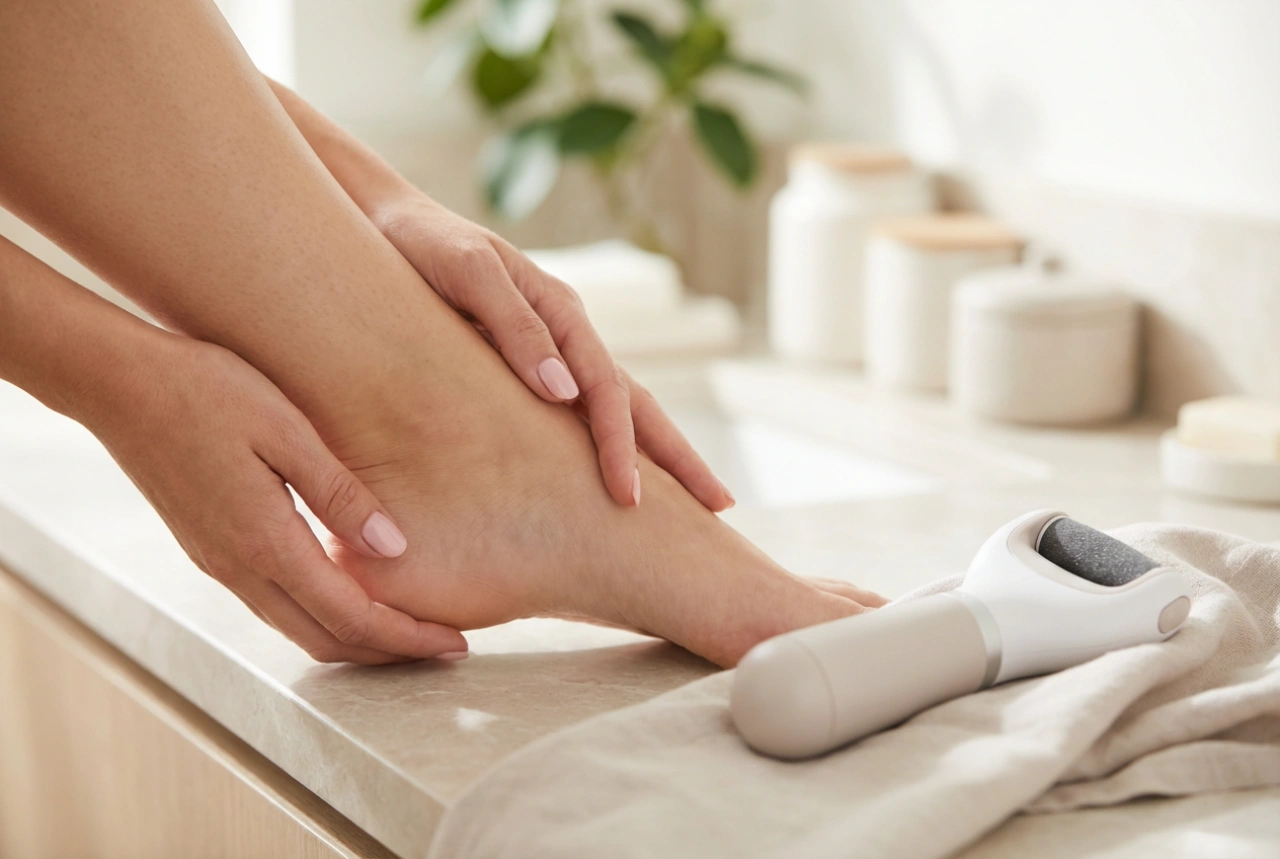
- Foot file or scrub: A gentle rasp or a nourishing exfoliating scrub helps smooth away dry skin on the heels.
- Soft towel: A clean, plush towel is essential for drying your feet thoroughly and resting them comfortably during the treatment.
- Base coat, nail polish, and top coat: These three steps ensure a durable, beautiful finish that protects the nail plate.
Step 1: Softening and Cleansing the Skin
The foundation of any good pedicure is a relaxing foot soak. This step is crucial because it softens the skin and the nails, making them much easier to work with. Fill a small basin with warm water and add a handful of cosmetic bath salts, a few drops of natural nourishing oil, or a gentle foaming wash. Soak your feet for about ten to fifteen minutes, allowing the warmth to relieve tension and soften any dry patches.
Once the skin is sufficiently softened, use a gentle exfoliating scrub or a classic foot file to smooth the soles of your feet. Focus on the heels and the outer edges of the toes, where dry skin tends to accumulate. Be gentle during this process; aggressive scraping is unnecessary and can lead to discomfort. The goal is to lift away dull, dead skin cells gently, leaving a smooth and refreshed surface. After exfoliating, rinse your feet with clean water and dry them thoroughly with a soft towel, paying close attention to the spaces between your toes.
Step 2: Shaping and Grooming the Toenails
Now that your nails and cuticles are soft, you can move on to trimming and shaping. This is one of the most important steps for maintaining comfort. When trimming toenails, always cut straight across. Avoid rounding the corners too deeply, as this can cause the nail to grow into the surrounding skin over time. Keep the length moderate, leaving a small sliver of the free edge visible.
After clipping, use a nail file to smooth any rough edges. File in one direction rather than sawing back and forth, which can weaken the nail structure. Next, apply a small amount of cuticle oil or moisturising cream to the base of each nail. Use your wooden cuticle pusher to gently push back the softened cuticles. Never cut your cuticles aggressively; simply tidying the edges of the nail plate is enough to create a clean, elegant look.
Step 3: Moisturising and Foot Massage
With your nails shaped and your skin smoothed, it is time to restore deep moisture. Apply a generous amount of a rich foot cream, body butter, or natural oil to your feet and calves. Take a few minutes to massage the product into your skin using firm, circular motions. Start from your toes and work your way up to your ankles, focusing on the arches of your feet where tension often holds.
This massage not only locks in hydration but also boosts circulation and promotes deep relaxation. Once you have finished, let the cream absorb for a short while. Before proceeding to the painting stage, you must remove any oily residue from the surface of your nails. Wipe the nail plates with a cotton pad soaked in a gentle nail polish remover or a rubbing alcohol solution to ensure the nail polish adheres perfectly.
Step 4: Painting and Finishing Touches
Applying polish is the final, creative step of your home pedicure. To achieve a long-lasting and flawless finish, always start with a clear base coat. This protective layer prevents the pigments from staining your natural nail and creates a smooth base for the colour. Let it dry for a couple of minutes.
Next, apply your chosen nail polish colour. Apply the polish in thin, even layers, using three strokes: one down the middle and one on each side. Two thin coats are always better than one thick coat, as thin layers dry faster and are less prone to bubbling or smudging. Once the colour is dry, finish with a high-quality top coat. The top coat seals the colour, adds a brilliant shine, and protects your pedicure from chipping, ensuring your hard work lasts for weeks.