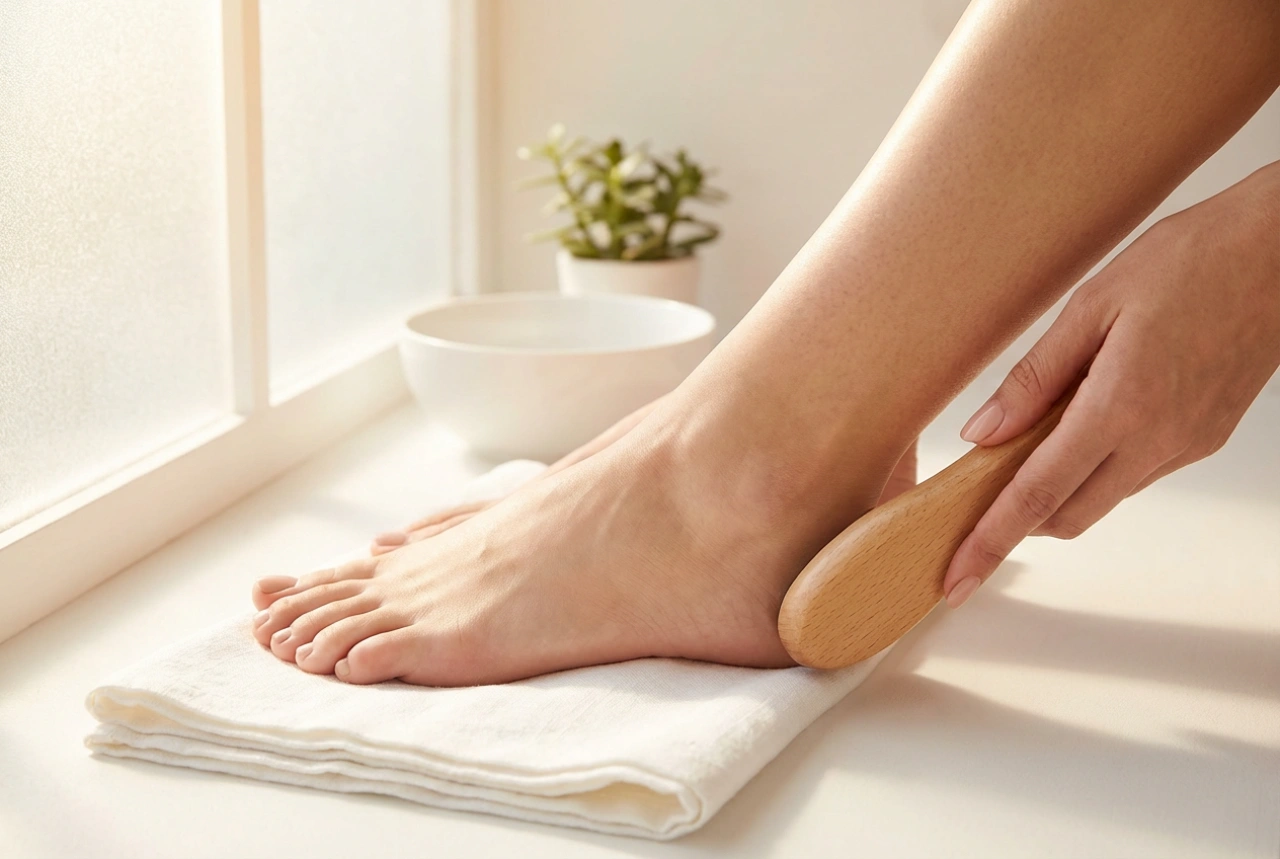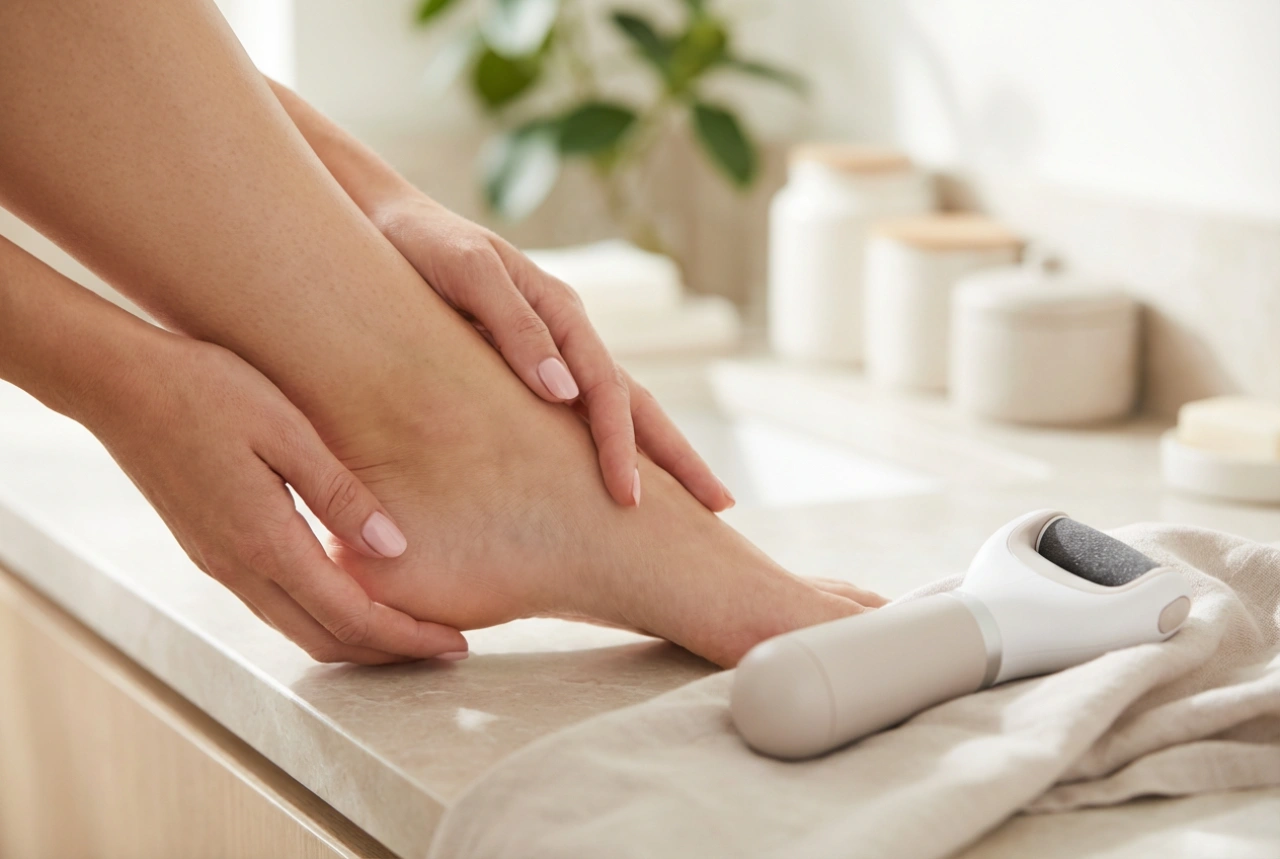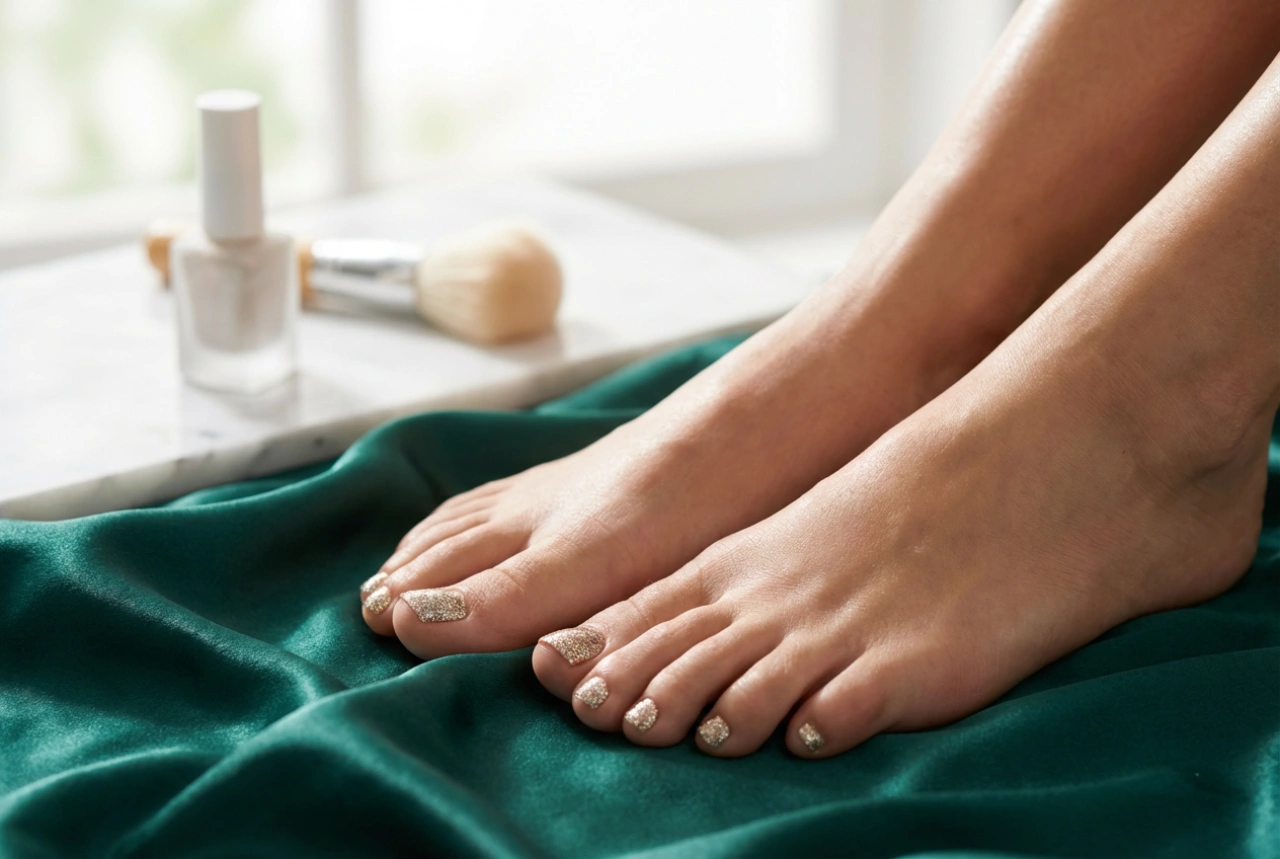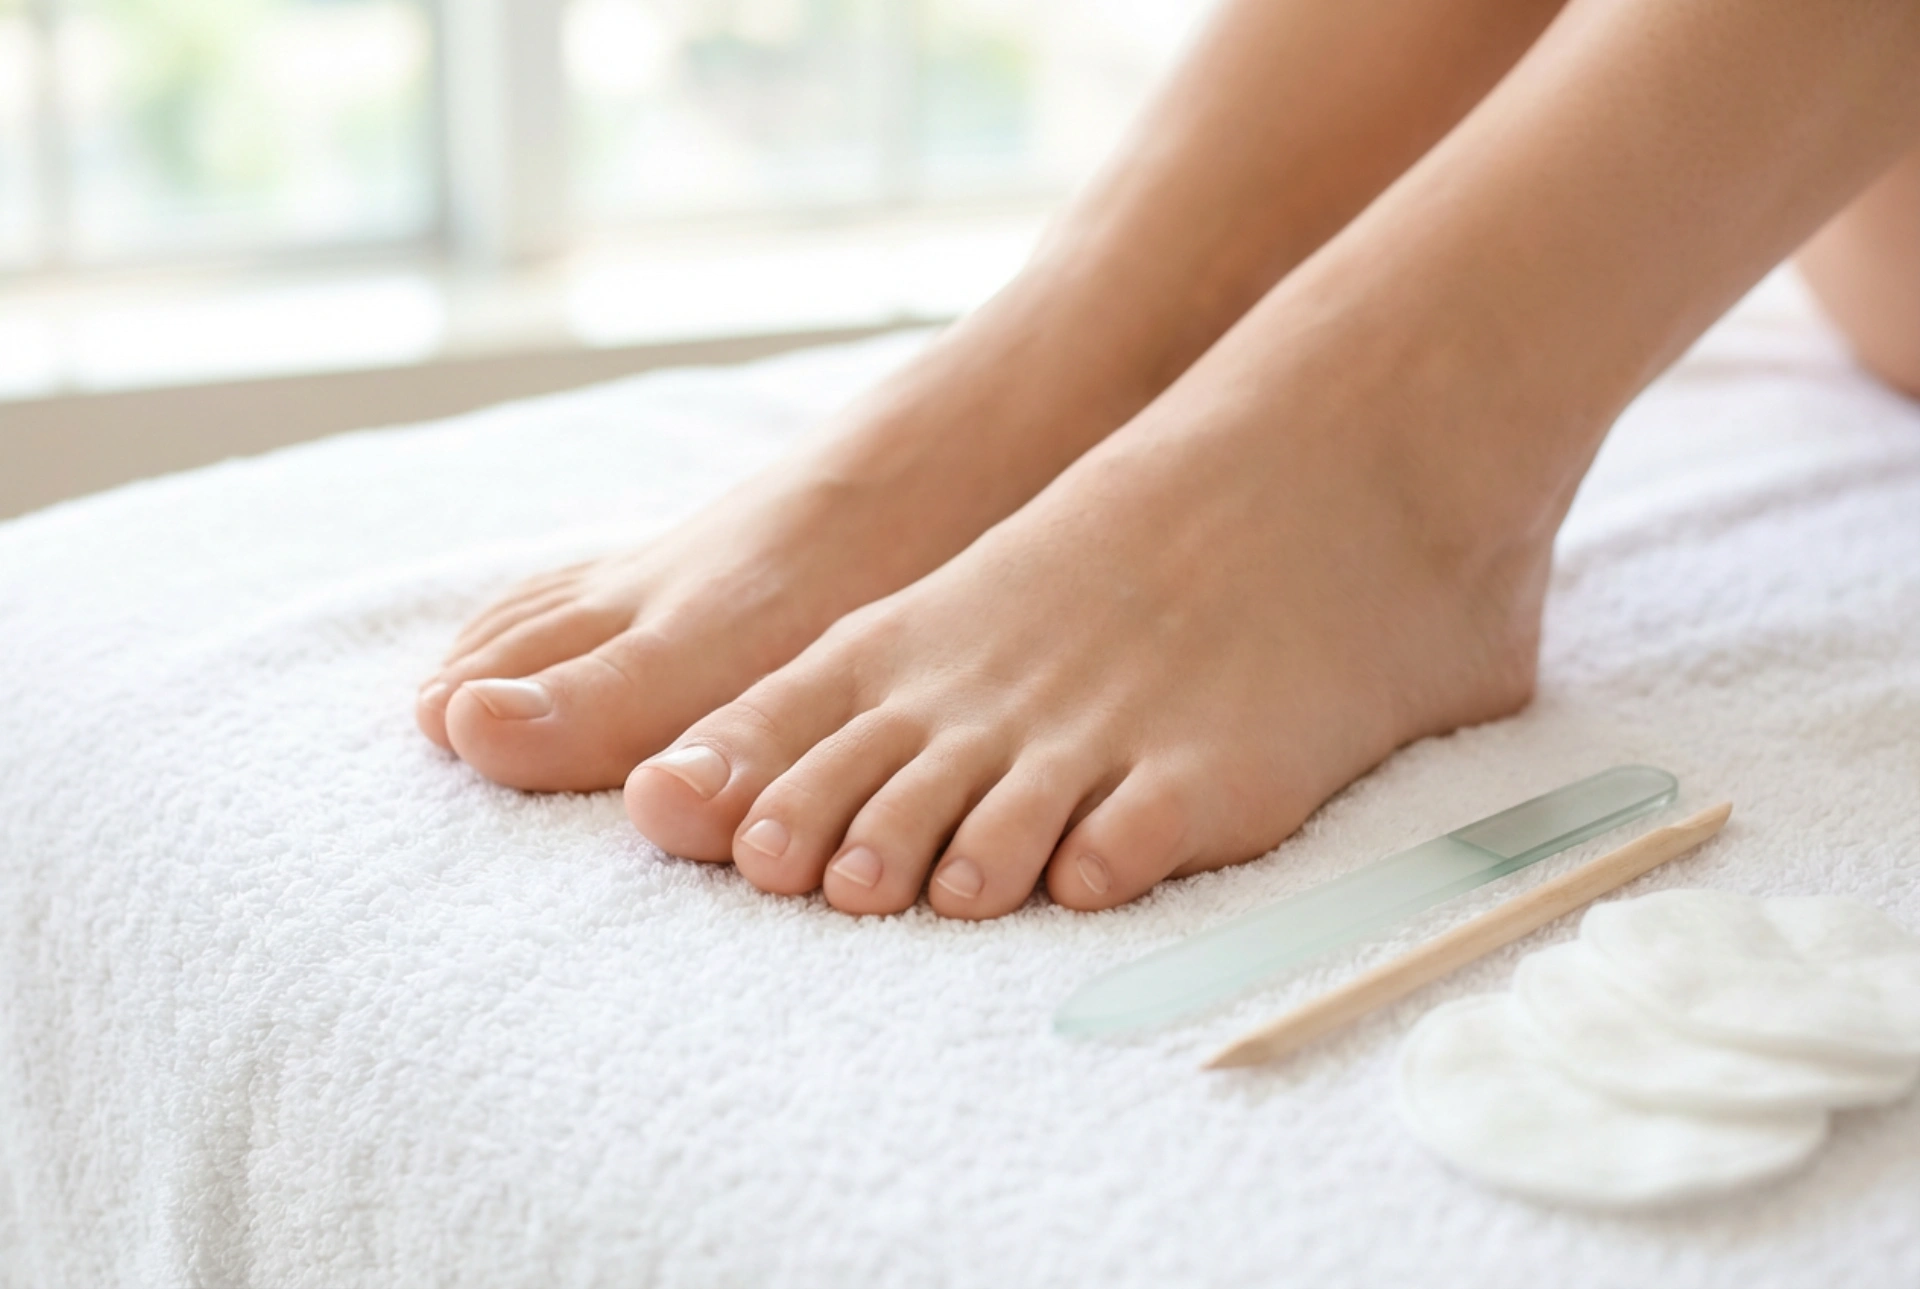


A serene home beauty ritual often begins with the simple pleasure of caring for our feet. Relaxing on a soft towel, surrounded by simple, clean tools, we can transform our regular foot care routine into a mindful act of self-care. Beautifully groomed toenails are not only an aesthetic choice but also a reflection of healthy personal grooming. Gel polish has become highly popular for toenails due to its durability and long-lasting shine. However, maintaining the health of your natural nails requires meticulous preparation before application and extreme gentleness during removal.
Why Correct Preparation is Key for a Gel Pedicure
To achieve a flawless, long-lasting finish, preparing the nail plate is the most critical phase. When done correctly, it ensures proper adhesion of the gel polish, preventing lifting and moisture build-up underneath. Skipping steps or rushing through the preparation can lead to premature peeling, which not only ruins the aesthetic but can also weaken the nail structure over time.
Before reaching for any colour, it is essential to gather basic, high-quality tools. A gentle nail file, a wooden cuticle stick, cotton pads, and a mild dehydrator are all you need to set a solid foundation. This process should always be approached with patience and care, avoiding any aggressive actions that could damage the sensitive surrounding skin.
Step-by-Step Nail Preparation
Properly preparing your toenails involves a few simple, sequential steps that respect the natural anatomy of the nail. Follow this gentle guide to prepare your toes for a clean and durable application:
- Trimming and Shaping: Begin by cutting your toenails straight across to prevent ingrown nails. Use a fine-grit nail file to smooth the edges and round the corners slightly. Always file in one direction to prevent splitting the layers of the nail.
- Tending to the Cuticles: Soften the cuticles by soaking your feet in warm water for a few minutes. Using a wooden stick or a clean cuticle pusher, gently push back the softened skin. Avoid cutting the cuticles excessively, as they serve as a natural barrier against dust and impurities.
- Buffing the Surface: Use a very soft buffer to gently remove the natural shine from the nail surface. This creates a microscopic texture that helps the gel adhere. Be careful not to thin the nail plate; a few light strokes are sufficient.
- Dehydrating and Cleaning: Wipe each nail thoroughly with a lint-free cotton pad soaked in a mild cleansing alcohol or dehydrating solution. This step removes natural oils, dust, and moisture, which are the main obstacles to a long-lasting finish.
The Importance of Safe Gel Polish Removal
While applying gel polish is an enjoyable process, knowing how to remove it safely is even more crucial for maintaining strong, healthy toenails. The most common cause of nail damage is not the gel polish itself, but the improper, forceful peeling of the product. When gel is peeled off manually, it strips away the microscopic top layers of your natural nail, leaving them thin, brittle, and prone to peeling.
A safe removal process requires patience and the right technique. By allowing the product to dissolve gently, you ensure that the natural nail remains fully intact and ready for its next treatment or a period of natural rest.
A Gentle Step-by-Step Removal Guide
To remove gel polish safely at home without compromising nail health, follow this non-invasive method using standard household beauty tools:
1. Break the Seal
Use a medium-grit nail file to gently buff away the shiny top coat of the gel polish on each toe. This step is essential because the top coat is waterproof and resistant to solvents. Breaking this seal allows the removal solution to penetrate the colour layers effectively.
2. Apply the Soak
Soak small pieces of cotton pads in a standard cosmetic acetone-based remover. Place a soaked cotton pad directly onto each nail. Wrap each toe securely in a small piece of aluminium foil to hold the pad in place and prevent the solution from evaporating. Leave them wrapped for about ten to fifteen minutes.
3. Gently Remove the Dissolved Gel
After the waiting period, remove the foil wraps one by one. The gel polish should look cracked and lifted. Using a wooden manicure stick, gently scrape away the softened gel from the cuticle area down to the edge. If the polish does not slide off easily, do not force it. Re-wrap the nail for another few minutes to let it dissolve completely.
4. Cleanse and Buff
Once all the gel is removed, use a soft buffer to gently smooth away any remaining residue. Wipe the nails with a clean, damp cloth to remove any dust or remaining solution.
Post-Removal Aftercare and Nourishment
After removing gel polish, your toenails and the surrounding skin require hydration. The removal process can temporarily dry out the nail plate and cuticles. Applying a rich, nourishing cosmetic oil or a thick hydrating cream is the perfect way to conclude your foot care ritual.
Massage the oil deeply into the nail bed and the cuticles to stimulate circulation and promote healthy growth. If possible, allow your nails to remain bare for a few days between applications. This break gives the nails time to breathe, recover their natural moisture balance, and retain their natural strength.